
It was with a camera gifted from her grandfather documenting her college years that Brooklyn-based portrait photographer Poochie Collins first discovered her love of photography. As an introvert attempting to avoid having to talk to people, she started shooting street photography, preferring to keep her distance and observe from afar.
Today, she uses her skill and perception to catch the little, intimate details about her subjects which she draws out with her sympathetic style of portraiture and captures spontaneous moments in time.
We spoke to Poochie about her creative process, her intentions and inspiration when shooting her subjects, and how she gives her audience the chance to experience the Black community from a different vantage point.
For a deep dive into Poochie Collins’ perspectives on a selection of her photographic portraits, watch the webinar.
You describe your work as writing love letters with light and creating visual time capsules. What do you consider when planning your shoots?
Funnily enough, I very rarely actually plan out a shoot. Most of the time, even with doing portrait sessions, a lot of my inspiration comes from a song. If I have a shoot and someone doesn’t really give me a brief, usually I’ll either ask them, “What’s your favorite song? Or what’s something you’re listening to?” And if they can’t figure that out, I’m like, “Okay, well this is a song that’s stuck in my head,” and I will just play the song and flow that way.
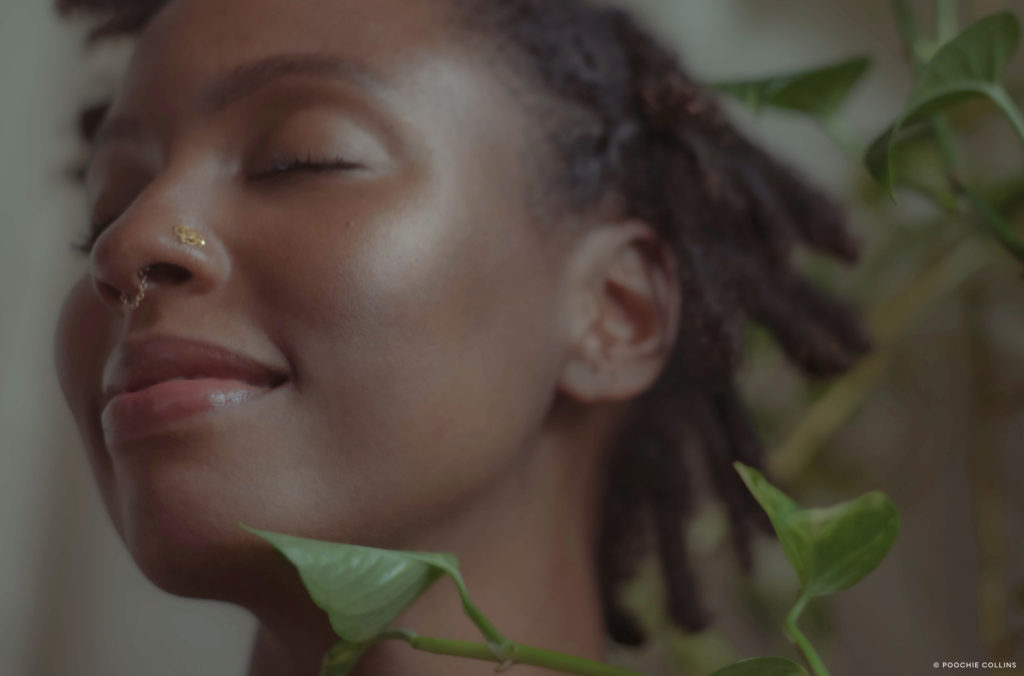
When I say writing love letters with light, that’s how I navigate through these spaces. I approach it in a loving way. I ask myself, ‘What is it about this person that I am wanting to reflect?’ Because most of the time what I am documenting of the individual is parts of myself that I see. They’re essentially like my love story to myself, and how I am able to radiate the love for myself out to the world, and to others to see.
How do you work with your subjects to make them feel comfortable?
It’s funny because I don’t pose my subjects, even when I do portraiture. There are some shots where people, they’re maybe listening to the music, and they kind of just drift off into their own world. And I’ll just be like, hold that right there. Don’t move.
Sometimes I will silence the shutter, so people aren’t aware that I’m taking the picture. So, they’re kind of in their own world existing. Natural body movement is what I look for.
You say that you want to show the Black community from a different vantage point. How do approach that?
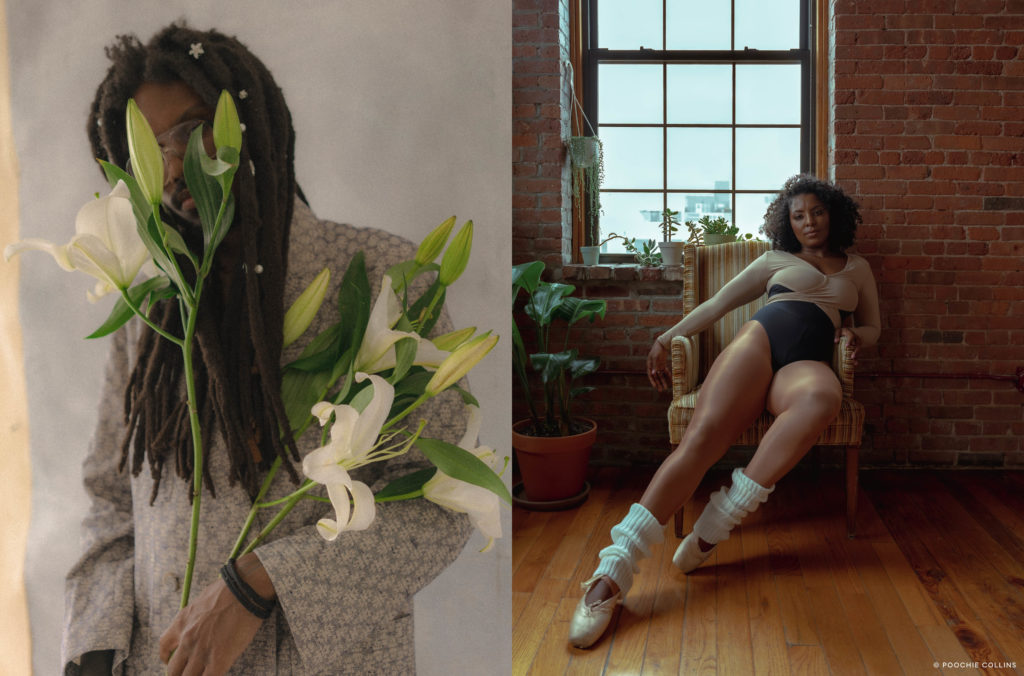
I feel that a lot of the time, the way that we are portrayed in the media, and just through the public from other vantage points, isn’t always accurate. It’s a very stereotypical way of seeing us. We don’t see a lot of imagery of Black people just existing, and from a loving space, or the softer parts of us. We’re always commended for our strength and our resilience.
And while we are those things, we are also very multidimensional individuals. So, being able to show us in a light of love is something that I enjoy documenting. Because we aren’t just this one thing. I think it’s important for us as a community and even other people outside of our community to see that softness in us because I feel that softness is also strength.
How do you feel that photography helps you tell those stories?
My work speaks for me. I don’t talk a lot. So, the images that I produce and the art that I create is sort of how I communicate with the world. They’re reflections of how I’m feeling or whatever – it’s basically me leaving little breadcrumbs around the world.
How much of an influence do you have as a photographer, when working with clients, in the choice of which stories are told or which models to use, etc.?
I am not in the business of doing anything outside of what I feel to be my purpose. So, if a project doesn’t resonate with me, I’m not going to do it. I’ve been fortunate enough where I’ve been on projects that give me full creative license to do what I want.
Especially, I think, it’s important with companies, when you’re asking of a Black artist to create content that is geared towards Black people, you should allow them to take the front seat with that and allow yourself to be open to receive feedback in regards to that. I’ve had companies where I’ve had to give them pushback and said I’m not doing this, and this is why I’m not doing this.
Do you feel that the industry is becoming better at representing different vantage points in a more authentic light or giving license to tell different stories?
I do think there’s still a lot of work to be done. When it came to the uprisings and things that happened in the more recent years, I think it’s something that has become trendy for a lot of organizations. And so, with it being trendy, while it’s been nice for a lot of us to be able to work, there’s still a lot more work to be done.
Discover more of Poochie’s work on her website and Instagram.
Poochie Collins is part of Black Women Photographers. Learn more about the collective and their mission here.


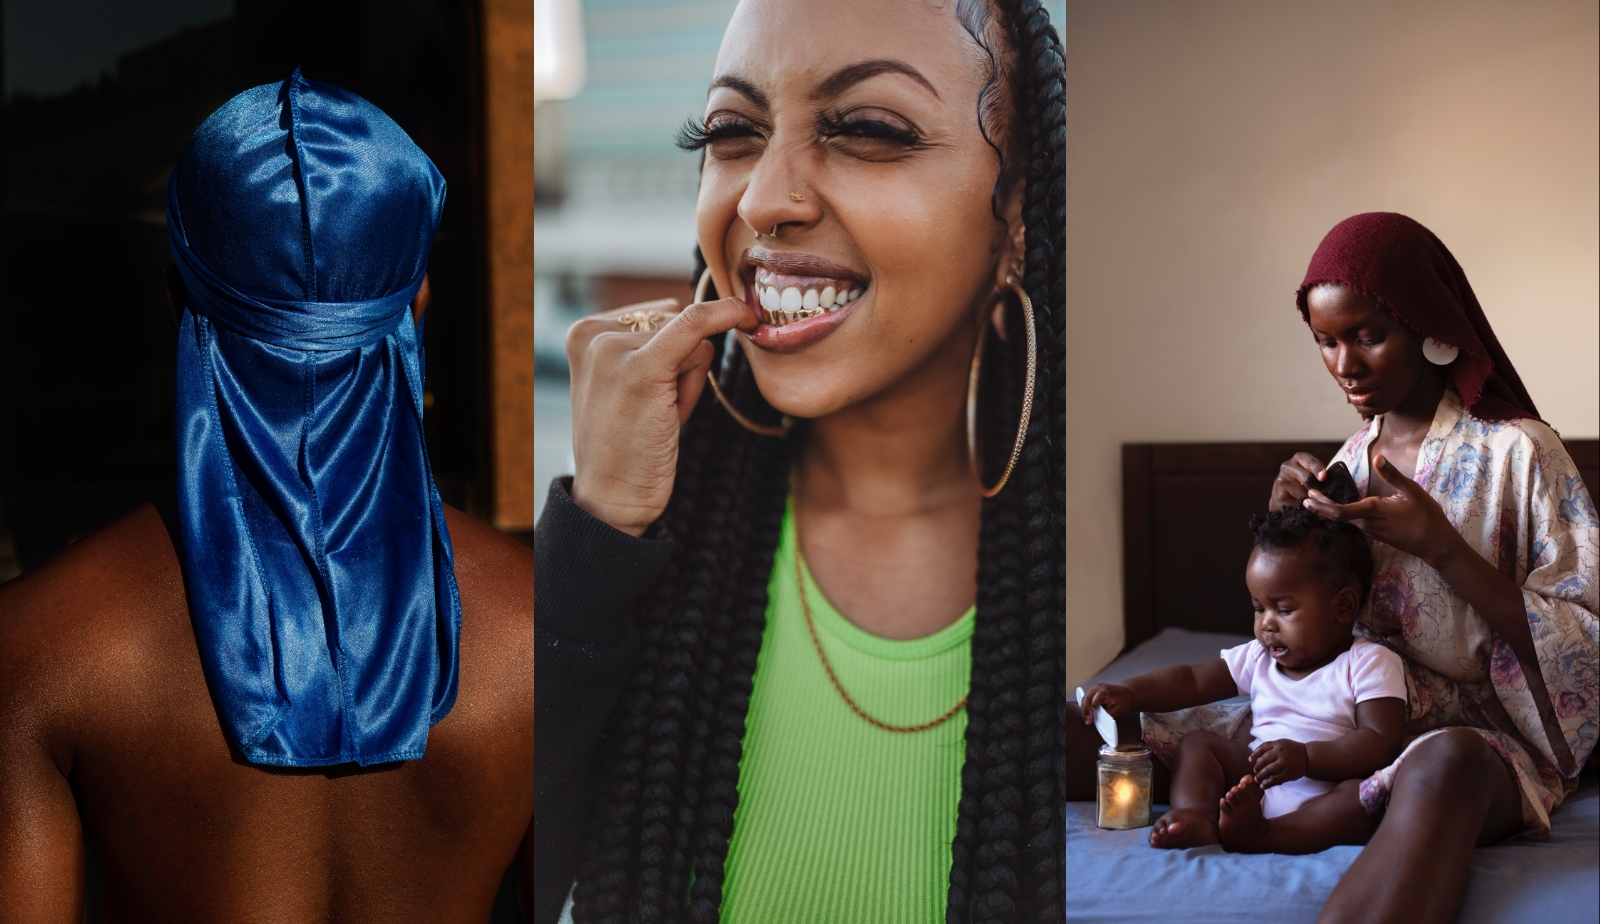
 Daniella Almona
 Meika Ejiasi
 Dola Posh