Joe McNally has seen it all. Known for his technical skills and vast storytelling experience from shooting for the likes of LIFE, National Geographic, and Adidas, McNally has worked in over 70 countries on both journalistic and commercial assignments.
In his new book, “The Real Deal: Field Notes from the Life of a Working Photographer”, he looks back at the past 40 years of his work and the stories, skills, and observations to come out of it.
We talked to McNally about his book, how he ended up where he is today, the experiences and lessons he has gained along the way, and that time he brought a cow into the kitchen.
Where did the idea for the book come from?
There are many photographic books in the marketplace that show you the f-stop, the shutter speed, where to put the light, where to put the camera, it’s basically a blueprint for producing X type of result. This book is not that.
The motivation for the book stems from being a photographer for a very long time. The choice of the wording for the title was very considered. I said working photographer because the term professional photographer has gotten very elastic over time. So, it stems from the ups and downs of being in the field now for 40 years and the backlog of experience and stories that that precipitate.


Considering you’ve had such a long and varied career, how did you go about selecting the work that would effectively illustrate the kind of pictures and the stories you’ve told in your 40+ years as a working photographer?
A little bit haphazardly, as has been my career. I started at the beginning. That’s a stupidly naive thing to say, I realized that, but I used my entry into the field as my starting point, and then I went from there as things got more complex or sophisticated or difficult.
It’s a tall tale but it’s actually real and I poke holes in my own balloons as well. I own up to mistakes, I discuss what went wrong and how I handled things foolishly in certain ways, and also how things can go right.
There are longer chapters or essays. Fairly easy reading. And then, in between, the field notes occur. They are oftentimes just one page, just an observation, things that happen, silly stuff, sometimes a little bit acerbic, and hopefully that spices the book and makes it a lively read.
Can you give us an example?
Sure. When I was growing up photographically, stock photography was a significant part of any photographer’s income, that’s all gone away. Generally speaking, the stock photography market has been a race to the bottom for many years. I’ve gotten checks for as little as 17 cents. And so I have pictures of a couple of those checks and the field note is: And now we’re worried about how stock photography sales are going. Thank goodness it was a direct deposit. At least I didn’t have to bring it to the bank.
What was the process of working with the old and new material that you’ve used in the book?
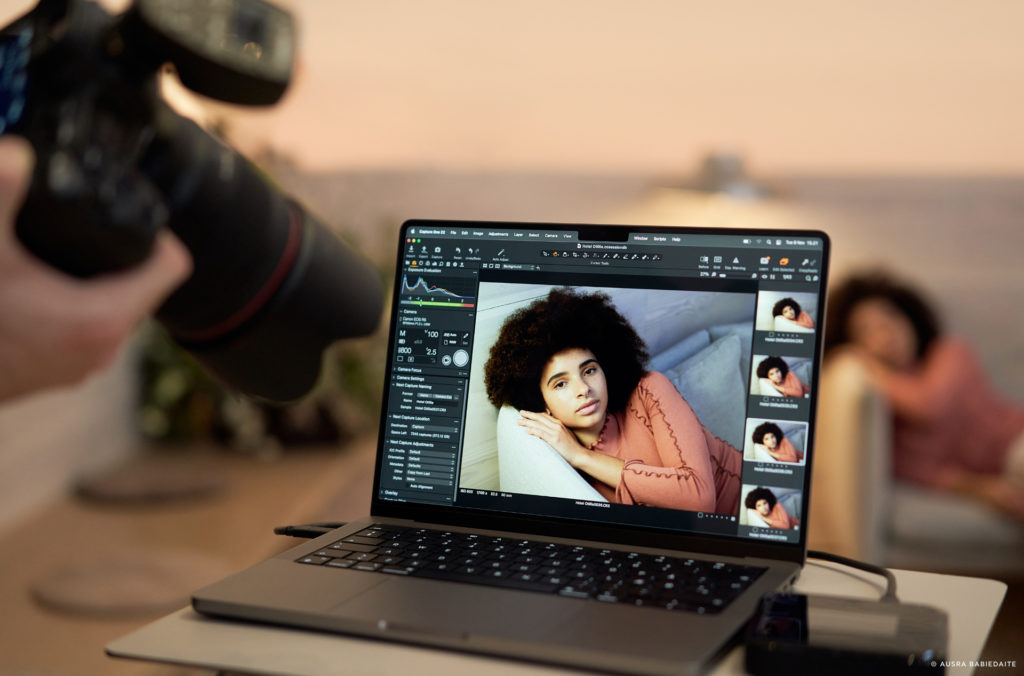
Capture One played a major role there. I had grown proficient enough with Capture One to edit the majority of the pictures. I also pulled material that had already been retouched. But a lot of the material that’s in there I tweaked and amplified, retouched using Capture One. So that was a big role for the program to play and a whole new window for me into what was possible because in days gone by I would’ve shipped everything out to be retouched.
Now that you’ve had an opportunity to look back at your work, how do you think your ways of working, or your style have evolved over your career?
There’s a proverb that says “the only constant is change”. That’s very applicable to the work and the life of a photographer. You adapt or you go away. That’s really as blunt as I can be about it. The life of a photographer now is very different. You have to be proactive, seek work, write proposals. You have to persuade people. Assignments don’t drop from trees.
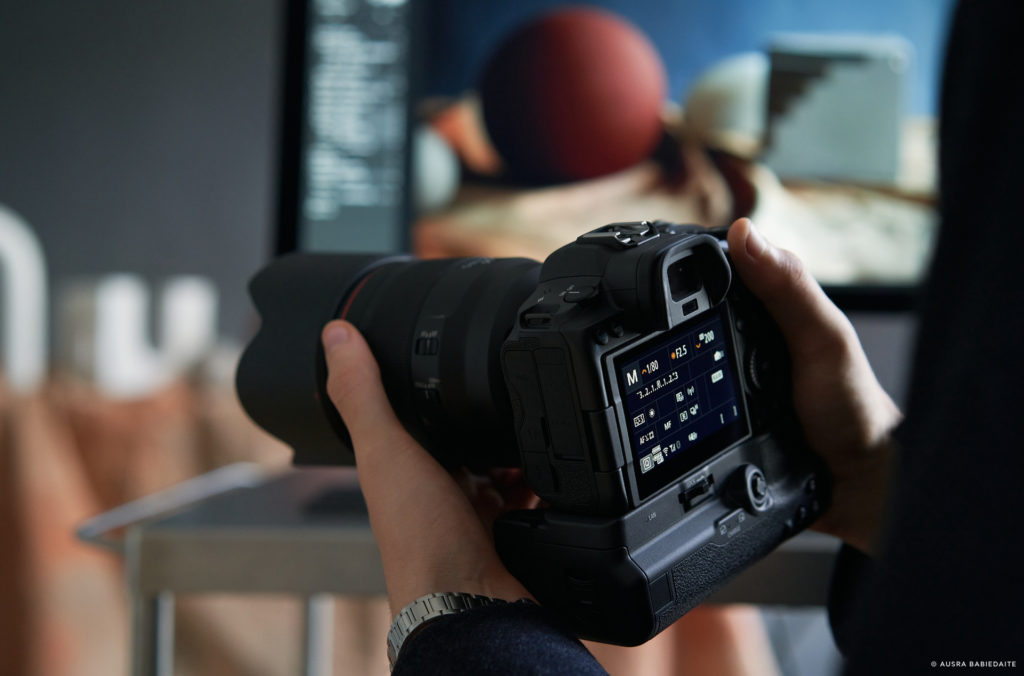
Certainly, the switch to digital has influenced my photography in the sense that I can tackle things now that are very visually ambitious and pull them off without the angst and limitations that you regularly would face in the realm of film. The technology we have available to us now to facilitate our imaginations, to open the envelope of what’s possible even for a lone still photographer in the field without a big crew, that’s pretty phenomenal.
Has what you’re interested in working with changed as well?
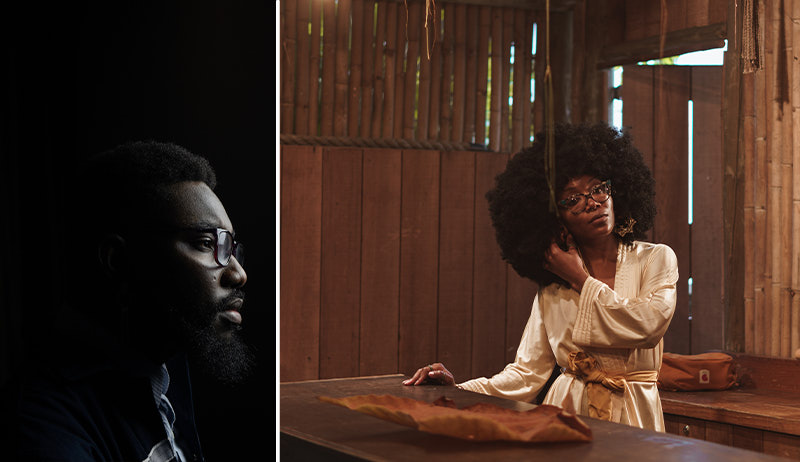
Yes, and no. I always counsel young photographers: “find something that you think is so beautiful you can’t help but shoot it”. For me, that’s been the world of dance. I started shooting dance in the late 70s just as a hobby. And it evolved into certain levels of assignment work. I’ve done advertising campaigns for dance companies, etc.

So yes, I think there’s been a growth there and a facility that is available to me now that was certainly not available when I started. When I started, by comparison, we were using blacksmith’s tools, hammer and tongs, just down there in the barnyard just banging away. They were the tools of the day and they were excellent. But digital… when I first started shooting, digital wasn’t even a glimmer in the imagination.
I try to remind folks that yes, digital technology has enabled the ease of technique but don’t confuse that with having photography be easy. Photography is still just as hard as it ever was because the essence of being a good photographer is to be a good storyteller and that’s just as difficult now as it was 50 years ago.
A part of your book focuses on the lessons that you’ve learned throughout your career, could you give a sneak peek at some of those lessons?
Don’t be an asshole. There are moments where photographers can step forward and feel very prideful. Avoid that. Stay within yourself, don’t believe your own press clippings, and realize that you are always subject to frailty and misgivings and anxiety and mistakes.
Something I also talk about in the book – with the evolution of the things that are easy now because of digital technology, there’s another track of things that’s gotten far more difficult; permission, access, all those things are very difficult things for a photographer to gain nowadays. And that has to be worked at because you can have the fanciest camera in the world but if they won’t let you inside to use it, you’re not much good to anybody. So I talk about staying current and reading a lot and being aware of the world and being effective at arguing your case so that someone will grant you access to use that very fancy camera.
You start at the beginning of your career in this book, reflect and go through your old work. What was the experience like looking back at your whole career in that way? Is there anything that has stood out to you?
I fell in love with photography when I was about 20 years old, and I’m still in love with photography. The nature of being a photographer is that there are lots of bumps and bruises along the way and it tests that love. There are moments where you just think I can’t do this anymore, this is crazy, but you keep going because you never retire your eyes.

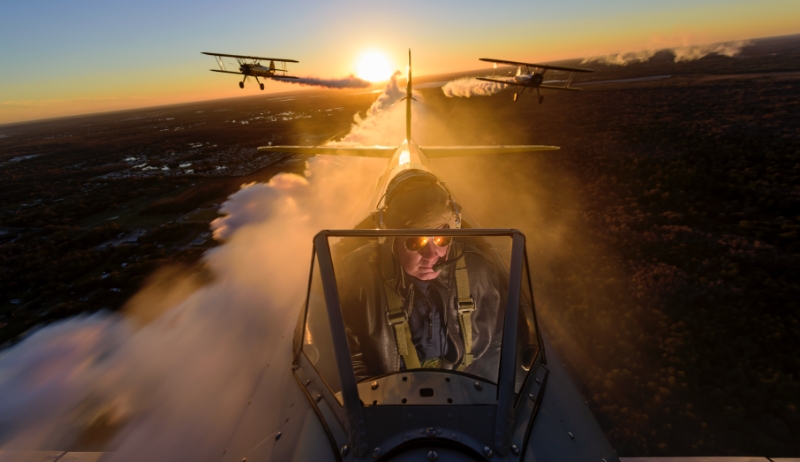
The beautiful thing about being a photographer is that you get to photograph excellence. The reason someone is doing a story about someone or something is because it’s so unusual. Jay Maisel said many times, [being a photographer] is a license to steal experience. I’ve flown upside down and pulled 9.3 GS in a tactical aircraft, I’ve gone diving with ultramarathoners, I’ve gone over the side of the Burj Khalifa with the window washers and punted my way down 2000 feet of the building. Why? Because I have a camera in my hand, because I asked the question, and I push and I see if I can gain access. That’s the nature of being a photographer; you always stay hungry. You have to.
Is there a particular project or an experience you have had that stands out to you as the most memorable?
This certainly isn’t the most complex or even memorable photo job ever, but there’s a chapter in the book called “Your imagination is the cow in the kitchen”. The reason I wrote that and used it as a launching pad to discuss imagination was that my mother used to use the expression “you’ll stay there until the cows come home”.

I was working in a small village in Romania and the cows do come home, they really do. At five o’clock there’s a bell that gets rung and they open the gate from the pasture and the cows just walk home. Nobody has to guide them, they walk right down the main street of the town, they find their house and they walk up the driveway. I had never seen anything like this before in my life, so and I immediately remembered what my mother used to say and I thought, well I have to photograph this, I have to find a way. So, I convinced the Romanian family to allow one of their cows into their kitchen.
I didn’t know how to get a cow in a kitchen, I don’t know anything about cows, I’m a city kid. But, being farmers, they certainly knew. They got a mama and a baby cow and they brought the baby into the kitchen, so naturally, mom wanted to know what was going on with the baby, so she stuck her head in the kitchen and that was that.
The book discusses all of that, it’s a little bit of a 360 look at the components of a photographic career, which of course are skill and talent and camera work, how do you do things, window light, different ways of approaching a job, advice, counsel, all that sort of stuff. But also the mix is there about using your imagination, staying the course, not allowing yourself to be daunted. Keep going forward even when things don’t look particularly good, stay behind the camera, be patient.
To learn more about Joe McNally’s work, find his book “The Real Deal: Field Notes from the Life of a Working Photographer” here.