Starting out as a side project for Berlin-based beauty photographer Zoë Noble to shine a light on women who choose not to have children, “We Are Childfree” has become a community of women across the world that support each other, share advice for how to live childfree, and work to destigmatize the act of choosing not to have children.
“I didn’t have any role models growing up, and the ones that I saw were negative; it was always the mad, career-obsessed, hating-children, woman. And I knew that wasn’t me,” says beauty and still photographer Zoë Noble about the portrayal of childfree women.
Realizing early on that she did not want to have children made her acutely aware of how radical that decision is within most societies. She felt that her choice was met with judgment and at times a lack of respect, having doctors tell her that she would change her mind or rejecting her request to have procedures that would affect her ability to have children.
“When I had fibroids and I wasn’t allowed to have a hysterectomy, because the doctor’s priority was my fertility. Even though I said that I didn’t want children.”
“I knew that if I was feeling like this, there had to be other women who were feeling alone.”
Putting a Face on the Childfree
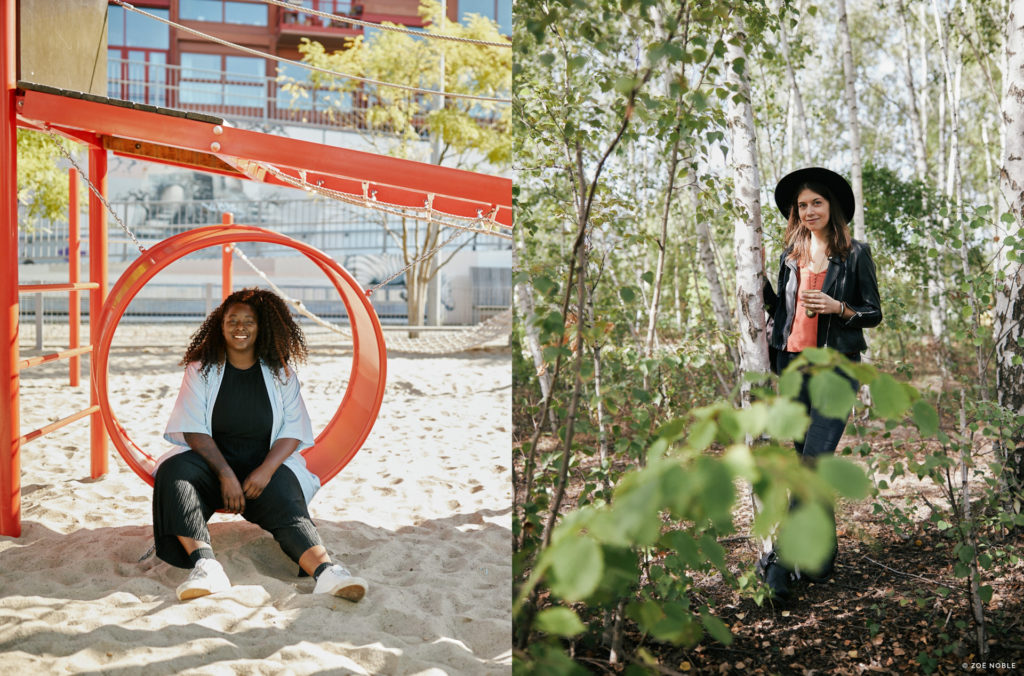
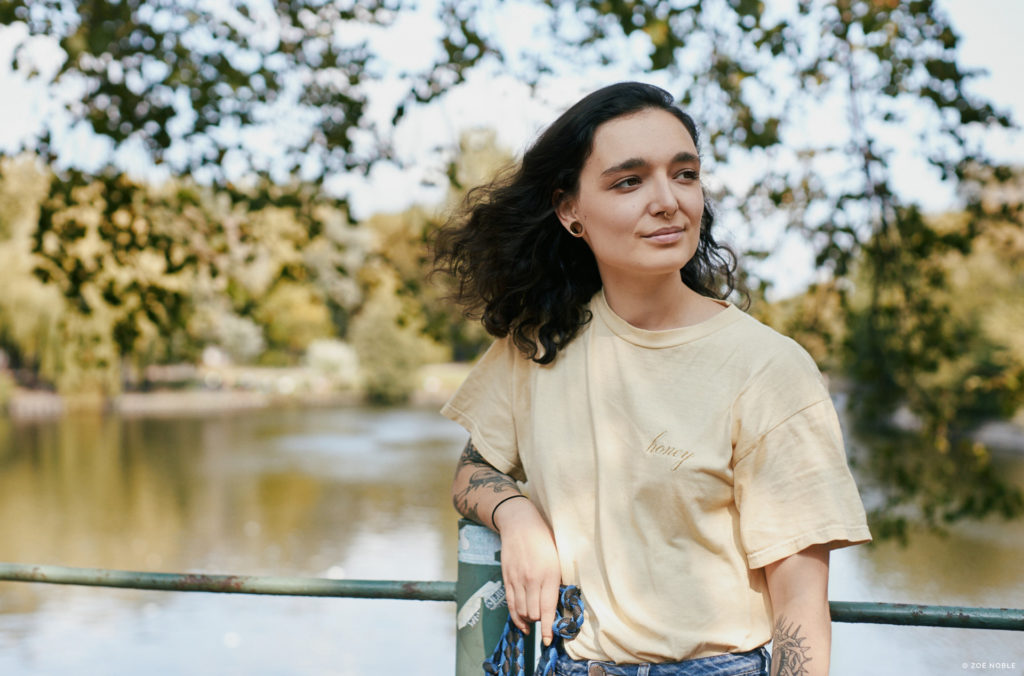
Wanting to connect with other women in her situation, Zoë set up her home studio and started shooting a portrait series that she named “We Are Childfree”. She interviewed her subjects about their decision and life after opting out of motherhood.
“I knew that if I could shine the light and maybe put a face to the people who were making this choice that it would destigmatize it and just make people not feel so alone. I had a camera and I felt like I could do something about it.”
A global community
Since starting the portrait series, “We Are Childfree” has grown into a global community where people from around the world share their experiences, advice, and support with others who chose not to have children.
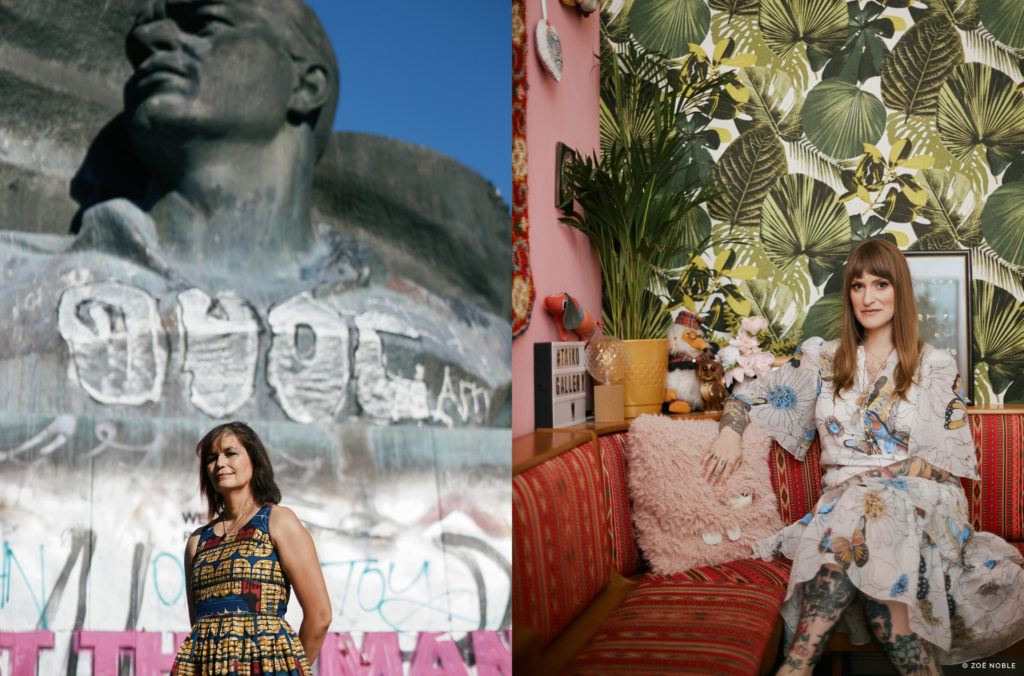
“I asked each woman to choose a location that represents them, that feels most like their personality, and just photographed women all around the city and spoke to women all around the world. And the response was incredible. The New York Times posted about it in April last year, and that really just pushed it out into the world.”
“I’ve been getting emails from China, Kenya, Australia, people who are just really grateful that there is finally some representation.”
Choosing a different lifestyle
As Zoë points out, womanhood and motherhood have historically been seen as one and the same. Nowadays, more women are challenging this view by asking themselves if they actually want to have children and looking at the alternatives.
“It’s about choice. This isn’t about us attacking parents or children. It’s about recognizing that there are different life choices here.”
“We’re told as women that our goal in life is to have children. And when you don’t want that, you are abnormal, and you’re broken. So, putting a face to this movement is showing people that there is no one way to be childfree like there’s no one way to be a woman.”
A lot of the women who reach out to Zoë with their stories have their own reasons for not wanting to have children. For some, it’s the lack of societal support for mothers; for others, it is a political or environmental issue. But for many, it is simply a personal choice about the kind of lifestyle they want for themselves.
“I really wanted to show the diversity. Taking photos of people is a way to actually show that we are here in this society. You can’t pretend that we don’t exist or that we are the monsters that you try and portray us as. We’re just normal people. I feel like that’s the power of the image.”
Explore the “We are Childfree” site to learn more about the project and Zoë’s work.