Capture One Pro 12
Learn how to:
✓ Batch rename images
✓ Find and replace parts of file names
Length: 2:43 minutes
Download a 30-day trial of Capture One.

Capture One Pro 12
Learn how to:
✓ Batch rename images
✓ Find and replace parts of file names
Length: 2:43 minutes
Download a 30-day trial of Capture One.

Capture One Pro 12
Learn how to:
✓ Customize keyboard shortcuts
✓ Create a list of all shortcuts
Length: 1:47 minutes
Download a 30-day trial of Capture One.

With the addition of Linear and Radial Gradient Masks in Capture One, the possibilities for efficient layered workflows have expanded. Let’s go through two examples of how they can be used!
I’m not going to explain in detail how to use the tools, as I will focus more on the examples. In the end of this post, I’ll link to the tutorial to cover the tools themselves.
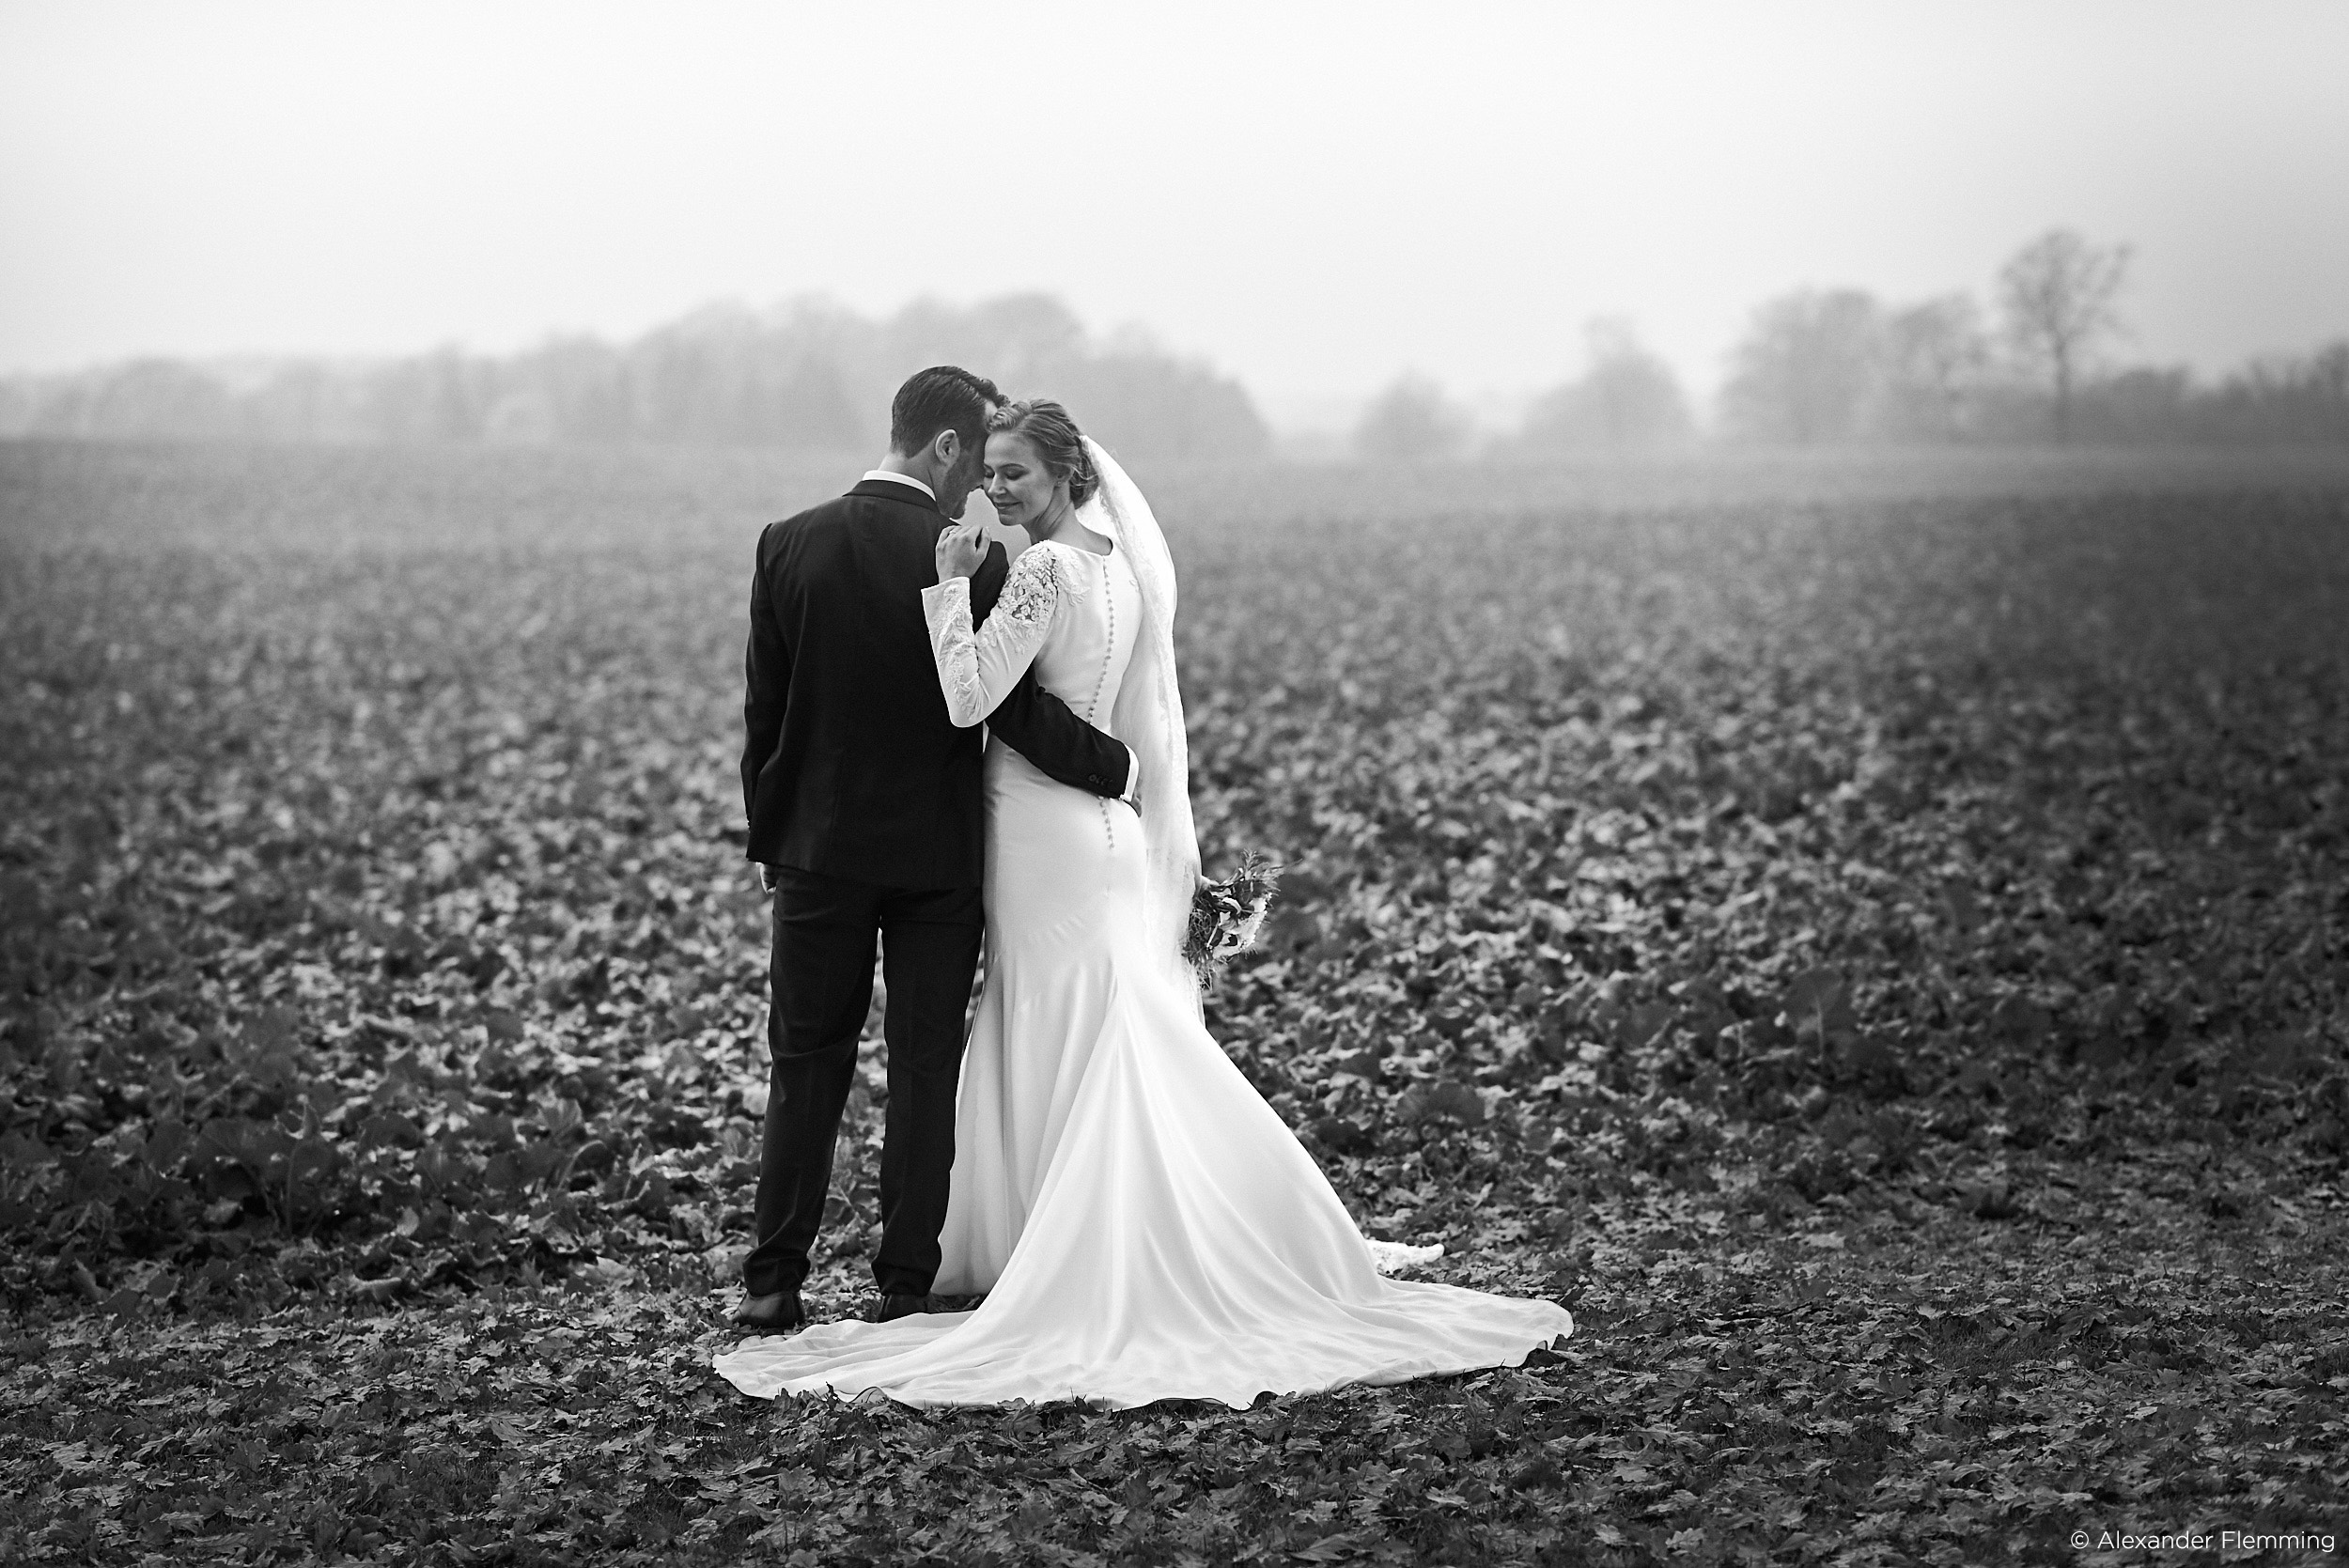
This image has three Layers with Gradient Masks applied to them. Let’s go through them one by one.

The first Radial Gradient is made very big with most of the top and left part left out of the image. It works like a vignette, but is off-center and focuses more on the foreground than the sky. I pulled down the exposure, contrast and clarity to enhance focus on the couple.
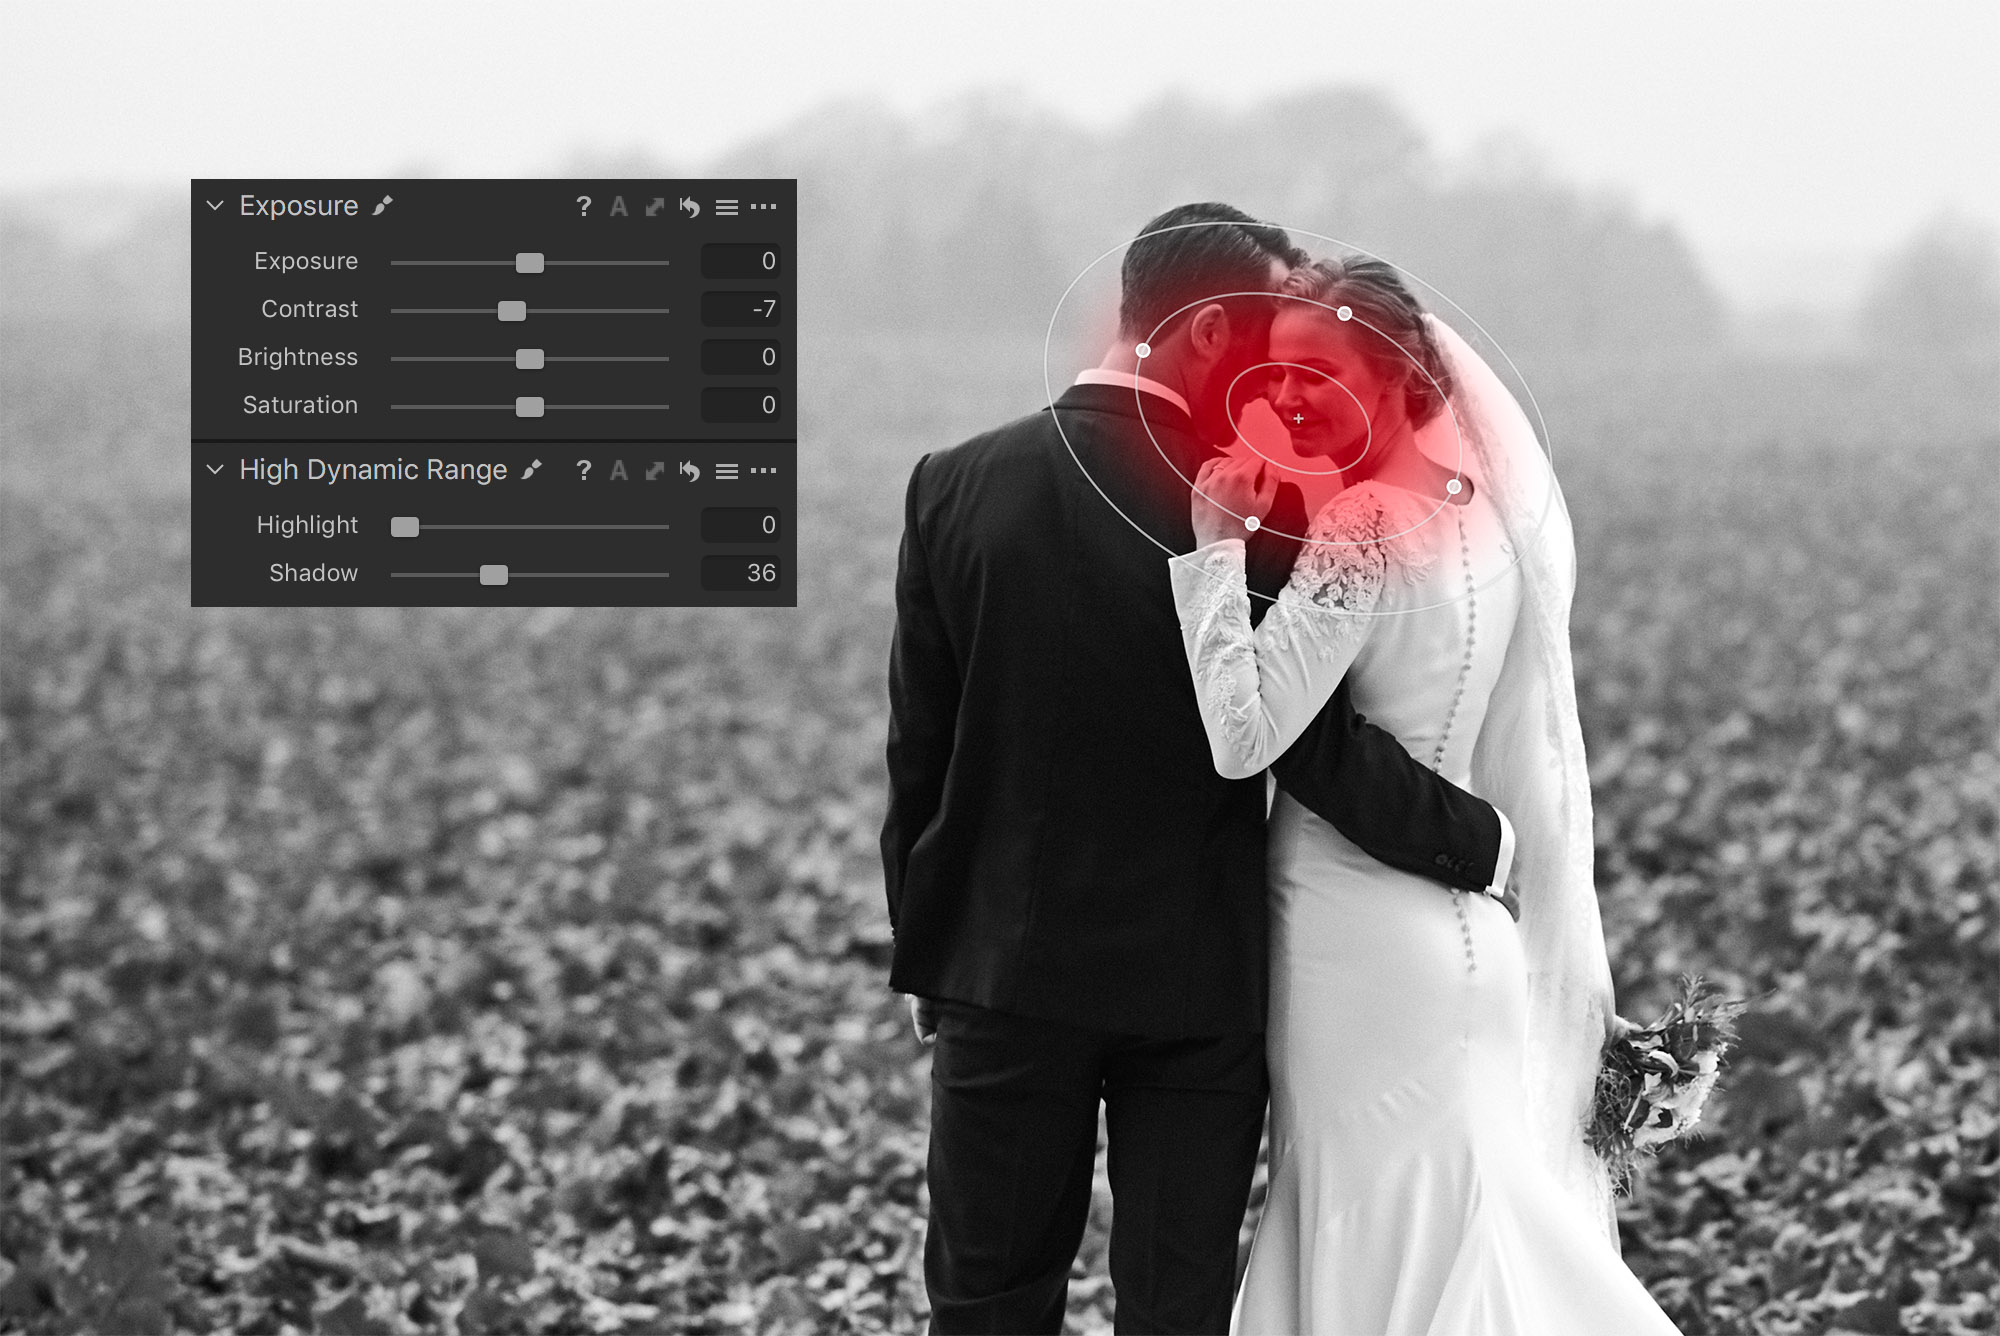
The second Radial Gradient is made to lift the shadows from the couple’s faces. A fair amount of shadow recovery with some negative contrast help eliminating dark shadows and soften up.
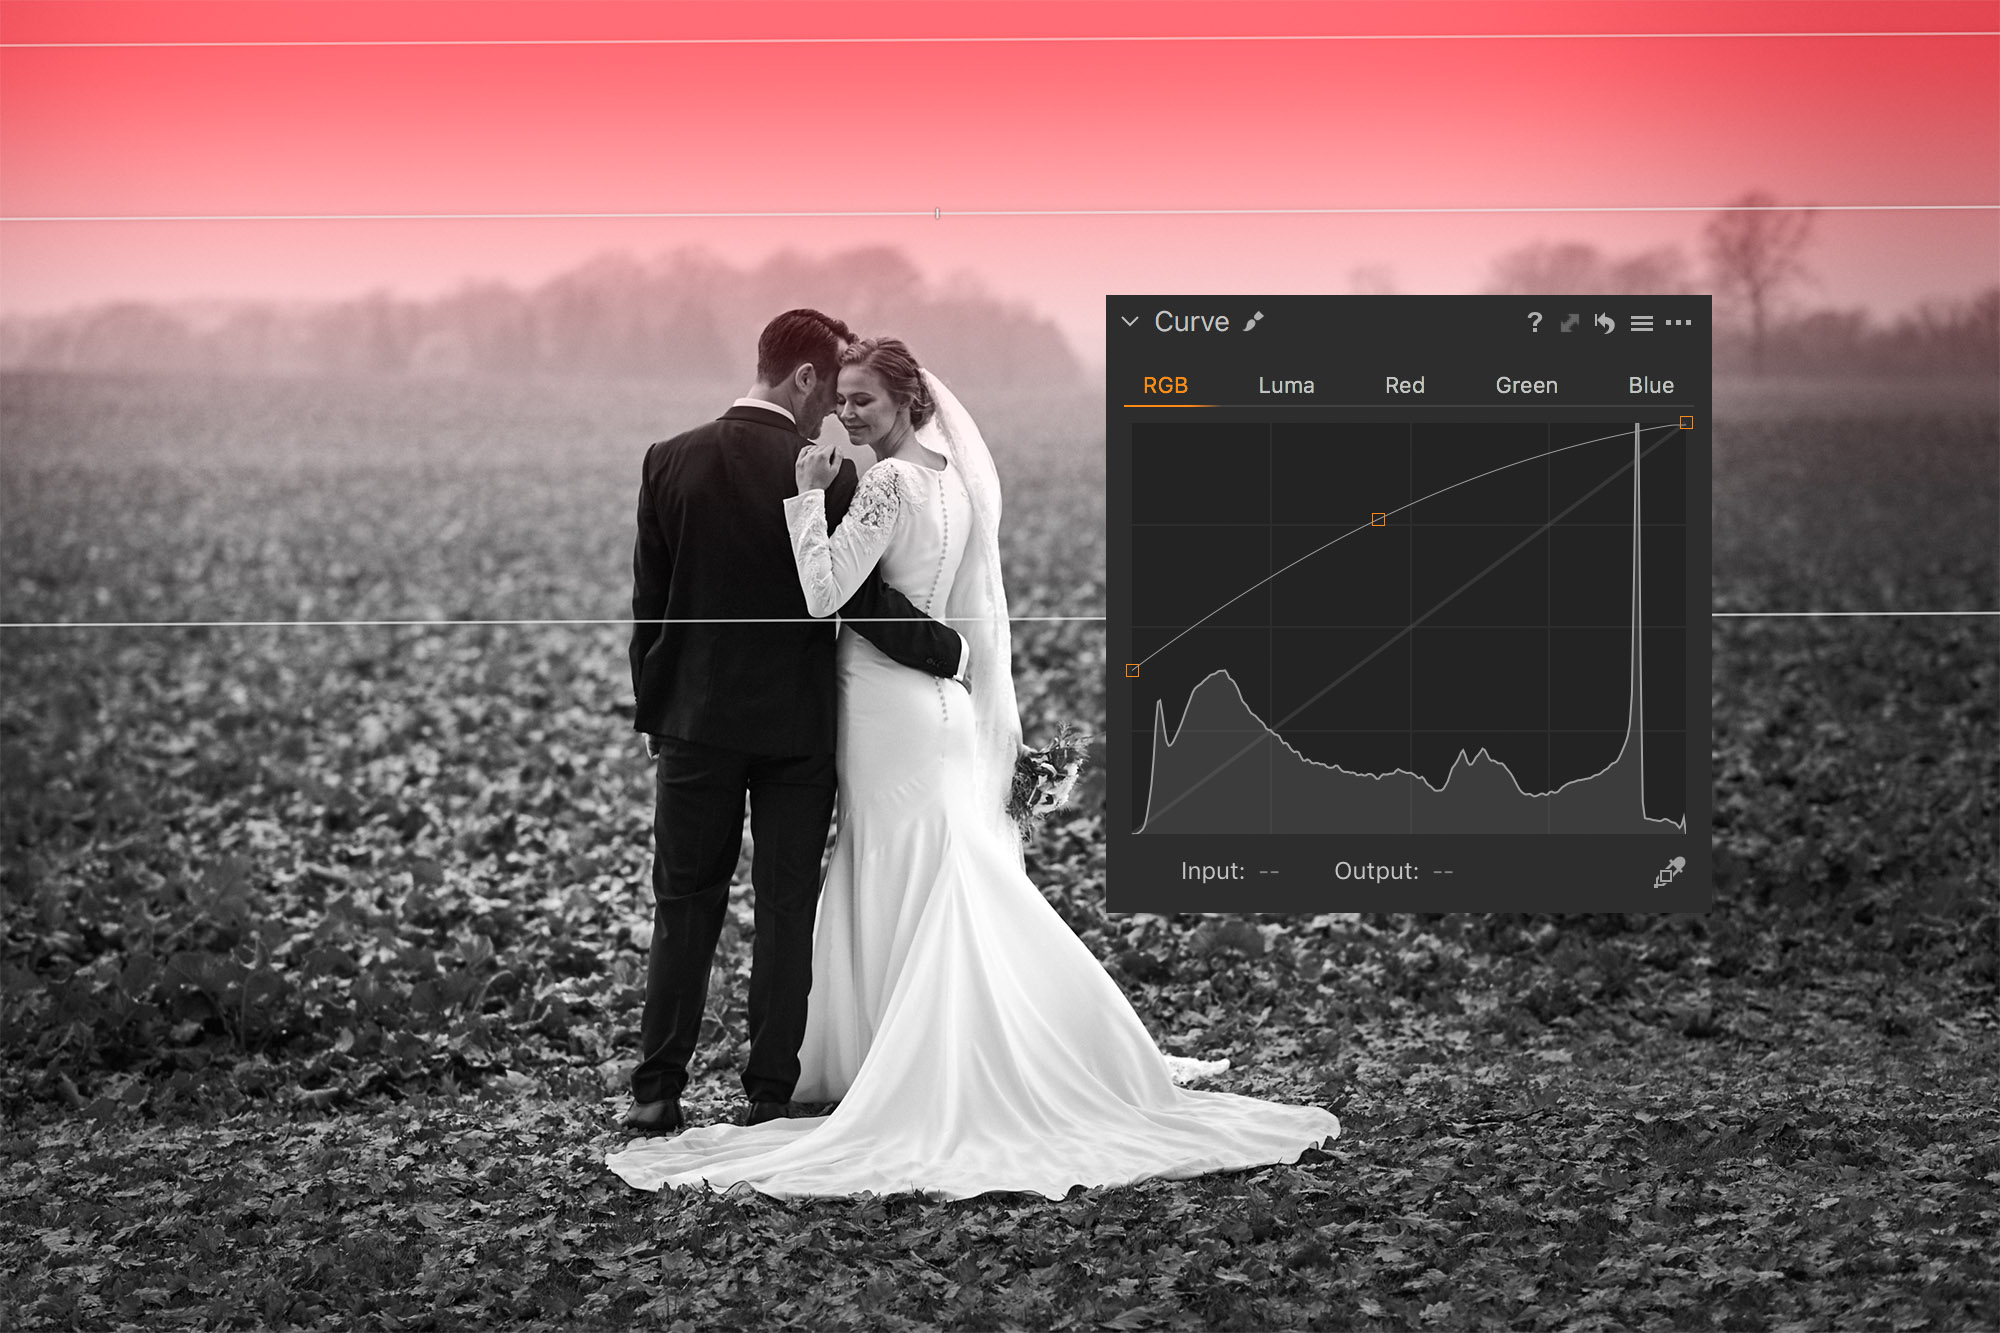
The Linear Gradient is created to enhance the misty feeling of the background. I made it asymmetrical to make sure the fall-off into the field and on the couple wasn’t too harsh. The only adjustment here is a lift in curves, in particular the end point.
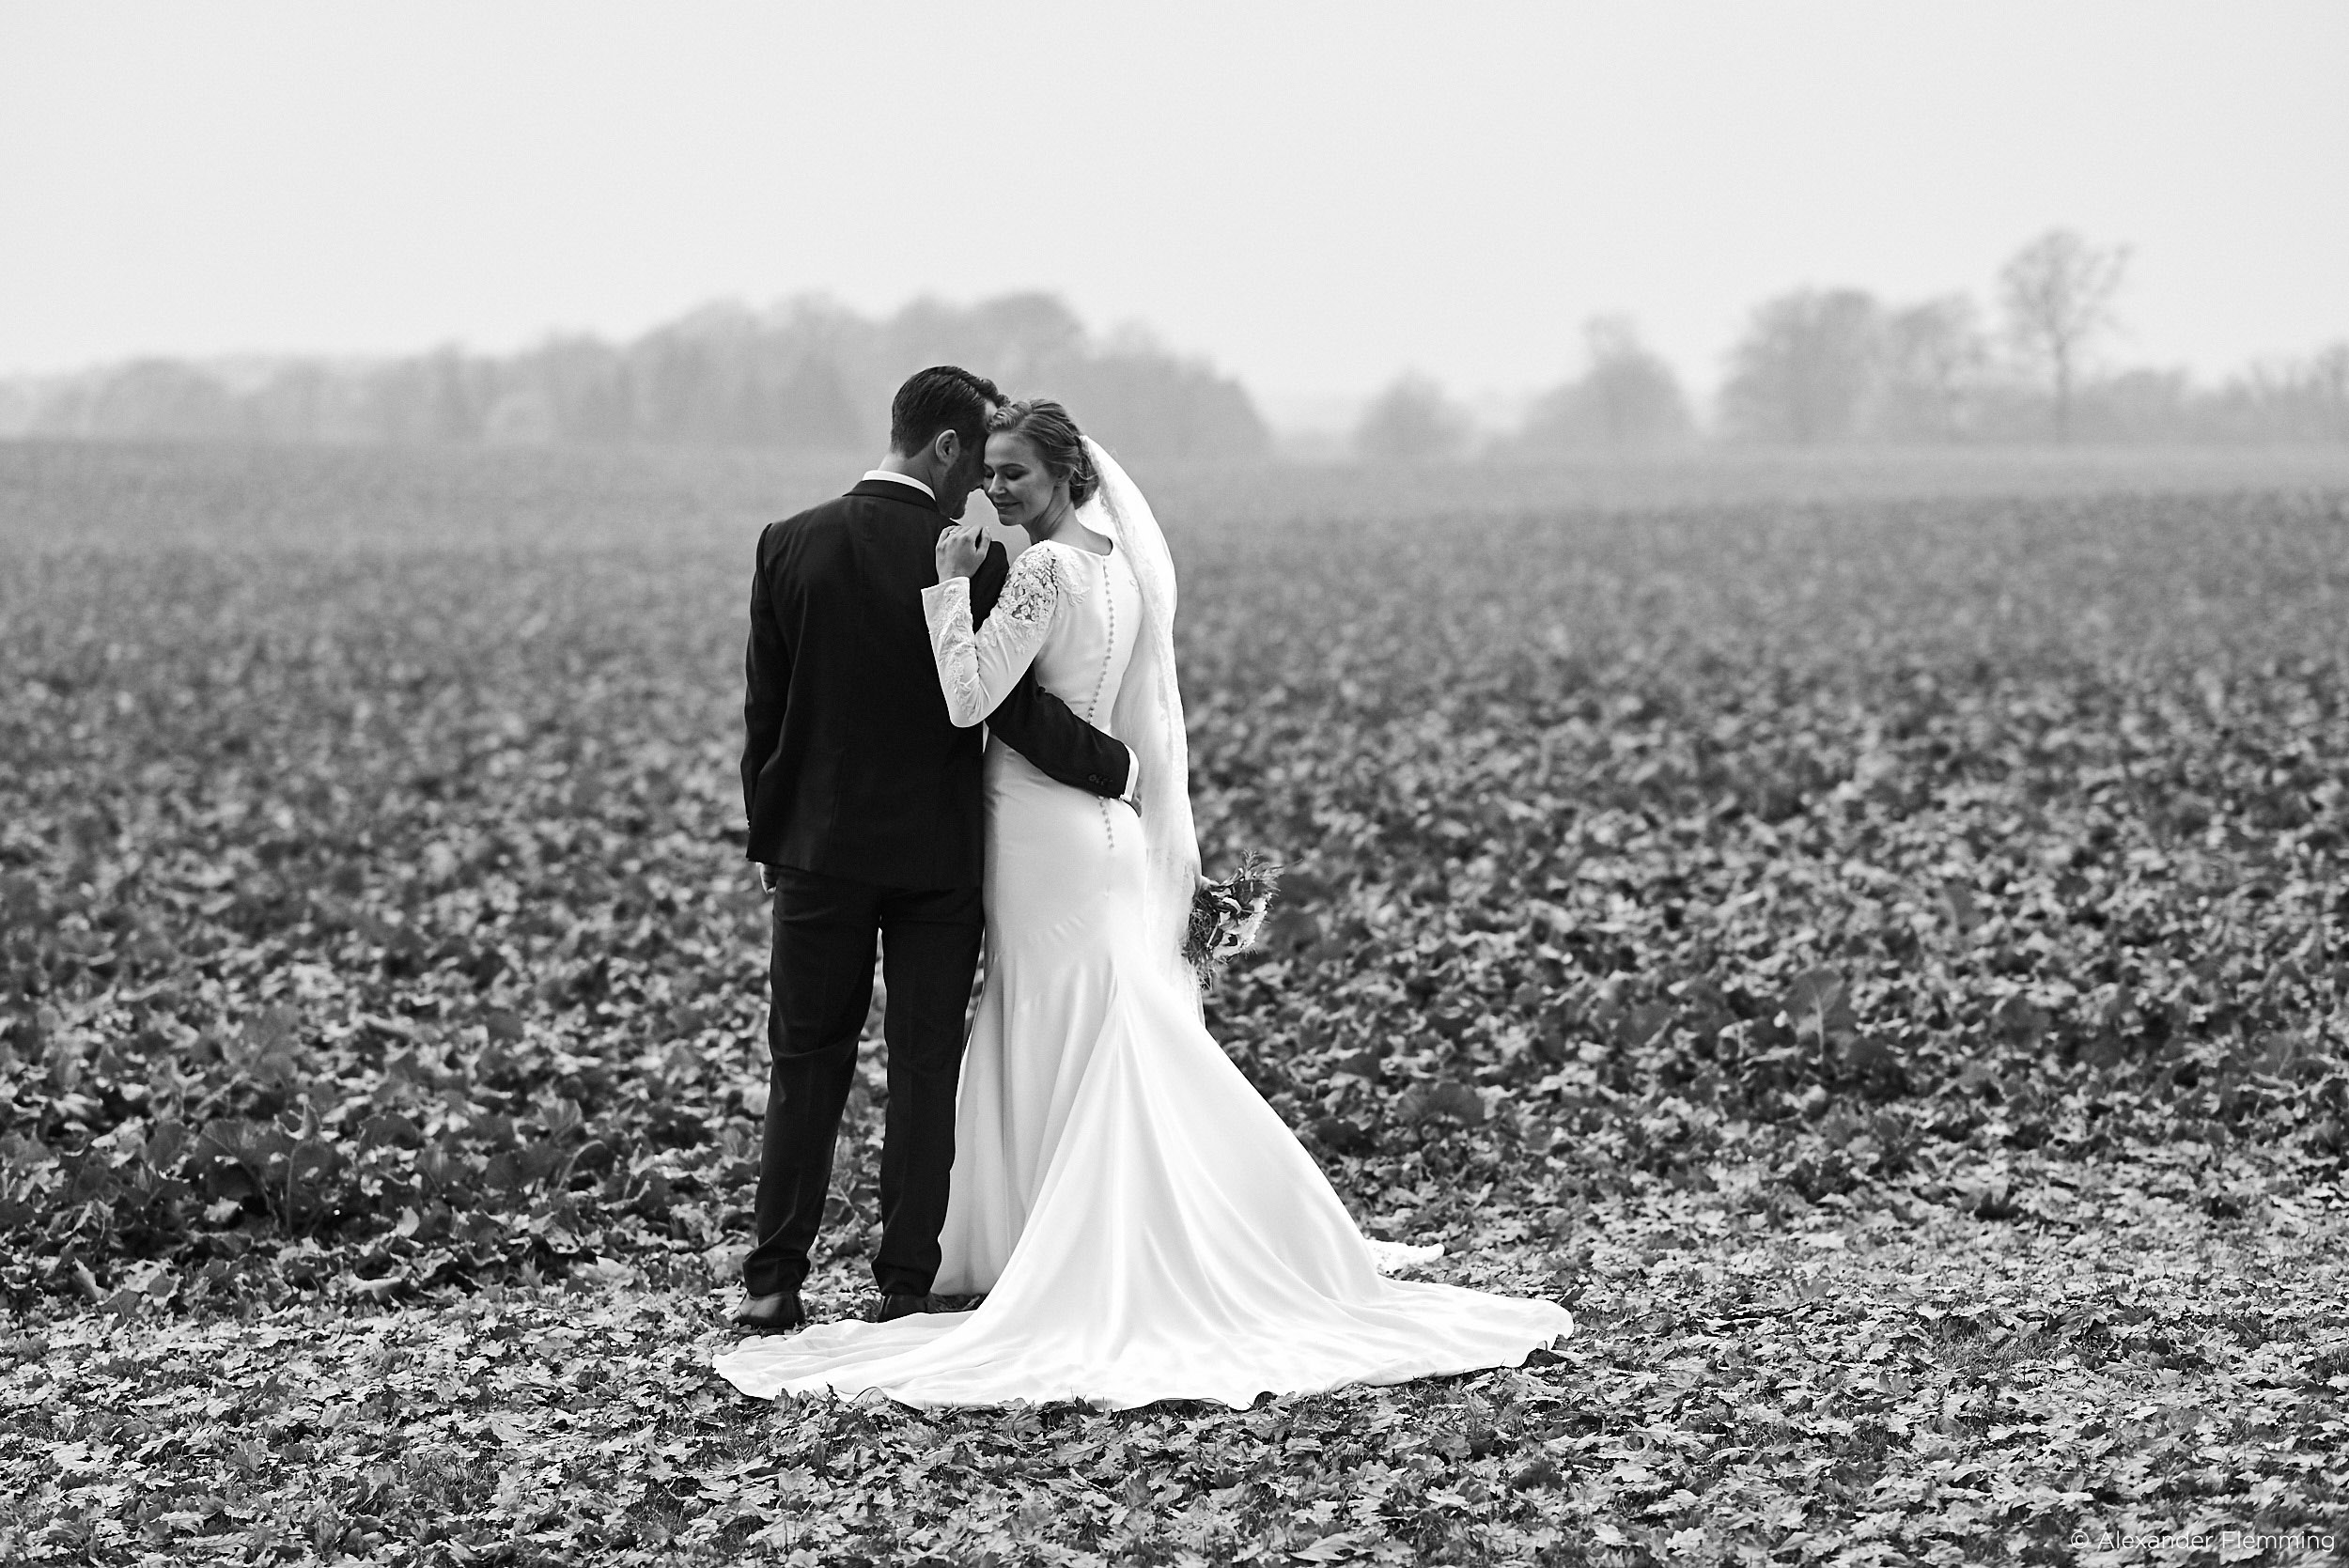
The difference here is the three layers described above. This could of course have been accomplished with manual brushing as well, but the parametric functionality (allowing transforming and moving the gradients) adds to the flexibility of the workflow.
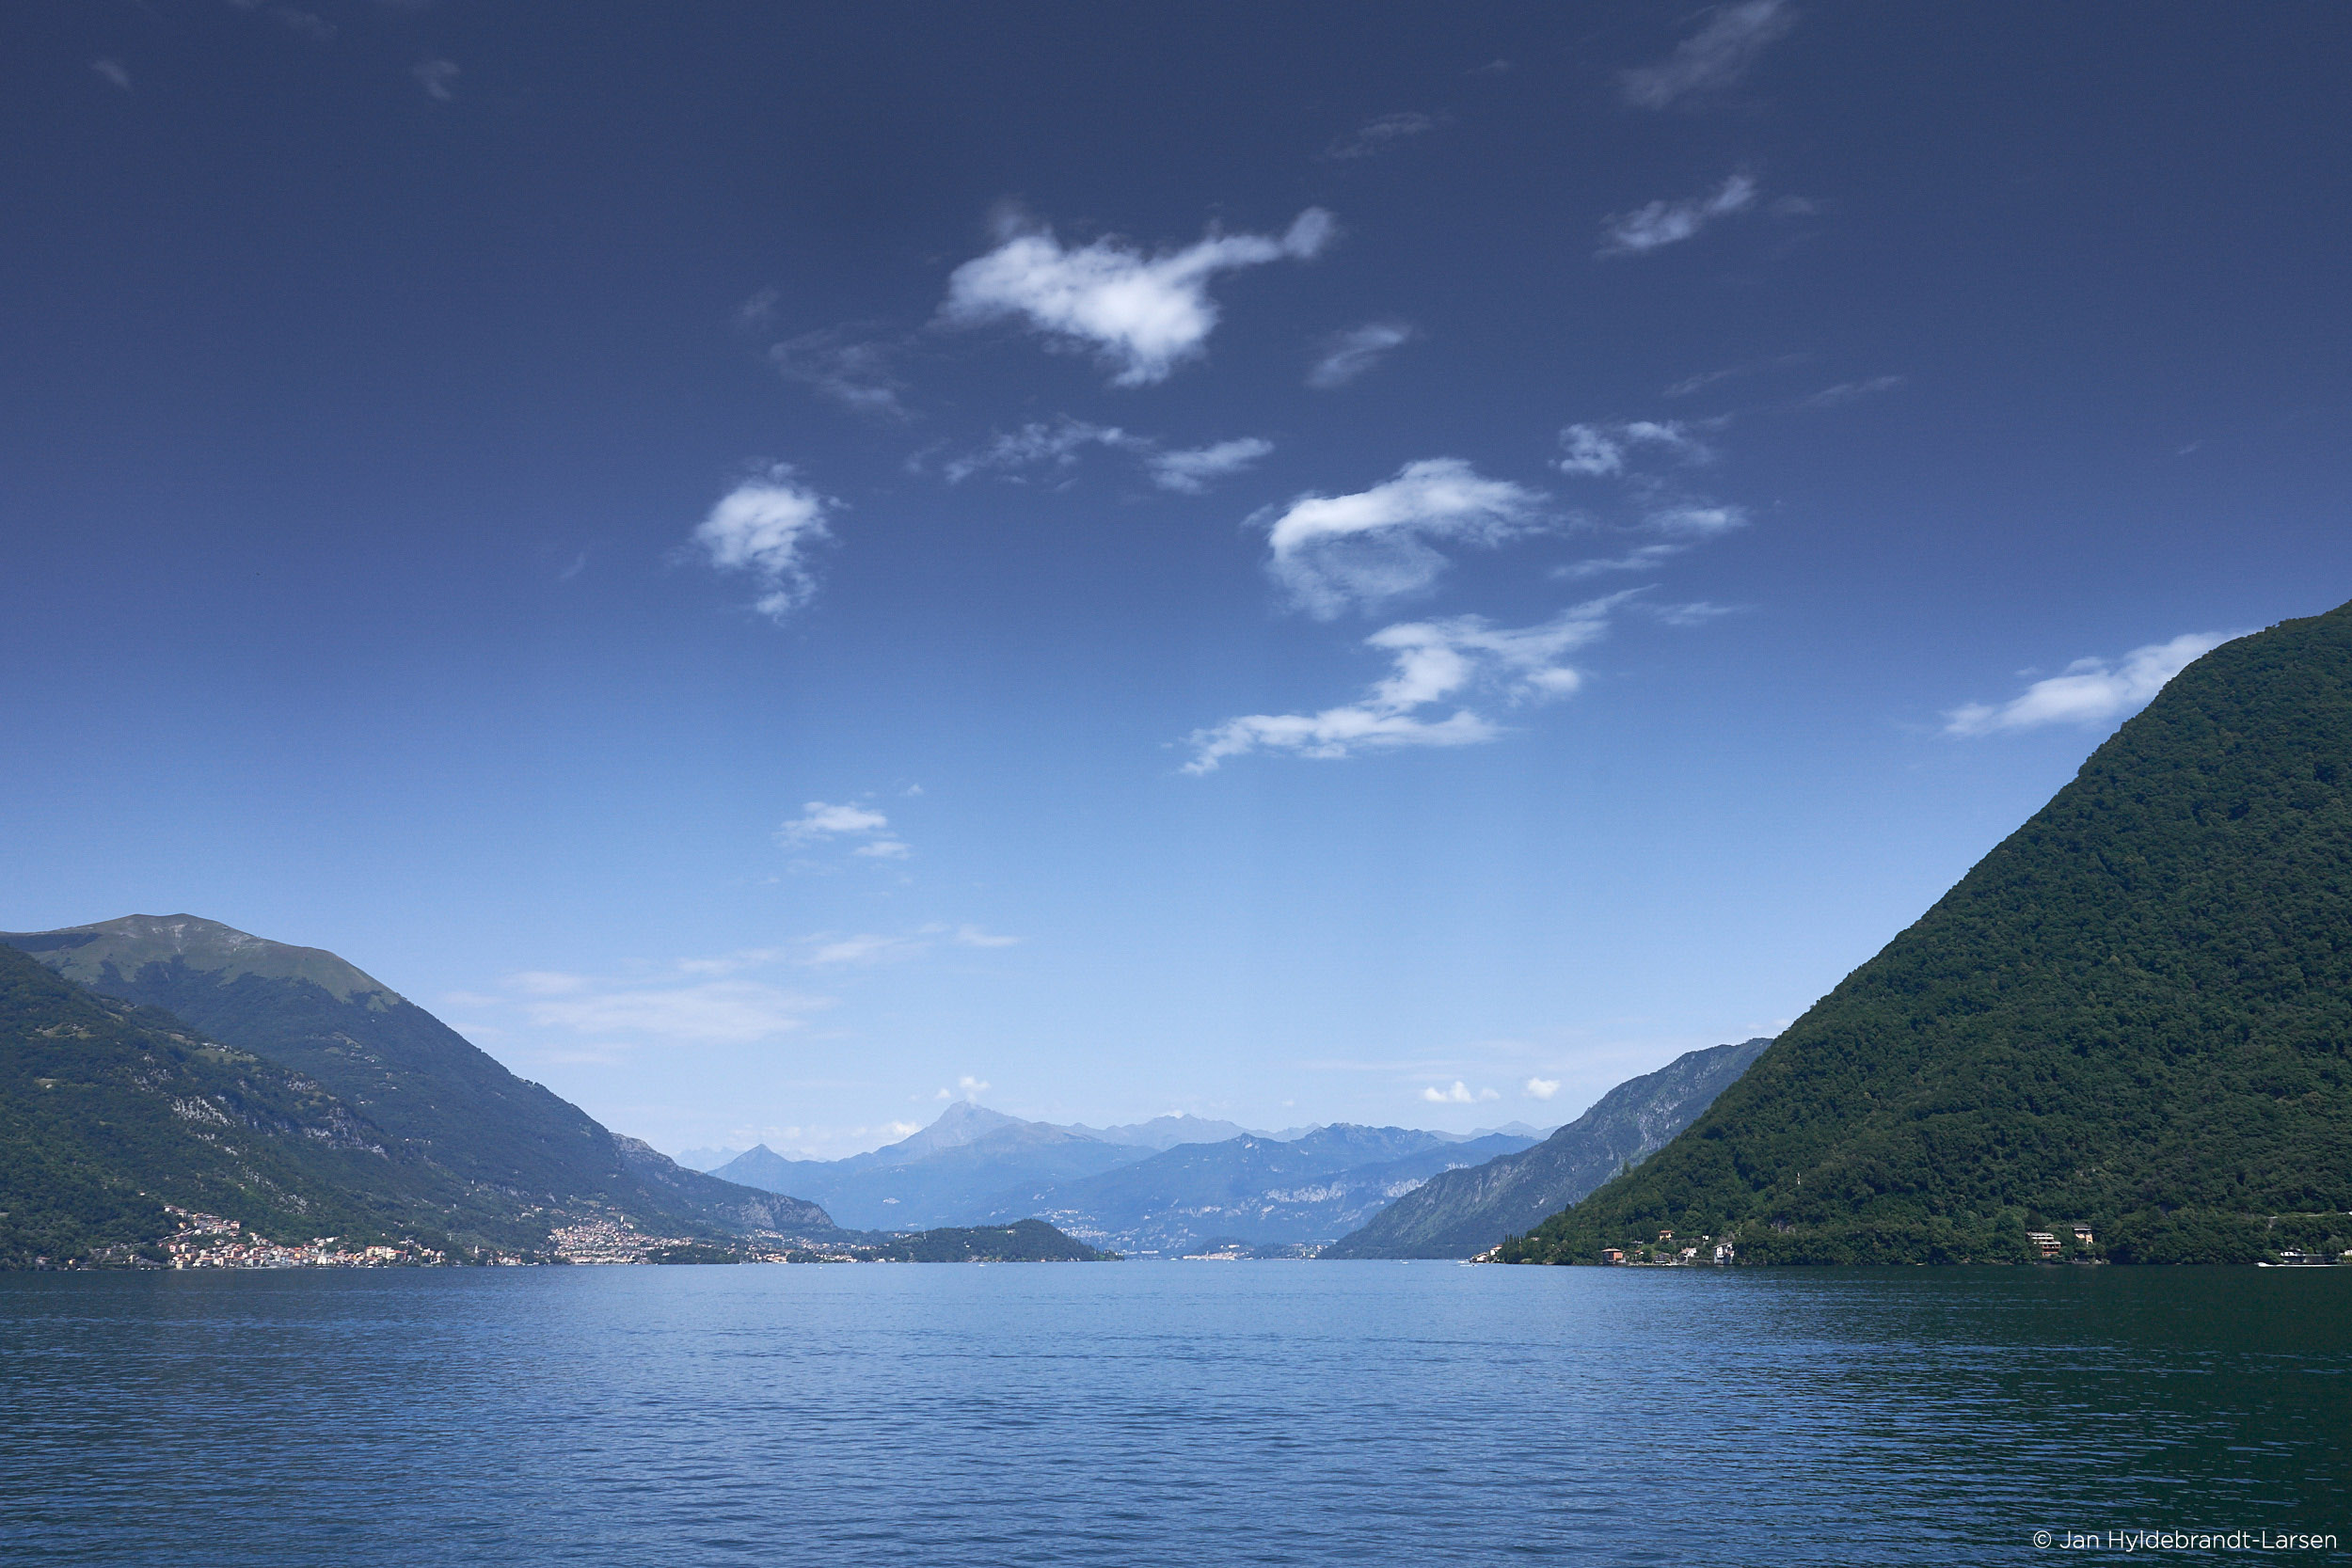
This image has a single Linear Gradient Mask with a specific Luma Range applied. Let’s see how it’s made.

The mask above is limited by the Luma Range shown in the tool. Notice that dark areas are left out to exclude the mountain top, while the brightest areas are left out to exclude the clouds. The bright fall-off is soft to avoid weird transitions in the clouds. Additionally, Radius and Sensitivity make sure the edge of the mask is not too funky.
I decreased exposure and saturation to give the sky the look I wanted.
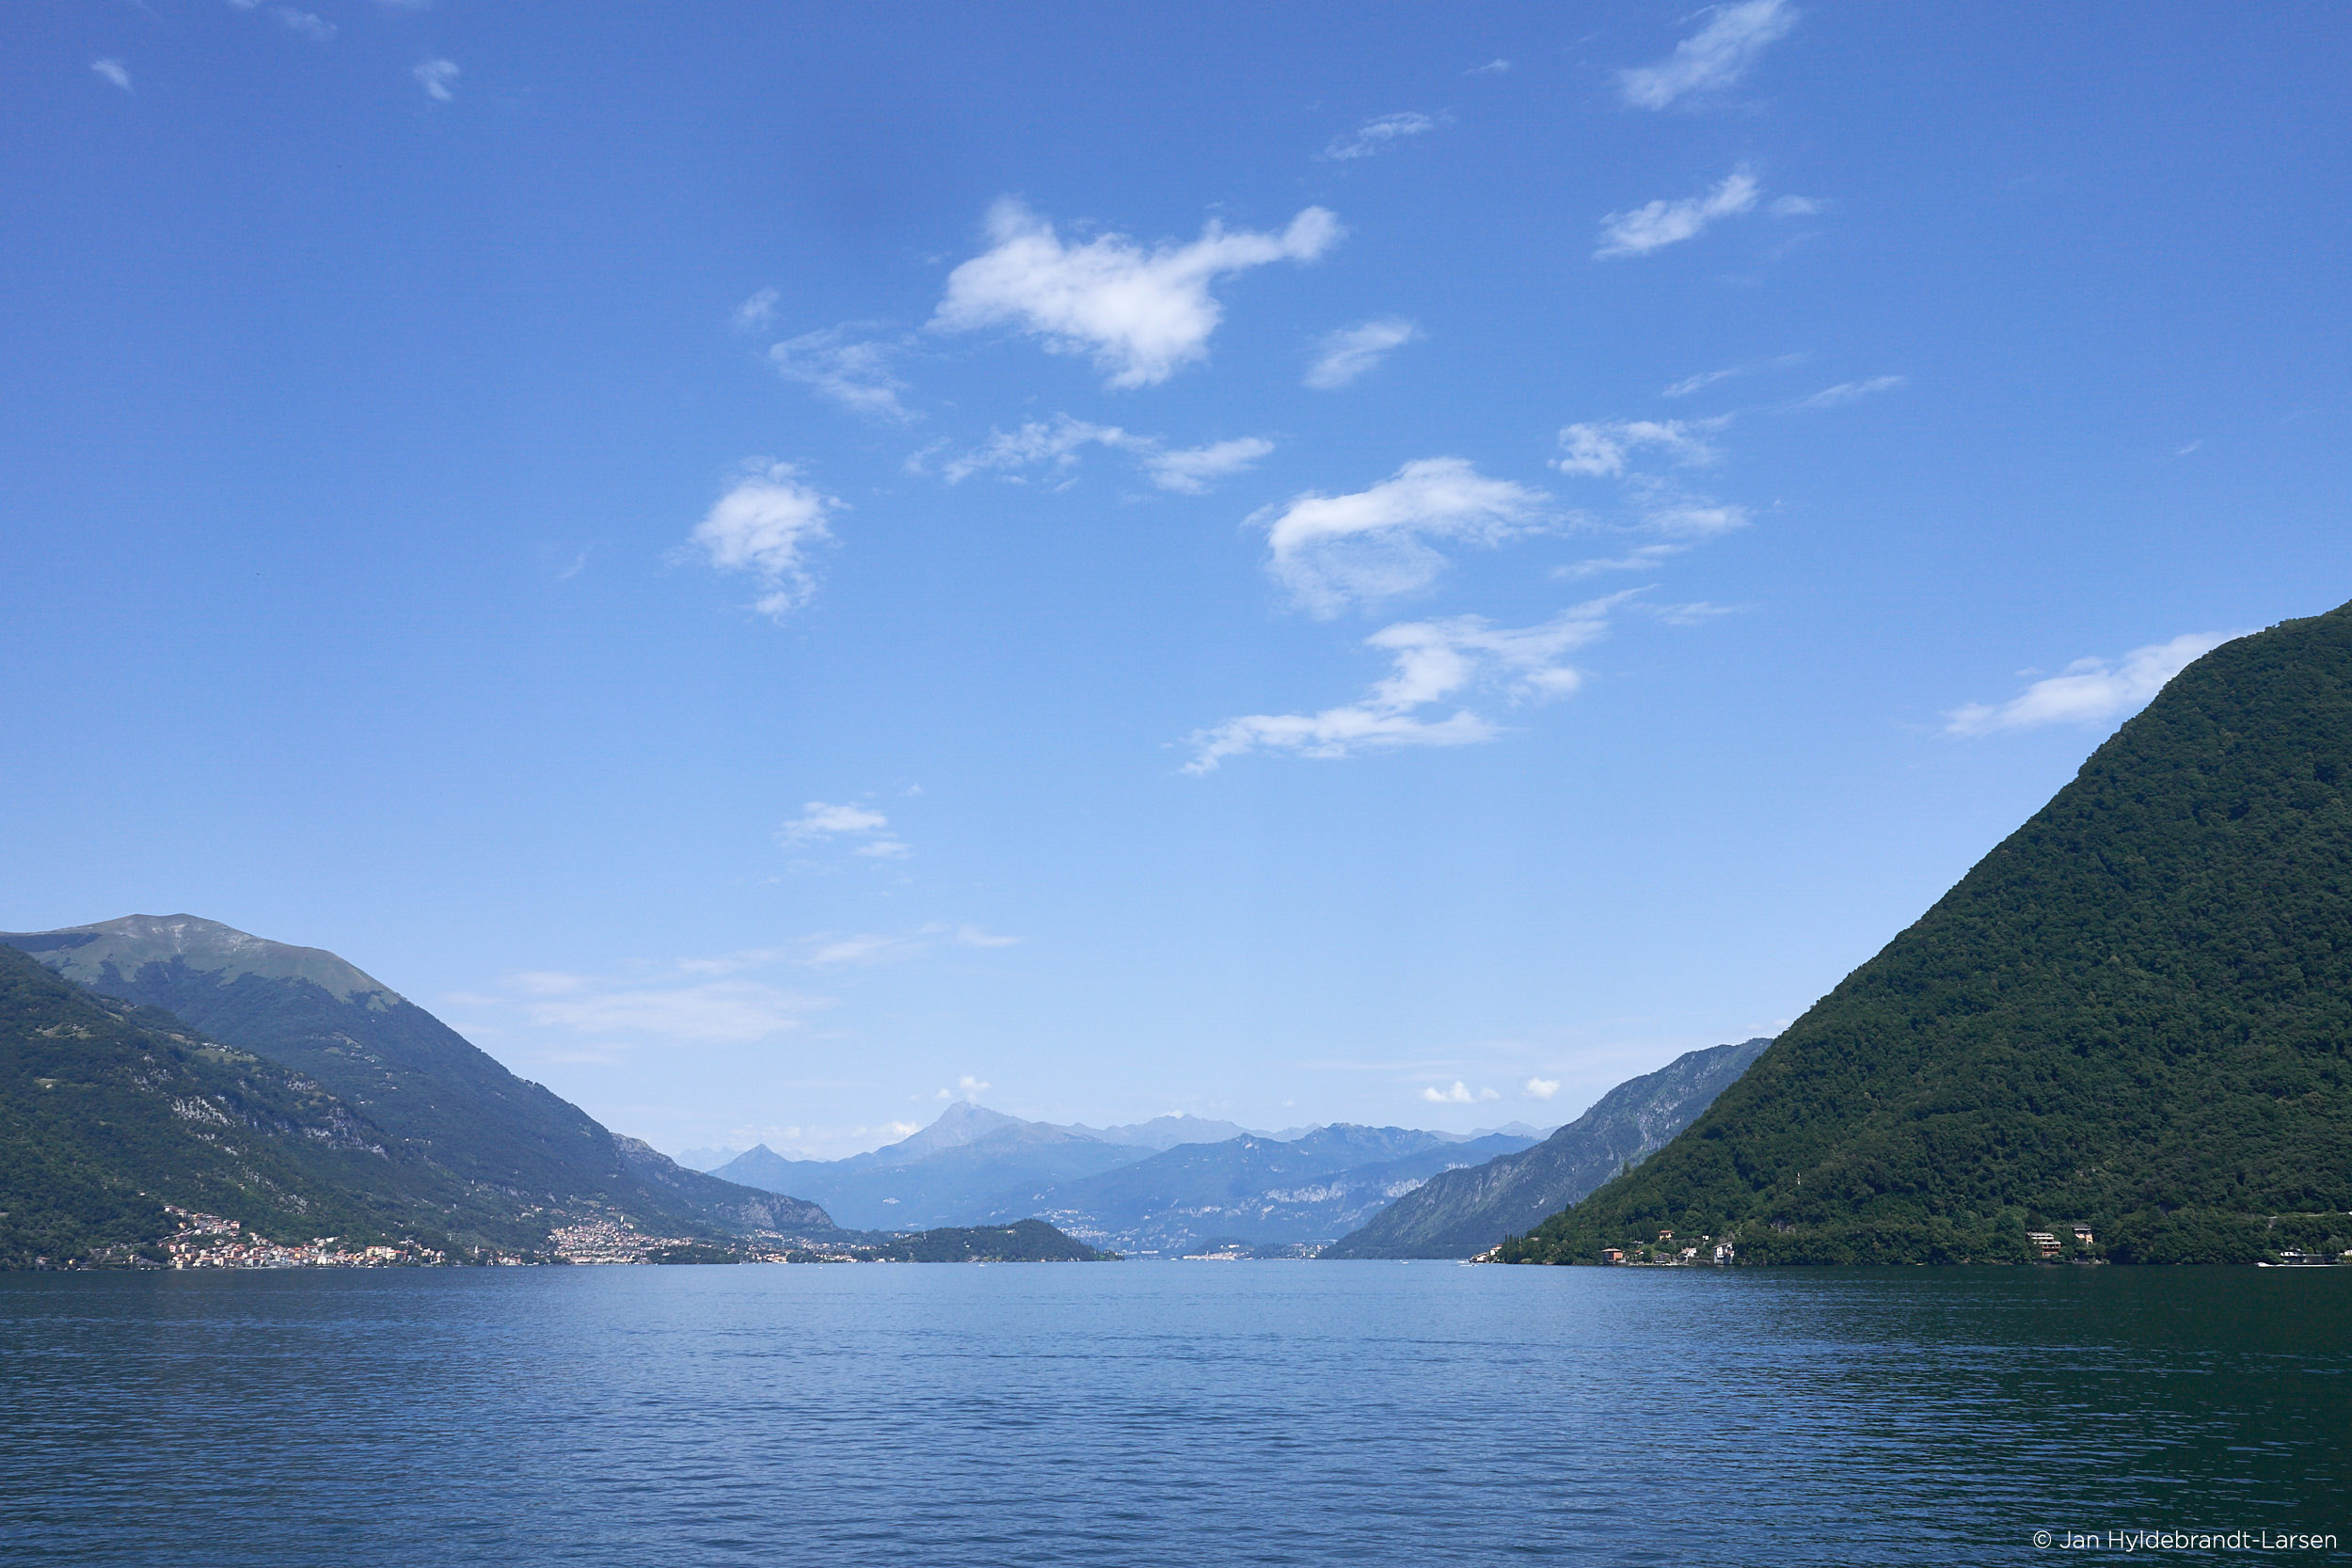
The difference on this image is quite dramatic, but still easy and flexible. Both the Linear Gradient and the Luma Range are dynamic, and can be adjusted and transformed if needed.
The sky might be a bit too dark for some of you, but I want to show the power of adding a Luma Range to a Gradient Mask with a visual example.
Want to learn exactly how to use these tools? Watch below!
If you don’t already have Capture One, download a free 30 day trial and try it out.
Are you an Express user? Discover all you can do when you upgrade to Capture One Pro.

NOTE: This article discusses an outdated version of Capture One. To learn more about our latest version, click here.
The new Capture One 12 offers powerful upgrades to existing tools and introduces new features for efficient workflows. This post will quickly guide you through the best of the best.
The design of Capture One 12 has been refined, providing a flatter and more modern interface with bigger font sizes. This will help photographers not only navigate more easily but also decrease fatigue from having too much to focus on.
Additionally, the Tool Tab icons have been re-designed for a better indication of what they represent. Remember, you can always customize the Tool Tabs and their content if needed!

If you need other tools than a brush to create your masks, look no further! Radial and Linear Gradient Masks are here. They are parametric, meaning you can transform them after they are created making these tools dramatically more flexible than what you could previously do in Capture One.


Radial Gradients are the new thing, and they let you create circular masks with soft feathering. They can be transformed, rotated and masked either on the inside or the outside of the round shape. Linear Gradients now allow transforming, moving, rotating and even changing the fall-off asymmetrically.
Watch the tutorial below for in-depth information.
Yes, you read that right. Luminosity masking is now possible in Capture One, and it’s easier than you think.
The Luma Range tool can be applied on any mask, even gradients like the above, and will effectively restrict your mask to certain areas based on the luminosity in your image.
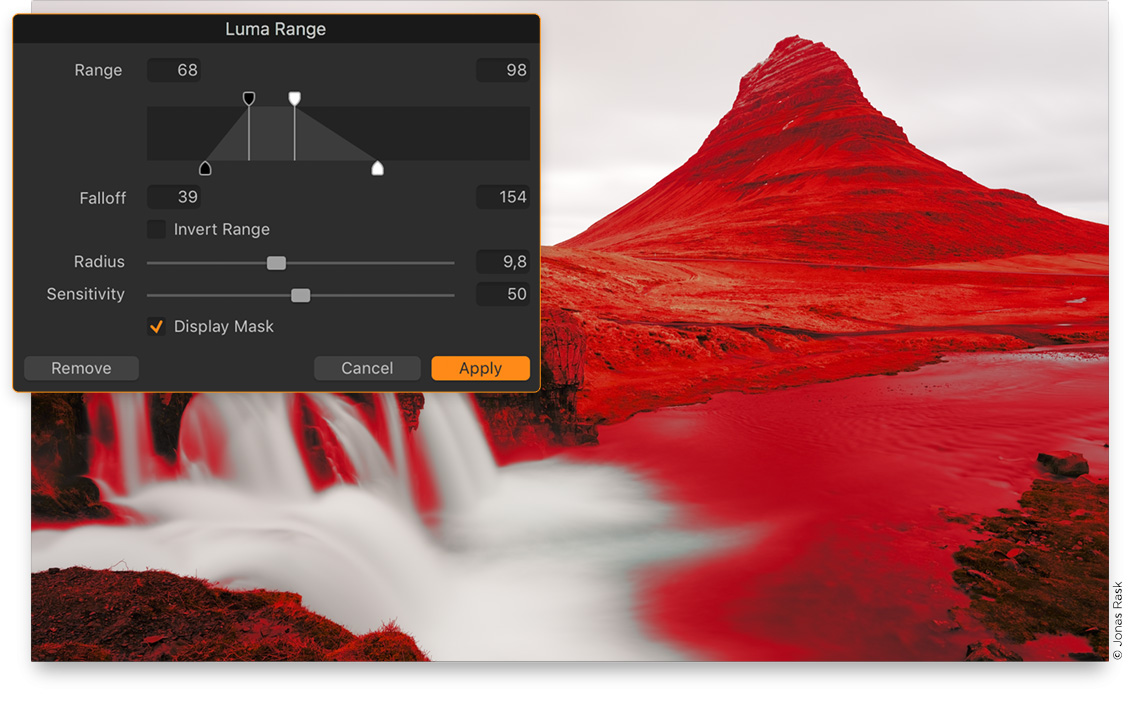
“Why do I need this?”, you might ask. Well, have you ever wanted to desaturate your shadows a bit? Or apply color grading with more control than the Color Balance Tool can provide? Or maybe add clarity to the clouds in your landscape image with a tricky horizon line? Luminosity masks make all of this a breeze. Watch the tutorial below to learn more.
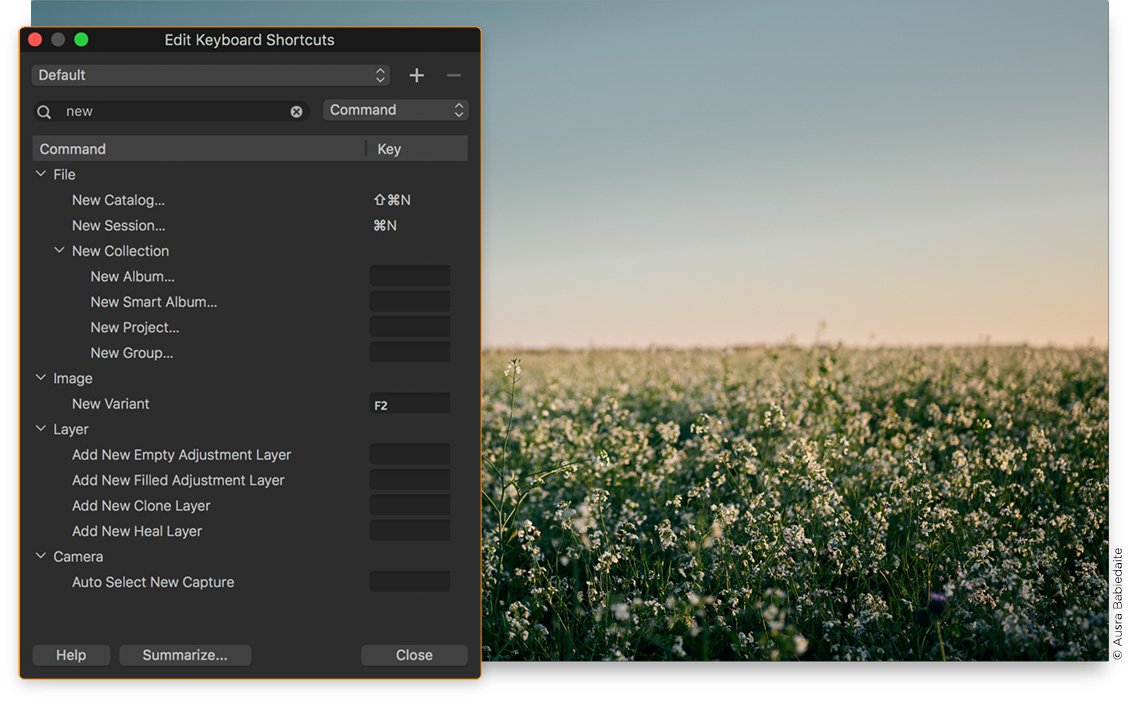
It’s no secret that Capture One features a massive library of keyboard shortcuts. These shortcuts are customizable, letting you do most actions with a few clicks on the keyboard.
Capture One 12 makes this much easier. You can now search, not only for features and commands, but also for specific keys to see their function. Additionally, shortcuts for features that were previously inaccessible are added for an even larger library of shortcuts.
Capture One delivers an extensive suite of powerful tools to manage, edit and export images. Now the new Capture One plug-in ecosystem allows third-party developers to create plug-ins that can add even more features and capabilities to Capture One’s toolset. The first plug-ins will enable direct publishing, round-trip editing, and open-with workflows.
We are just getting started with plug-ins, much more will come! Find out what’s already available and send us your wishes here: www.captureone.com/en/partnerships/plug-ins
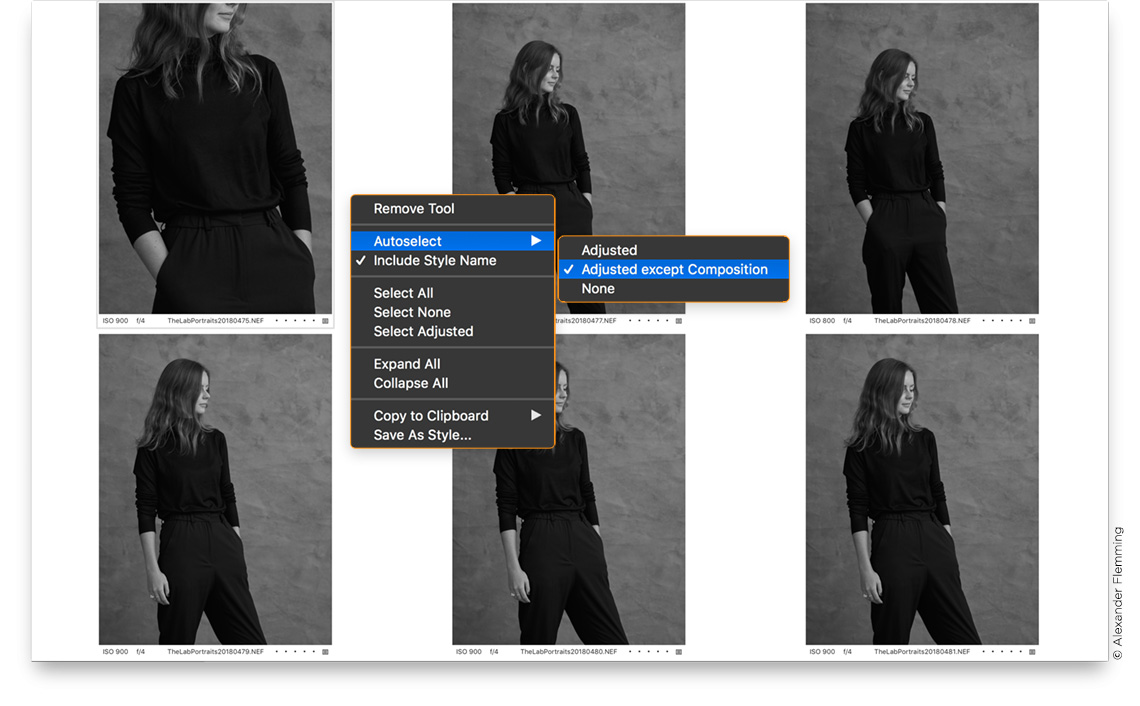
Capture One has a powerful feature to copy adjustments from one image to others. The functionality will auto-select any adjustments applied to an image, making them easy to apply to other images. Previous to Capture One 12, any composition change, for example, a crop, would also be automatically selected and carried over.
By default Capture One now exclude compositional changes from the auto-select functionality, making it easy to synchronize edits and color gradings between images with different crops and rotations.
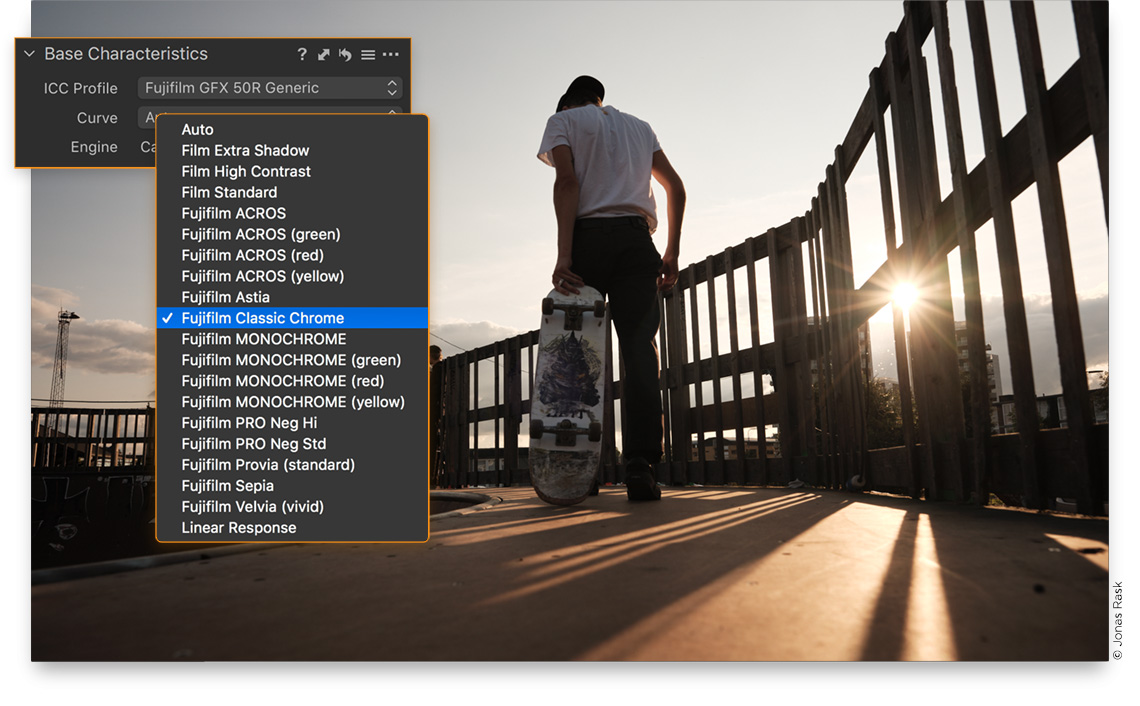
If you have ever shot with a Fujifilm X-series camera, you’re probably aware of the built-in simulations like Acros, Classic Chrome, Velvia etc. Extending on the collaboration with Fujifilm, these simulations are now available in Capture One 12 and will change the starting point of your editing to one of these simulations.
The simulations are available for Fujifilm camera models as Curves within the Base Characteristics Tool.
Capture One 12 is available as a full Pro version for all camera models, a Pro Sony version for Sony only, and a Pro Fuji version for Fuji only. All of these are available both as perpetual licenses and subscriptions.
Try it out for free with a 30-day trial!