Being on the road for two weeks, shooting in some of the most scenic locations to be found in Sicily, retoucher and Capture One Ambassador Jan Wischermann got to experience the flexibility of Capture One for iPad using the Beta version of the app to work on the go for the project “Sicily, Women and Cinema“.
Watch the behind-the-scenes of the shoots to see how Jan was able to get a head start on his editing.
“Sicily, Women and Cinema” is a photo series by fashion photographer MOJA shot over 12 days in Sicily. The project aims to show off the unique scenery found on the island and encourage more film studios to choose it as the location for their next film.
Moving between different sets all over the Italian island, with time to kill on long car rides or while the crew was setting up the shoots, expert retoucher Jan Wischermann was able to start his work while away from the computer using the newly released Beta version of Capture One for iPad.
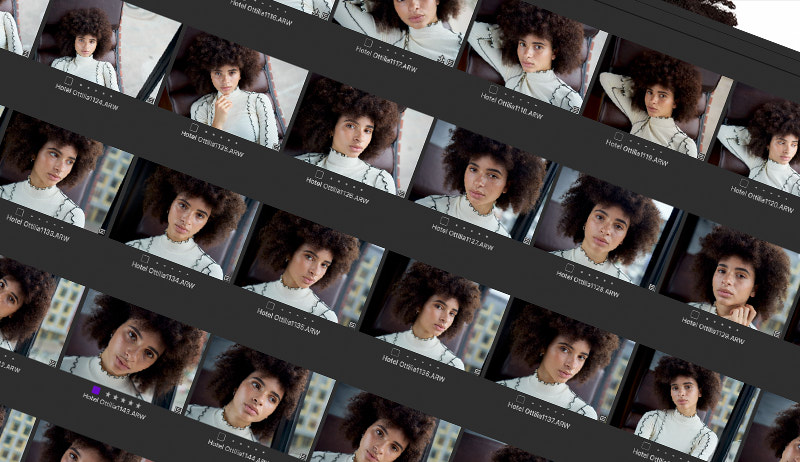
“I really love the flexibility of the Capture One version for iPad,” says Jan about his experience with the app. Making initial selections, rating, and tagging the images on the iPad, Jan was able to start the culling and organizing work while on set.
“It has the tools I need to get started working on the images.”
Start on location, finish at home
On the tablet, Jan could also use many of the editing features that he is used to working in on the desktop app.
“I could work on the luminosity and basically already get the picture in a direction that I want to go in when I am back in the office,” says Jan.
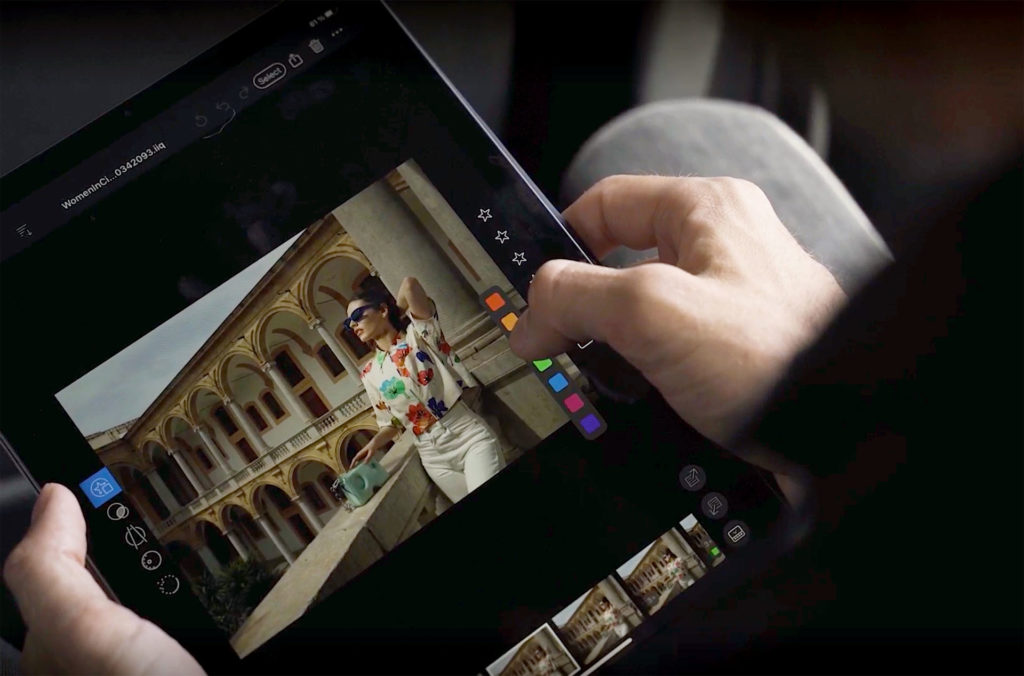
“I was able to find the base for the grade for the whole series, so I was really happy I have that option.”
Once back at his desktop, Jan could then simply download his work from the Cloud and continue where he left off in Capture One Pro.
Time saver for busy days
The 12 images in the “Sicily, Women and Cinema” photo series will be shown at the Cannes Film Festival at the end of May. With only days between the end of shooting and the series being displayed at the festival, there is no time to waste for Jan and the MOJA team.
“It saved me some time,” says Jan. “In these hectic days when we are here, having 12 days of shooting and just a week of editing afterward, I could already get some steps ahead.”
“It is truly a great addition to my workflow, and I’m really looking forward to continuing working with it.”
Capture One for iPad launches at the end of June 2022. Find out what to expect from Capture One for iPad.