Knowing your software is power. It lets you express yourself creatively because you don’t waste time thinking “how do I do this?” and leaves more room to think “how can I take this ten steps further?”
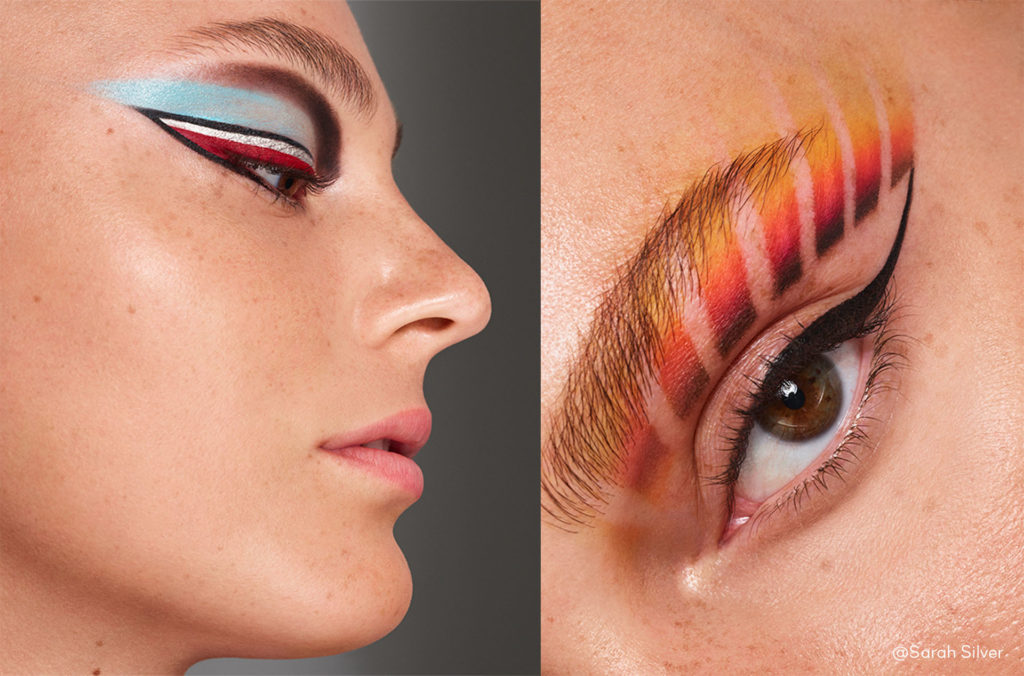
Fashion and beauty photographer – and Capture One superstar – Sarah Silver shares her best tips for speeding up your workflow, getting better images, and becoming a Capture One superuser.
Make shortcuts for anything and everything
Crowned by her colleagues as the Queen of Hotkeys (or shortcuts), Sarah has customized every part of her workflow to be ready at her fingertips.
“If I could hotkey making breakfast, I would,” she says. “Not only do hotkeys make me more efficient, but it also uses the part of my brain that I used when I played the piano as a kid. It’s like playing a chord.”
Giving her hotkeys easy-to-remember names, like ‘three across’, ‘corner’, ‘spider’, and ‘wall’, helps her immediately find the finger placement and function for each of her shortcuts and makes it easier to let her colleagues on set know what to do with the images while she is shooting.
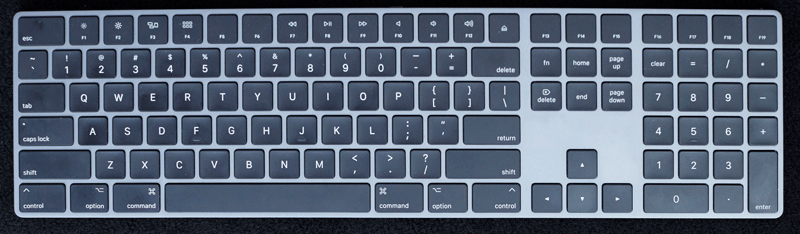
“I have made a bunch of my own custom hotkeys, but I also use a lot of the OG hotkeys,” says Sarah, encouraging people to fall in love with the existing shortcuts in Capture One Pro.
Learn how to use and set up your own shortcuts/hotkeys here.
Sarah’s hot(key) tip #1: Make a list of all your favorite hotkeys and memorize one a day.
Sarah’s hot(key) tip #2: If you are going to do something more than once in a session, save time and energy by making or using a hotkey. Don’t use the mouse unless absolutely necessary! It slows you down and makes you less efficient.
Use filters to edit everything all the time with hotkeys
Sorting through images and selecting the best ones can be one of the less enjoyable parts of any job. Sarah speeds up this part of her work and gets her final selections done in no time by being fluent in the software, using hotkeys when culling, and filtering down her favorites.
“Two weeks ago, I had a job where I had an hour to shoot, 20 minutes to edit, 5 minutes to upload to the retoucher, and 24 hours to get the first round of retouching done. That’s fast!”
“How do you do it? Hotkeys and filters. Not thinking about how to use your software but being more concerned with the visual. More time editing, more time shooting, less time computing.”
Here is Sarah’s culling process step-by-step:
1. While shooting pick rough favorites – Add a green tag to all your favorite images to start (press ‘+’ on your keyboard to add a green tag).
2. Use the filter function to see the images you tagged with green only [“3 ACROSS” (CONTROL + OPTION + COMMAND) & +]. From here select your super faves by giving them a 5-star rating [press ‘5’ on your keyboard to add a 5-star rating].
3. Remove the green filter and filter to show 5-star ratings only. Then downgrade images you like less to 4 stars. The 4-star images disappear from the screen but are still searchable by green and 4-star ratings. (press ‘4’ on your keyboard to add a 4-star rating).
4. Voila! Your selection is DONE!
Pay it forward
Do your images unintentionally end up look different from one shoot to another? Add an image from a prior folder into a new session/catalog to compare the earlier capture with the new captures so that everything matches. Sarah calls this ‘paying it forward’.
“I am notorious for bumping the settings on my camera. And we won’t notice because we are shooting so fast. But if you pay it forward by adding an image from the last shoot into the new folder, you can tell.”
“I always copy forward a favorite from the last shoot to make sure my Capture One settings, look and feel, and camera settings transfer over to the new folder,” she says.
“It’s a great way to maintain continuity from folder to folder and make sure you don’t bump your camera settings. Since I put the camera down and pick it up often during a shoot, it is a common issue for me!”
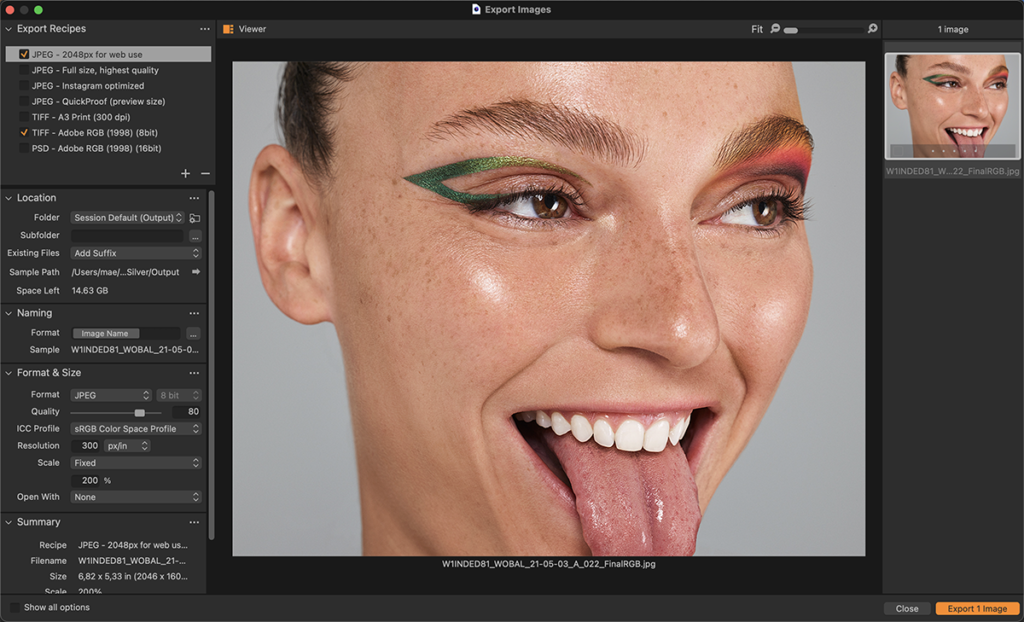
Bigger is better – Export at 200%
“I like to export my images at 200% so that when I crop them down in post, they’re still very large,” says Sarah.
“I have been doing this for years and have never experienced that it affects the quality in a negative way – as long as your histogram looks healthy. But it gives you a lot of freedom to crop the images how you like.”
“This is good for when, for example, the client asks me to shoot the whole face, but they also want to use a picture of the lips only.”
Share files as EIPs so they never lose their sidecars
When sending her images to the retoucher, Sarah always shares her files as EIPs. This guarantees that her settings and edits don’t get lost on the way.
“Packing them as an EIP ensures that the images you shot, and that the client likes, come back looking exactly how you intended. It makes it super easy to share files over dropbox and they always have their settings intact.”
“How many photographers have shared images without including the sidecars – the retoucher had to work from a RAW file with nothing applied, no color balance – and gotten their images back and they look terrible? When you are working with short deadlines, you can’t afford that.”
Learn how to export your files as EIPs here
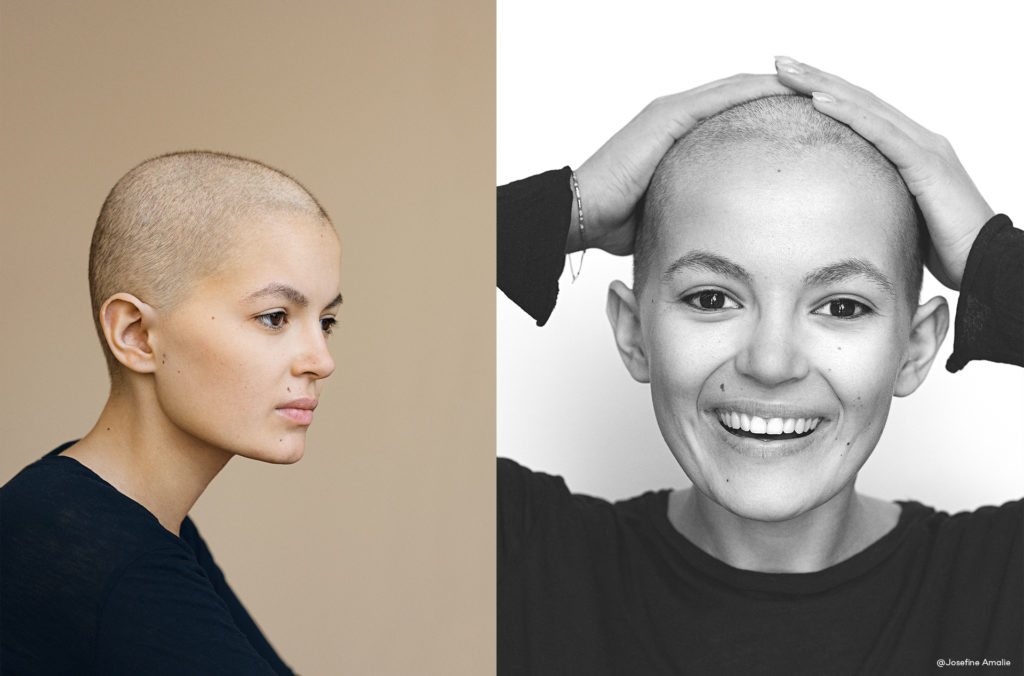
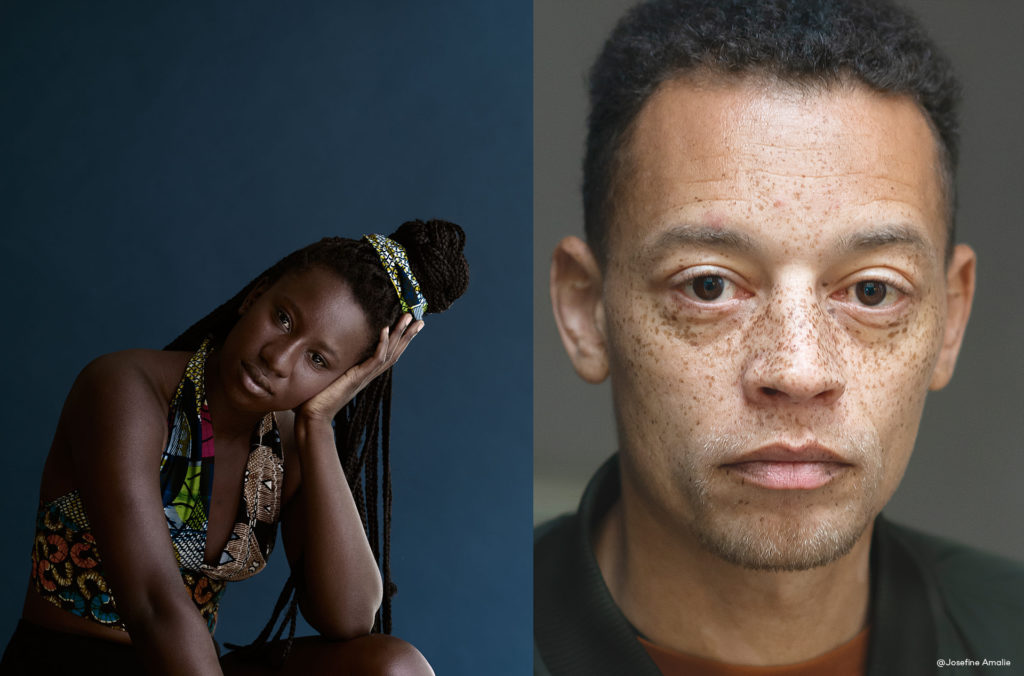
More detail is more detail
To get the most amount of detail in her shots, Sarah sets her highlight and shadow warnings to 236 (highlight) and 15 (shadows).
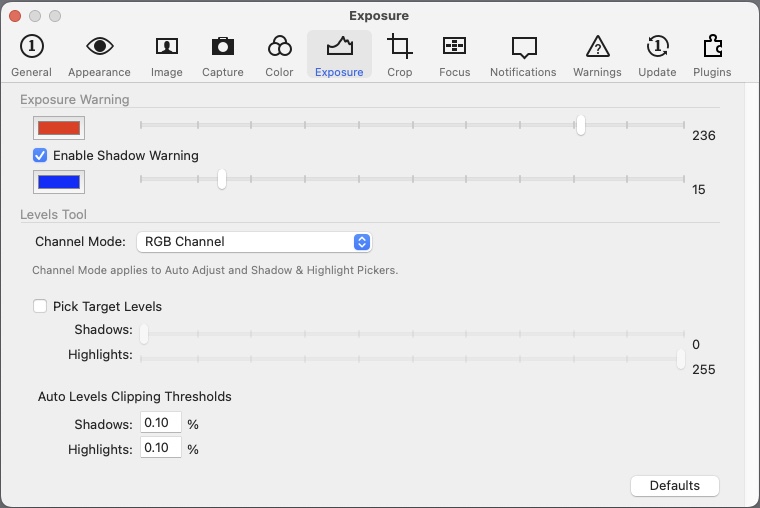
“These days everyone wants to see real, and real is pores, and pores are natural, and natural is skin. If you overexpose something, you lose a lot of that detail. When I set my highlight warning to 236 and have a little bit of red exposure warning showing, I know I have plenty of leeway and will catch all the detail. Every pore, texture, every detail is still there.”
Learn how to adjust your exposure warnings here
New to Capture One? Find tutorials, webinars and more tips and tricks here