NOTE: This article discusses an older version of Capture One Pro. To learn more about our latest version, click here.
Over spring, I got the chance to try out the FUJIFILM GFX 100 ahead of its launch in May 2019. I knew that Fujifilm had partnered with Capture One for tethering and much more, and that the GFX 100 RAW image files were supported by the photo editing software even before the new camera had launched. It seemed like the perfect time to try out Capture One Pro and see how it compared to my workflow using Adobe Lightroom Classic.
Now that I’ve been using Capture One for four months, I can confirm that it is a very powerful image editing software with some new features that I have not seen anywhere else. One of the best things about trying out a new RAW editor is the sense of discovery – my Capture One Pro images had a new and exciting look to them. I also really like the straightforward, professional approach of Capture One Pro. There is no fluff in this image editor – it’s all business.
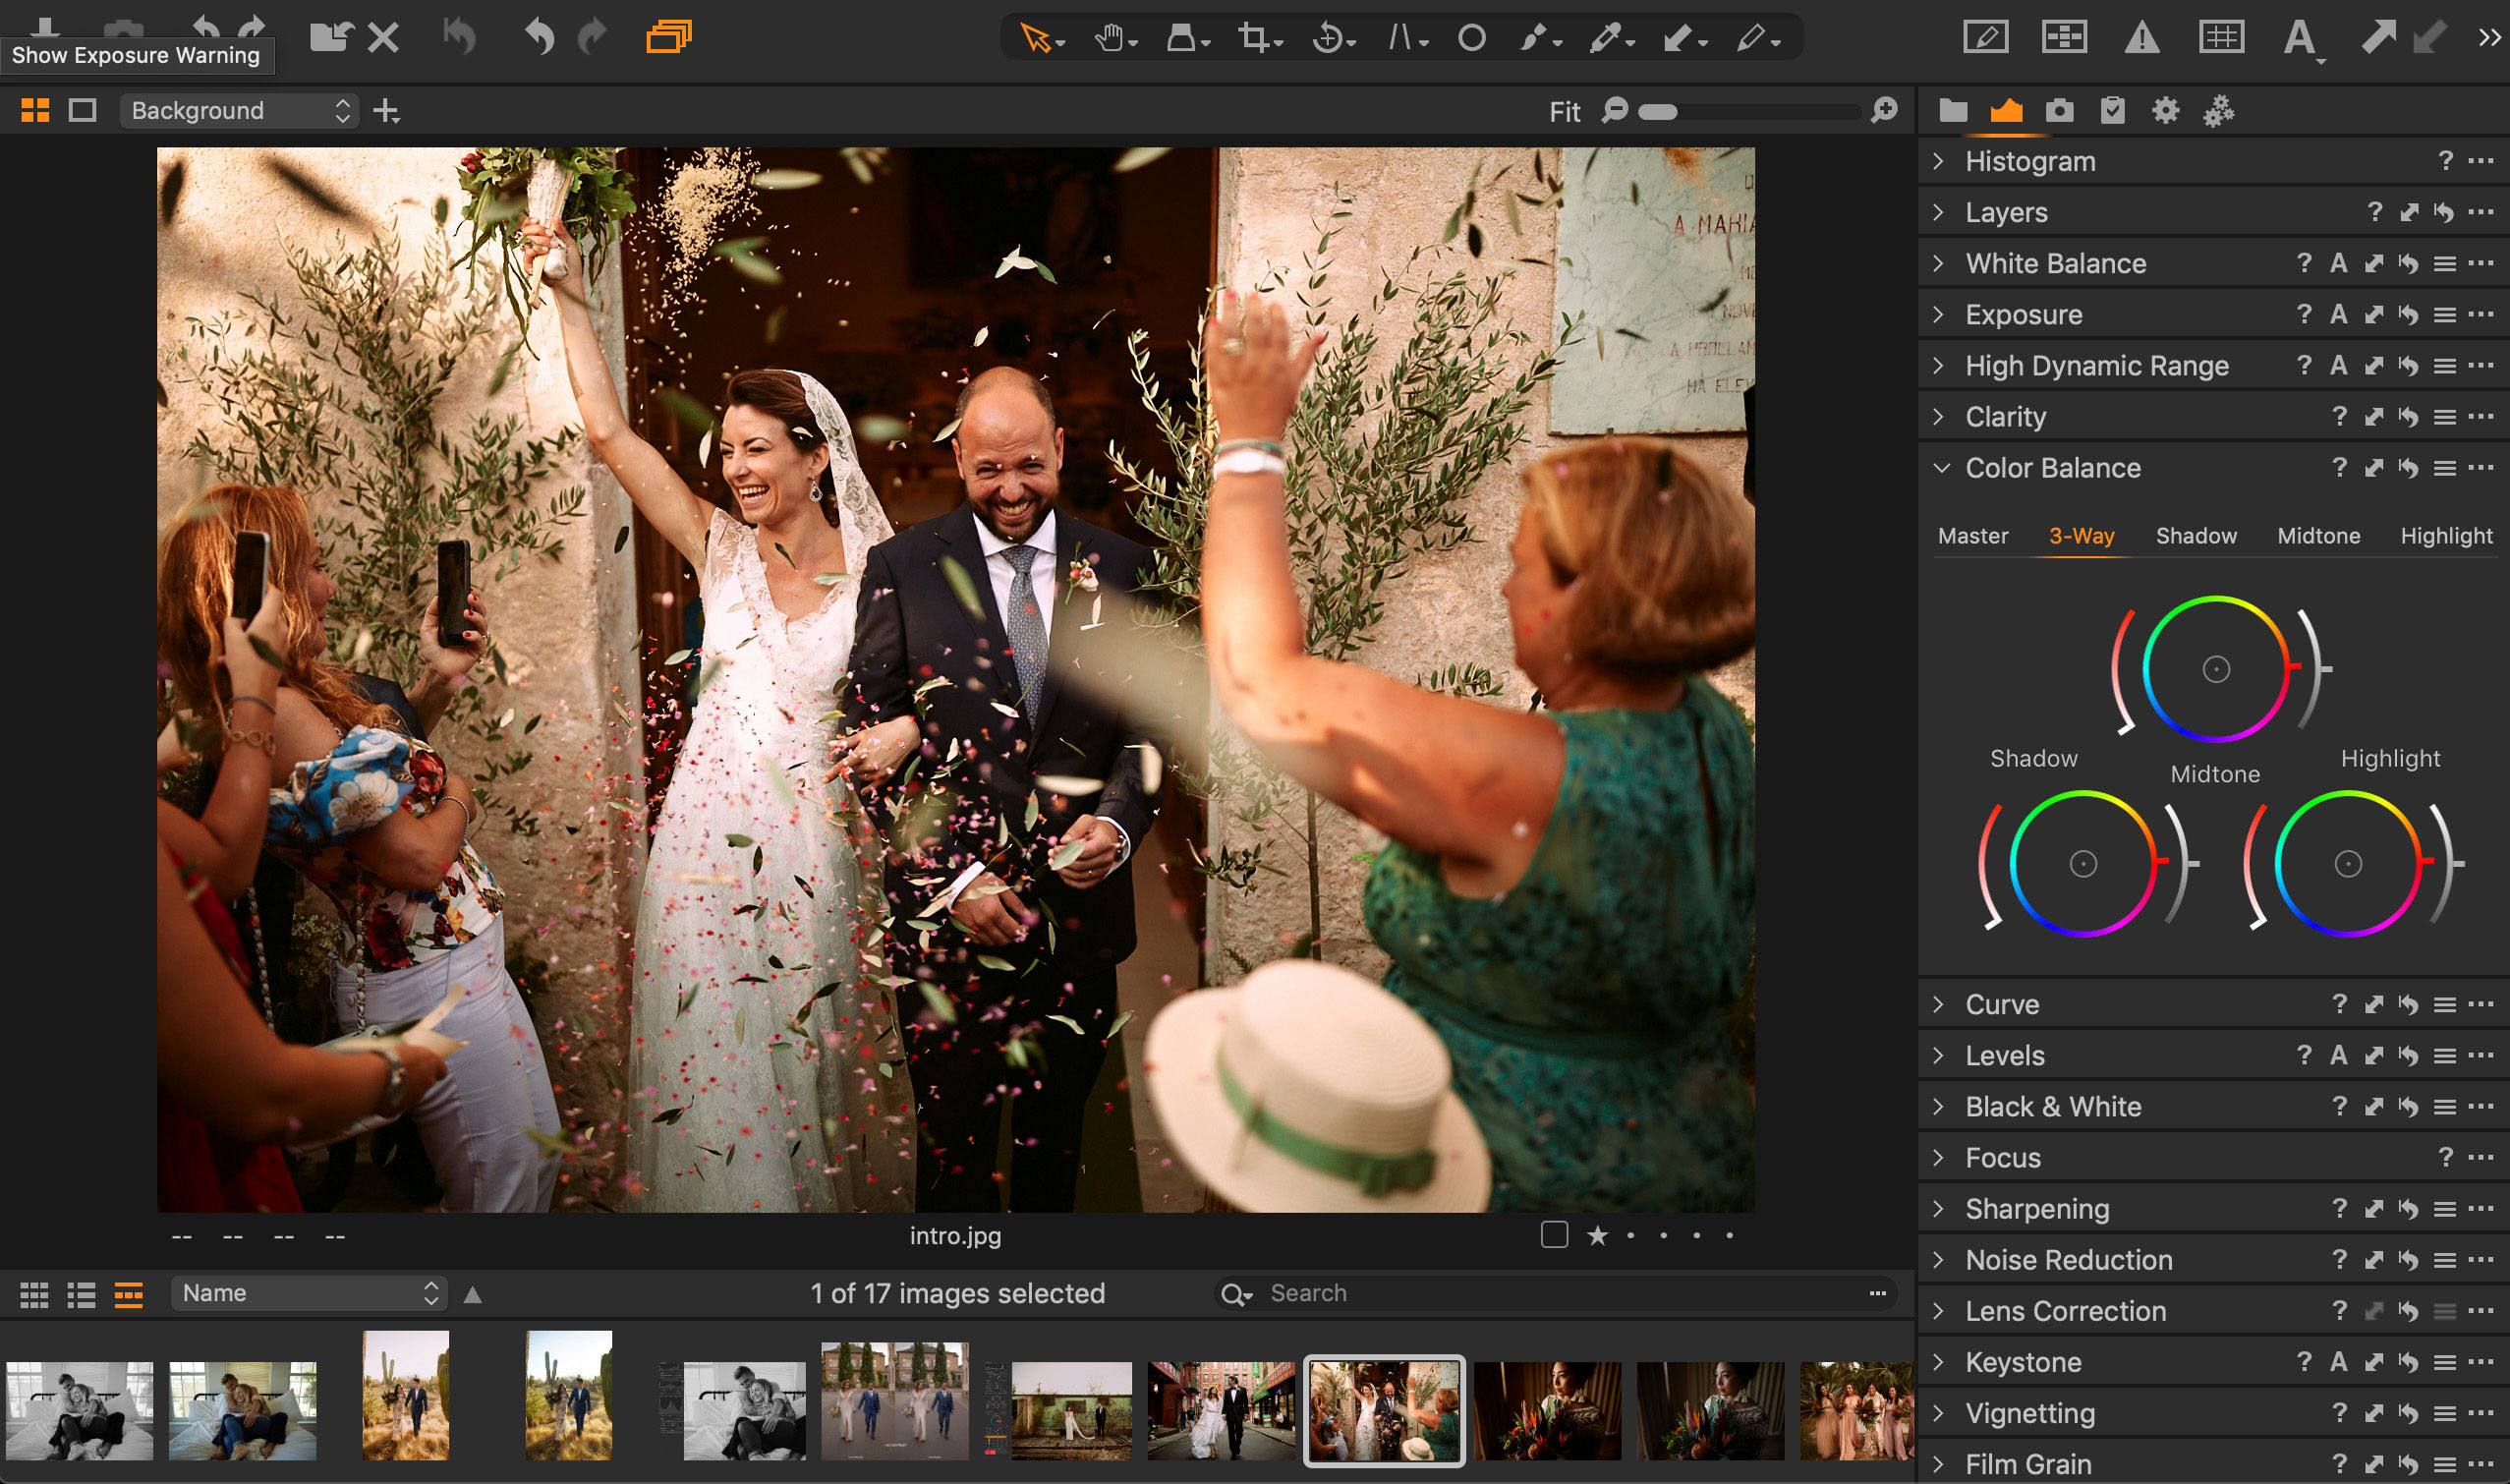
One new favorite feature is the Color Balance tool, which allows for easy color grading of specific part of the images, as well as tools that allow for a speedy and efficient workflow. In this blog post, I’ll list the top five features that have transformed my RAW editing workflow.
Focus Mask
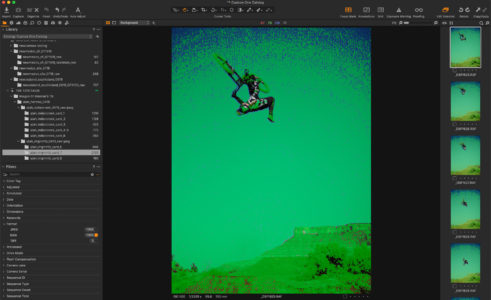
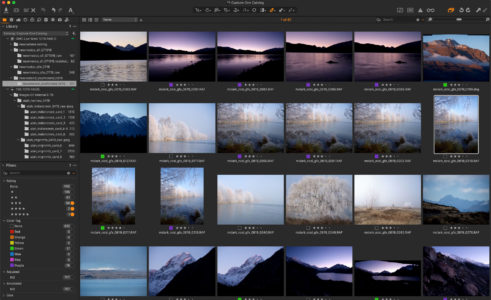
The Focus Mask feature (found under View > Focus Mask) is the most useful feature I have seen in any RAW editing platform ever. With the Focus Mask turned on, I can quickly scan a grid of images and highlight any images where the subject is not in focus. The tool applies a green overlay mask to the aspects of the image which are in focus, so I can immediately identify where the focus points are in any image.
As an adventure sports photographer who often captures images with a fast frame rate, this allows me to instantly figure out which images are sharp and which are not, so I can cull faster and really speed up my workflow.
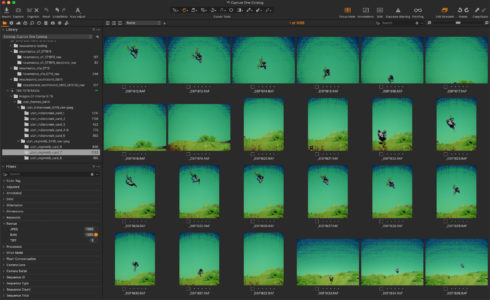
When you double click on any image from the grid, the Focus Mask remains overlaid on the larger preview image, so you can look more closely at the focus. This one feature alone is a reason to make the switch to Capture One Pro.
Auto Levels Adjustment
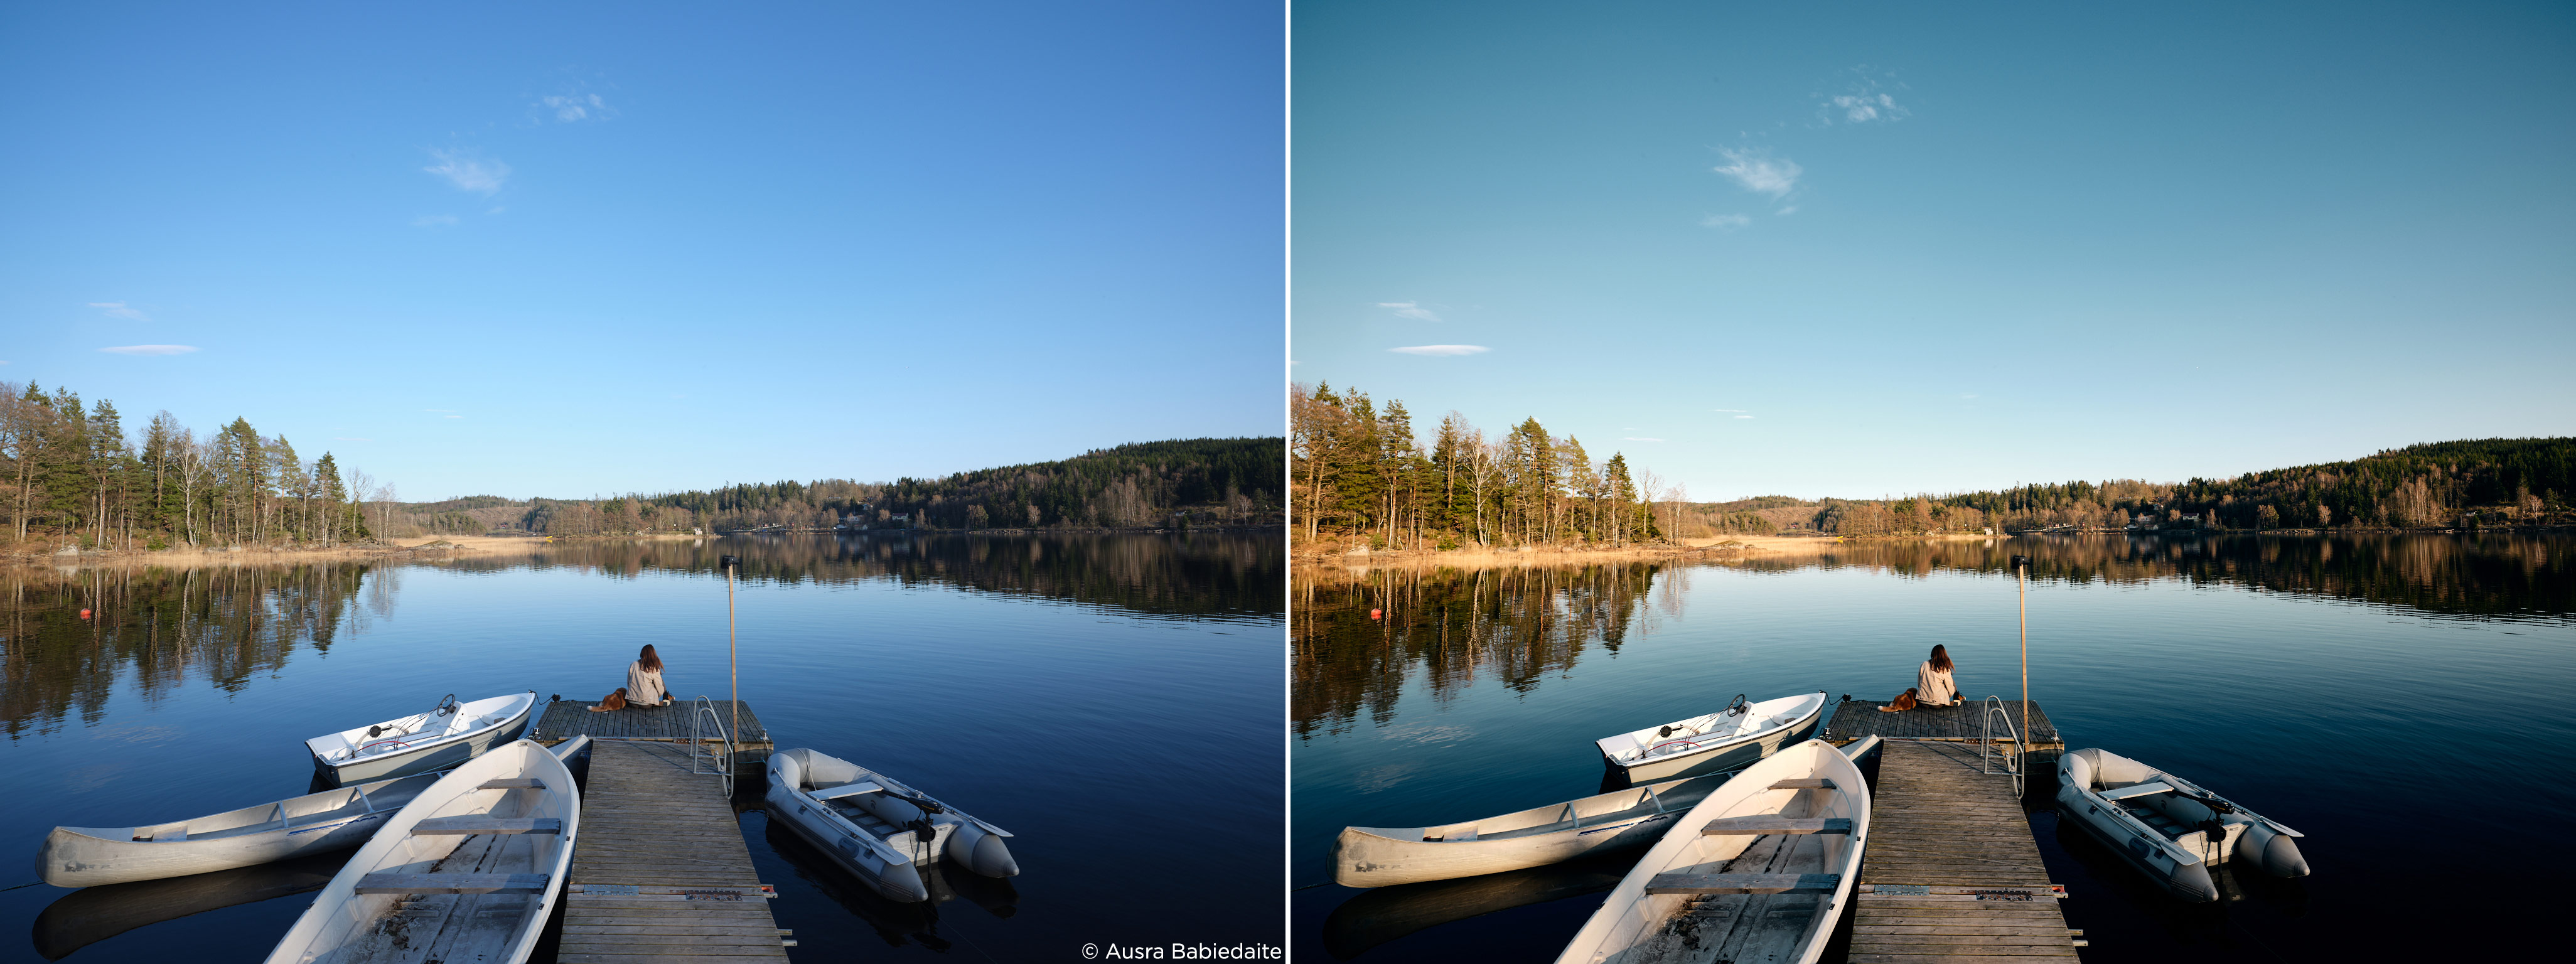
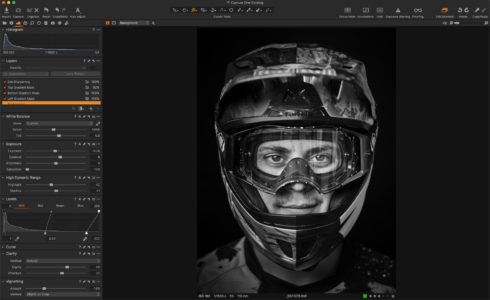
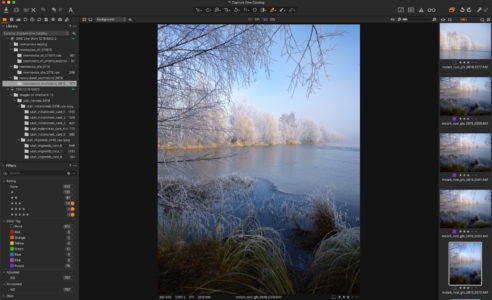
Another amazing Capture One Pro feature is the Auto Levels Adjustment in the Levels tool. I would typically never use auto anything in a RAW processing app – especially not in Lightroom – but Capture One’s Auto Levels Adjustment gets it right almost every time. The tool gives me a huge head start on adjusting levels. I use it as a departure point – it’s often the first thing I apply before diving into any further editing, which then makes the overall editing process go much faster.

In the above example I have only applied Auto Levels Adjustments without any further editing, which already dramatically improved the image. All I needed to do was add a Gradient Mask to darken the bottom of the image and add clarity.
Layers
For those of us that use Photoshop, Layers are a huge part of any digital imaging workflow. The way layers are incorporated into Capture One feels very similar to Photoshop —and maybe is even more powerful. Basically, anything you can do on the background Layer can be done on a Mask. No other raw processing software that I know of has that capability.
I use a lot of Linear Gradient Masks for my images so that I can help push the viewer’s eye around the image. Having all of those masks on a separate layer and being able to adjust much more than just the exposure or brightness of that Gradient Mask is very powerful. Additionally, the option to go back and adjust the opacity of any layer is also a huge bonus.
The upshot is that with Layers in Capture One I can take my raw processing further before I go into Photoshop to finalize the image.
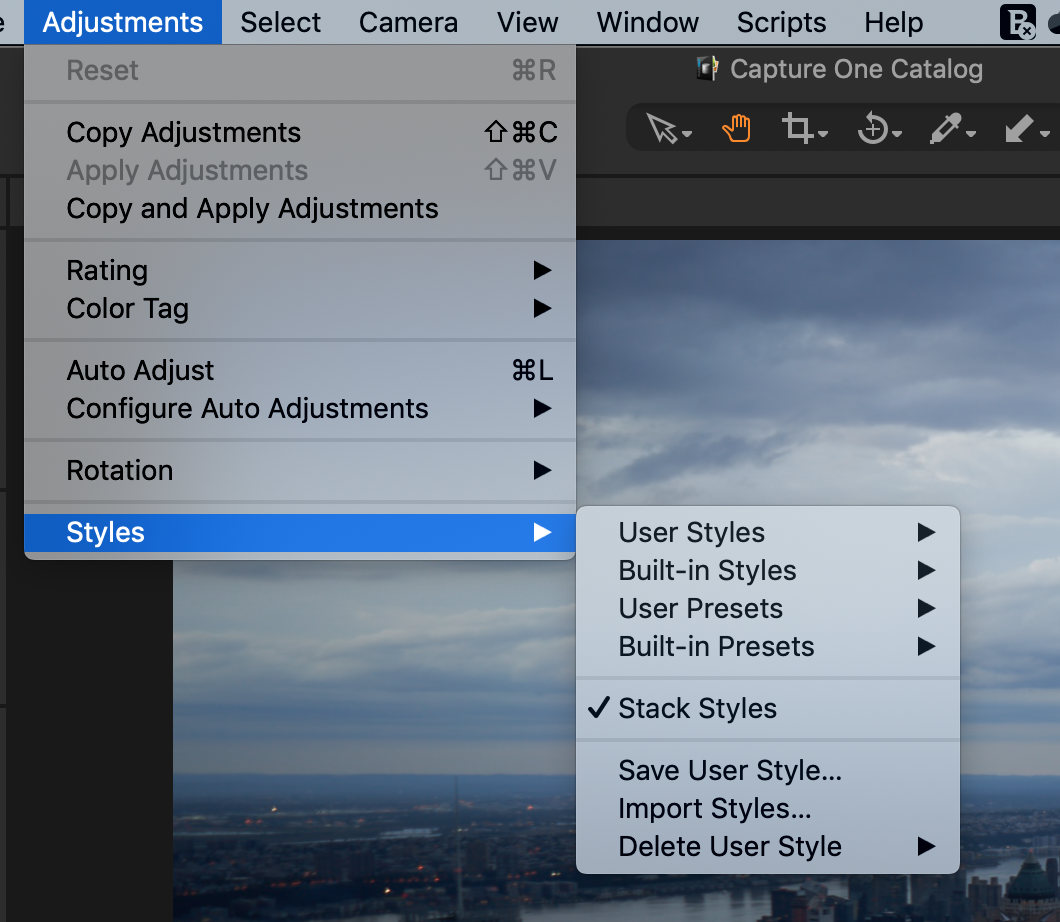
Color Editor Tool
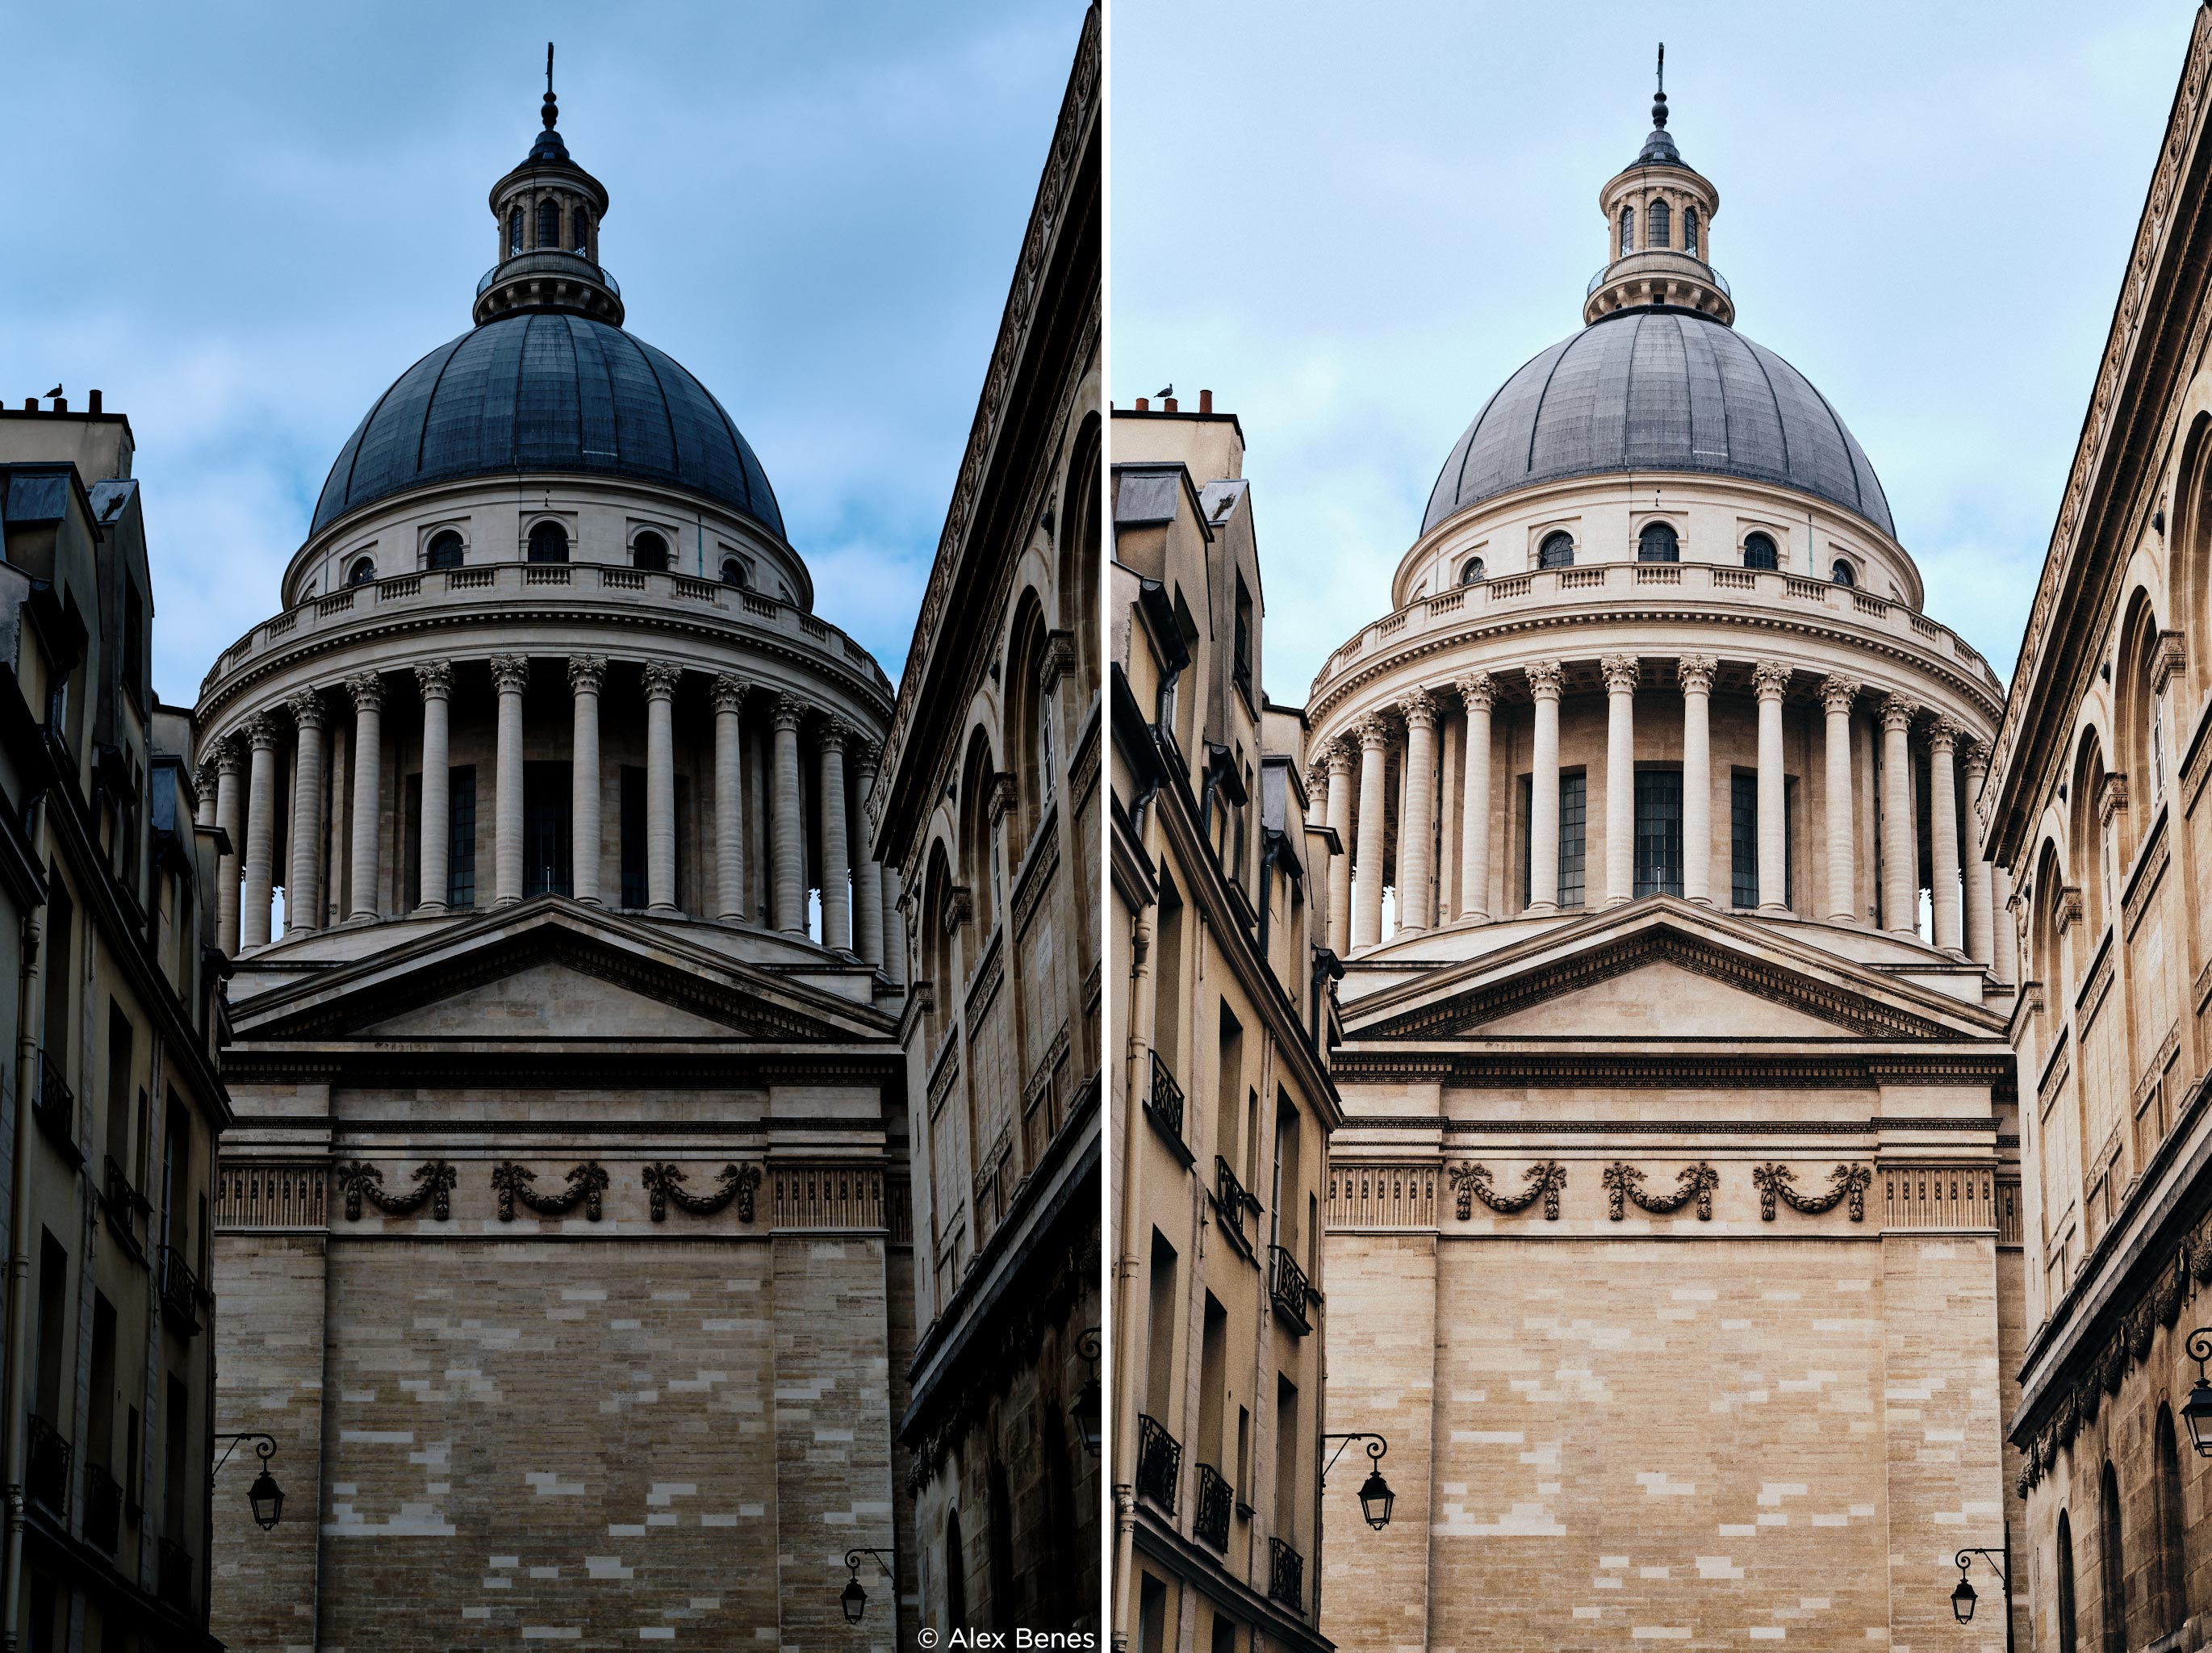
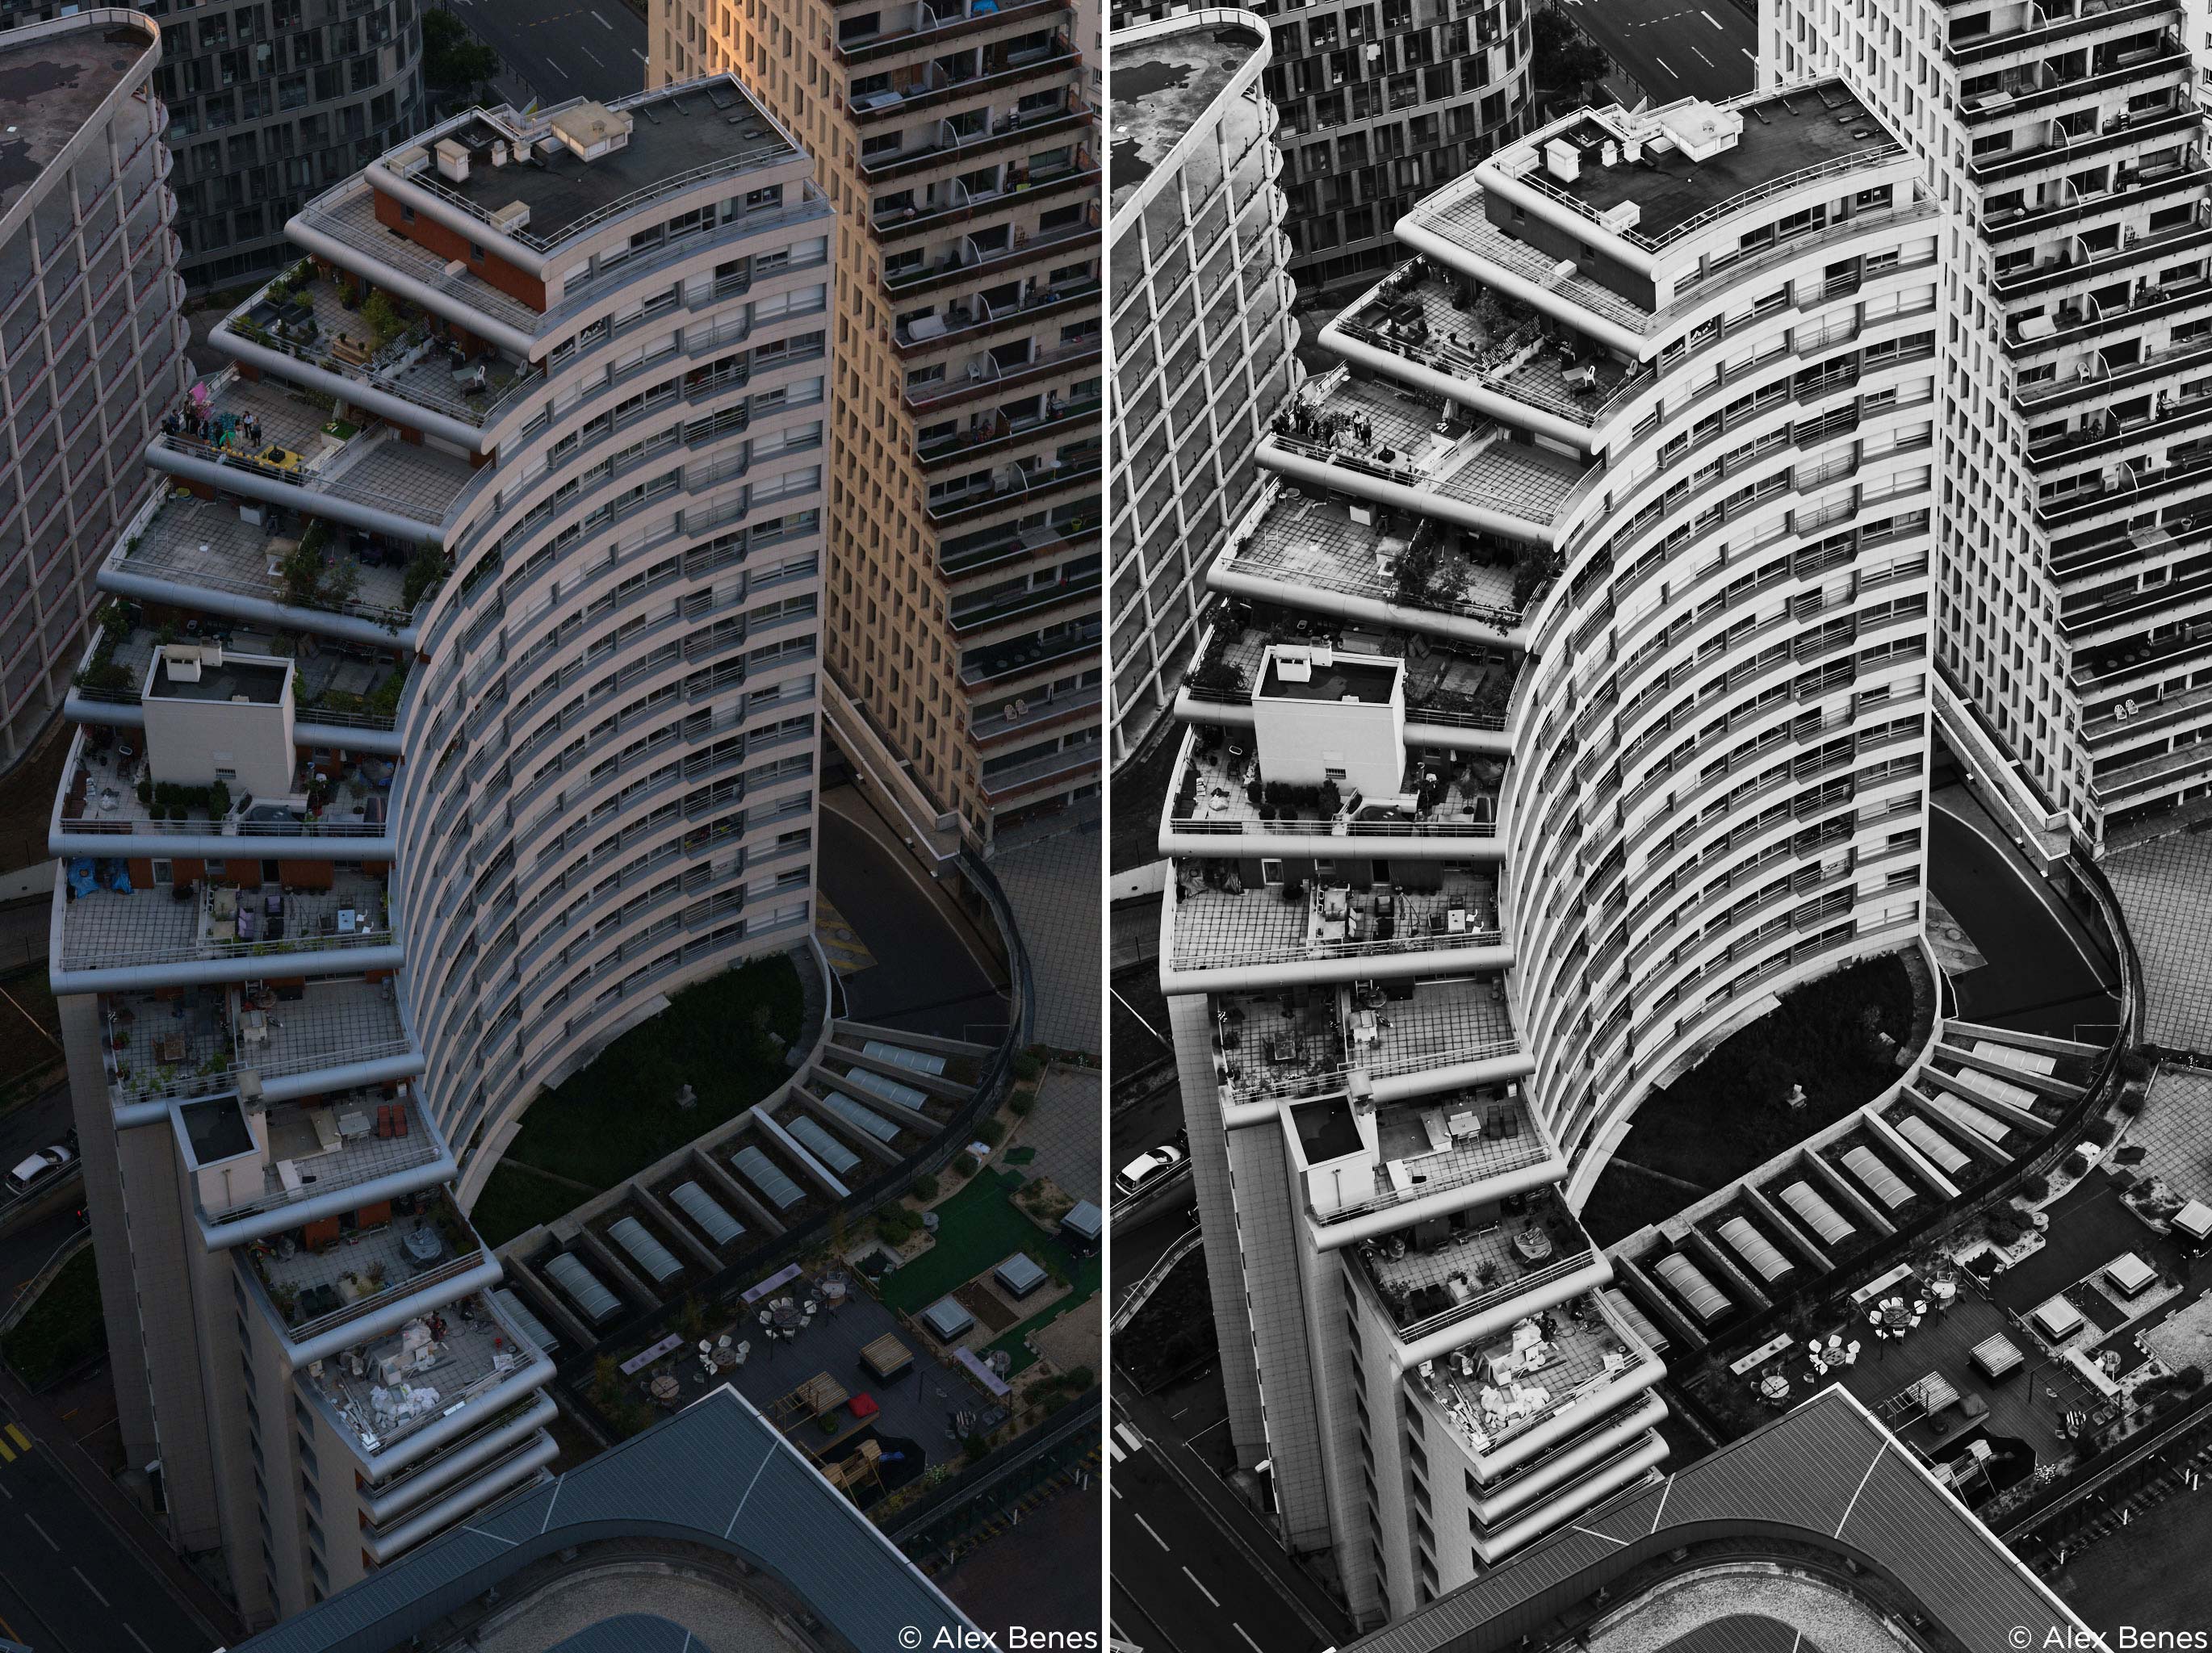
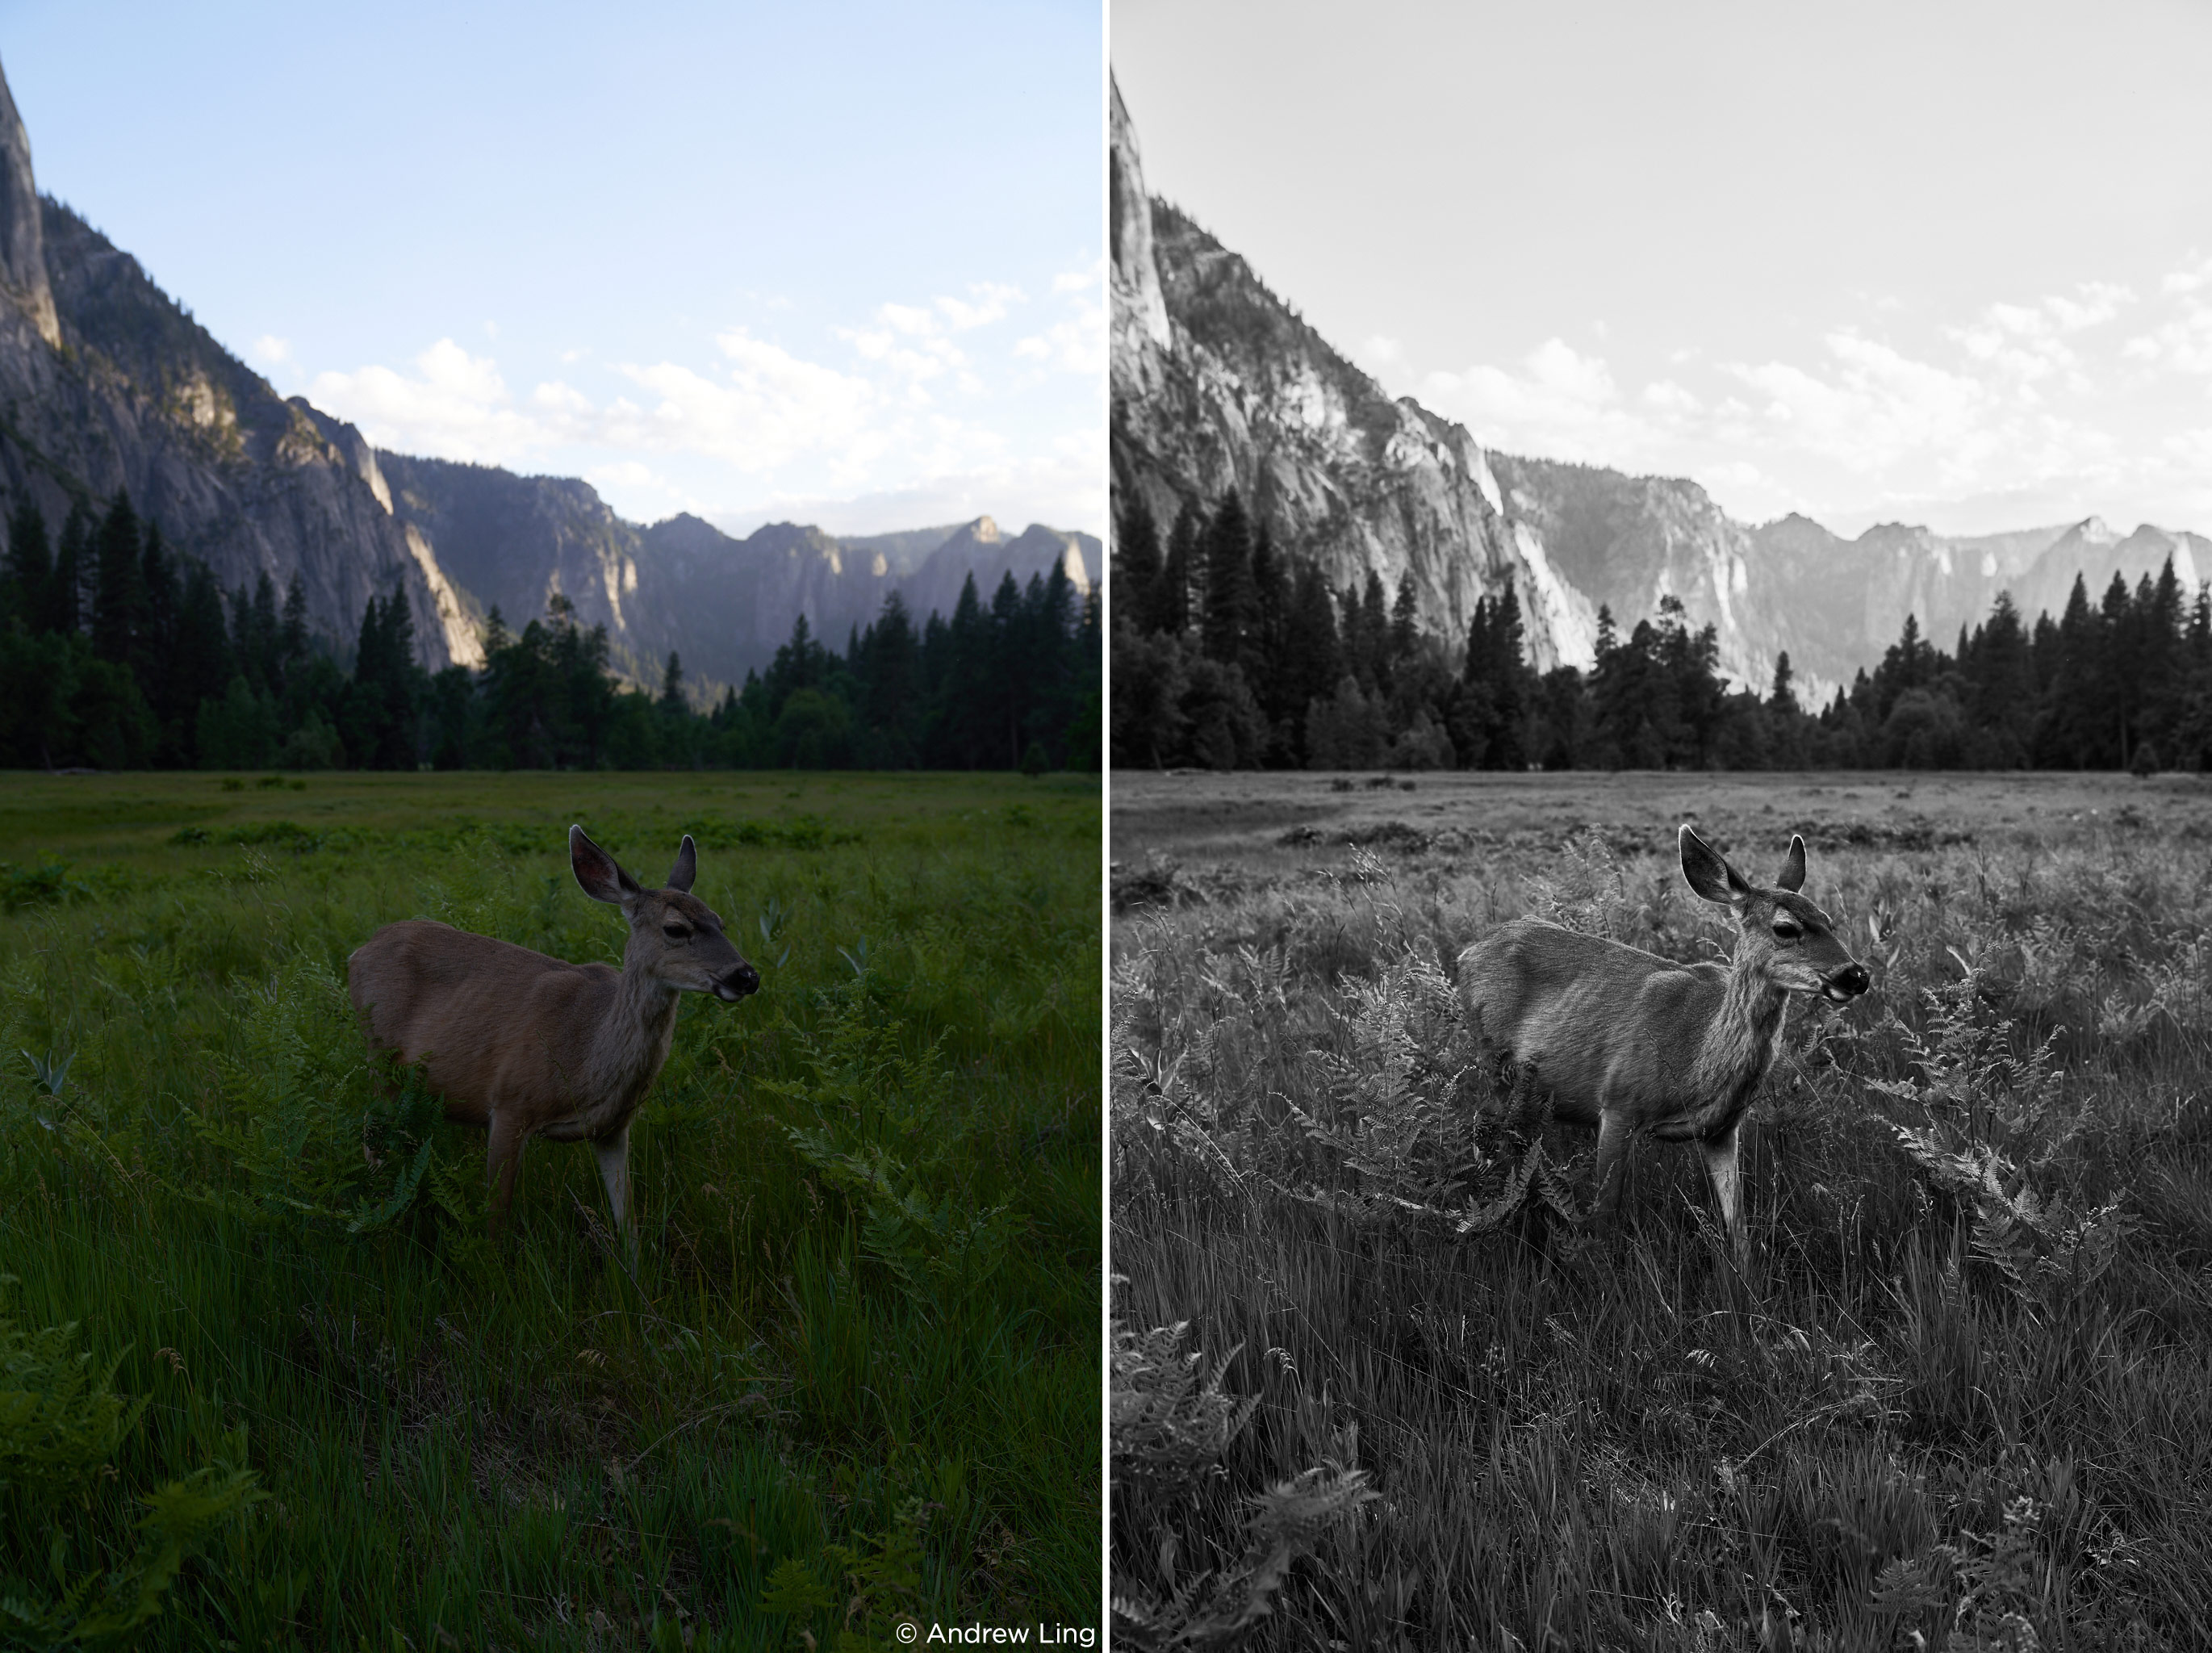
Capture One’s Color Editor includes both an eyedropper sampling tool and a color wheel which allows me to color edit specific parts of an image in an intuitive and simple manner. To use the tool, simply choose the eyedropper in the Color Editor tab and then use it to sample an area of the image. You can then fine-tune the area selected by manipulating the range that shows up in the color wheel above the sliders. To see exactly what part of the image is selected, click “view selected color range” at the bottom of the dialog.
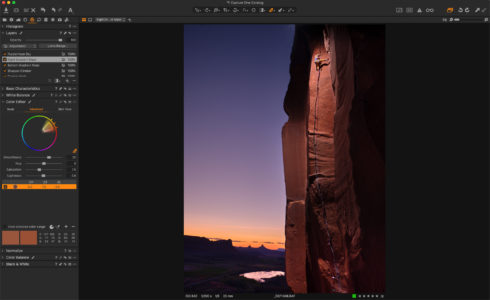
In the example above, I used the Color Editor to adjust the hue, saturation and lightness of the reddish-brown rock wall. I also used the Color Editor to dial in the purple color of the sky in the background. This tool is incredibly useful for getting creative with color or to adjust specific colors so that they are as accurate as possible.
Customizable interface
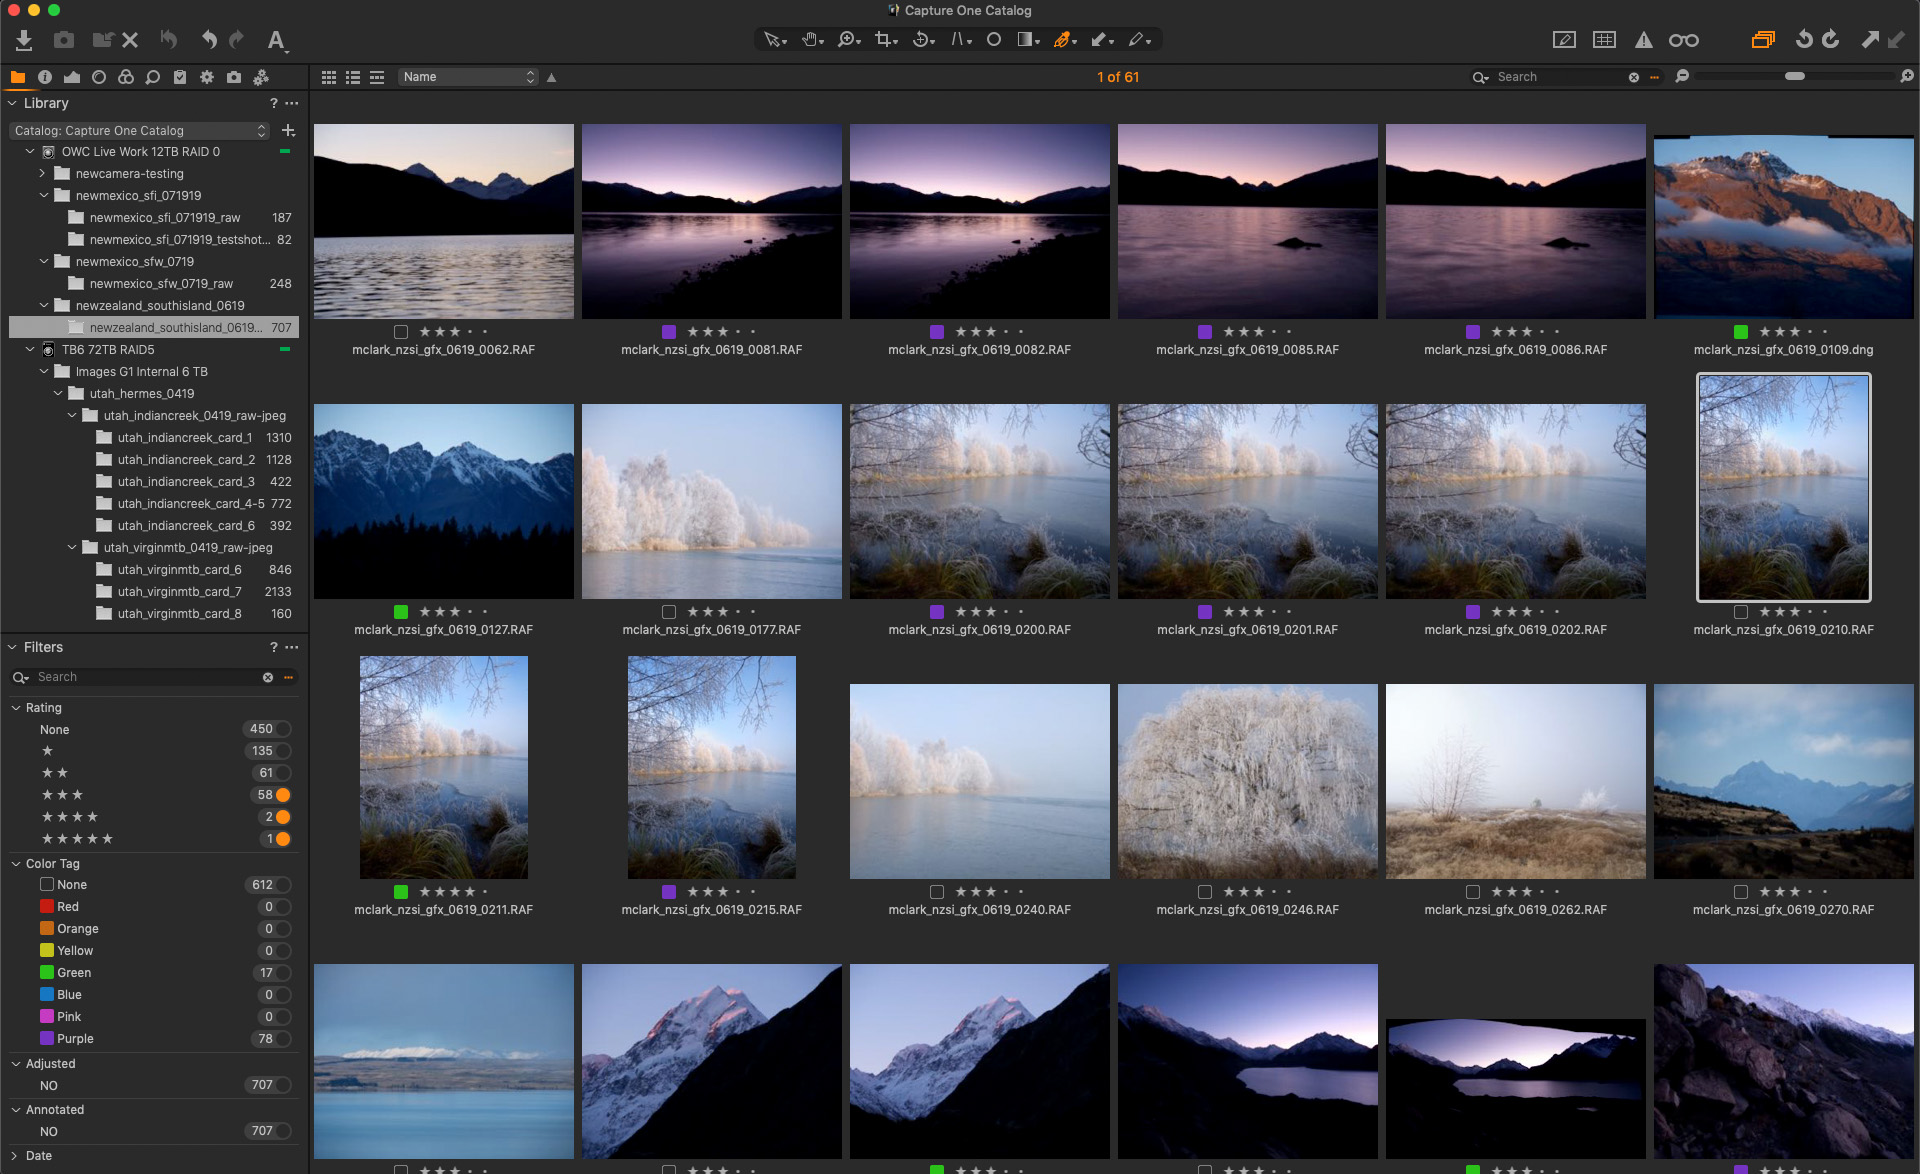
I can work much faster thanks to Capture One’s customizable interface. You can move pretty much anything anywhere you want it. You can pull tools out of the sidebar and make them bigger or smaller as needed and you can make tools appear and disappear as well. It is also easy to accommodate dual monitors – you can even locate your tools or a grid of images on the second monitor.
For those coming from Lightroom, you can set up Capture One to mimic a similar layout, which makes the transition much easier.
One of the most useful keyboard shortcuts – especially for those coming from Lightroom – is to edit the keyboard shortcut to “Show/Hide Viewer.” Simply go to “Edit > Edit Keyboard Shortcuts…” and then open the View section.
Scroll down to “Show/Hide Viewer” and set that keyboard shortcut to something that makes sense for you but isn’t already used. For example, I have it set to use the “~“ key. By using that keyboard shortcut, I can go in and out of the “Show/Hide Viewer” mode super fast, as shown above in the two screenshots.
Switching doesn’t have to be hard
Learning any new software might seem intimidating – but switching to Capture One is not really a case of learning everything from scratch but finding the comparable tools in the new photo editing software.
In the case of Capture One Pro, I was thrilled to discover completely new tools that dramatically sped up my workflow and allowed me to take my images further in the raw processing stage. I am deeply impressed with the results so far and excited to keep using Capture One to improve my digital workflow.
If you don’t already have Capture One, download a 30 day trial and try it out.
Eager to learn? Access webinars, tutorials and expert help in the Learning Hub – completely free.