Producing imagery that reflects the mood and feeling at the time of capture is of utmost importance, particularly when it comes to landscape photography and capturing vivid cityscapes.
Working with world-renowned photographer Paul Reiffer, the Elevation Styles pack was designed to ensure that your images retain the essence of the moment and bring decades of photographic experience to your images at the click of a button.
Learn more about Paul’s journey and how Elevation Styles takes your images to the next level.
So, why did you create Elevation Styles? Was there anything specific that inspired you to create them?
I have taught people how to use Capture One Pro for more than ten years and I see people frustrated by the same thing: they find it difficult to get the photo to look like how they saw it at the time.
Sometimes when we load the images onto a computer, we don’t necessarily see exactly what we thought was there, or how it felt to be there. So, we’ve built a fast-track to taking your picture from its raw ingredients to the actual memory of the scene.
How do you see these Styles aiding the workflow of Capture One Pro users?
These Styles are designed to get you to a point where you can essentially flick through and find a mood that fits the photo, without having to use twenty different adjustment sliders to get there.
They enable photographers to get to that baseline very quickly within a couple of clicks rather than having to reinvent the wheel every single time.

Edit your images in one click, or get a base to make them your own with the Elevation Styles preset pack.
Sounds like the Styles speed the editing process up quite a bit – does that mean you also use them as part of your workflow?
Even up until last week, on every single image, I would go in and do the same thing individually. Now I can edit my images in one click, as opposed to about twenty.
The Styles get me to about 70% of where I want to be, and then I’ll tweak from there.
Would it be fair to say these Styles serve as an ‘education’ on how to edit landscape/cityscape images?
The Styles do some pretty smart stuff and nothing’s hidden.
I tell all my students, ‘don’t just use a Style, take it and tweak it to make your own.’ Look at what adjustments are being used and figure out why on earth we’re using the Skin Tool on a landscape.
How is the Skin Tone tool (found within the Color Editor) used in landscapes and cityscapes?
The Skin Tone tool has been a secret weapon in Capture One for years. Portrait photographers use it to fix unevenness in skin, but it can be used to fix unevenness in anything. It doesn’t matter what it is – it’s one of the most powerful tools in Capture One Pro.
Speaking of textures and sky, how do Elevation Styles assist in not overdoing adjustments?
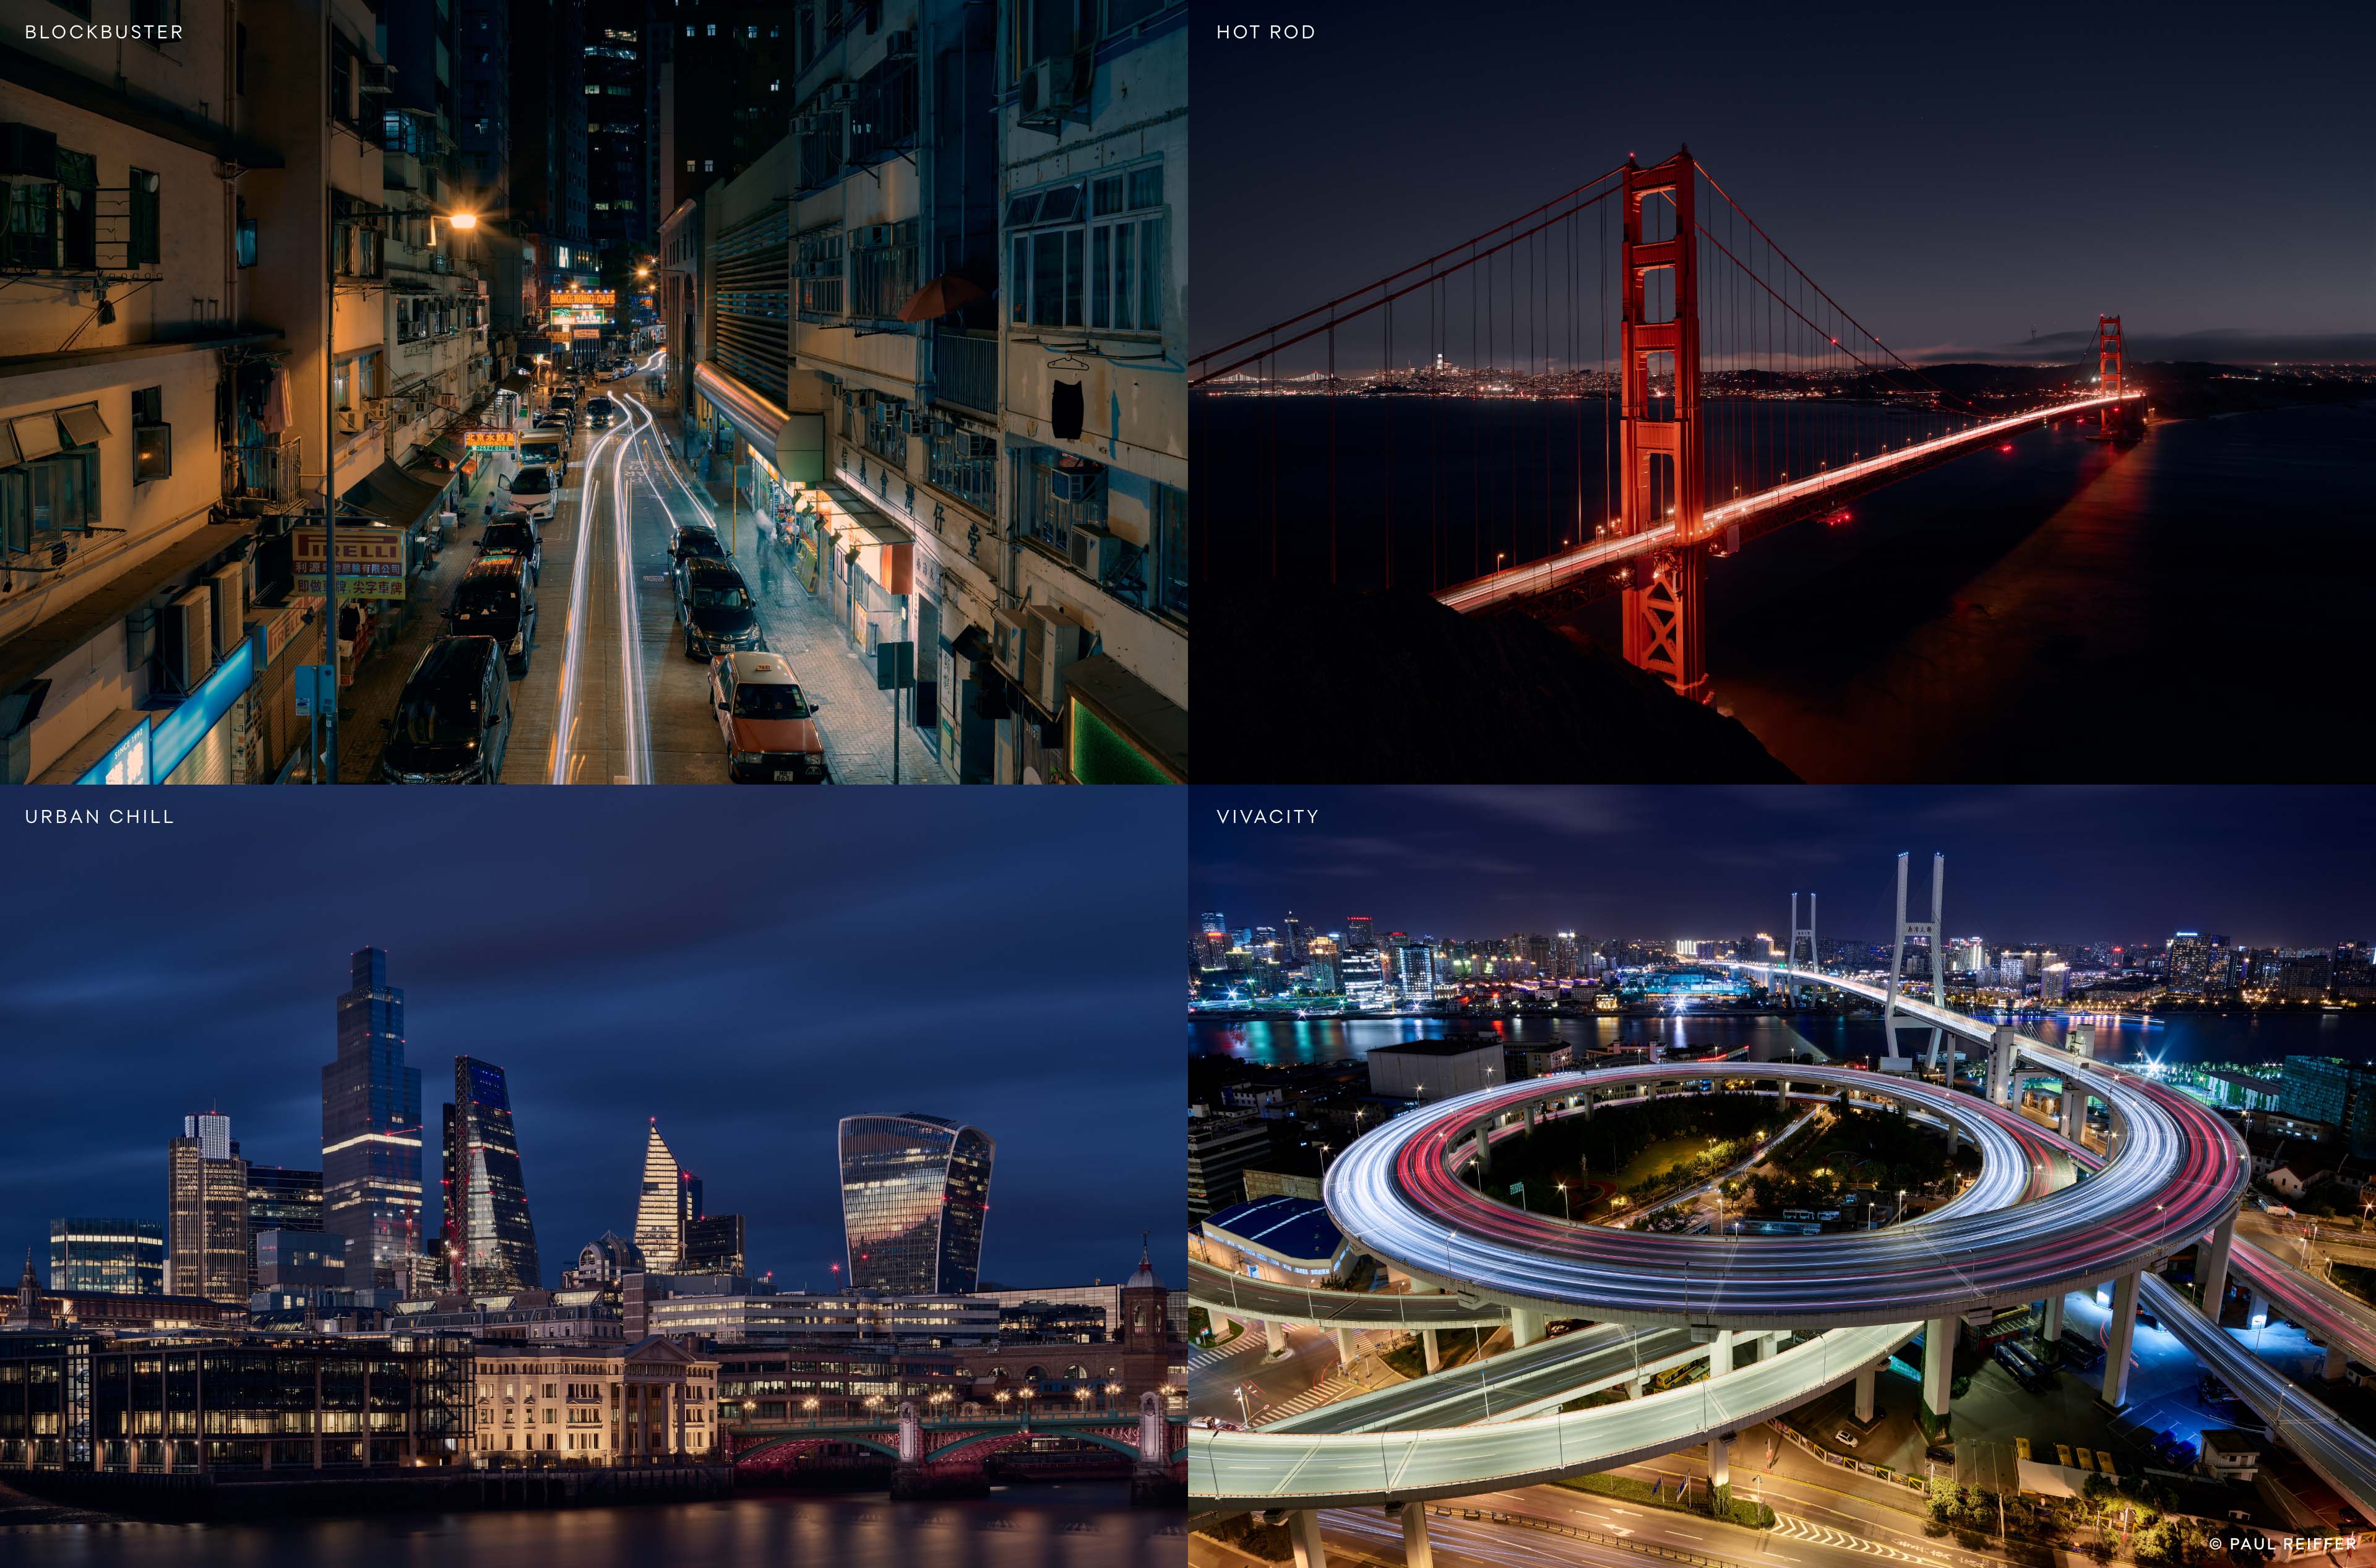
I think the most ‘powerful’ adjustment that we do, is the Clarity in Vivacity. I think we hit something like ‘55’ – and that’s probably the heaviest you should ever be using that slider.
We’ve done the safety checks and made sure it’s not going to do anything bad to your picture. Nothing is pushed too far, and that’s the biggest thing that I see people make mistakes with, is that they push things too far.
Is there something that you’re particularly proud about achieving in this pack?
From a selfish point of view, I now use my own Styles as part of my workflow.
On a more technical level, creating a set of adjustments that works across a variety of images is challenging. It’s one of the reasons why the Styles are toned down a little bit, because on my own images, I could push quite a lot of that stuff further and it would be perfectly fine.

Are there any other benefits to using Elevation Styles, or Styles in general?
The other major benefit is speed. If you want quick edits of landscapes that will give you a stylized output, then this does that for you in one click.
Styles allow you to spend more time on the detail and less time on the overall – it’s about achieving that ‘baseline’ and then focusing on things like dust spots, healing etc. All the stuff that is painful, but important to do.
—- —- —-
It’s not often you get access to decades worth of professional photographic experience in a single click – and we can’t wait to see what you create, both with Elevation Styles and Paul’s world-class workflow tips.
Channel your inspiration and try out Elevation Styles today
or
Learn how to use Styles in Capture One Pro