NOTE: This article discusses an older version of Capture One Pro. To learn more about our latest version, click here.
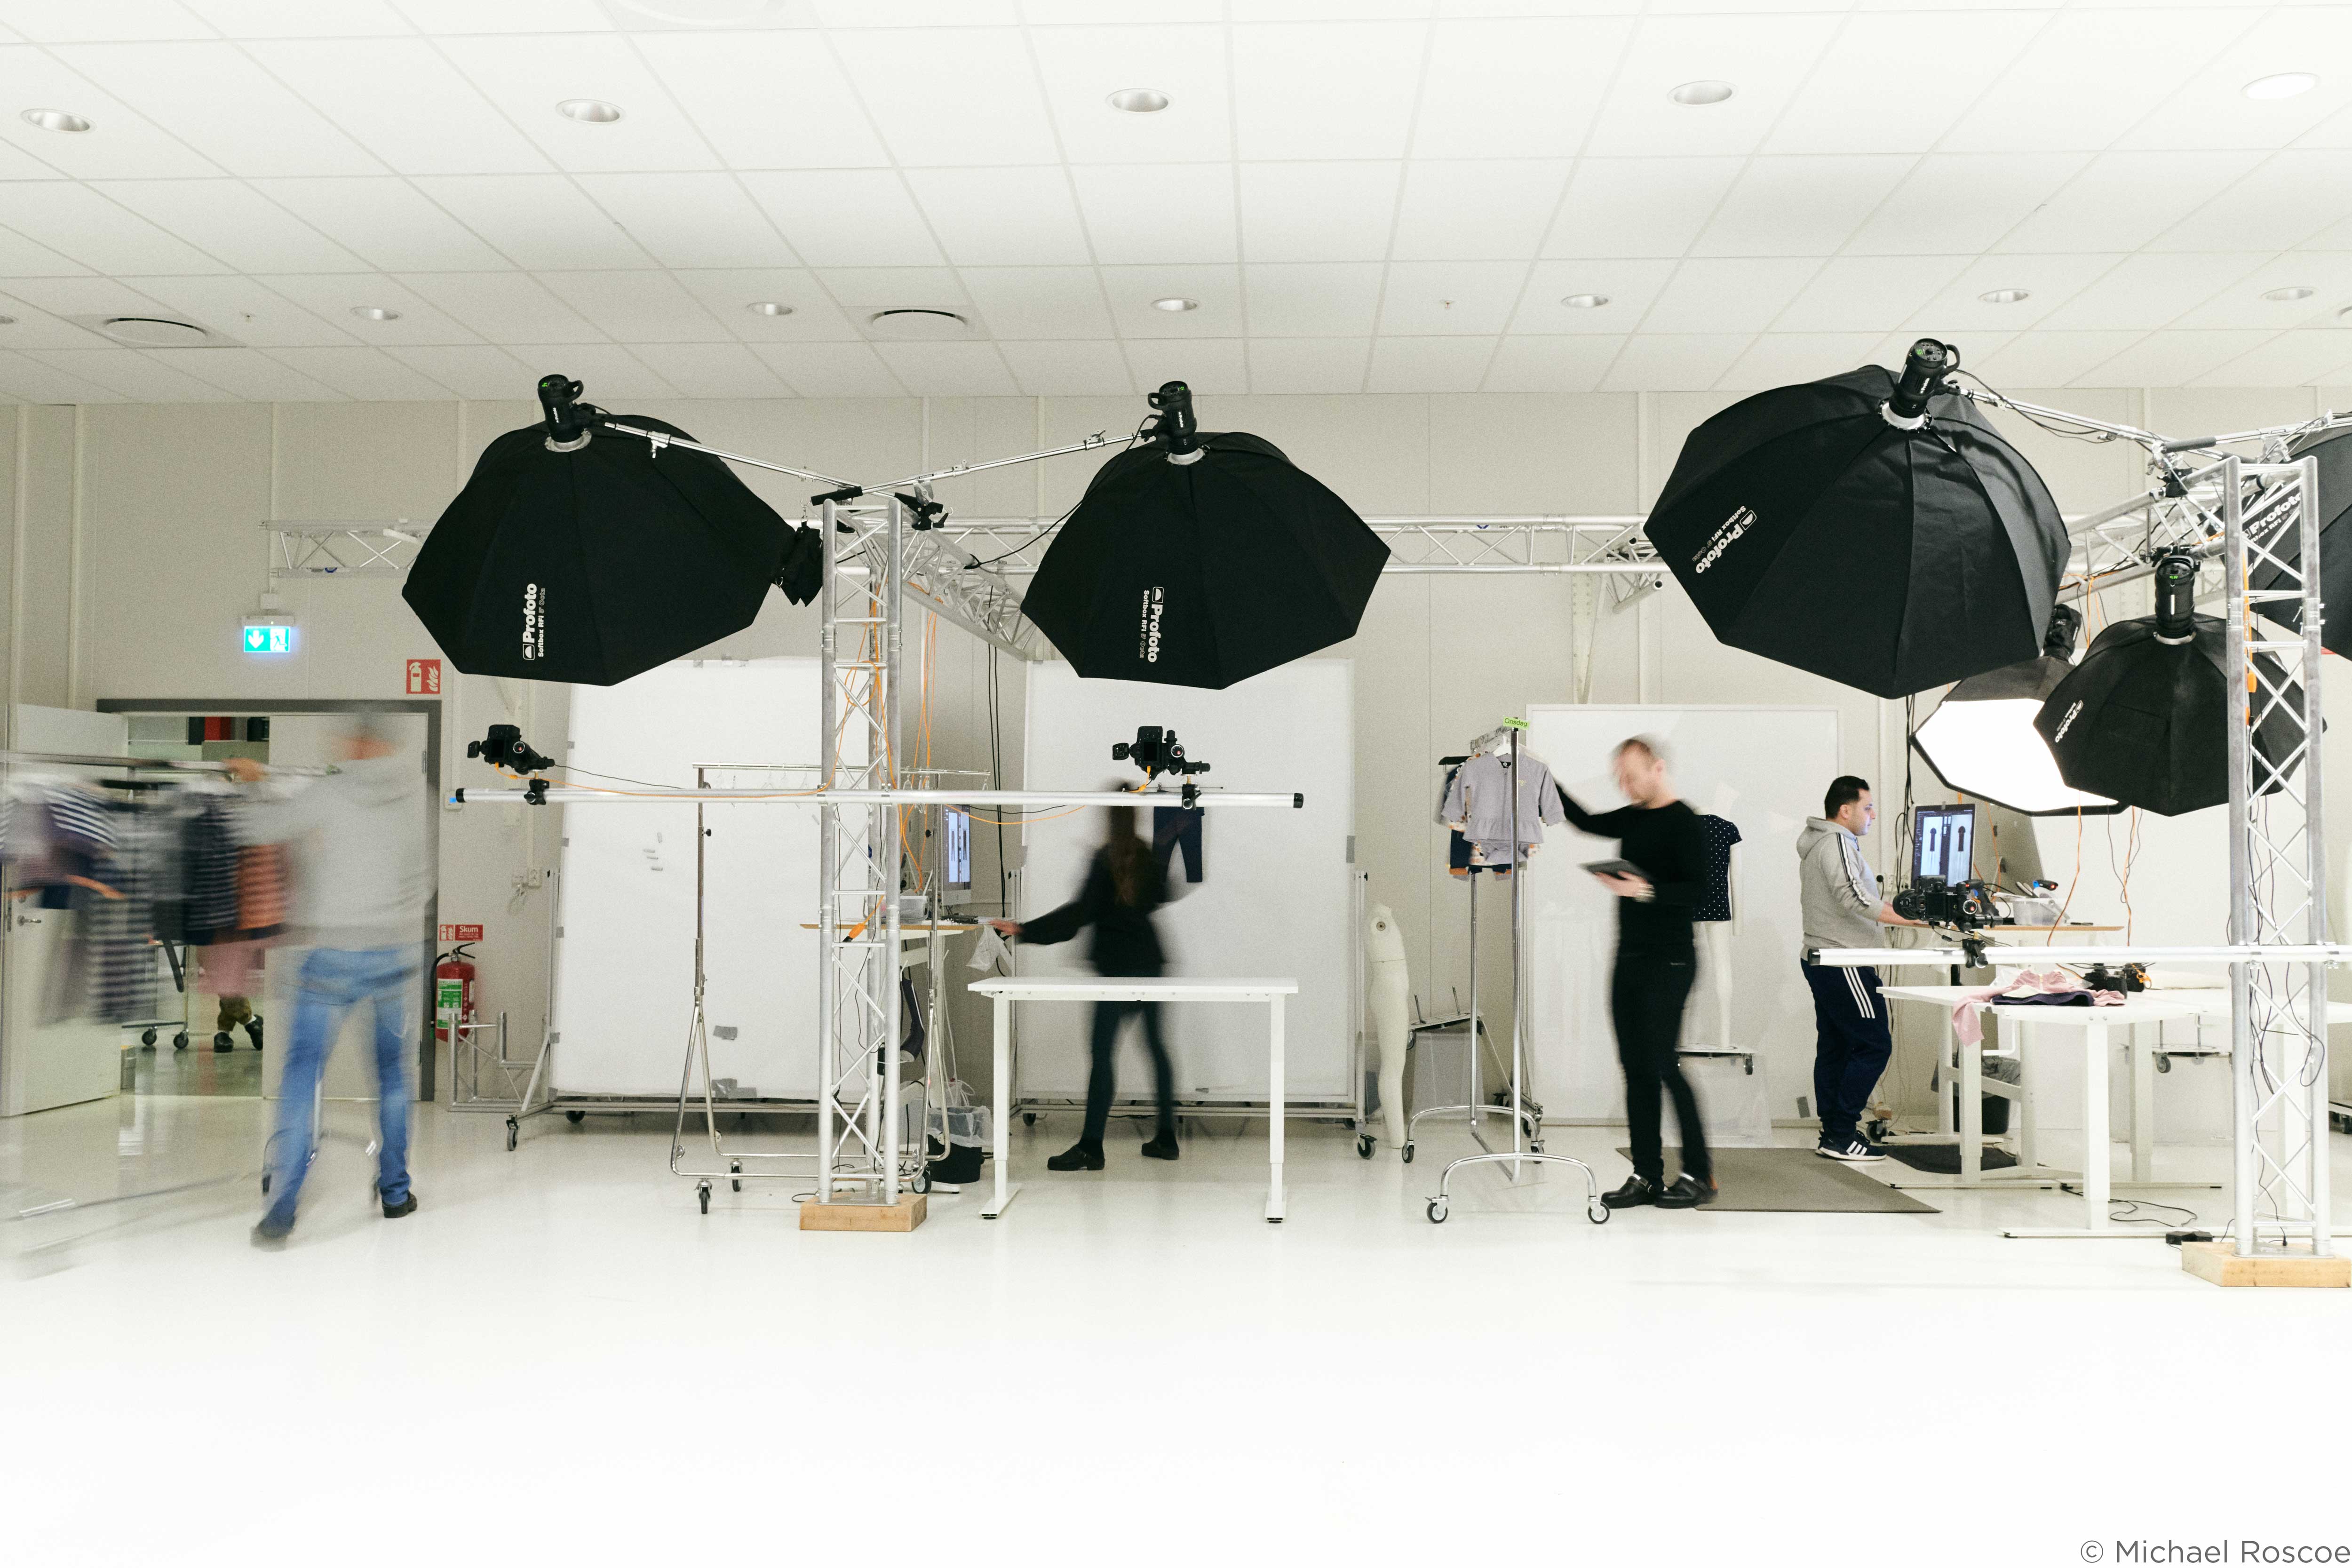
As a fashion and beauty photographer, I shoot in the studio 70% of the time. I rarely shoot by myself but rely on a creative team – a fashion stylist, makeup artist, hair stylist, set designer, etc., and often there’s also a client. Shooting directly to Capture One on my computer using tethered capture means the team and client can make adjustments as we go – and I can focus on directing the model.
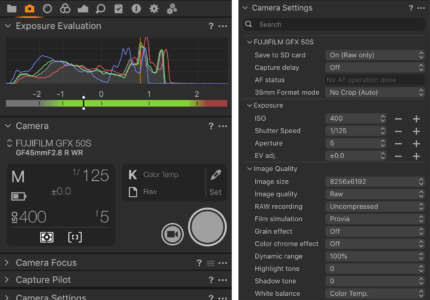
I shoot with Fujifilm GFX 50S, which is a mirrorless medium format camera. As opposed to a typical DSLR, I can see the result of every single shot right after I snap it – in my camera’s viewfinder. It’s really convenient that I don’t have to look constantly back at the screen.
Meanwhile, Capture One’s photo editing software isn’t just for post-production – it also makes the shooting process easier with tethered capture. This feature lets you connect your camera to your computer and customize the settings directly in Capture One – with lots of customizable options for your capture and detailed camera settings right in the software.
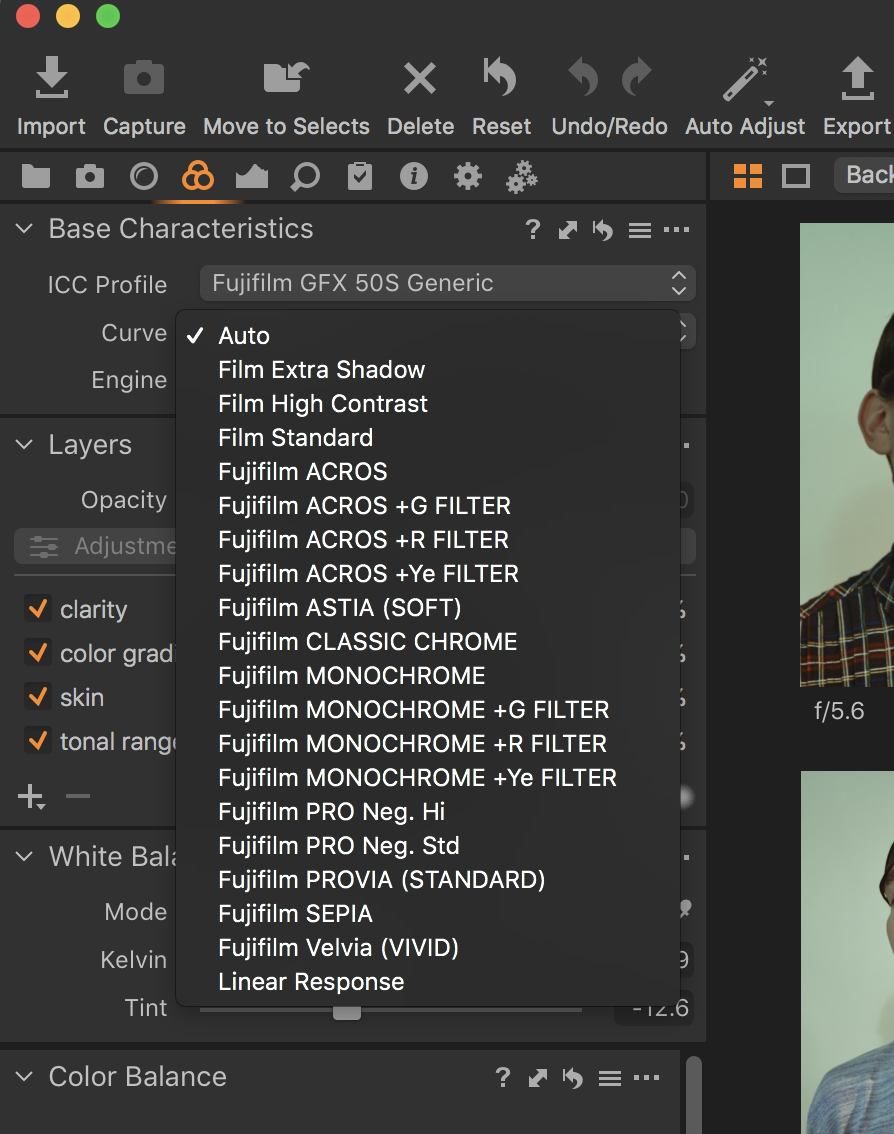
I’ve been using Capture One for about 7 or 8 years now, and I love the wide range of adjustments this photo editing software provides. I’m especially happy that it supports Fujifilm, as my camera has a really wide dynamic range and range of colors captured in RAW format, and Capture One has Fuji specific ICC profiles and Curves corresponding to film styles of Fujifilm cameras. A lot of photographers love Fuji for its Fujifilm Film Simulations, and you can select from several film options as you shoot (even if you shoot RAW!), that really helps with an overall color and contrast direction for the shoot. But if you didn’t choose any or you have changed your mind, you can select another Fujifilm Film Simulation directly in Capture One!

Because my camera is medium format, this means large files and lots of data. I’ve never had issues with Capture One processing and applying adjustments to files as I shoot. It has never slowed me down, which is really critical when you are working with other people and to a strict schedule on-set. And what I love about my GFX 50S is how much I can do to the RAW files in post production. Even if you severely underexpose or overexpose an image, there is so much information in the file so it can easily be recovered!
 Left – After, Right – Before
Creating colors
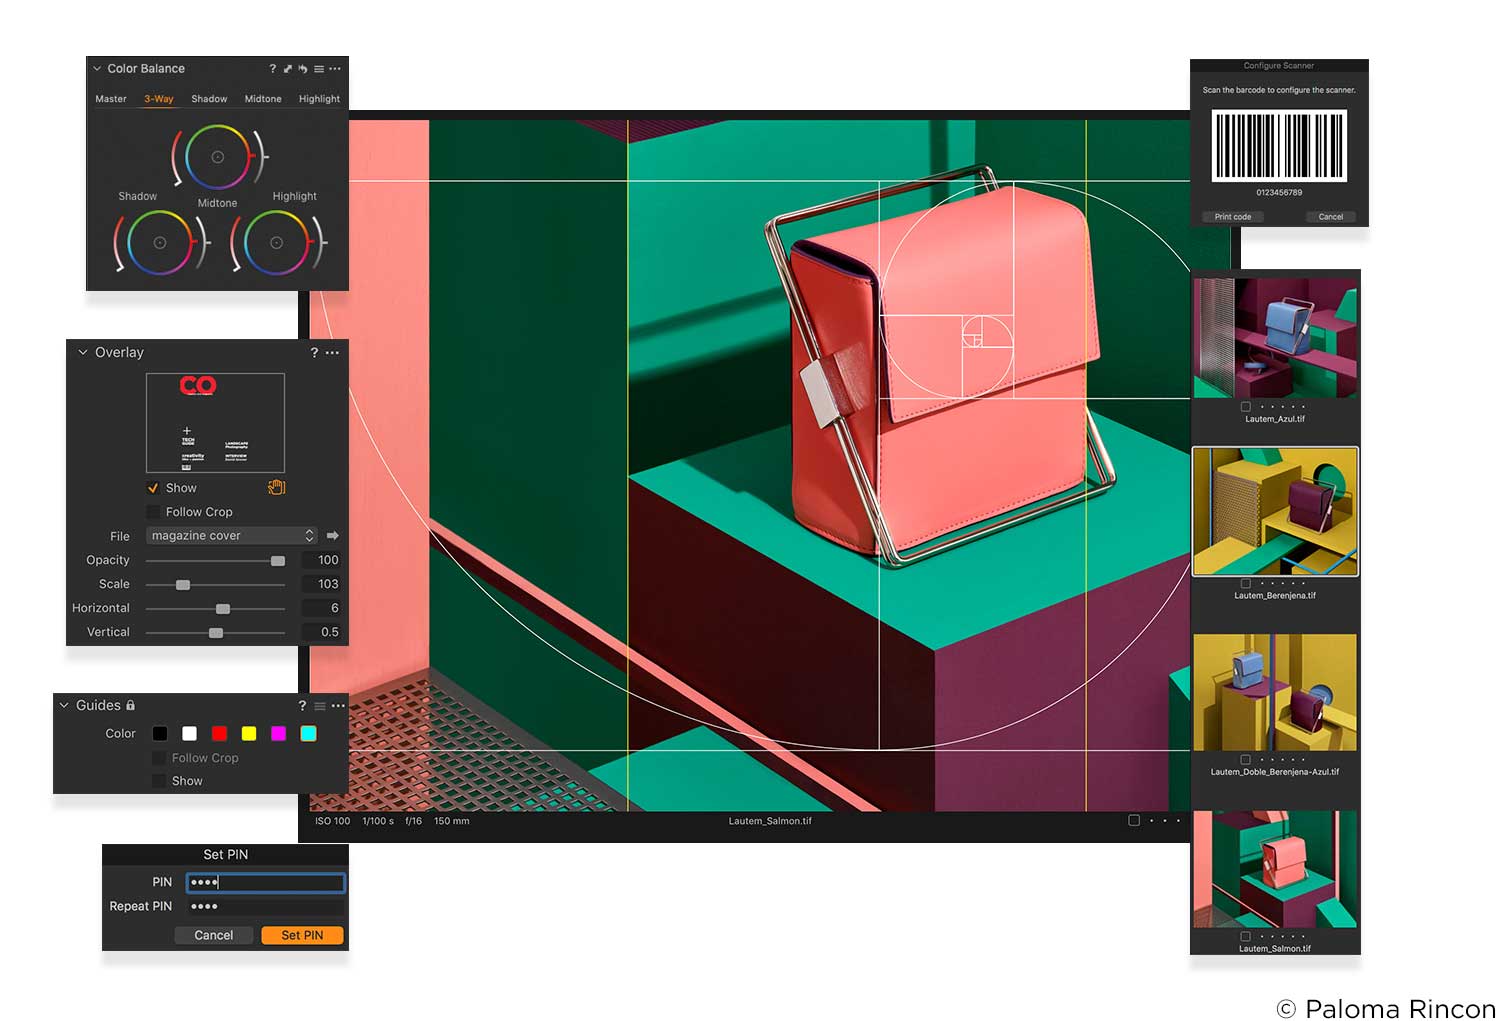
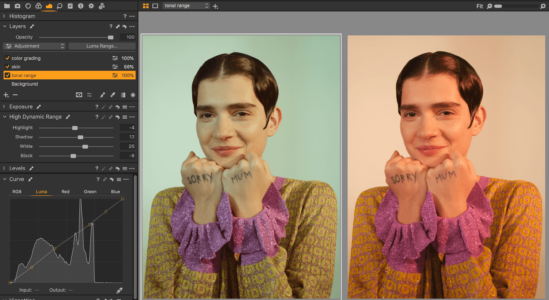
I do a lot of color correction and color grading in my work. I plan out a color palette before the shoot, of course, but often you can’t get the exact colors you want in-camera.
Sometimes I shoot with color gels to create different effects, knowing what I will do to this or that color in post production using my photo editor. For example, the above image on the right-hand side was shot with a 1/4 magenta gel on a tungsten light. When I added cyan and green to the image in Capture One, it helped me get closer to natural, slightly vintage skin tone look I was after, while making the background green.
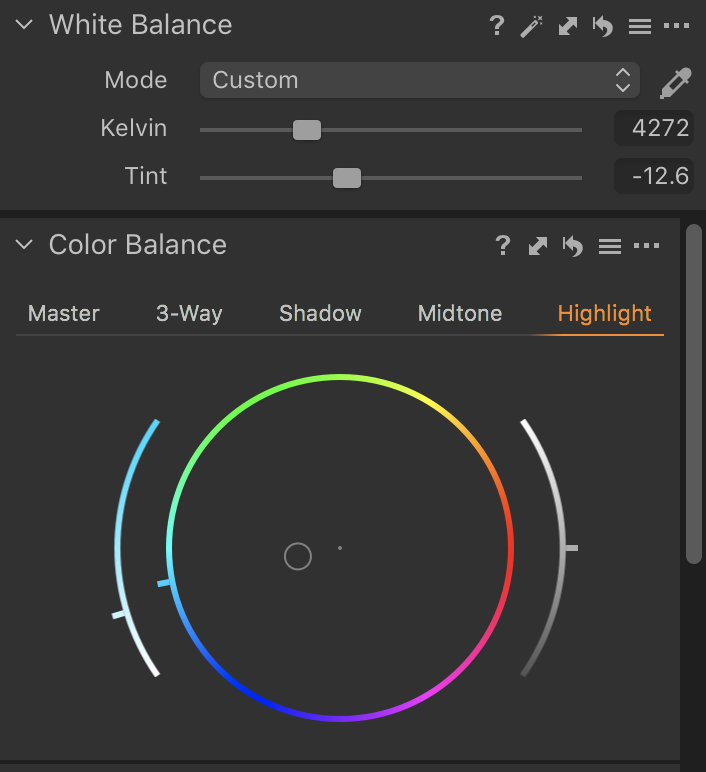
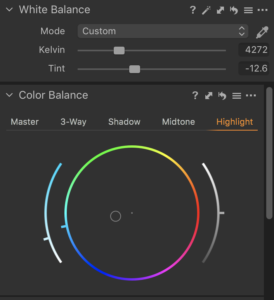 Temperature and Tint adjustments. Color Balance adjustments.
The Color Balance tool is probably my favorite tool in Capture One. It allows me create a certain mood and add a personal touch to an image. I usually do my tonal range adjustments and color grading on two separate layers. That allows me to turn them OFF one at a time and see if I want to adjust them further.
 Left – After, Right – Before the color grading, see the layer on the left is OFF.
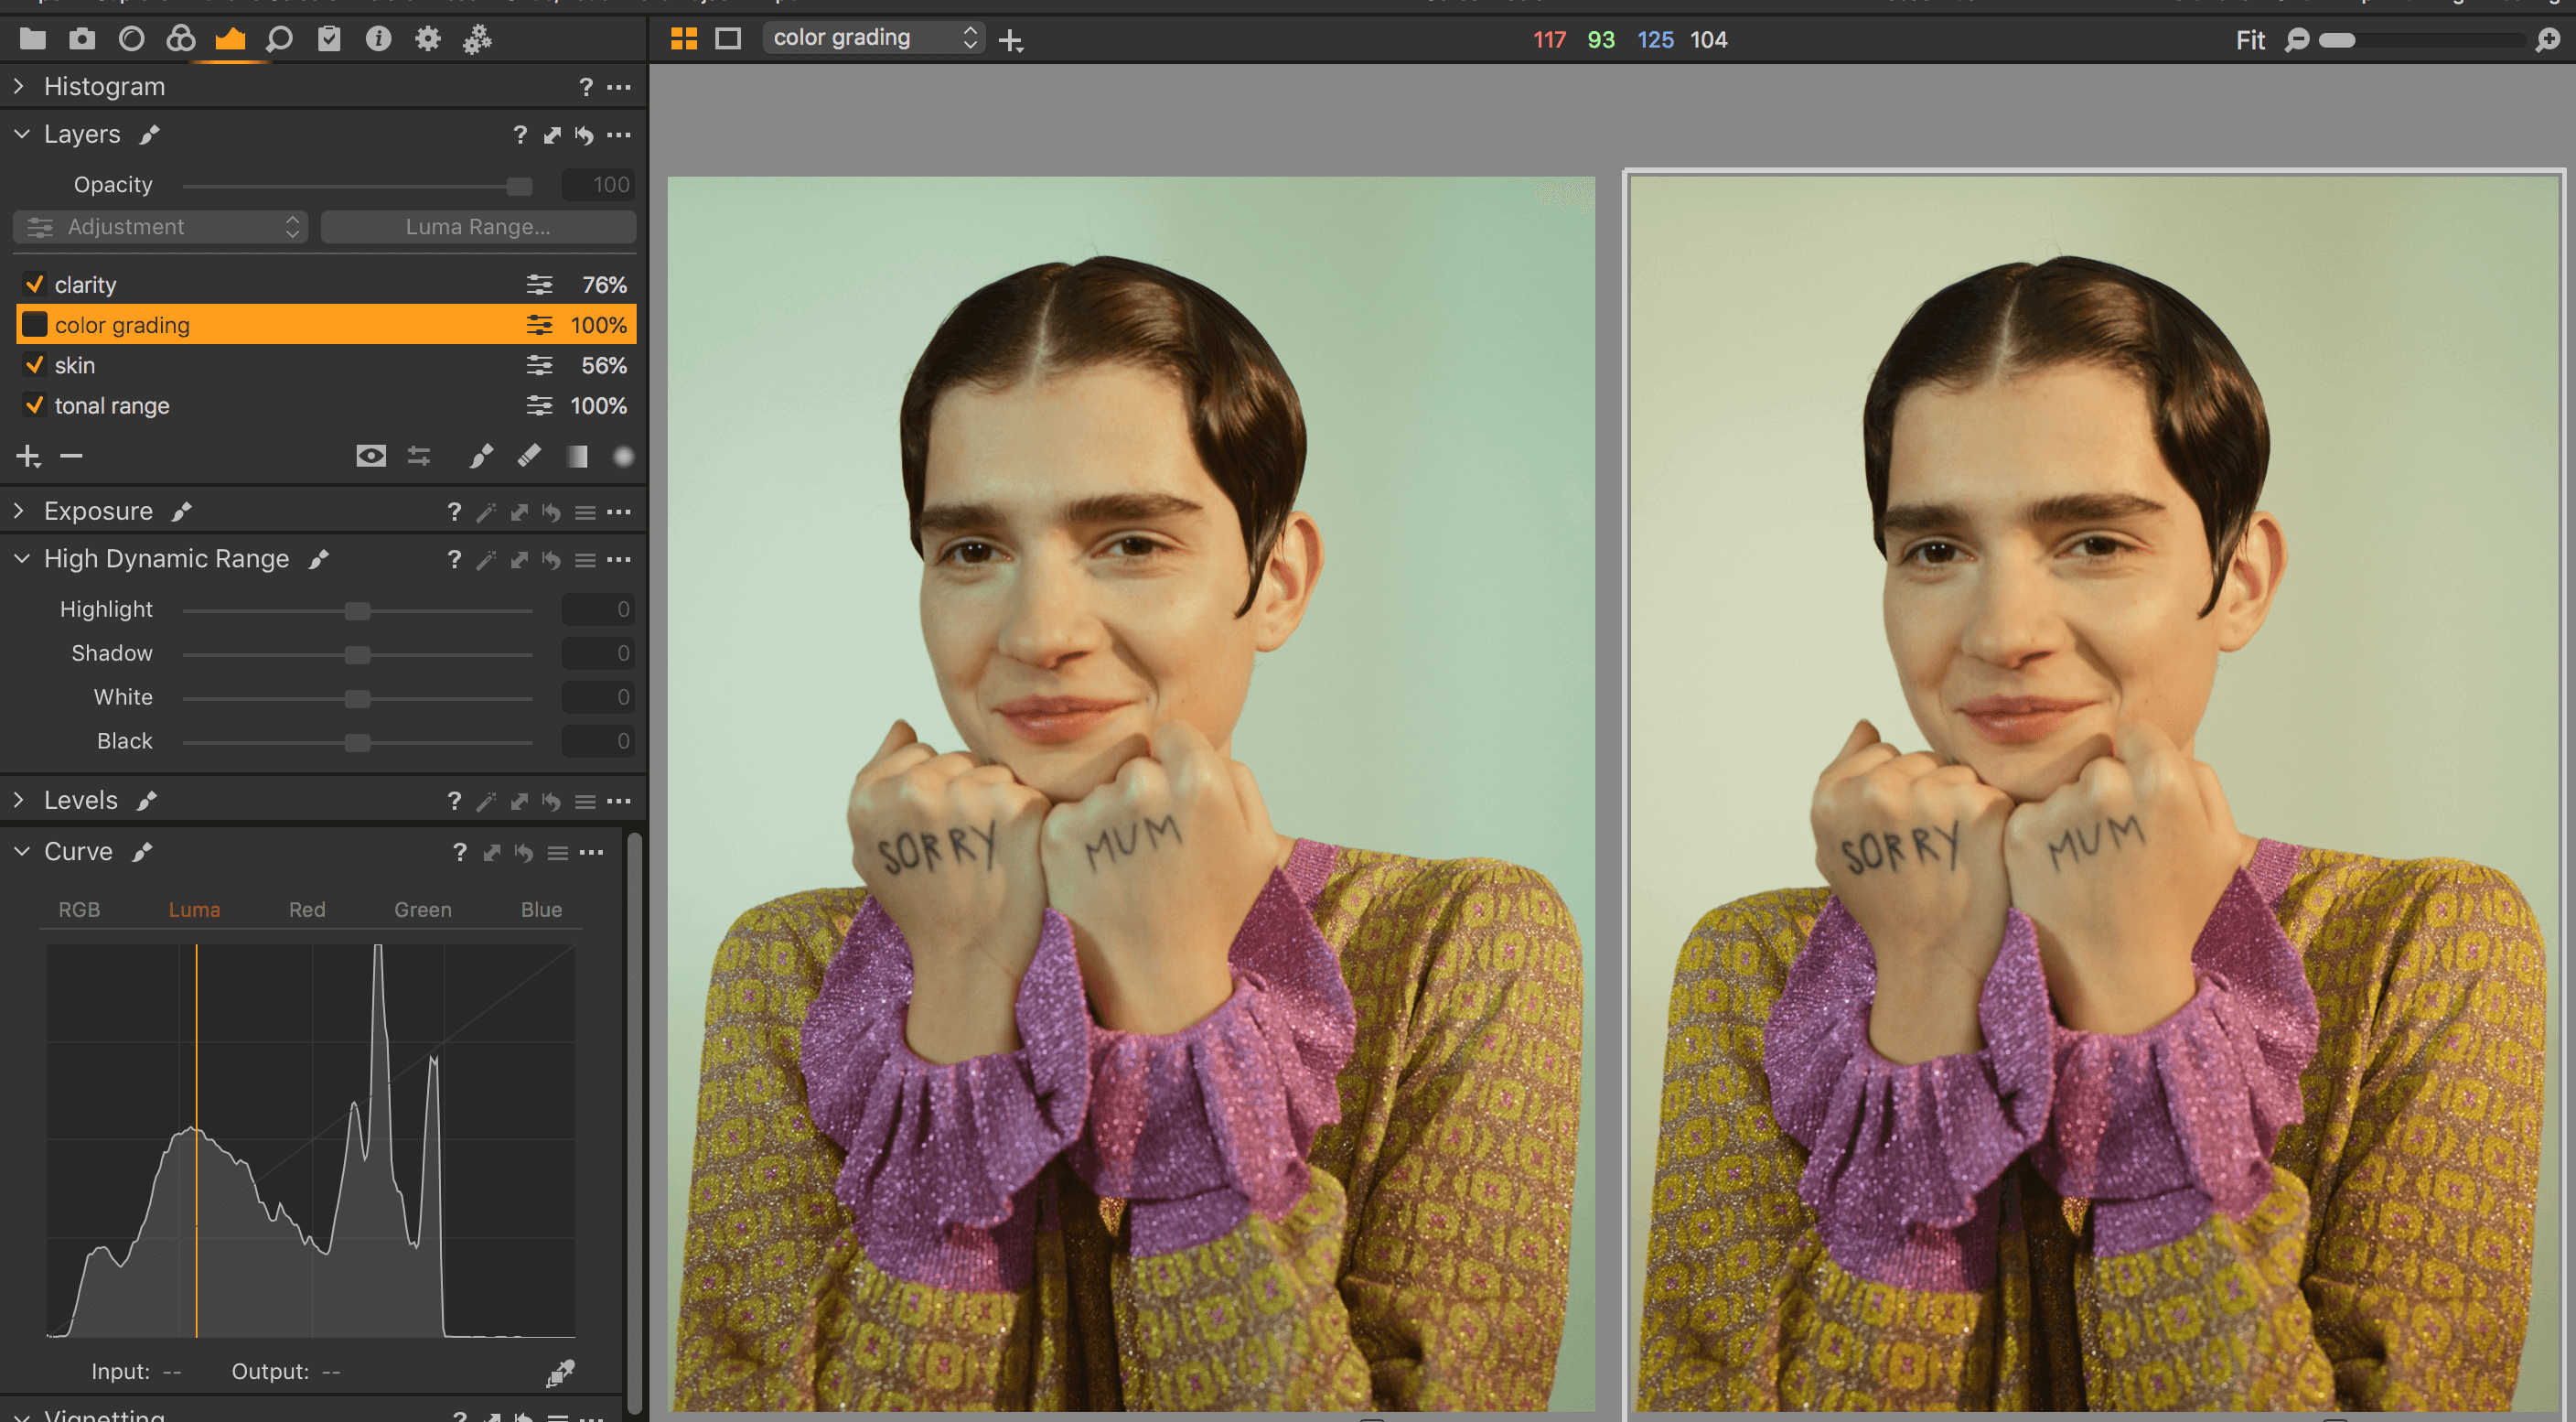
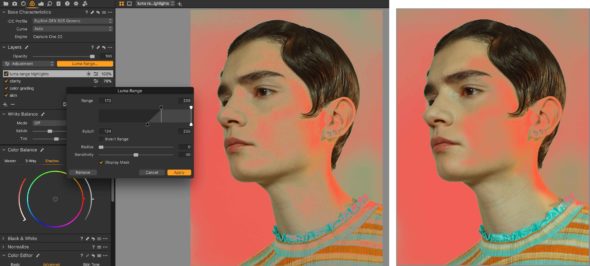
To save time on color grading with Luminosity masks in Photoshop, I often do additional layers in Capture One and use the Luma Range tool for a precise selection of tones. For example, in the image below I wanted the highlights and the background to be a bit cooler to add more depth to the image. So I used the Luma range tool to select the lightest areas in the image and apply Color Balance specifically to them. If not all the selected areas (shown in red below) are needed, it is easy to erase parts of the mask with the eraser tool.
Left – applying mask to lighter tones only. Middle – part of the face, neck and shirt erased from the mask.
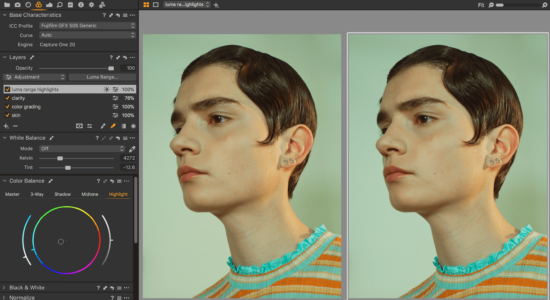
Using the same principle I can make a separate layer with the Luma Range Mask just for the hair which is the darkest part of this image. Here is the image before and after the Luma Range layer is applied.
 Left – After, Right – Before
The difference is subtle, but that’s what you need the Luma Range tool for – subtle color grading to achieve more depth in an image, and overall more finished look.
The most powerful image processor
Overall, Capture One is a critical part of my studio workflow. I find that the photo editing software processes RAW files unlike any other RAW editor. And it improves with every new version! I’ve compared files processed in other software programs to the results in Capture One, and the result is very different. Capture One just sees more nuances in color in different parts of dynamic range.
It’s also crucial for editing skin tones and for fashion photography. Because you’re dealing with designer clothes, professional models and creative lighting – you need to get the most out of your capture!
Download a free 30-day trial of Capture One and see all you can do with the latest photo editing tools.