Bringing new features, new capabilities, a new product, and a new look, Capture One is providing better solutions for more people, and breaking new ground.
COPENHAGEN, May 18th, 2020: Capture One, the premiere name in photo editing software, delivers a suite of announcements that highlight new product offerings, expanded capabilities, and a new direction; revealing the company’s continuing evolution and support for creatives.
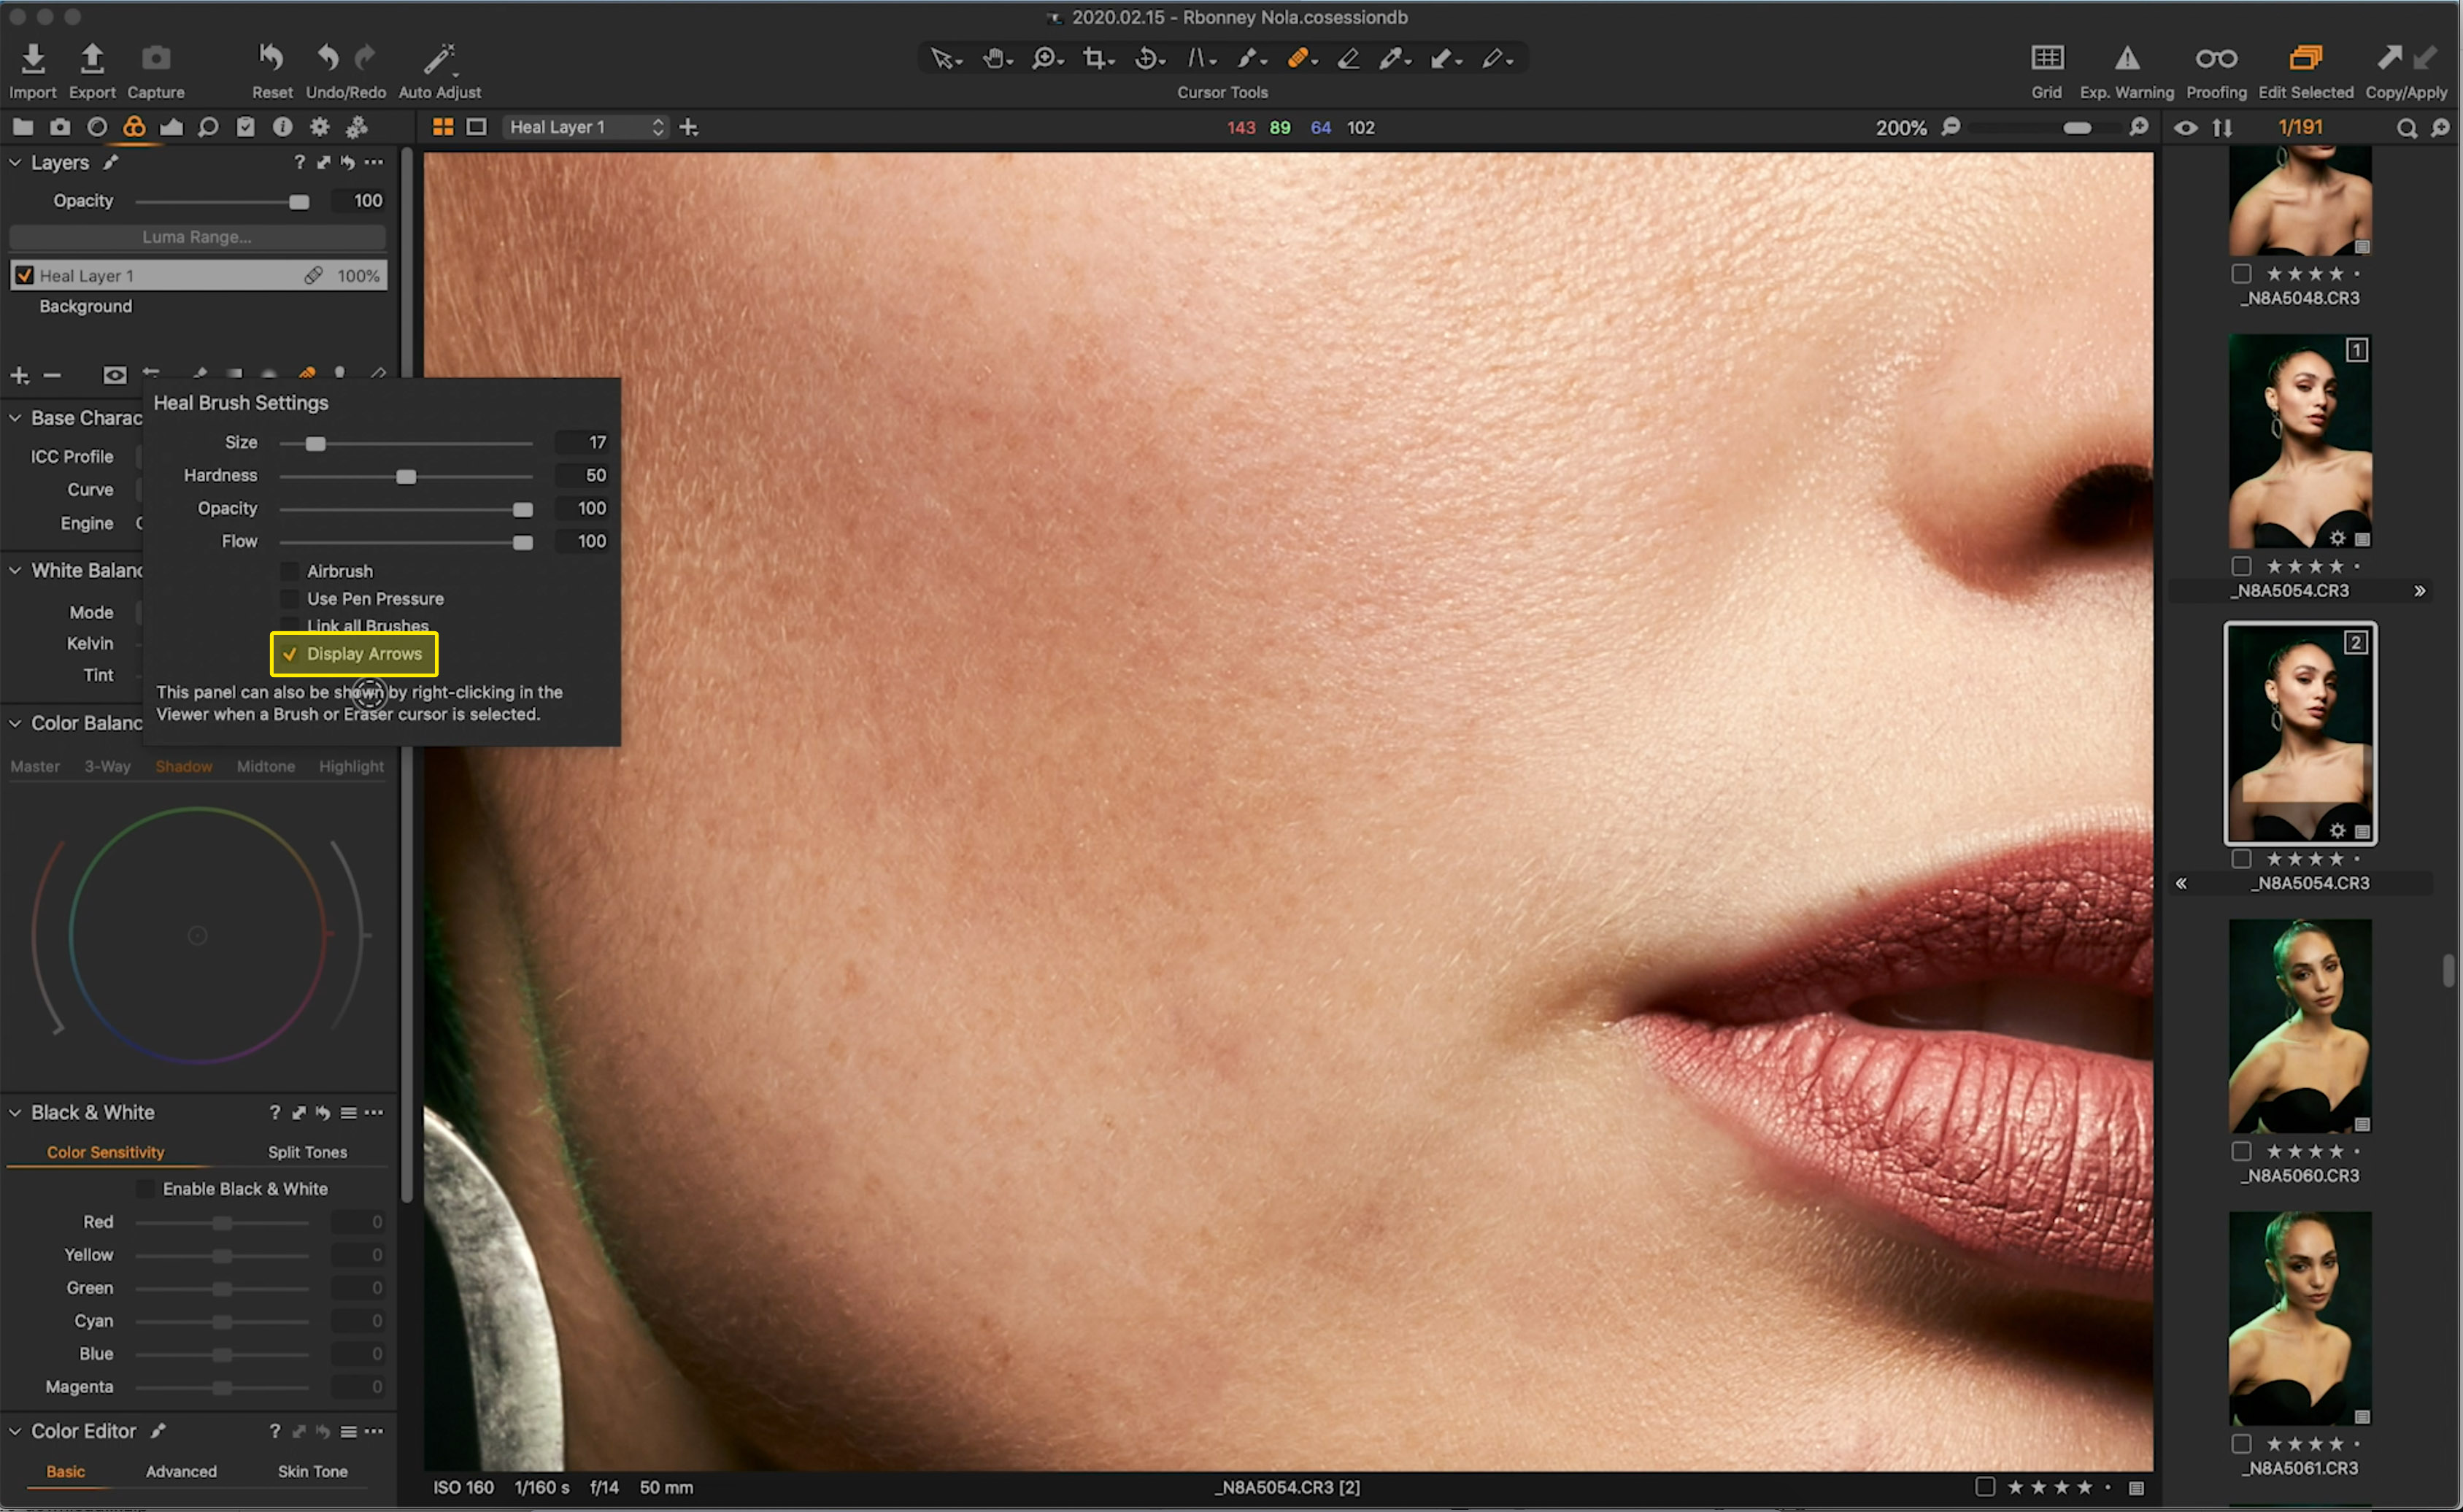
The development of Capture One 20 remains driven by an evolving roadmap rooted in user feedback from both the Capture One community and creative community overall. The latest update brings brand new heal and clone tools that reduce the need for external retouching applications while increasing efficiency, and a new Before & After Tool that gives new ways to check your editing progress and to compare your edits.
With user experience in mind, Capture One has also developed a new activation flow with new dialogues, sample images, and interface guidance that make it faster and easier than ever to become a Capture One user. In addition, the company has advanced its Lightroom Catalog importer, and together it not only makes it easier to start using Capture One, but easier to migrate without missing a step.
Beyond that, when it comes to Capture One, users have choice. There are currently a number of Capture One variants such as Capture One Fujifilm and Capture One (for Sony), and now the company is proud to deliver Capture One for Nikon. Similar to the other branded versions, Capture One for Nikon brings the full feature-set of Capture One Pro at a reduced cost to Nikon users.
“We want to enable creatives to achieve their best images as effortlessly as possible, and that is why we drew heavily on feedback from our community to develop Capture One 20,” says Jan Hyldebrandt-Larsen, VP Software Business at Capture One. “It is our commitment to support them by providing a seamless photo editing experience defined by developing the features they ask for and need, as well as the ones they didn’t know they wanted. Capture One 20 is an exciting moment for us as we happily put even more focus and resources behind that goal.”
Learn what’s new in Capture One 20 at: www.captureone.com/20
Learn more about Capture One at: www.captureone.com
New features and tools in Capture One 20
New Heal & Clone Tools
- New dedicated brushes for Heal and Clone will automatically create the correct layer when used
- Fast workflow with automatic source-point generation
- Limitless number of heal-zones per layer (previously only 1 p/layer)
- Most flexible healing workflow of any RAW converter
- Moveable source points, and transformable heal zones
- Fast performance and high-quality rendering
New Before & After Tool
- A new dedicated tool placed in the Toolbar with easy keyboard shortcuts
- ‘Y’ will toggle before/after on and off
- ‘Shift + Y’ will toggle between the two modes:
- Full View and Split View Slider (draggable)
- Fast performing and works on multiple photos in the viewer
- Full View available in all products
- The Split View Slider is not available in Capture One Express variations
New Lightroom Catalog Import
- Improved Lightroom Importer with better descriptions
- Allows import of ‘offline files’ (files located on disconnected storage devices).
- Capture One automatically imports files once the correct hard drive has been plugged in
- Provides a report after the import with information about unsupported files
- Basic image adjustments and Catalog structure will be replicated in Capture One
Capture One for Nikon
Capture One continues to not only provide the best image editing software but to provide tailored options to suit as many users as possible. From free variants of Capture One Express to branded versions for Fujifilm and Sony, Capture One users have choice in product and to either own it outright or via subscription. The new Capture One for Nikon will bring all the power of Capture One to dedicated Nikon users at a reduced price point, including tailored profiles* for supported Nikon cameras.
Unlike other RAW processors, Capture One’s camera profiles are uniquely developed for each specific camera model, a process that requires the use of the camera in and out of a controlled lab in Copenhagen, where a team of specialists engage each new model in various scenarios. They then evaluate all the performance parameters such as color, sharpness, and noise across hundreds of images and uses that data to deliver a truly tailored profile, which ultimately provides the best post-processing experience. Capture One for Nikon, like the Pro version, brings this level of support for Nikon cameras, including their latest cameras like the Z6, Z7, and D6.
The company is also proud to begin this journey with Nikon users with one of the photography world’s most beloved people, Joe McNally.
“Working with Capture One means I have a complete solution, from tethering and file management on location, to creative control over how the drama, impact and color of the picture at hand matches up with my imagination,” says Joe McNally, Nikon ambassador. “It’s a complete tool and with the new features, it’s getting simpler and more seamless than ever to use.”
*Nikon profiles included for selected Nikon cameras (also in Pro, not unique to these products). Capture One 20 adds Nikon profiles to match what is available in-camera for selected Nikon camera models.
New camera and lens support
Capture One provides users with the most accurate and powerful image editing available, and the wide-ranging support of cameras and lenses is a hallmark of the software. For enthusiasts and professionals alike, Capture One continually evolves to handle the newest cameras and lenses.
Capture One carefully evaluates and interprets each camera’s RAW formats, allowing Capture One to present images with the utmost fidelity, often bringing out nuances that other programs can’t even perceive.
Currently offering RAW support for all major camera brands, and profiling and image correction support for multiple lenses. As with the RAW file interpretation, Capture One carefully measures the optical characteristics of each supported lens and builds correction algorithms that compensate for the various optical imperfections of various designs. As a result, Capture One can correct for numerous common optical issues such as vignette, and chromatic aberration as needed for each of the supported lenses, providing you the best version of your image possible. And they are always adding support for the newest camera bodies and lenses.
New camera support:
- Canon 250D
- Canon PowerShot G5X Mark II
- Canon PowerShot G7X Mark III
- Nikon P950
- Leica M10 Monochrom
- Olympus OM-D E-M1 Mark III
- Zeiss ZX1
- Phase One iXH 150
New lens support:
- Phase One XT -Rodenstock HR Digaron-W 50mm f/4
- Tamron 28-75mm F2.8 Di III RXD
- Fujifilm Fujinon XF16-55mmF2.8 R LM WR
- Ricoh GR III (GR Lens 18.3mm f2.8)
- Canon PowerShot G5 X Mark II
- Sony FE 20mm F1.8 G
For a complete list of supported cameras, please go to: www.captureone.com/features/supported-cameras
Pricing and Availability
The new update for Capture One 20 is now available and is a free update for all Capture One 20 customers.
For new customers Capture One is committed to providing customers a choice when it comes to how they acquire their software, so Capture One Pro 20 is available for purchase, or via subscription. The perpetual license for Capture One Pro 20 is available for $299, with upgrade pricing from previous versions starting at $159. Capture One for Nikon, Capture One (for Sony) and Capture One Pro Fujifilm are available for $129.
For those who prefer subscription models, Capture One Pro 20 is available for plans as low as $20 per month, and Capture One for Nikon, Capture One (for Sony) and Capture One Fujifilm subscription plans start at $9.99 a month.
For a complete list of all products and licensing options, please visit: www.captureone.com/store to learn more.
A 30-day fully featured free trial of Capture One 20 is available. Download the trial here: www.captureone.com/download
About Capture One
Capture One creates award-winning photo editing software for every kind of photographer.
With an intuitive interface and powerful tools for editing and organizing, Capture One software delivers a seamless editing experience, fast workflows and total creative control. And with unmatched color handling for all major camera brands and industry-leading tethered support, it’s preferred by professionals and studios worldwide. Driven by innovation, users rely on Capture One to deliver cutting-edge features to keep their photography one step ahead.
Based in Copenhagen, Denmark with a team of global partners, Capture One empowers image creators globally with world-class knowledge, technical expertise and the ultimate creative tools.
Learn more here:
Capture One at: www.captureone.com
Facebook at: www.facebook.com/CaptureOnePro
Instagram at: www.instagram.com/CaptureOnePro
YouTube at: www.youtube.com/CaptureOneProDK
LinkedIn at: www.linkedin.com/company/capture-one