
2022 is coming to an end. And what a year it has been!
Not only did we launch Capture One Live and Capture One Pro 23 with exciting new features like Smart Adjustments and Layers in Styles, but we also jumped into the world of mobile editing with Capture One for iPad.
But this post is not about what we did. It is about you. Because you make Capture One what it is by showing the world incredible images and telling stories that bring emotions to life.
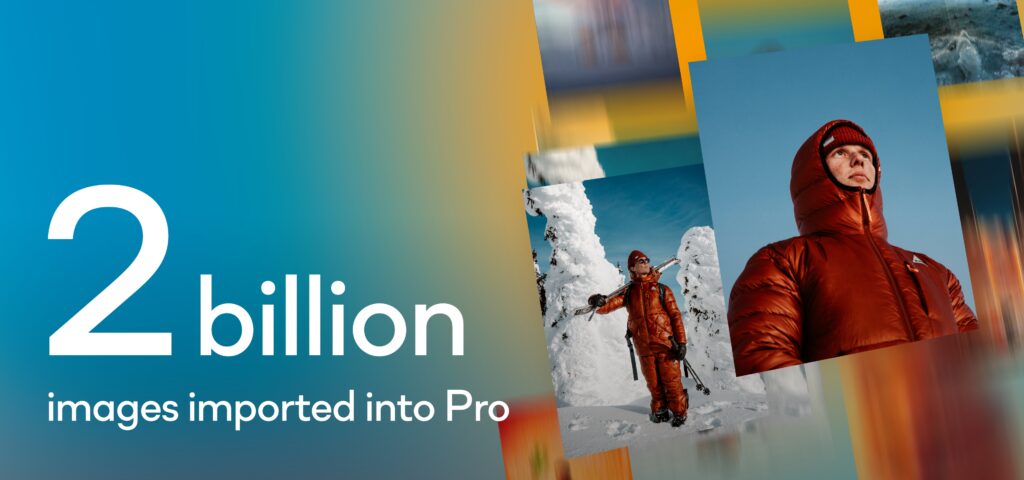
This year, you have been busy. In 2022 alone, you and your fellow photographers have imported 2 billion images into Capture One. If we printed just one day’s worth of your images (almost 6 million!) and stacked them, they would reach about three and a half times the height of the world’s tallest building, the Burj Khalifa.
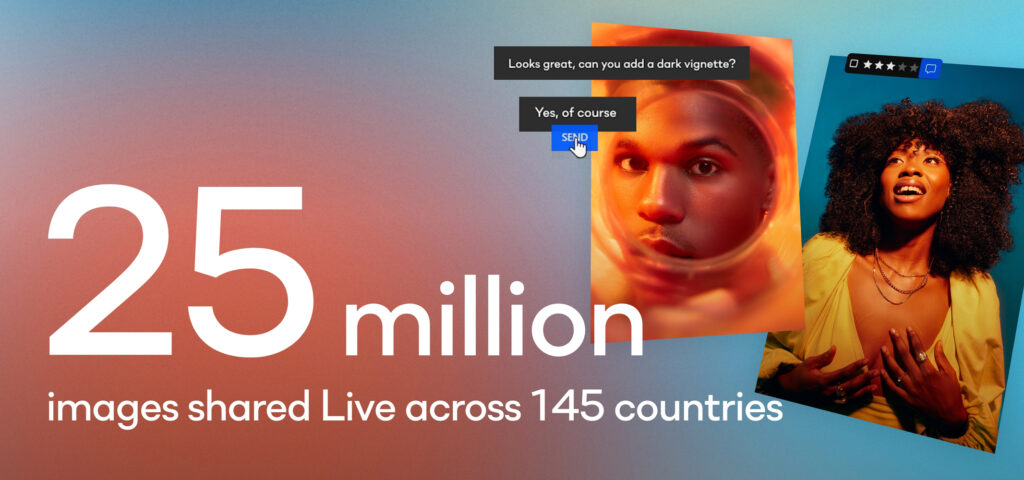
Many of you also spent this year working closer than ever with colleagues and clients – even those on the other side of the world. How do we know? Since its launch in February, you have used Capture One Live to share over 25 million photos with people in 145 countries – from the US and Australia to the Maldives and Honduras.
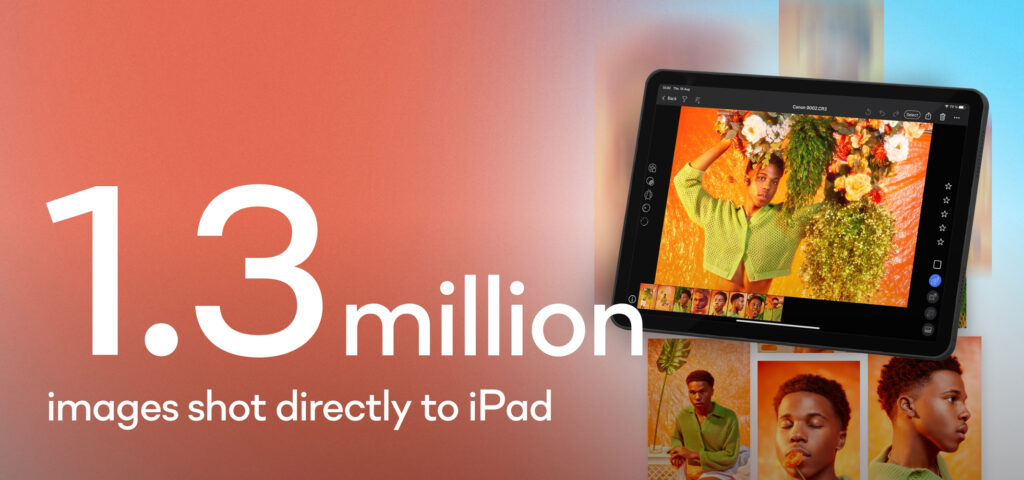
Some of you have even taken Capture One to new heights in 2022. With the Capture One iPad app in your toolkit, you have gone to the tops of Icelandic glaciers, in helicopters above the Golden Gate Bridge, behind the scenes of fashion shoots in the wild, and to the streets of New York, Tokyo, Berlin, and more. And in just three short months since tethering to Capture One for iPad became available, you have already shot 1.3 million photos directly into your tablets.
Capture One never looks better than when you take us with you behind the scenes of your shoots. Like photographer Zoey Grossman tethering to Capture One to get the perfect shots of Jennifer Aniston for the December issue of Allure or Rolling Stone magazine giving us a look at their September cover shoot with Harry Styles.
But it’s not only the big celebrity shoots we are excited about. We love seeing the amazing work you share with the world on social media. The artistic, the realistic, the news, the weddings, the wildlife, and the still life. It’s incredible to see the big and small, beautiful and sometimes unusual ways you achieve your vision using Capture One.
We wouldn’t be able to create the tools you love without your support. Thank you for being part of our community. Here’s to making 2023 even better together.
Happy New Year from the team at Capture One!


