Recently I had a very relevant question from a Capture One Pro 7 webinar participant.
The question was:
If you’re using the Capture Pilot web option could the client view the images remotely via the Internet, say if they were in their office on the other side of the world?
Capture Pilot is normally used as a great tool for assisting you in the studio. If you have YET to use it, I would recommend you take a look.
Capture Pilot is an iOS application, or as mentioned above, a simplified tool that can be used on any web-enabled device. The tool allows you to have an additional remote station where the selected contents of Capture One Pro 7 can be viewed, rated and color tagged. Additionally on the iOS application there is full remote control of a supported camera, if attached to Capture One software.
Capture Pilot has many uses for you as a photographer, for your assistants, your clients and even the stylists.
Normally, Capture Pilot is used in the same location as your host computer. For example, you could be shooting tethered in your studio with your DSLR with Capture Pilot running on an iPad, being viewed by your client comfortably sitting on set.
So what if you could also use Capture Pilot as a means to discuss a shoot with a client remotely? Perhaps show them adjustments on the fly and allow them to rate and tag images?
This got our team thinking and we decided to see if we could set this up. Not only to see how it would work but also how difficult it would be. It turns out for our investigation it was very simple!
Setting up
Network routers vary so it is impossible to provide a “one-size-fits-all” instruction. My personal router is an Apple Airport Extreme and configuring it for this task was easy. Remember, Phase One is not an IT support company, and I am merely suggesting one method to do this, and we do not offer official support connecting to Capture Pilot over the internet.
First, you need to know your IP address. This is easily found by typing ‘what’s my IP’ into Google. Your IP will simply be returned at the top of the search results. Or you can simply click here
You will see an IP number returned that looks something like this:
62.251.74.177
Make a note of this as you will need to give this to whomever wishes to access your Capture One session remotely via Capture Pilot.
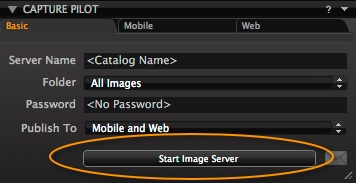
In Capture One Pro 7, start the Capture Pilot image server by clicking here:
Click on the Mobile Tab and Web Tab, making a note of the Local IP and Port Numbers. Like so:
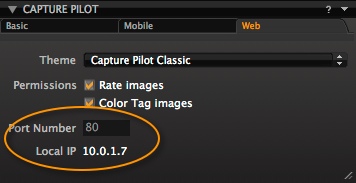
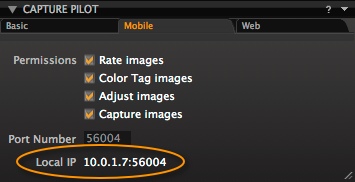
So we have 10.0.1.7:56004 for Capture Pilot on an iOS device and 10.0.1.7:80 for Capture Pilot on any web-enabled device.
The Local IP is the IP address of the computer running Capture One Pro 7. The port numbers describe how an external connection could access Capture One Pro 7.
Now you will need to access the administration portal of your network router. As I mentioned earlier, the terminology and interface will vary depending on manufacture but I hope this will be enough so you can explore further.
As mentioned my router at home is an Airport Extreme. It can be accessed by the Airport Utility application. Port Settings or Port Forwarding, as it might be described, are accessed in the Network tab.

In order to create a new Port setting, first click on the ‘+’ icon at the bottom of the “Port Settings” option.
In this case I will need to make two entries. One for Web and one for iOS as they use different ports.
First, I’ll create the entry for Capture Pilot Web.
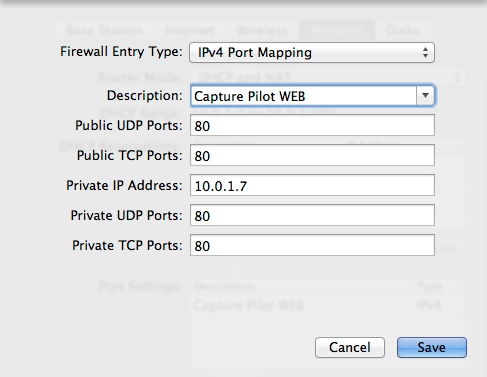
Basically, make sure the information shown in Capture One Pro 7, is entered the same here – i.e. the Port number should be 80 and the Private IP address should be 10.0.1.7. Just as we found in the Capture Pilot Tool.
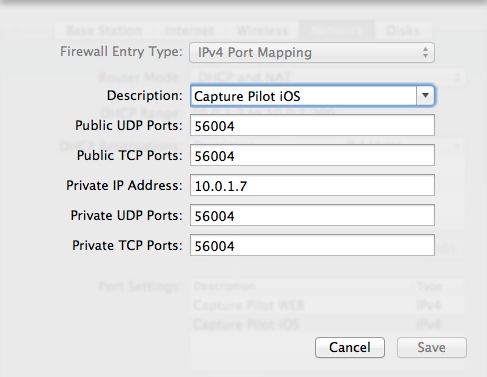
Now enter the same for Capture Pilot Mobile on iOS:
Once the router has been updated I am ready to give out my IP address.
For any web-enabled device it is very simple. The address your client should type in their web browser would be your IP address that you discovered from Google along with the port number from Capture Pilot. The address should be written in this syntax:
62.251.74.177:80
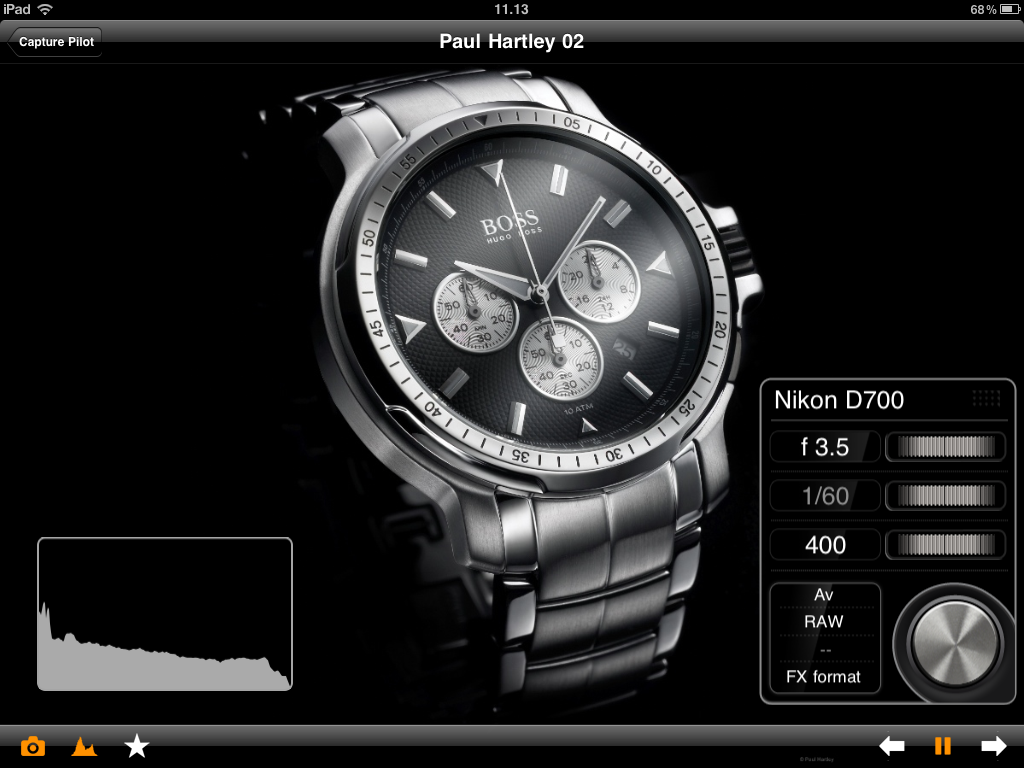
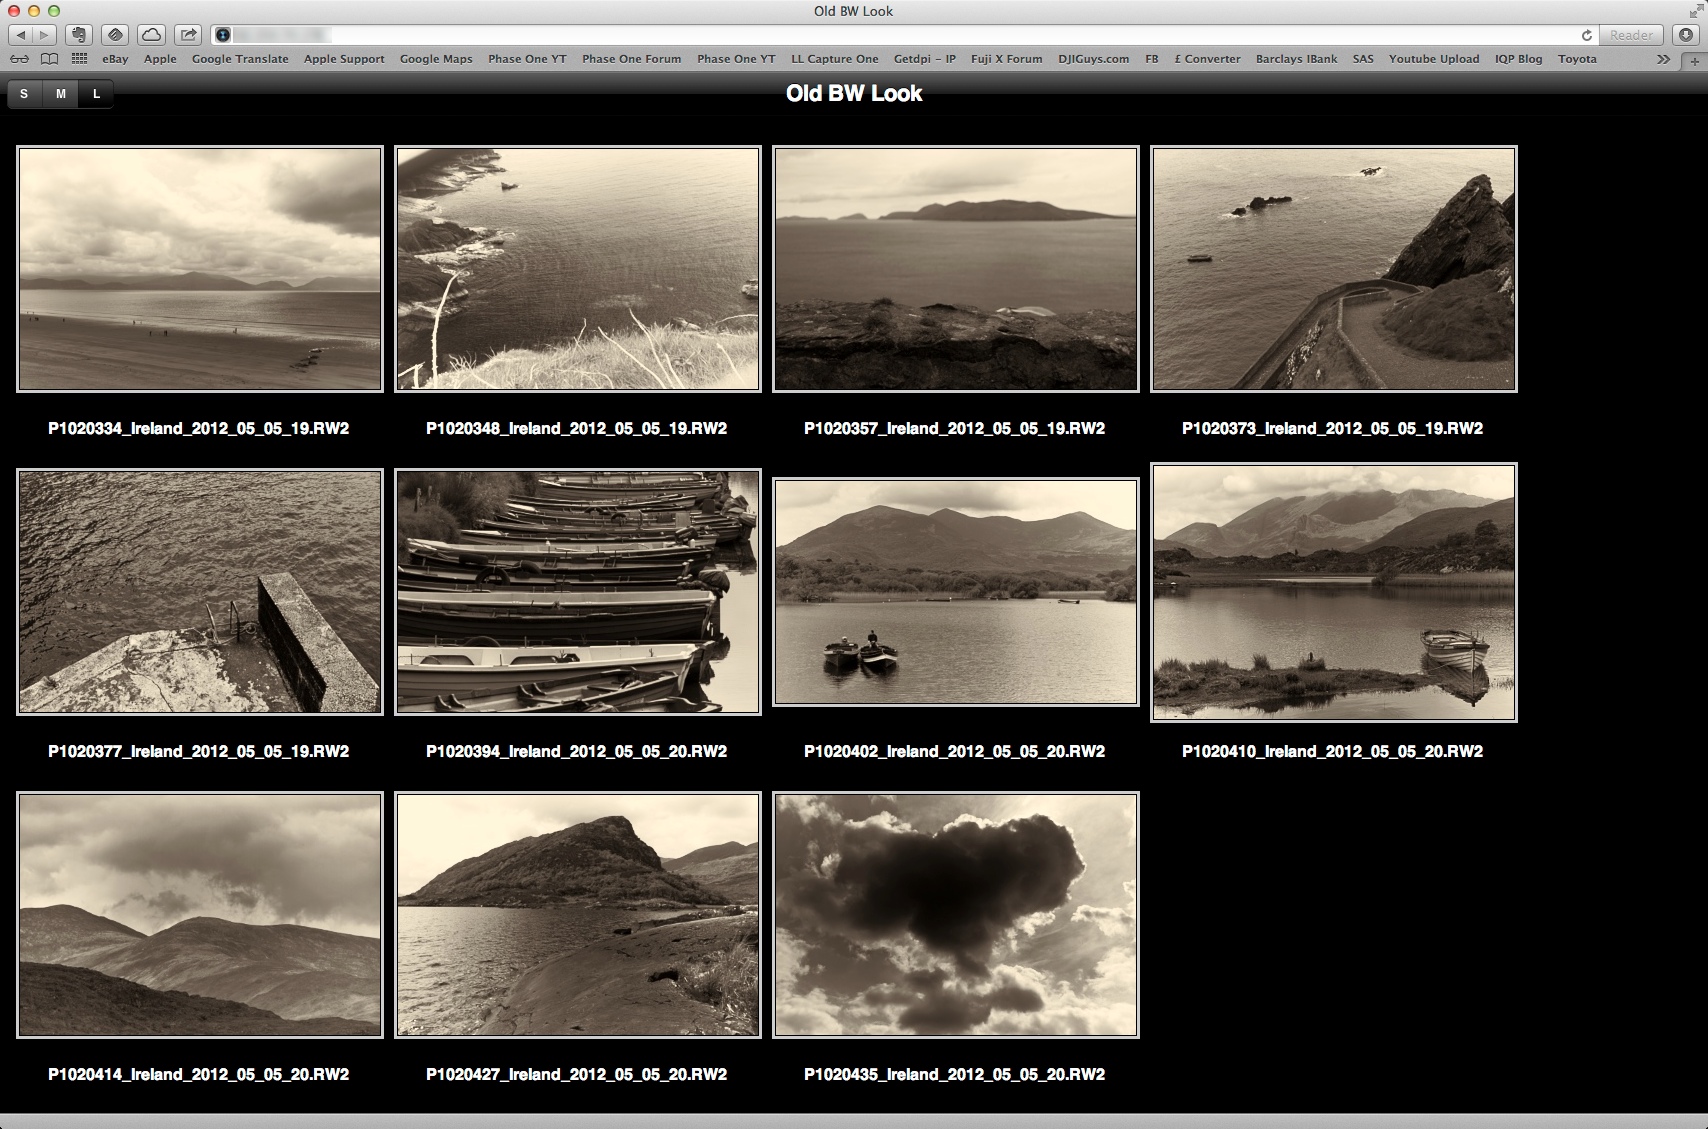
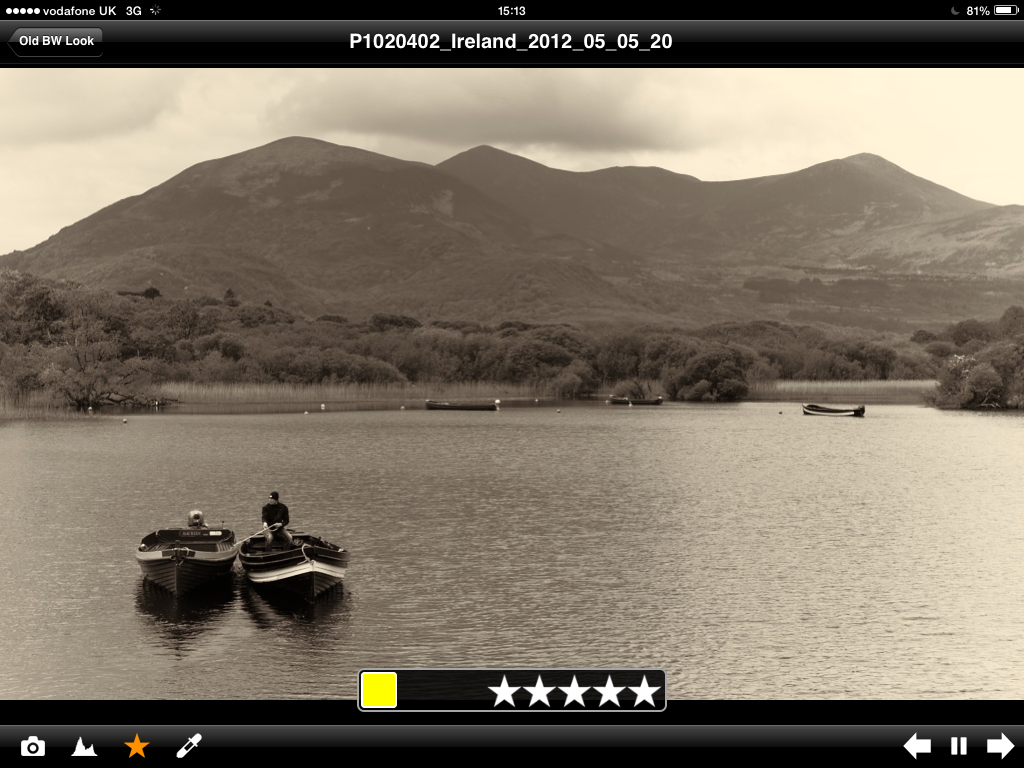
They will see a “webpage” similar to the one below and based on what you have allowed Capture Pilot to share. (This can be selected in the ‘Folder’ pull down menu in the Capture Pilot Tool in Capture One Pro 7)
Opening an image in this web mode will allow them to rate and color tag an image.
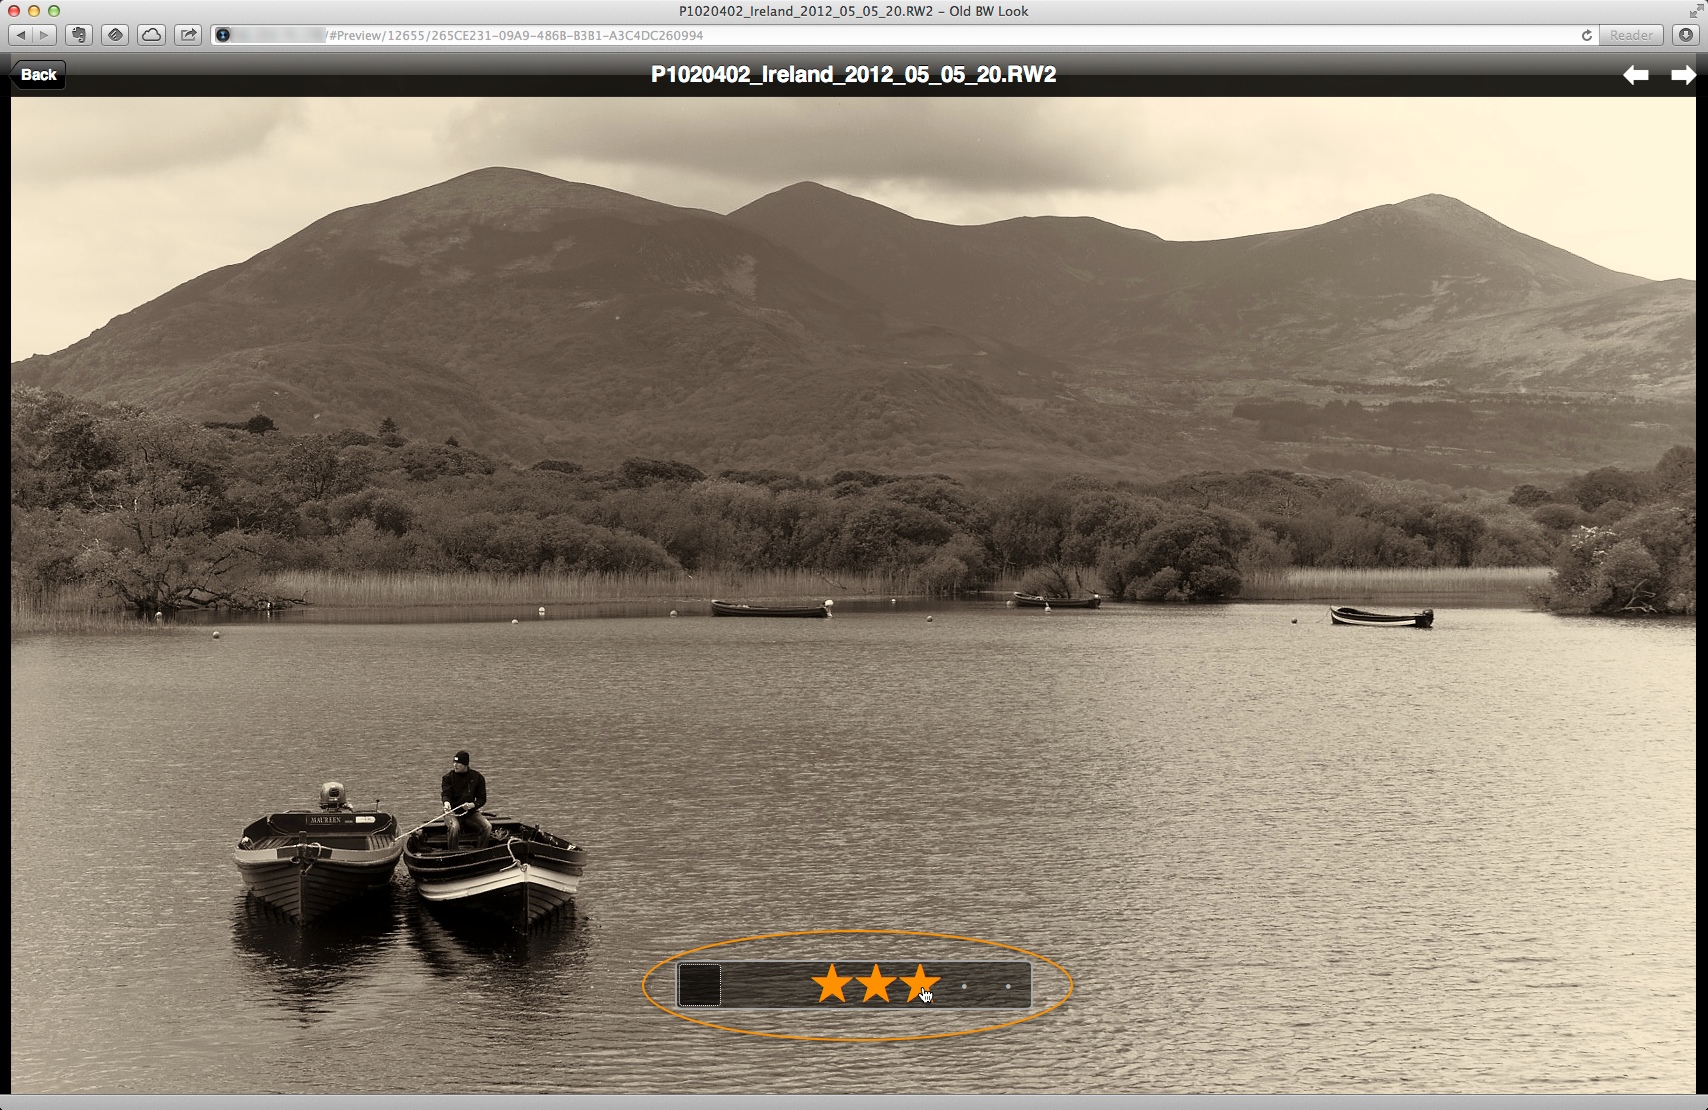
The great news is this will then be synchronized with Capture One Pro 7 on your machine. So you can now see exactly how your client has rated your images.
For Capture Pilot on iOS (iPad, iPhone, iPad Touch), they will need to setup a custom server.
Click on the plus icon in the home screen of Capture Pilot, as launched from the iOS device.
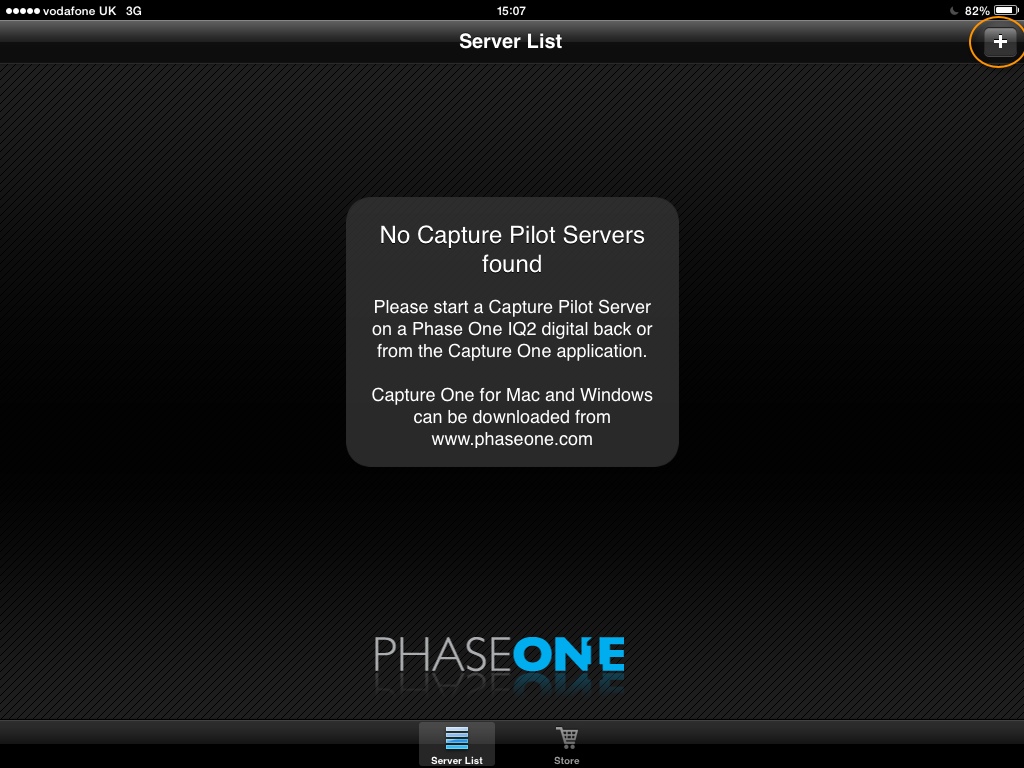
Then enter the details shown in the Capture Pilot Tool from Capture One Pro 7.

The server will connect and you will be able to browse and rate images.
ow that the iOS device is set, if you had a camera connected to the host computer, you could also remotely trigger it. Please let me know if you have an idea for using that! 😉
DHCP Reservations
Most network routers do not automatically reserve a unique IP address for your computer. In the above example, the local IP for my computer was 10.0.1.7. However, at the time of writing this, it is 10.0.1.18.
Therefore, to save having to reconfigure the Port Forwarding each time you want to allow remote access for Capture Pilot, it’s a good idea to reserve a static IP address for your computer. In the Airport Extreme setup it is here:
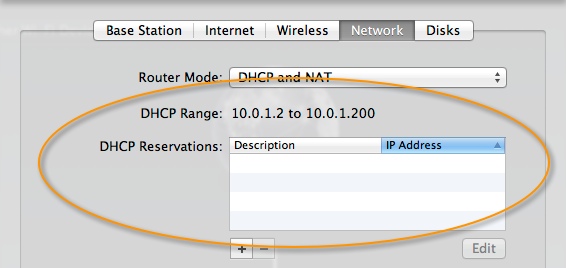
Your computer is identified by a MAC address. It is unique to the Wi-Fi card or Ethernet port in your computer. Therefore, you can permanently link an IP address to a MAC address, and not have to reconfigure the ports, if your IP address is not automatically ‘static’.
Further Help
It is important to state that Phase One is not an IT support company and this is just one example of how to set up Capture Pilot in this way with Apple network equipment. The language and terminology used will vary from router to router, so if you need assistance with setting up Port Mapping / Forwarding on your particular device, then please contact the specific manufacturer.
Phase One support cannot assist with network setup regarding Capture Pilot over the internet.
Read more about using Capture Pilot over the internet (remote server)
Best regards,
David