You can have a great scene, the right expression or the ultimate moment in your shot. However, it is the mood or atmosphere in an image that makes all the difference between success and failure.
Telling your story and transferring emotions is a secret of finding the right tonal scale. Just like the French say: “C’est le ton qui fait la musique” (It is the tone that makes the music). The tool you need for this is the Curve Tool.
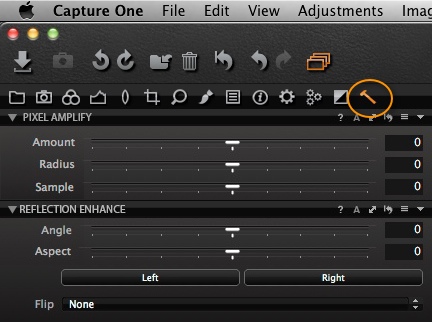
Why use the Curve Tool?
The Curve Tool differentiates itself from the Levels Tool in that it allows you to control how tonal values of the original image are translated in the end result. With the Curve Tool you have control over shadows, mid tones, and highlights (darker or lighter) separately and independently.
Where the Levels Tool mainly controls the endpoints of your tonal scale, the Curve Tool gives you control over the tonal distribution of the entire tonal scale between these endpoint. Only the mid tone marker of the Levels Tool gives you ‘Curve-like’ control, but the Curve Tool gives much greater flexibility in control and much better contrast control.
Before using the Curve Tool
As with the Levels Tool I suggest you first make adjustments with the Exposure and High Dynamic Range Tools if necessary. Do not use the Brightness slider in the Exposure Tool.
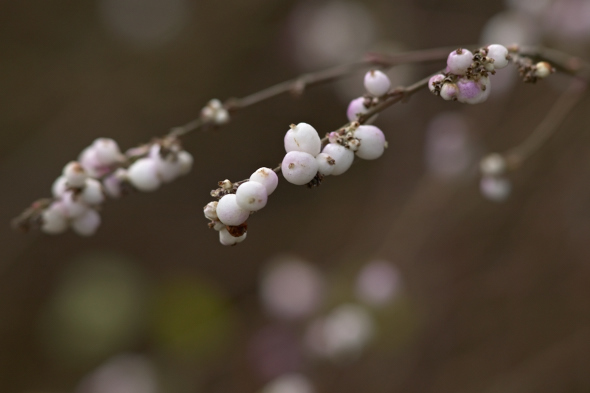
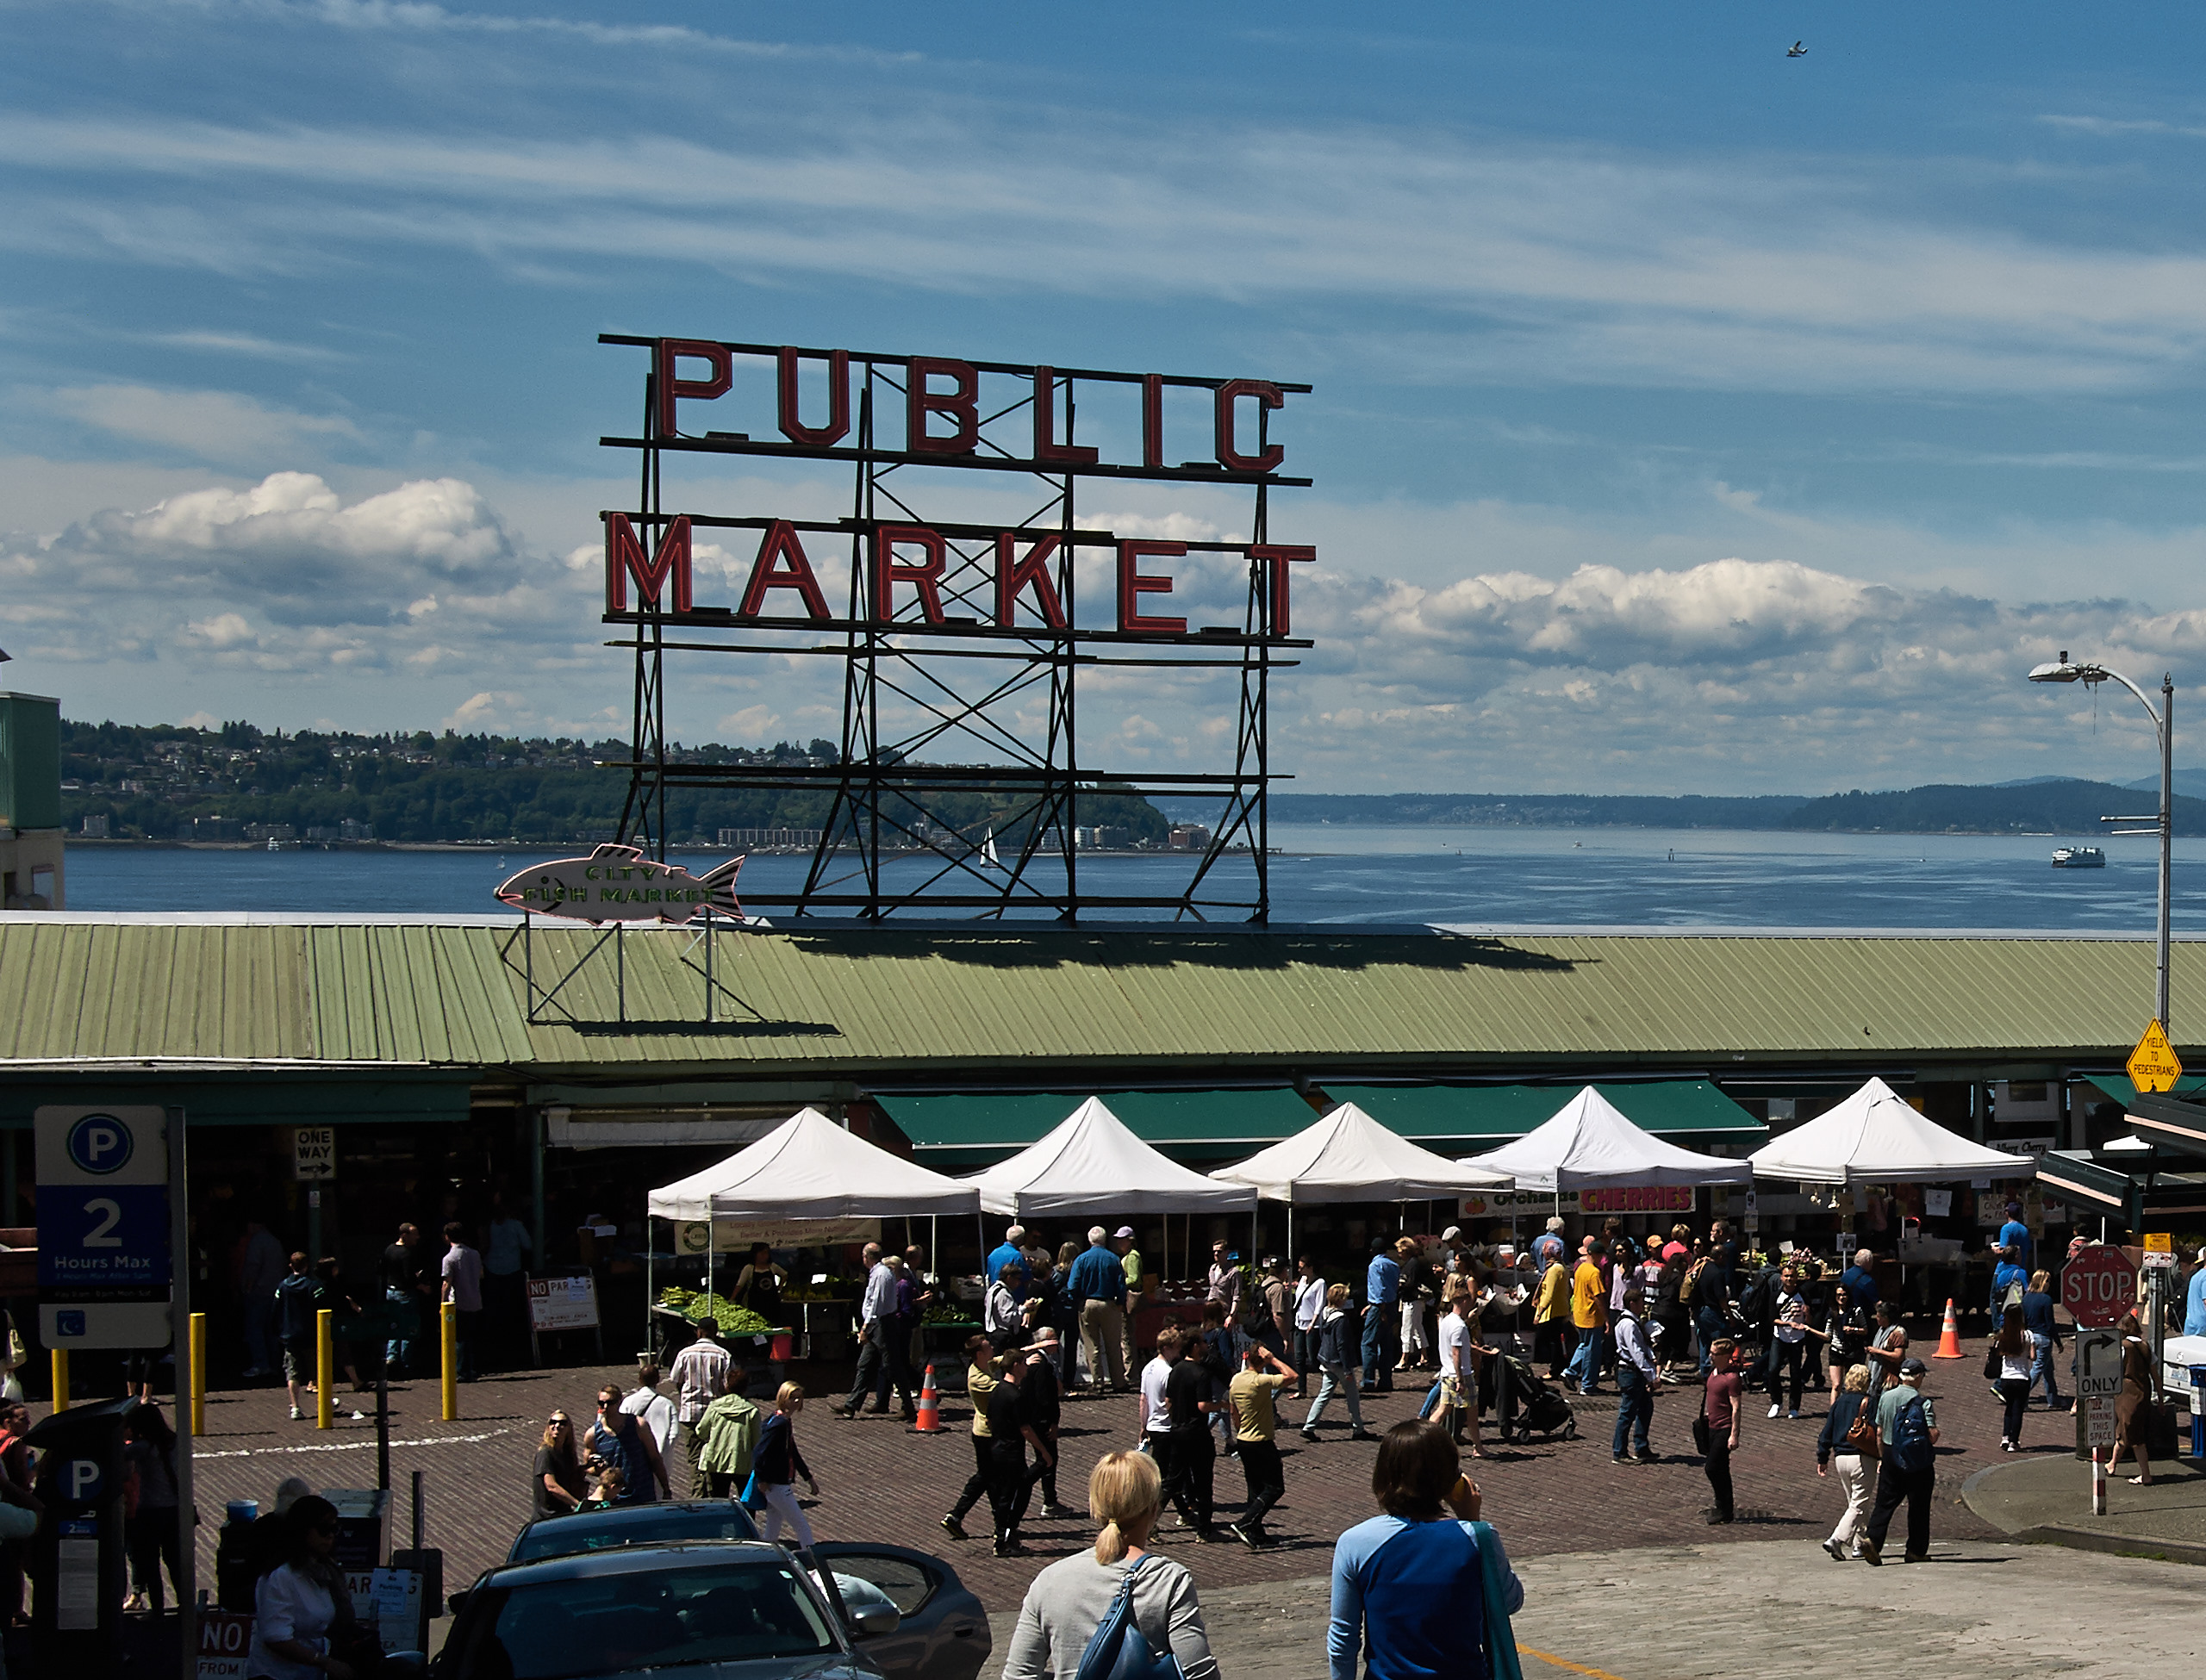
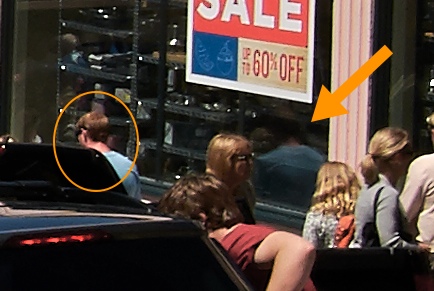
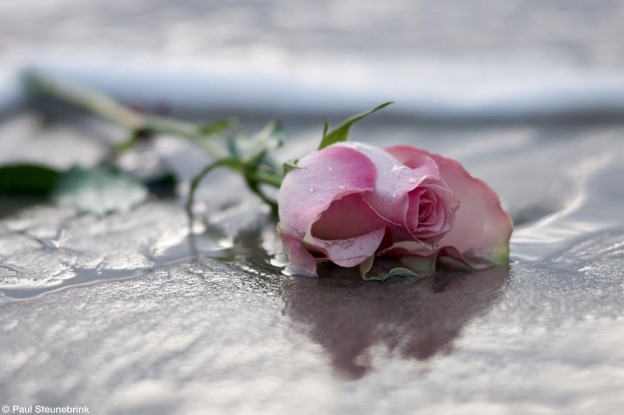
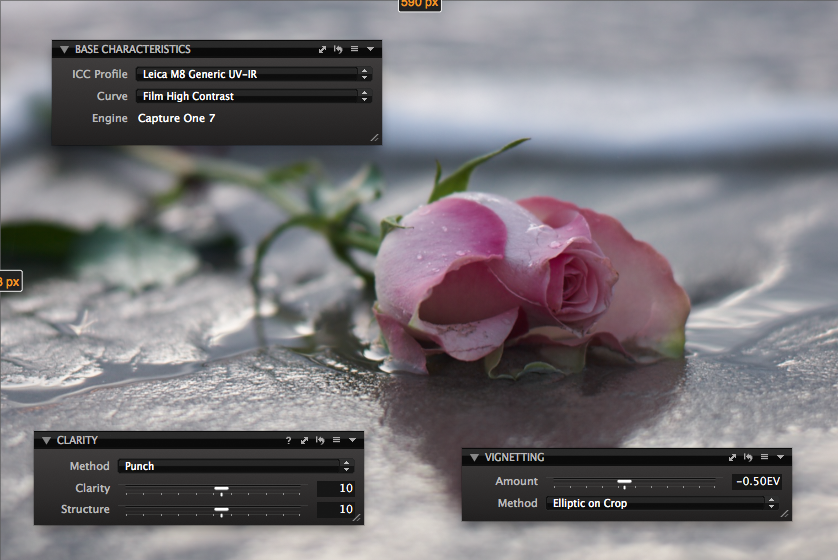
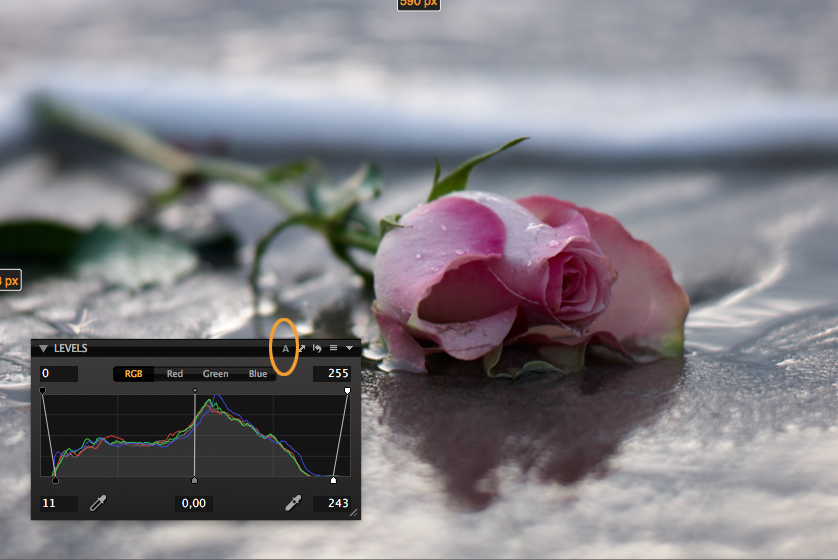
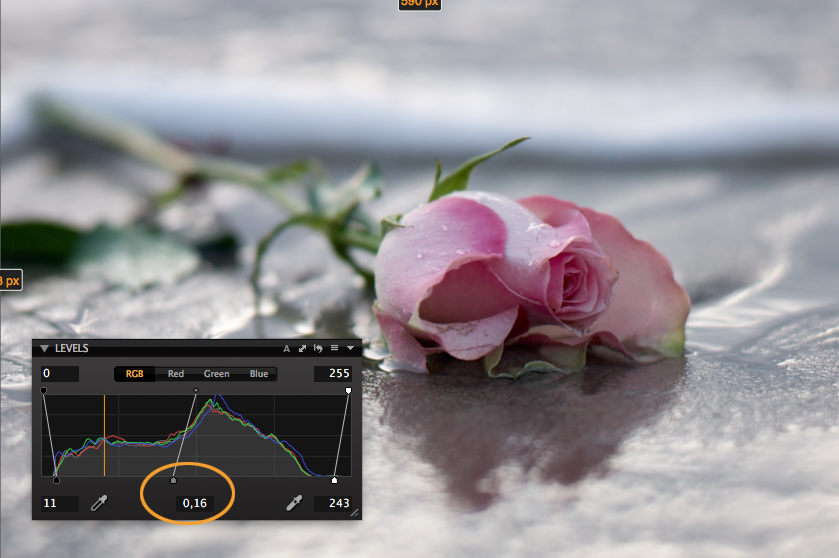
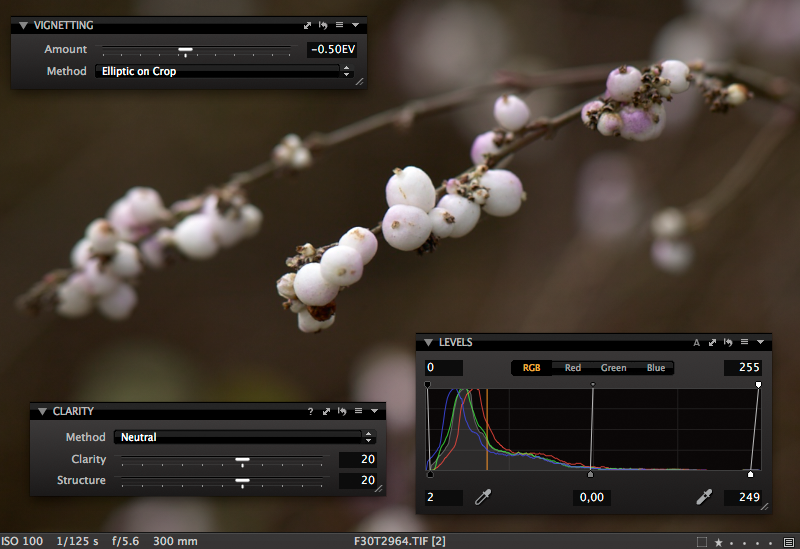
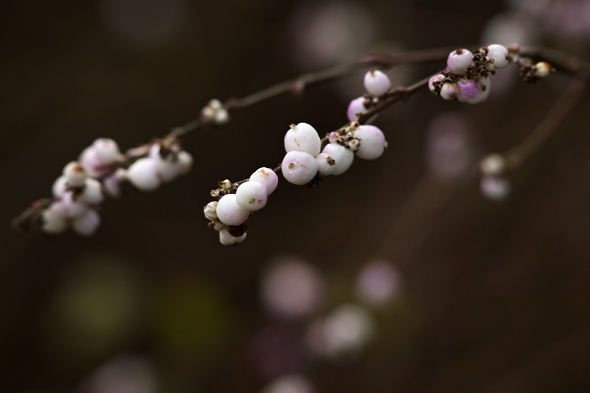
With this image, I didn’t change the exposure or the High Dynamic Range, but I began by first cropping and rotating the image to get the composition I wanted. I then set the black and white points using the Levels Tool, but didn’t touch the mid tones. I also prefer to adjust the clarity and add a vignette at this stage in my workflow. This is my image before I start using the curves.
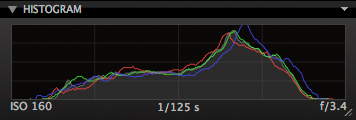
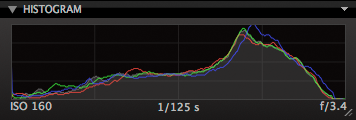
You are now ready to start with the Curve Tool because all mentioned adjustments affect the histogram you set the curve on (that is the histogram in the Curve Tool).
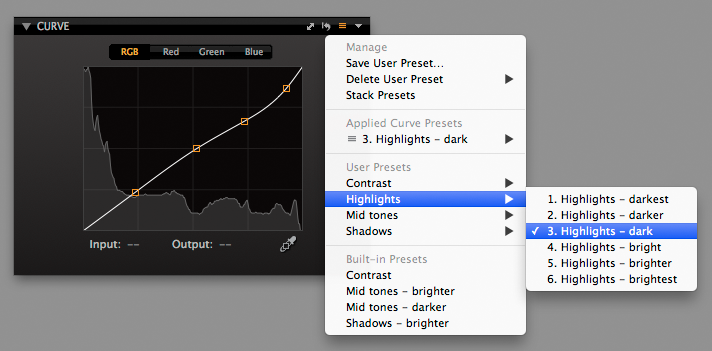
Preset for speed
A reason why users often skip the Curve Tool is because it seems time consuming or looks too complex. Speed improves with experience (as always) but the predefined presets in Capture One Pro 7 give you a quick start. Note that you can easily apply a preset on a selection of images. You can also copy/apply a curve on similar images. After applying the built-in preset “Mid tones – darker”, I get the following result.
How does it work?
The Curve Tool is an “input-output” kind of game. Take a look at the example below.
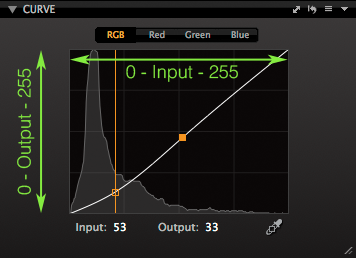
I added some green text and arrows for explanation.
The horizontal axis represents 256 levels on the input side of the image. Input means what the Curve Tool receives. Without a curve (straight line) these input levels are translated unchanged to output levels with the same value (0 to 0, 128 to 128 and 255 to 255). Output levels are represented on the vertical axis.
In this example the input level of 53 (see orange vertical line) is lowered to an output of 33. Level 53 is a shadow or dark tone. Because the curve now translates it to 33 it will become darker. You can move any point on the curve line up or down, and left or right. Whatever you do, you constantly create a new input-output translation for that point and (to a lesser extended) adjacent levels.
Manual approach
Lesson one in using the Curve Tool manually is dragging the diagonal line up (to lighten) or down (to darken the image). Next, step two, you can give the quarter and three quarter tones an extra push in the same or reverse direction if needed.
If you like to affect a particular brightness level in the image, use the Pick Curve Point Cursor Tool.
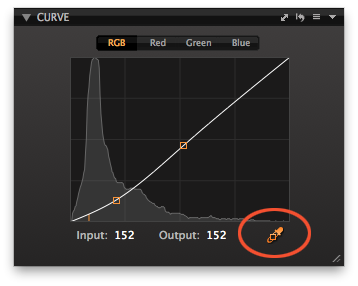 Select the Picker Tool, select a brightness point in your image and that point will be selected in the tool. You can drag the curve point with the mouse or select it and use the cursor keys on your keyboard (the latter is Mac only).
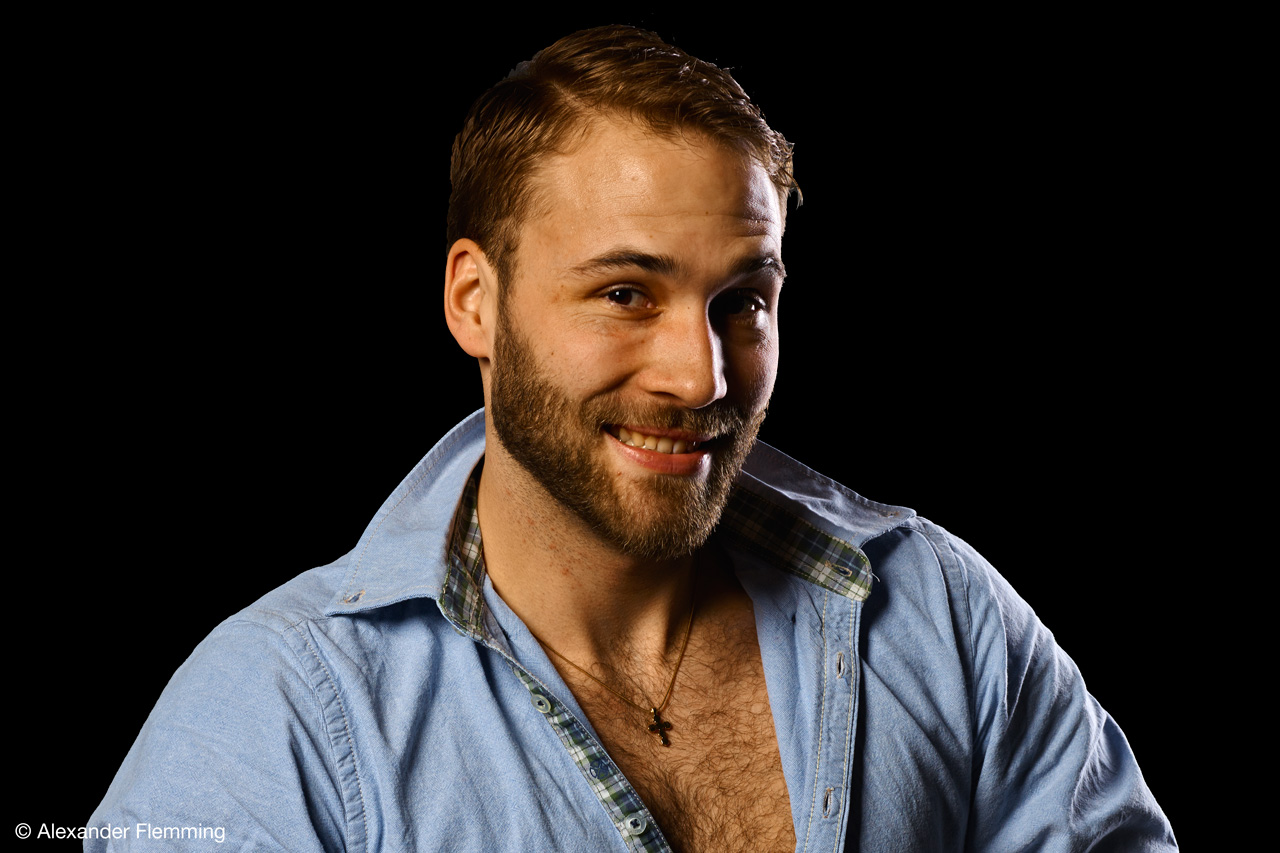
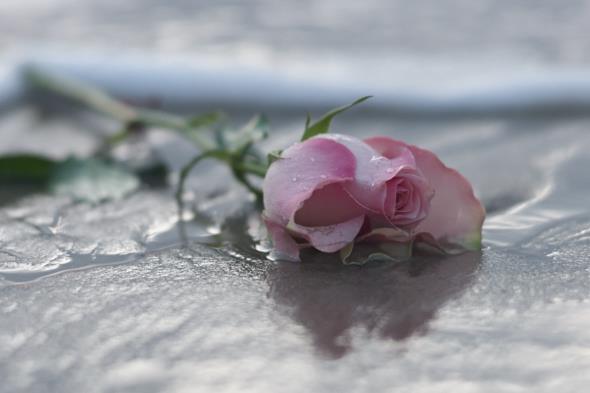
After moving the shadow curve point downwards, I get a darker background which increases the dramatic impact of this low contrast image.
Results
In term of results nothing beats the art of a good curve. Curves give you much more control about how an image looks in terms of brightness and contrast. You can open up shadows and darken highlights. You can make a more natural look or let your creativity go all the way. After the last adjustment mentioned, I got this result.
More Help
Exclusively available for our dear blog readers, I provide you an entire set of Curve Presets. The set contains 23 presets for adjusting Contrast, Highlights, Mid tones, and Shadows.
Place the presets in the curve preset folder and start Capture One. Locations are:
<user name>/Library/Application Support/Capture One/Presets60/Curve (for Mac)
C:\Users\<user name>\AppData\Local\CaptureOne\Presets60\Curve (for Windows)
Tip
When you start working with curves, clone variants are a great help to compare different adjustments.
Summary
With a proper curve you can create the exact atmosphere in your image. First, make your adjustments with Exposure, HDR, and Levels. Just start with Curve, then start with a preset. Adjust the curve if necessary or try another preset.
Best regards,
Paul