NOTE: This article discusses an outdated version of Capture One. To learn more about our latest version, click here.
Today’s monitors have improved a lot during the last few years. Many of the new ones provide nearly 100% of the Adobe RGB (1998) workspace and have a pretty reasonable default calibration.
On a Mac system, where color management have always been an important part of the Mac experience, it may even look acceptable. However, as soon as you really need to rely on what you see on the monitor, you will need to create a monitor ICC profile for it and make sure that your operating system is using it correctly.
Today, ICC Color Management is an integrated part of the operating systems on both Mac and PC’s, and all serious image applications are using ICC Color Management when displaying images on a monitor.
The easy way with EIZO
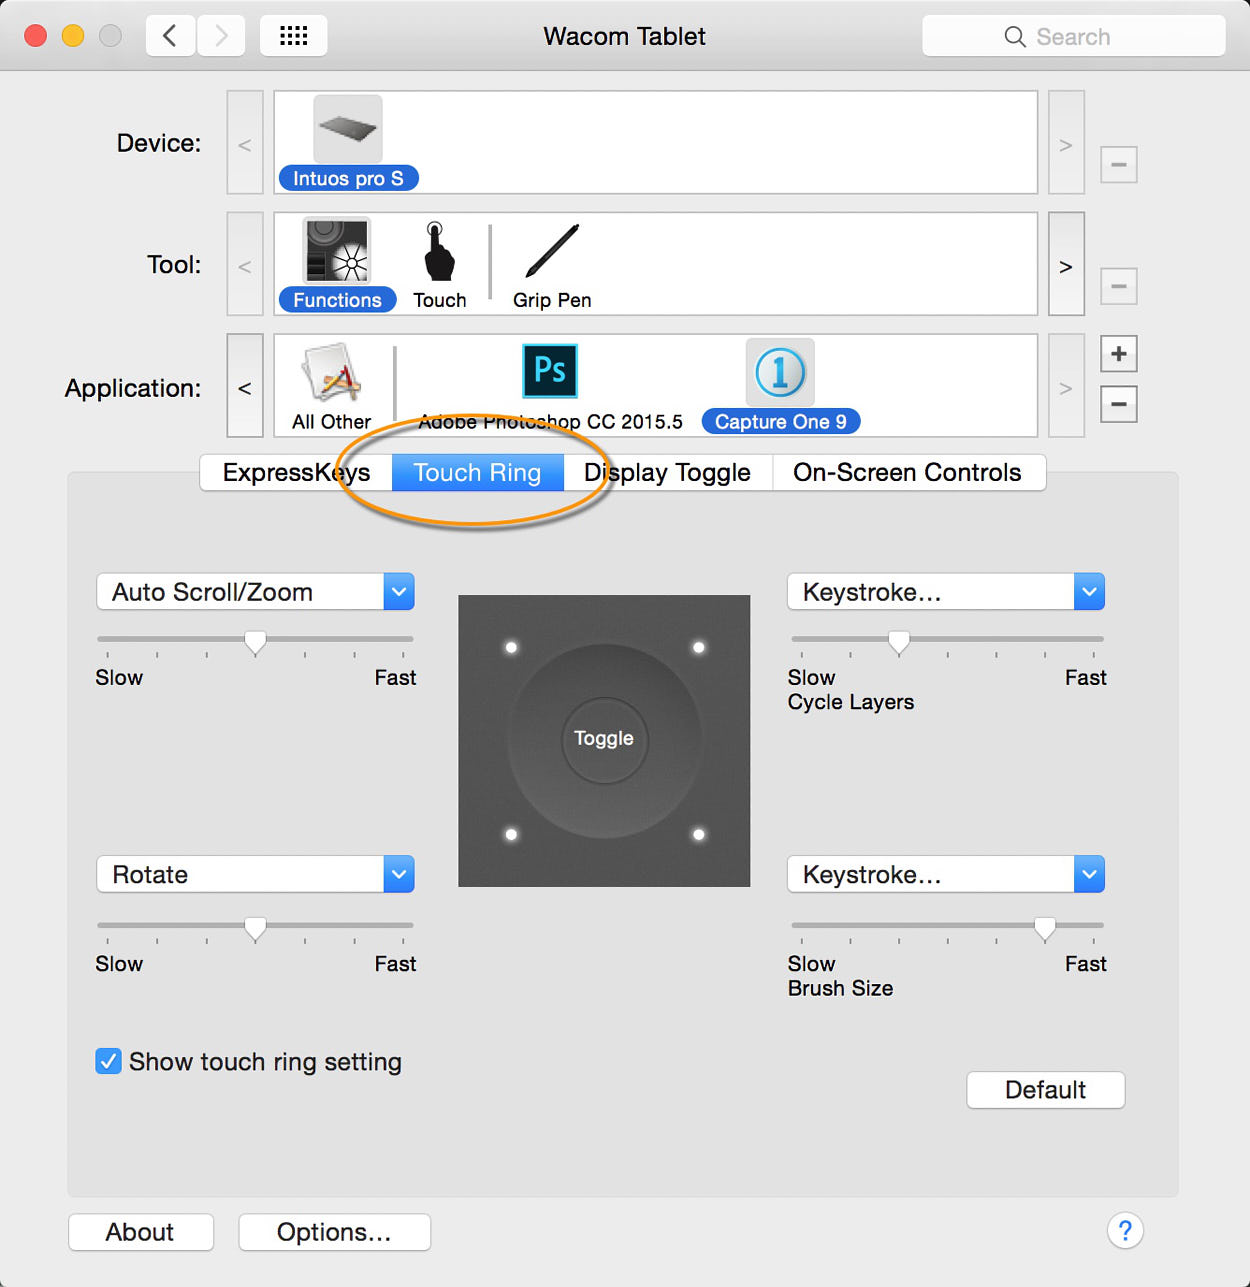
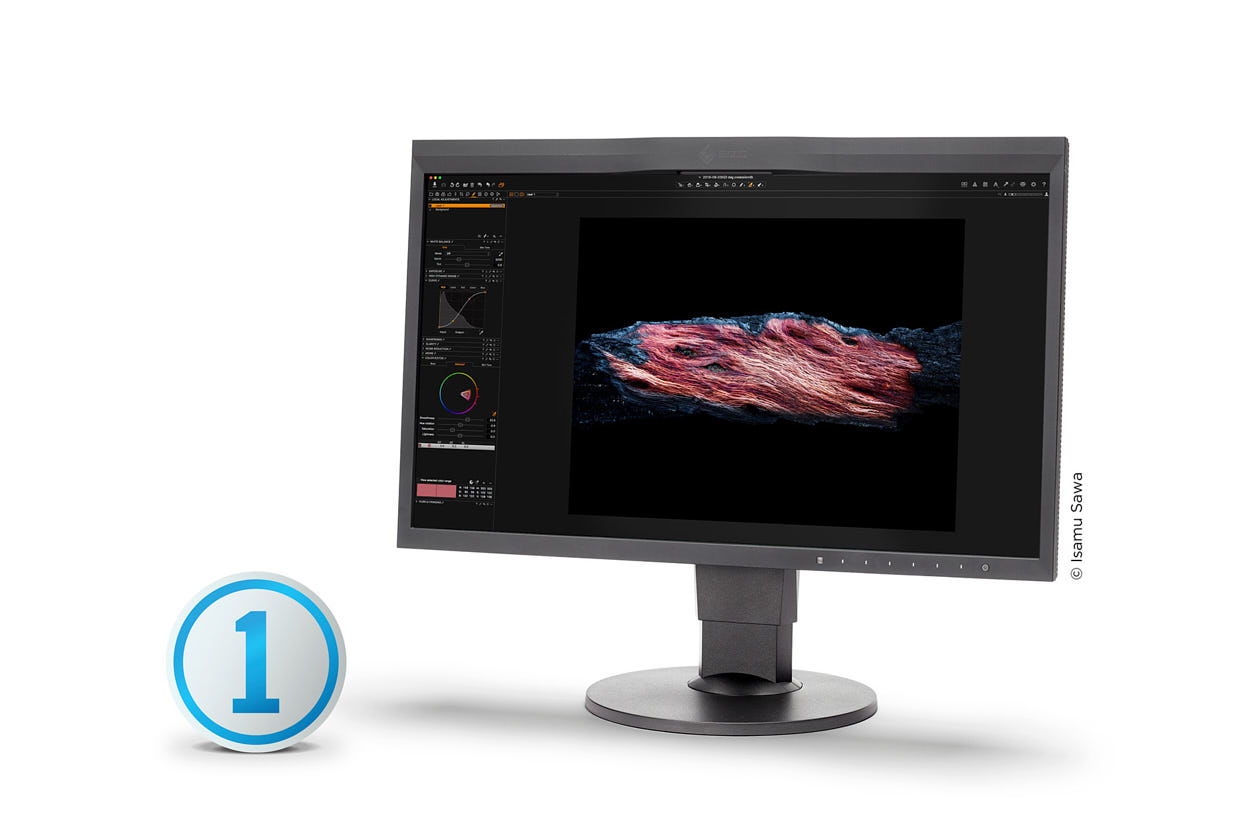
With the release of Capture One Pro 9.3, we have completed a long on-going collaboration with EIZO. This has resulted in a one-click solution for calibrating the high-end EIZO monitors with integrated calibration sensors.
This feature is a great solution for all of those who do not want to be an expert in monitoring profiling and just want a proven, trustworthy solution setting up for a target of gamma 2.2, 5000K White Point and a brightness of 120 candele/m2.
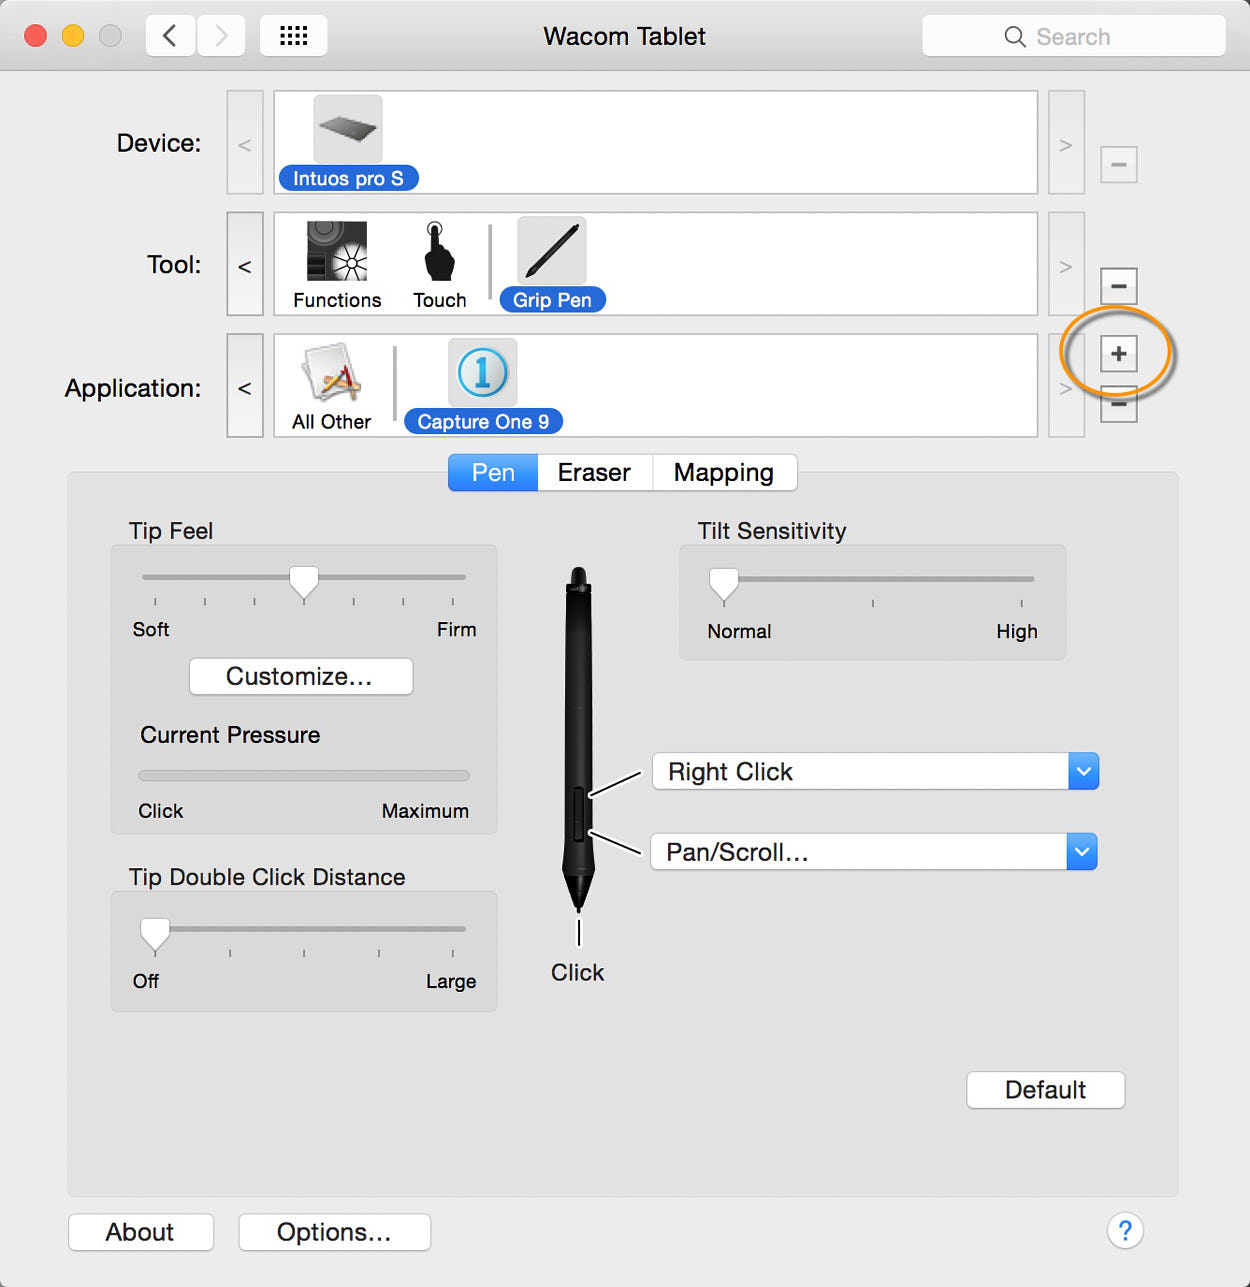
If you would like to try out this solution, you need to open Preferences, open Color Tab and push the One-click calibrate button. As long as you have a supporting monitor tab, sit back and watch the magic happen.
Profiling a monitor
For those who like to be hands-on or are interested in getting to know the work that lies behind profiling a monitor, we have provided you with an explanation. Profiling a monitor basically consist of 3 steps:
- Calibrating the monitor
- Measuring the color and tonal response
- Creating a monitor ICC profile
To profile a monitor, you will need a specialized monitor calibration solution which includes an application and a color measuring device, typical connected via USB. There are at least a couple of solutions available on the market.
First part of the Profiling process is about bringing the monitor as close as possible to a standardized setup. To describe such a setup we typically specify 3 parameters:
- Gamma response = 2.2
- White Point = 5000K
- Brightness = 120 candela/m2
Gamma Response
The gamma number refers to the mathematical gamma function and it is used to describe the un-linear response of the monitor, which originates from the days with CRT tube monitors.
Historically, Mac computers were using Gamma 1.8 and Window computers 2.2. Mac chose the gamma 1.8 as it was easier for them to match images on a monitor and a printer when using gamma 1.8. In those days, the ICC color manage system was not invented.
With today’s ICC Color Management workflow you will get equally good results whether you use gamma 1.8 or 2.2. However, as the most often used workspaces for images (The Adobe RGB (1998) and the sRGB workspace) use gamma 2.2, it has become the default standard to use gamma 2.2 for the monitor setup.
White Point
Any color displayed on a monitor is created by a mix of the monitor’s pure primary colors: The pure Red, pure Green and pure Blue. The White Point basically describes the balance of Red, Green and Blue light when a white color is displayed in the monitor.
A White Point of 5000K, which is practically the same as D50, gives a neutral daylight white. For critical viewing of prints it is recommended to use a 5000K light source. A number of print viewing booths with 5000K light sources are available, as well as general lighting solutions for room illumination at 5000K.
A modern quality monitor has no problem using a White Point of 5000K while still being able to be bright enough. It has not been like that always. Earlier monitors were very bluish by default, and when you tried to set it up for 5000K it would often be too dark, which forced you to make a compromise and use D6500 instead.
Brightness
The Brightness of the monitor is the last parameter to setup. There is an ISO standard that specifies a brightness of 160 candela/m2 for critical inspections of color prints. So, ideally you could set your monitor for a brightness of 160 candela/m2 and having a viewing booth matching that brightness level but running a monitor at this brightness may reduce its live time. A very good compromise is then 120 candela/m2. Most viewing booths can easily be dimmed to match that brightness level and it is fairly bright for critical color judging.
Calibrating a Monitor
As the first step of profiling a monitor, you need to set it up as close as possible to the target values. Depending on the calibration solution and your monitor, this first part can be done either pure manually or automatic. These two methods will be further explained in the up-coming sections.
Manual setup
On your monitor there will be a menu system where you should be able to select the target values:
- Gamma 2.2
- White point D50 /5000K
- A brightness level
When you start the monitor profiling application you will have to specify the target values for the monitor. The profiling application will now be able to measure the monitor setup and guide you to optimize it in order to get it closer to your target values if the monitor menu system allows you to do so.

Calibration colorimeter on EIZO monitor
Now that the monitor is correctly set, it is time for measuring how it performs.
Typically, this requires at least measuring the monitor’s primary colors the pure Red, pure Green and pure Blue and the linearity of the monitor. These measurements are then used for generating the monitor ICC profile.
In this manual calibration case the ICC profile will contain a linearization tables for the Red, Green and the Blue Channel that will be used by the graphic display card to insure the correct white point and a perfect linearity.


If you double-click on a monitor ICC profile on a Mac it will be opened in the Color Sync Utility application. Here you can inspect the “Vcgt” tag, which contains the lookup tables for the graphical card. In this case we can see that the Red and Blue lookup table are a little different as these curves compensate for a non-perfect White Point setup at the monitor and for some un-linearity.
Automatic setup
In some high-end monitors the profiling application will be able to communicate directly with the monitor via USB connection. If this is the case, the profiling application is able to set the monitor for the target values in closed loop calibration.
For some monitors it is even possible to load the measured linearization tables into the monitor’s hardware where they can be using a 10 bit resolution. If so, the ICC profile will still have lookup tables for the Red, Green and Blue channel but they will all be perfect linear as any un-linearity compensation has been moved into the monitor hardware.
This way of calibrating a monitor is, of course, the preferred solution, as lookup tables in the graphic card only works in 8 bit and can cause visual banding in very smooth tone transitions if the needed corrections are too big.
At the end of the profiling process, a monitor ICC is generated. As I work with laptops and with different external monitors (studio, office, home), I name the ICC profile by a model name/location and a data. This way it is easy for me to identify the different ICC profiles if I want to inspect it in, for instance, ColorSync Utility.

Just Viewer Booth
Quality control
Now you should have a perfect calibrated monitor and the monitor ICC profile has been setup for the ICC Color management system on your operating system. But something may have gone wrong, so you are recommended to do some kind of validation of your new profile.
For years, I have been using the same reference file that I almost know by heart how is supposed to look, and I have reference prints of that file that I can bring up in my viewing booth next to the monitor. Over the years, I have tried many different monitor profiling solutions and many times I have ended up with something not looking right.
How often do you need to profile you monitor?
High-end monitors do not change much over time. Working with a rather new monitor, I only profile every 12 months. It is important that you make sure that you do not start to calibrate the monitor before it has warmed up. Depending on the manufacture, this can be done as fast as in 7 minutes.
My experience also tells me that my monitor is in fact very stable. However, if I profile it with different applications and/or color measuring devices I will get more or less different results, so it is also very important to use the same tools every time.
All the best,
Niels