In the third and last post of the Sessions series, we’ll discuss how to bring the Capture One Pro workflow together on set. More specifically, we’ll cover how to cull in the Pro Session workflow.
Using what we discussed in the last post as a base, this post will go over how to view and do the tagging bit quickly. Moreover, we’ll throw in the Capture pilot for good measure. First, we’ll go though some basic mark up of “rejects” and “keepers” and explore some custom shortcuts to make this as easy and fast as possible. After this, we’ll expand those ideas into something more advanced using the Session concepts from posts 101 and post 102.
Workspace for Culling and Rating
Workspace set up is very personal because no two photographers work the same. There aren’t many rules here, only that try to focus your tasks with the tools needed. To that end I build a workspace for every stage of the workflow – One for Capture acquisition, one for rating, one for editing, one for output etc.
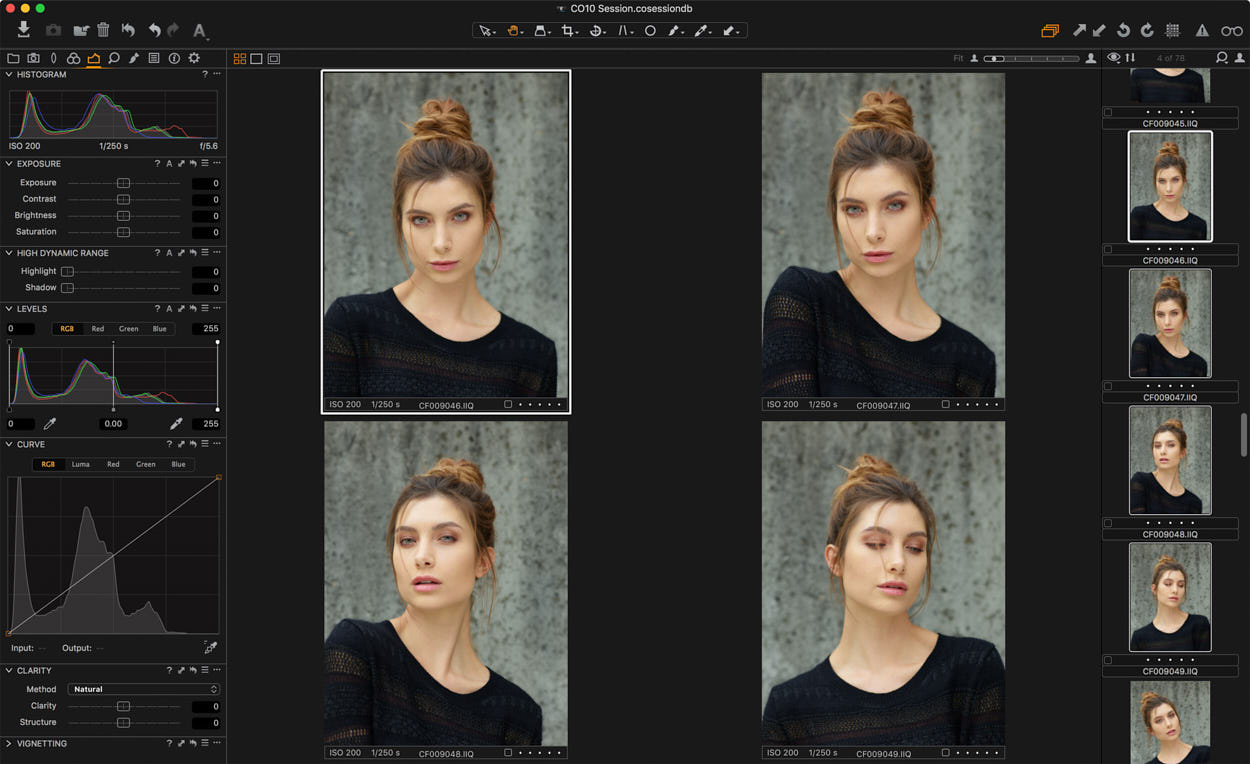
For the rating and culling task, I normally like to have the browser right in “strip” mode. I think it’s maybe some left over 35mm nostalgia of looking at neg strips. As you edit down it feels like going downhill, which is strangely satisfying. I also have a shortcut to hide viewer on hand, which gives me a full screen of thumbs view for overview.
Shortcuts used:
Set the Browser right (Shift + CMD + b)
Hide Viewer (Alt + CMD + v) (though I use a custom shortcut “§”)
Navigation
The two shortcuts we need in order to do simple navigation are ‘Next’ and ‘Previous variant’ (CMD + l/r arrow)
Just a note, as this previously created confusion, it’s possible to navigate the browser with just arrow keys. However, the official shortcut for “Next” is CMD + arrow. This is because it depends on window “focus”. I can lose focus on a window by simply clicking another element in the UI. Focus is now on last panel interacted on with the mouse click. For example, if I use the mouse to click a property in the tools (eg. exposure) and use arrows to nudge a value field, then focus is on the exposure tool. As a result, the arrow keys don’t Navigate to the next image.
To use arrows to navigate the browser without focus, use CMD + arrow. This is especially good to know if you want to navigate when in full screen or with the browser hidden.
Simple culling method using “flags”
As in the last post about my tagging logic, I’m using the “traffic light” logic of tagging images (much like Lightroom’s flagging method) with a red tag for “reject”, yellow tag for “maybe” and green tag for “pick”. On my keyboard these are assigned in a custom shortcut set (moved from the default which I find a bit hard to remember) to the num pad on my full size keyboard – 7, 8 and 9. I can then move through images with arrows and rate under the one hand and use the other for modifier keys and drinking coffee.
Next up, “select by red”, “select by yellow” and “select by green” are assigned to CMD+ 7/8/9. This becomes important once I’ve marked stuff to quickly grab the good, the bad, and the ugly, and then follow up with an action like process or trash.
Shortcuts recap so far:
- CMD+ right arrow – next
- CMD+ left arrow – previous
- 7 – green (Yes/Pick)
- 8 – yellow (Maybe/Review)
- 9 – red (No/reject)
- CMD+ 7 – select green tagged
- CMD+ 8 – select yellow tagged
- CMD+ 9 – select red tagged
Culling down
Now you can use the next command to go through the images, one by one. For something bad, mark it red. If you find something you aren’t sure about, mark it yellow. For something good, mark it green. Repeat until you have reviewed all images.
Advance navigation using selections
Going through images one by one is fine, but with volume (particularly volume around a similar subject like fashion and still life) it’s better to advance 2 or 3 up at a time. That way, you get a sense of “framing”; how do these images look in context. Advancing one by one means that unless I go back and forth, I can’t really compare this great image with the other great image. In Capture One 9.2 a new concept of advance and rate was added called “Next set”.
“Select next set” is an incredibly efficient way to hammer through a collection of images by allowing you to advance in multiples of up to 12 at a time.
Instigating this is simple. Make a selection (e.g. 4), then use the “Next set” shortcut (Alt+ l/r arrow) to advance to the next set (of 4)”, and then the next 4 etc.
Only issue with having multiple images selected is, normally, tagging an image “green” will rate all images in the selection green. That’s no good. Enter the “Edit Primary” toggle.
Edit Primary. What the hell?
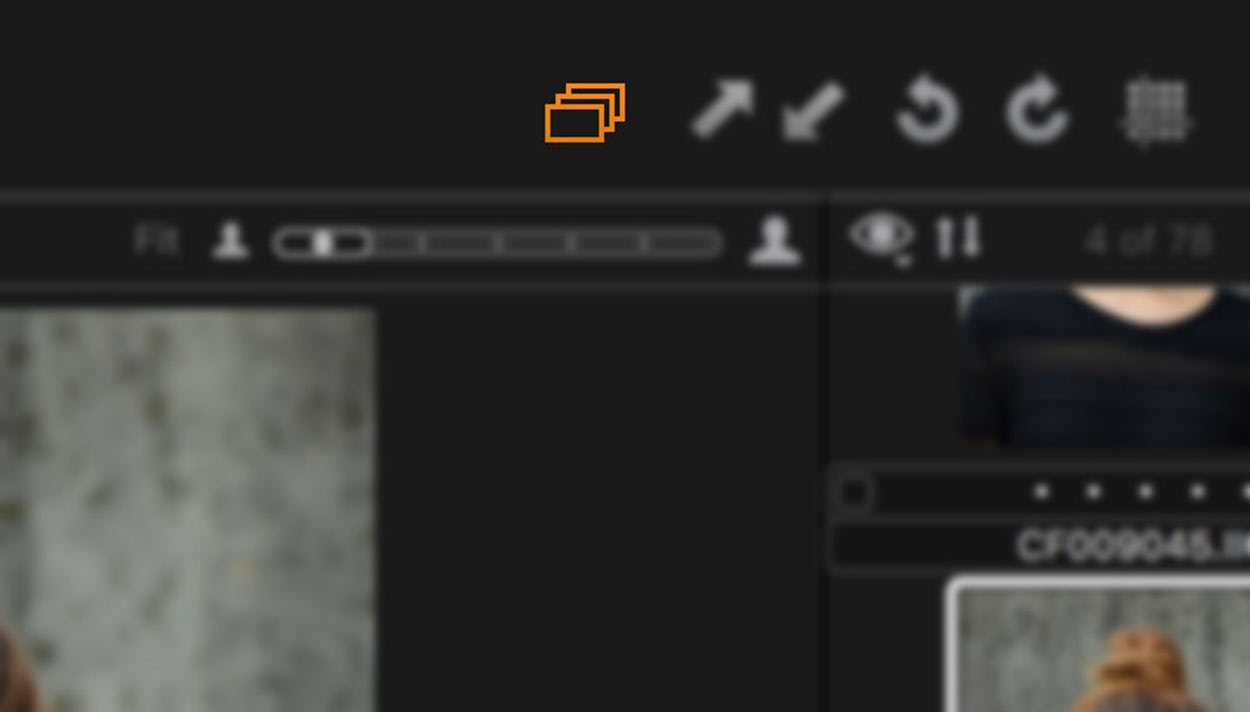
If you select a bunch of images, and look closely at the browser, one thumbnail has a bigger border than the rest. This is the Primary Variant.
The “Edit primary” feature basically decides if the next command you do (e.g. reset, tag or delete) applies to all the selected, or if it only affects the thumbnail with the thicker white selection border within the selection.
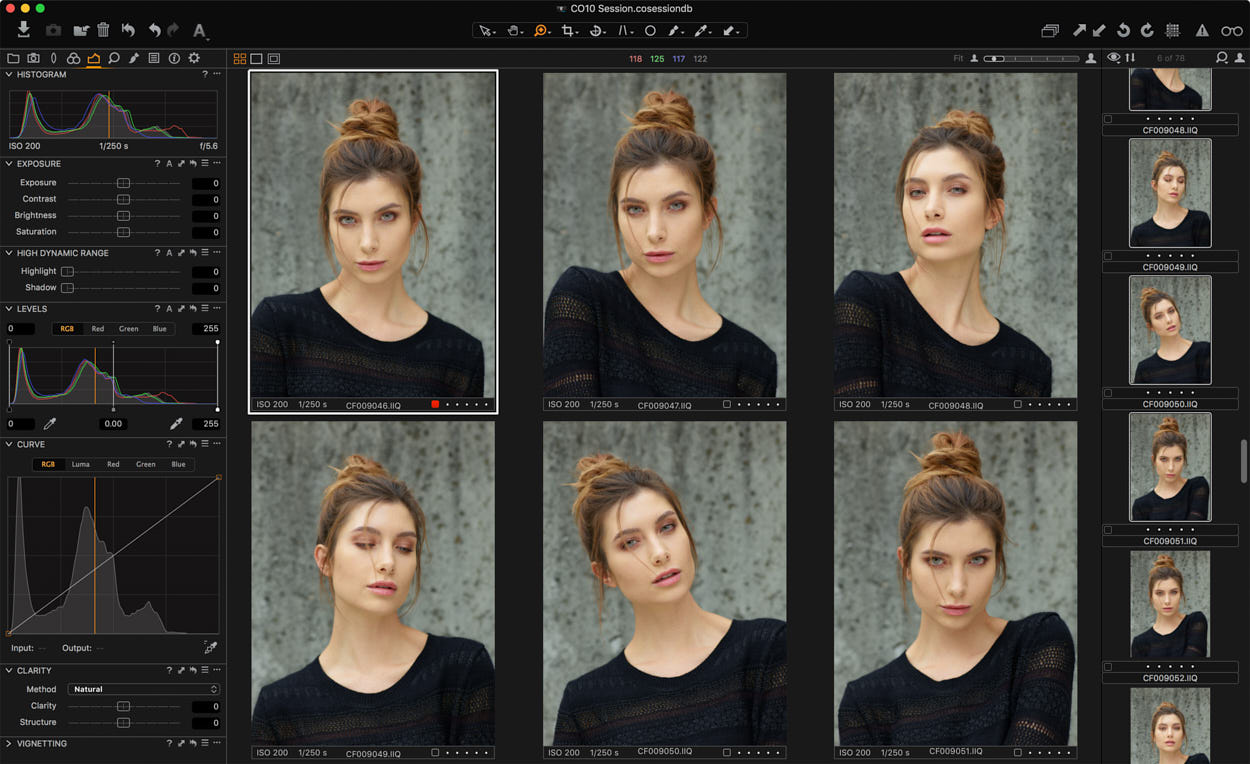
As an example, I have 6 images selected. I want to mark the first image red, but edit primary is enabled (orange icon). If I press “9” (my shortcut for red tag), I mark them all red. No good. Undo.
I switch it off and press “9” again, I mark just the one with the bigger border red. Great! Now I can use the normal short cuts to navigate within the selection and target the next image to rate.
Now you can combine this with “Next set” to rate individual images properly within the set, and then jump through batches of shots.
One last tip here: If the browser is focused (remember UI focusing from Sessions 2), you also get an extra benefit of expanding selections using shift + arrow. Select the first image, then shift and press right arrow repeatedly until you select 6 images. If you add too many, use shift + left arrow to remove from the selection. If it all goes horribly wrong and your selection is not what you want, shift and click the primary to deselect all but one, and try the process again until you have 6 selected.
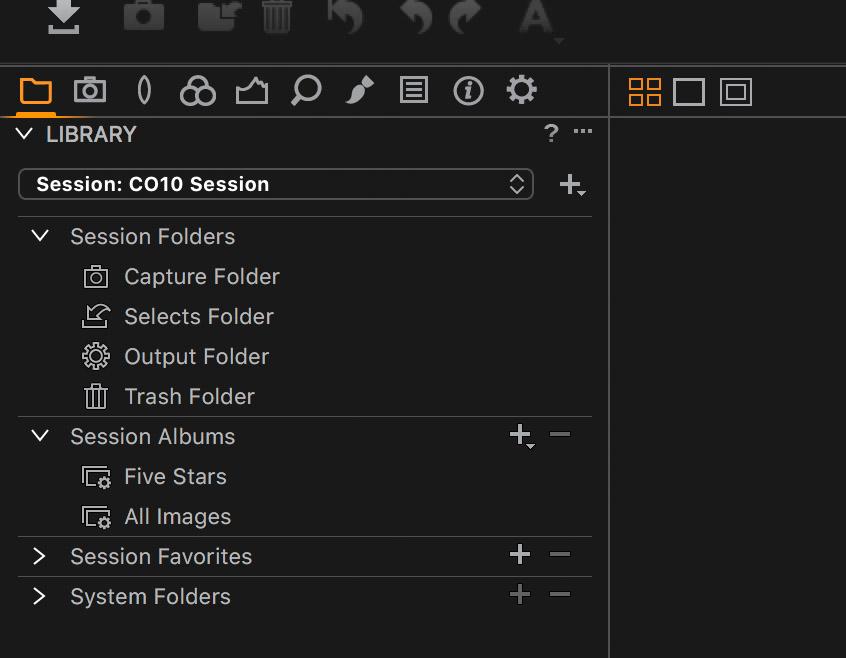
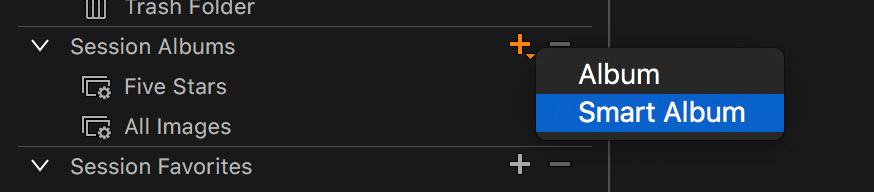
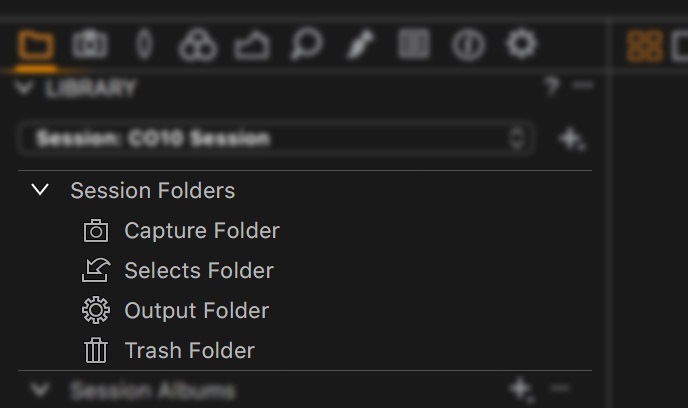
Smart albums bit from Sessions 102
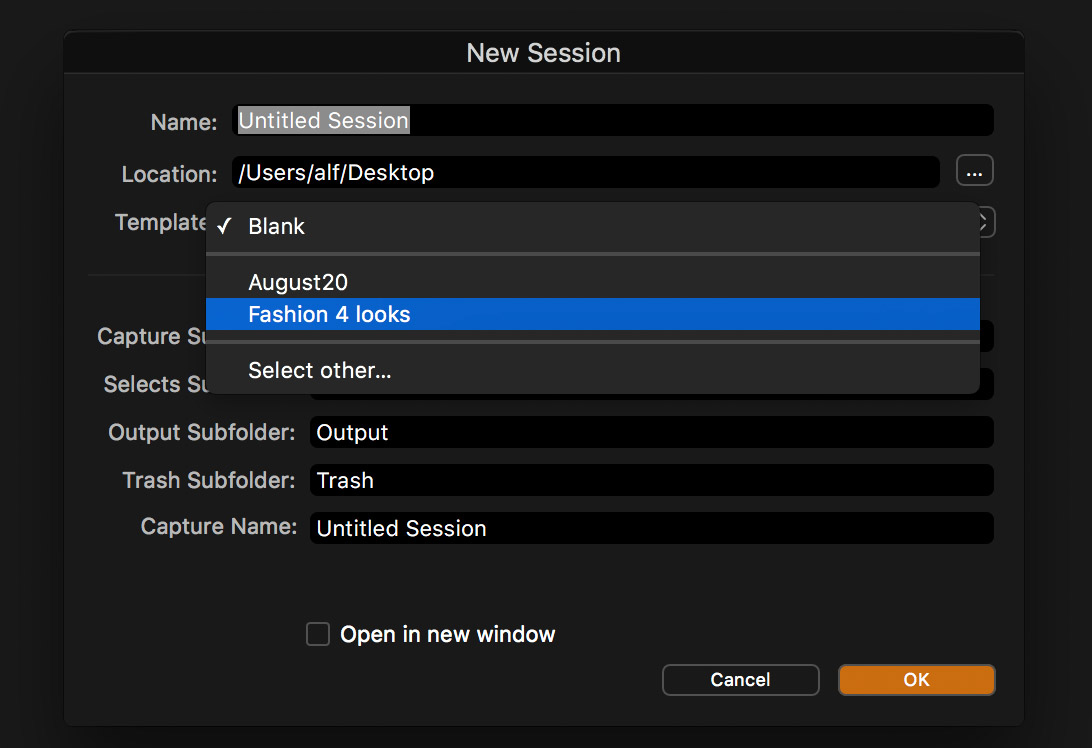
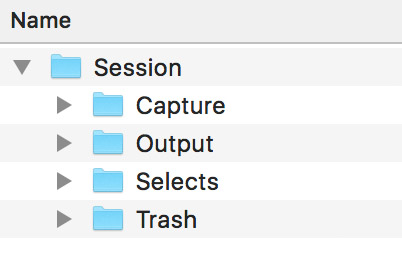
In the sessions blog we set up a session with smart albums. If you missed it, check it out here.
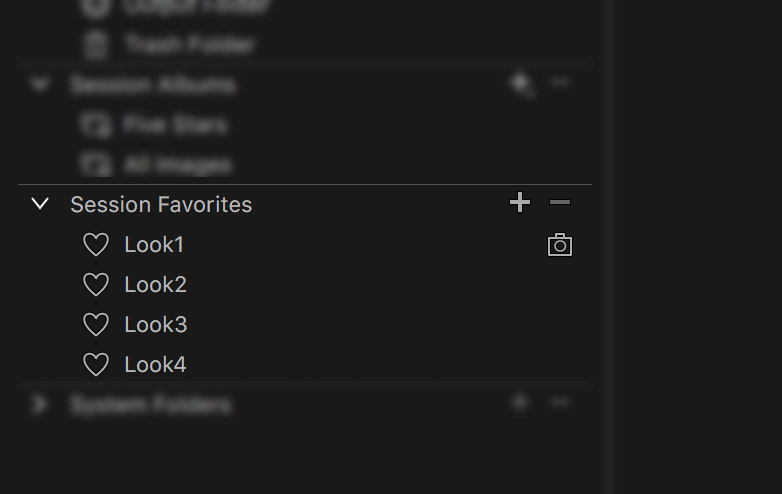
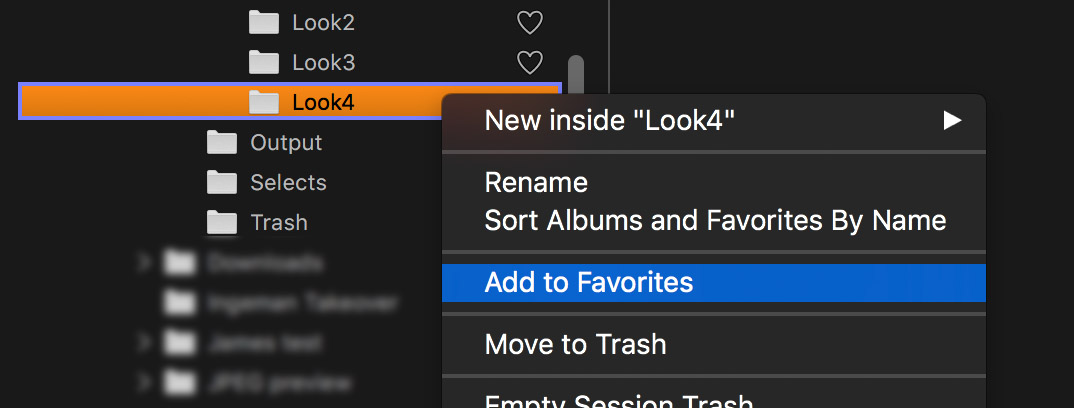
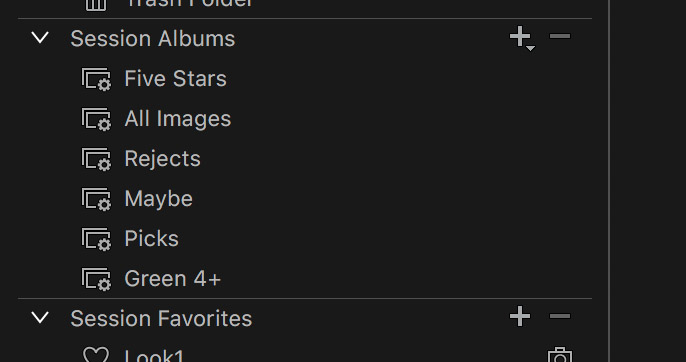
Once you tag an image, it meets the criteria for the Smart Album and appears in there (referenced from its actual location). This process is dynamic, so keep tagging with the system above and everything tagged will be auto sorted for you into the albums. As smart albums work across all Favorite folders, this quickly gives you an overview of keepers from all shot folders.
Capture Pilot
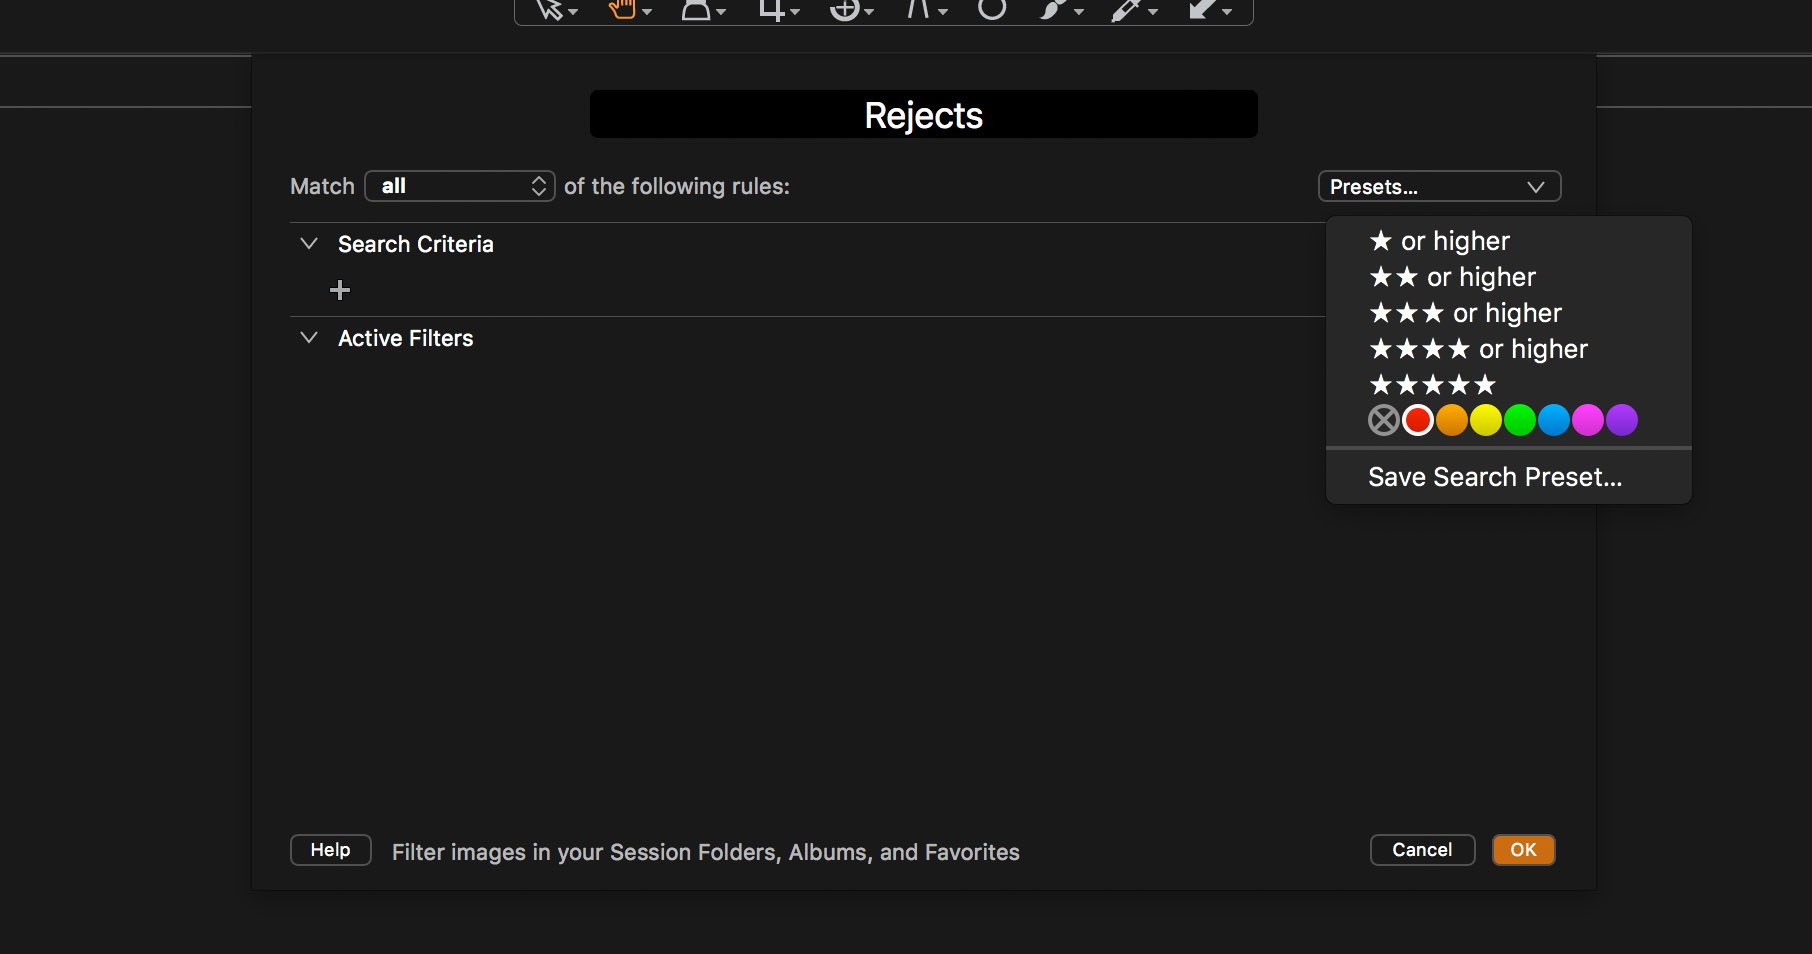
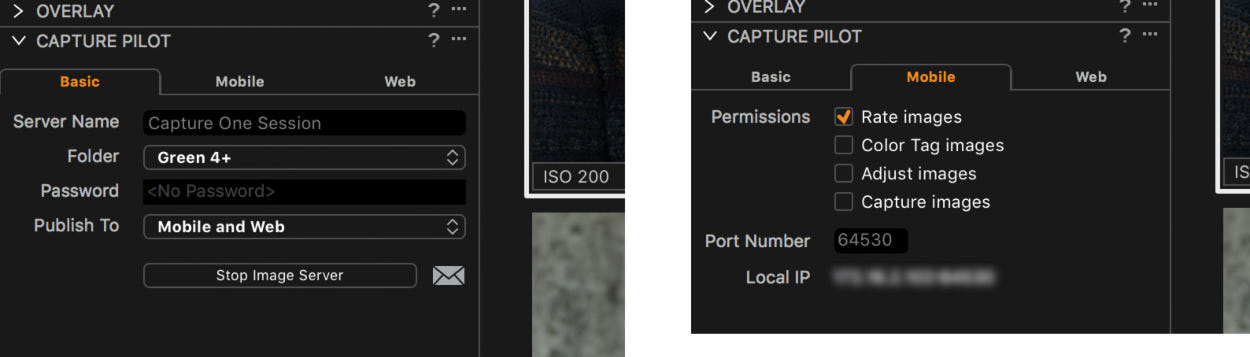
The last piece of the puzzle here is getting feedback from the client. I won’t go too much into the ins and outs of Capture Pilot here, but the nutshell version is you can send any collection to it, including the special virtual collection stuff, and get someone to view that collection on the iPad to review and rate things. So, in the workflow I sent the green smart album to the Capture pilot. It’s a good idea to untick the permissions for color tags in Capture One so the client doesn’t untag an image (this will remove it from the smart album). Instead, I give the client star ratings which gives a secondary layer of validation on anything the photographer picked. Anything with 4 or more stars lands in the Green4+ Smart Album as something that’s interesting.

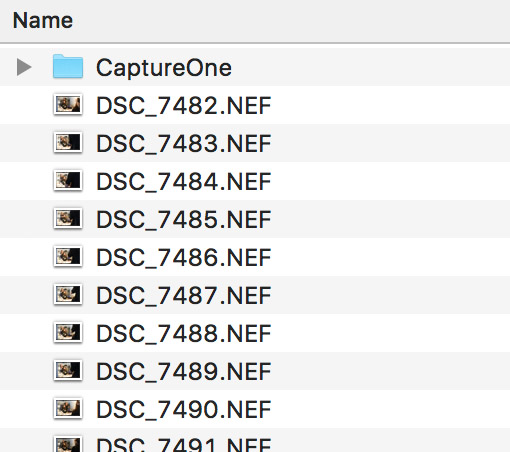
Once the shoot is over and you want all the client selects on disk (with adjustments), you can select all from the Green4+ Smart album and file > export (originals) to send the RAWS + adjustments to any location you so desire. You can even leverage the token paths feature (image folder token) to auto organize them back into folders derived from the parent folder in the session for repatriation to the scheme you captured in. That sounded complex. Maybe that’s for another post for another day…