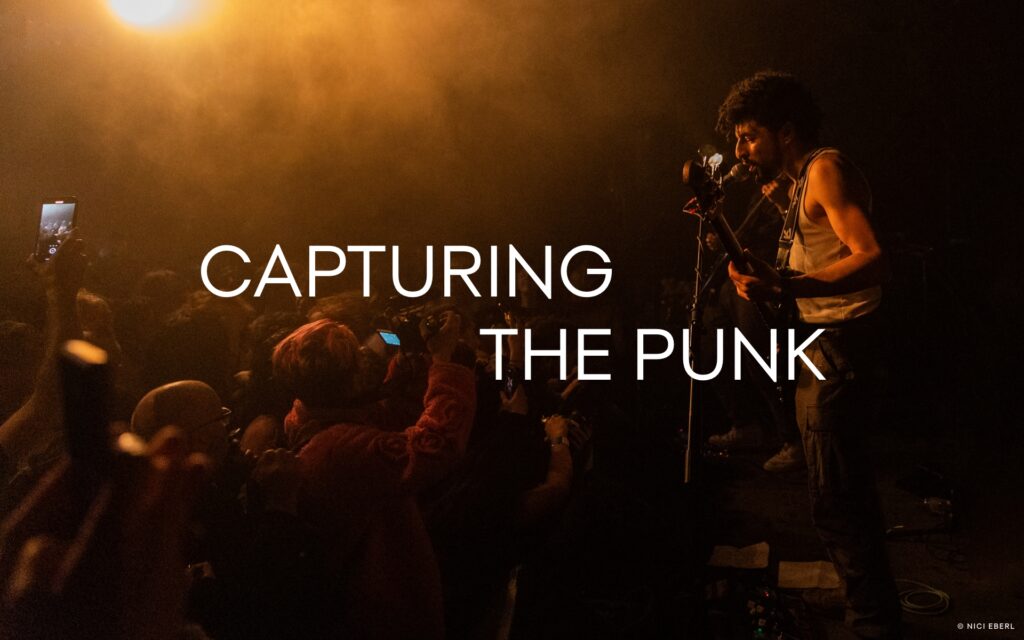
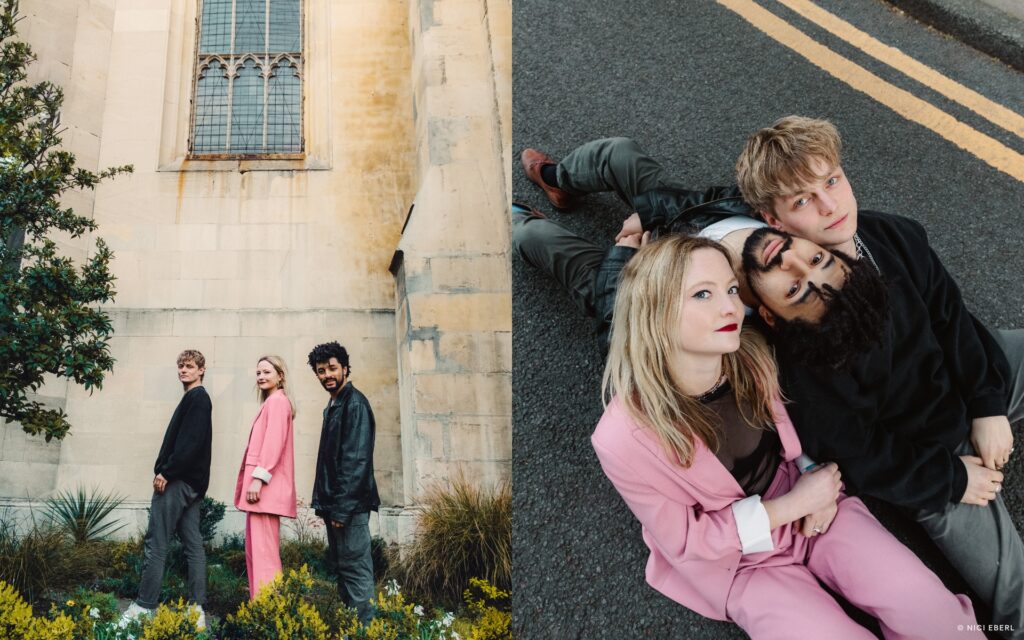
Explosive energy, loud shouts, authentic voices, and forces of nature converge in the untamed world of live music events. When tasked with capturing the essence of the punk band Alien Chicks, photography students Nici Eberl, Pooja Dua, and Rudresh Arora from London College of Communications (LCC London) embarked on an exciting project that froze the intensity of punk in time. Their exploration of Capture One Live on mobile revealed new dimensions to their craft, pushing boundaries and unlocking the true essence of live music photography.
Entering the final semester of their MA in Commercial Photography at LCC London, the three students were faced with an exhilarating challenge: develop a concept for an on-location shoot and experiment with the capabilities of Live on mobile. Their goal was to showcase how this innovative tool could be seamlessly integrated into their photography practice.
Nici enthusiastically shares, “We were told to show how Capture One Live could be used in our photography practice. So, I thought, in the world of live music, the promoters, bands, PR folks, and magazines would love getting those on-stage photos while the band is still playing.”
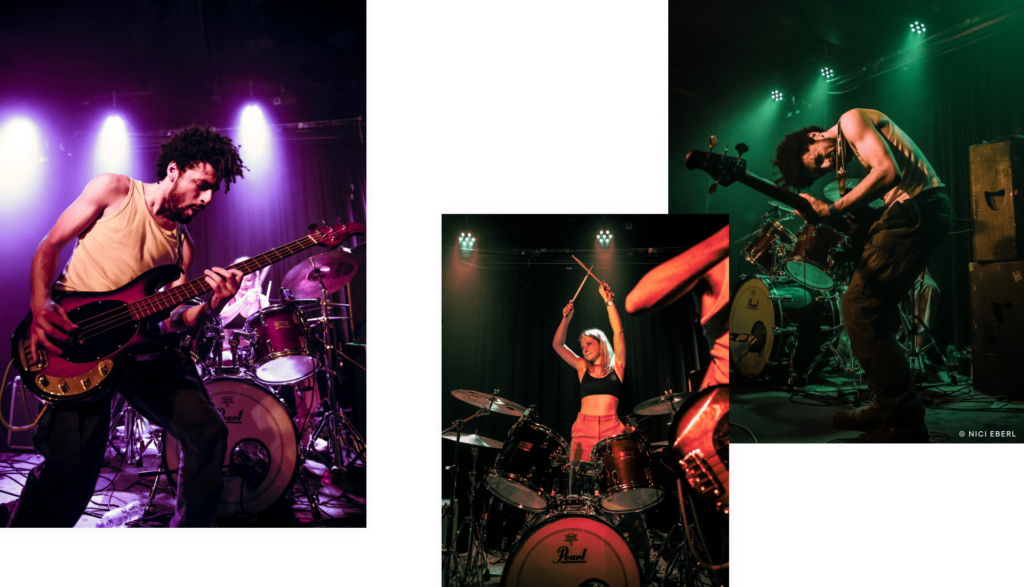
Connecting as a team, Nici, Pooja, and Rudresh embraced their individual roles, each contributing their unique expertise. Nici, the designated hero photographer, fearlessly positioned herself at the heart of the action, capturing intense scenes as the band unleashed their wild energy on stage. Pooja, an expert in behind-the-scenes photography, preserved candid and vulnerable moments that unfolded during the shoots. Rudresh, known for his skillful video documentation, embarked on creating a final cutdown that showcased the dynamic essence of Alien Chicks. “While my primary focus is on portraits, I wanted to apply the same approach to my video work,” explains Rudresh.
Live music venues are notorious for their intense working environments. Navigating pulsating crowds and harnessing the electric atmosphere presents unique challenges for photographers. Undeterred, the team embraced a whirlwind of unpredictable moments. Rudresh, mostly experienced in staged shots, boldly dove into the spontaneity of live music with a hint of nervousness.
“Filming in that environment was intense. It’s dark, you know? But somehow, luck was on our side. The lighting magically fell into place, and it was just perfect,” he recalls.
Nici, a seasoned pro when it comes to live gigs, thrived in the electrifying atmosphere. Every challenge was an opportunity for her to capture vivid moments. She beams, “It was a wild, fun gig! I loved feeding off that energy.”
Pooja sheds light on the initial stress of tight deadlines and the crucial need for seamless teamwork. But through their unwavering support, they formed a bond that turned challenges into triumphs. Pooja reflects, “We kept telling each other, ‘You’ve got this.’ It became our mantra, and it helped us power through.”
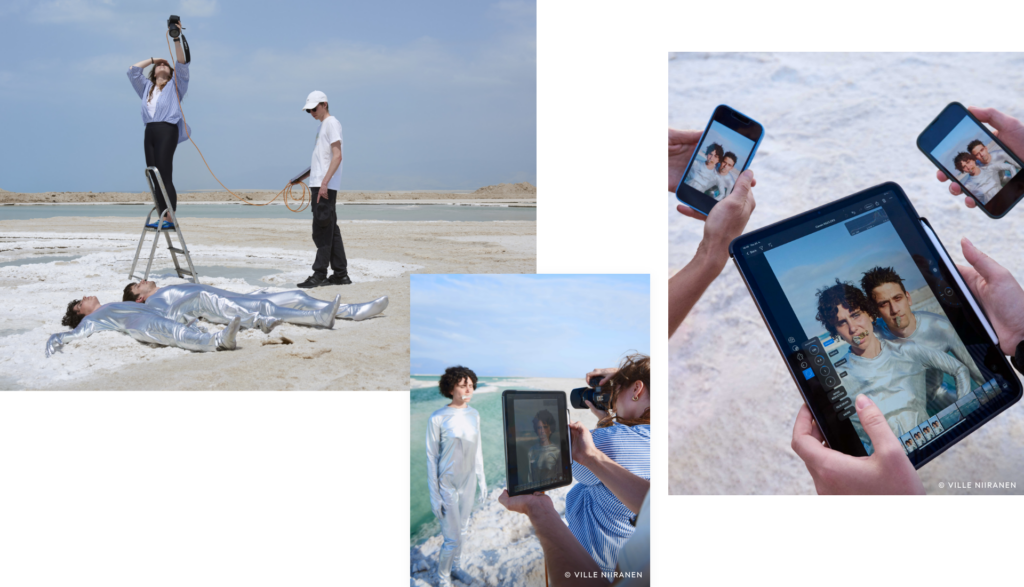
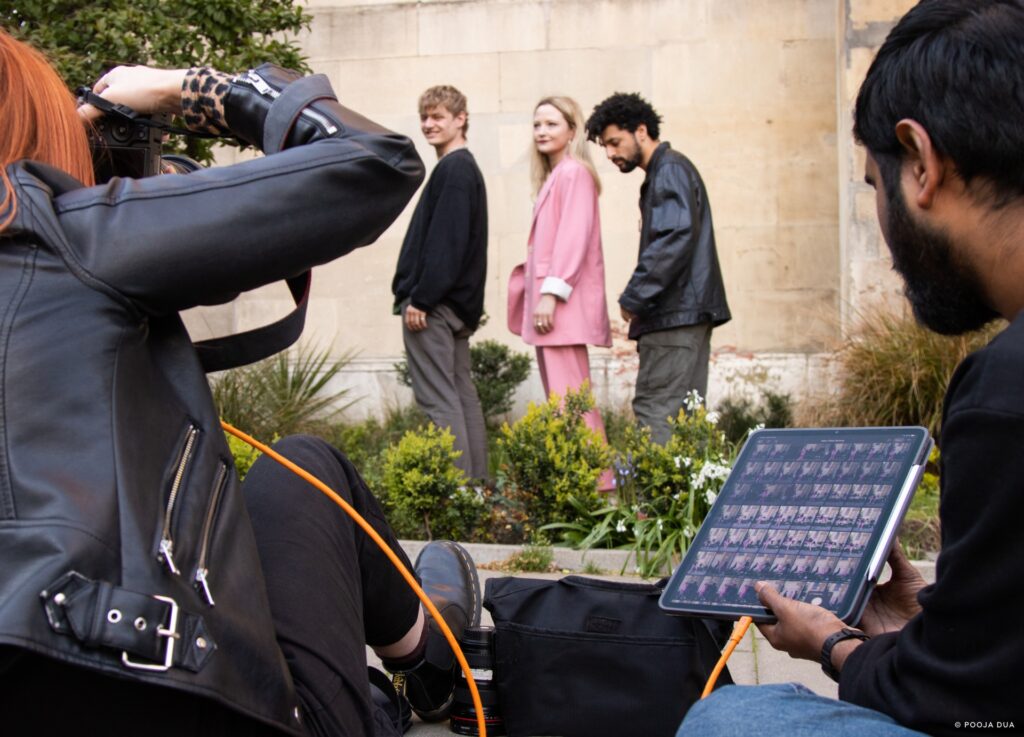
One of the most exciting aspects of the project was the ability to hand the iPad to the band during the shoot. This allowed them to view the images live, providing immediate inspiration. Nici expressed her excitement about the iPhone app release, recognizing its potential as a game changer. She explained, “I think that is a game changer because everyone always has an iPhone in their pockets.”
Nici also shared a personal moment.. “I was shooting something else over the weekend in the middle of nowhere, and all I could think about was how cool it would be to have an iPad. I wanted to show the imagery immediately, but we had to wait hours until we got home. Editing in the moment is crucial because I want to bring out the captured essence and emphasize the image’s energy and emotion,” she says.
Shooting with Live on a mobile device helped enhance collaboration by enabling real-time shooting, seamless sharing, and instant feedback, all conveniently located in one place. The students could deliver the final shots more efficiently, even while on the move.
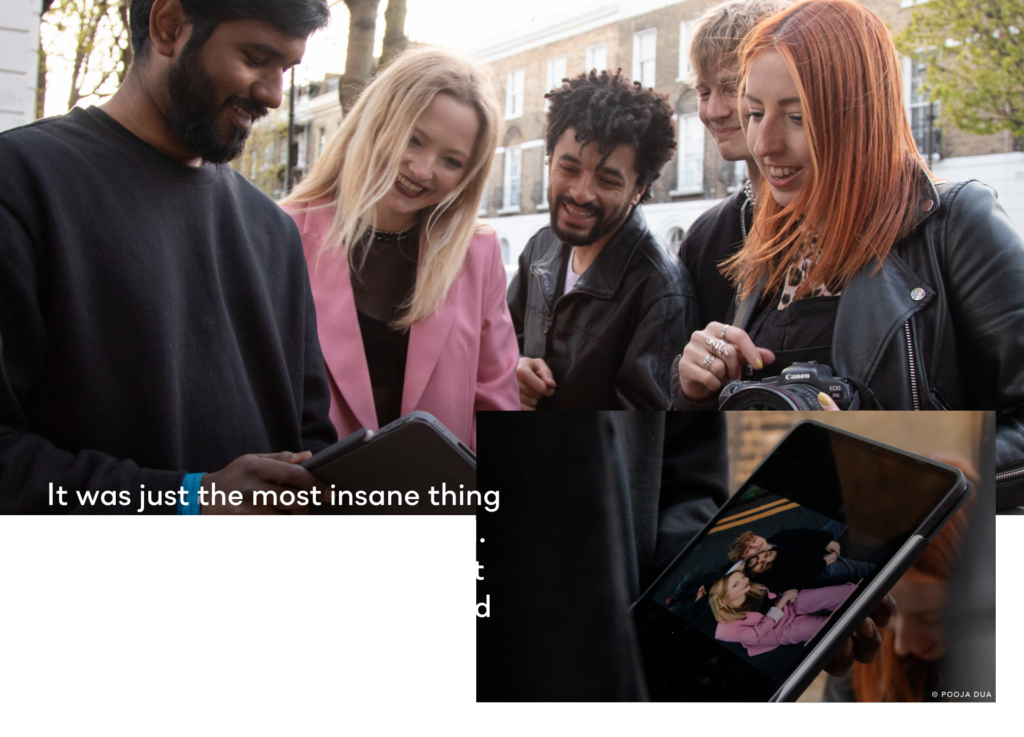
Pooja described the experience of working with the images on an iPad as astonishing. She shared, “ It was just the most insane thing watching it happen on an iPad. It’s a cool feature, and I think it will do a lot for the industry and become the new norm.”
Follow Nici, Pooja, and Rudesh on Instagram to see more of their work
Are you a student? Verify here for 65% off Capture One Pro