In 2013, London-based photographer and multidisciplinary artist Ejatu Shaw found her passion for photography during a family trip to her native country, Sierra Leone. She was fascinated by the people she met and the environment she experienced, which inspired her to turn her memories into visual reflections. Over the years, Ejatu has experimented with self-portraiture. As her passion grew, she delved into more deeply-rooted projects, such as “Poly-” and “Teranga,” which allowed her to explore her heritage through her work.
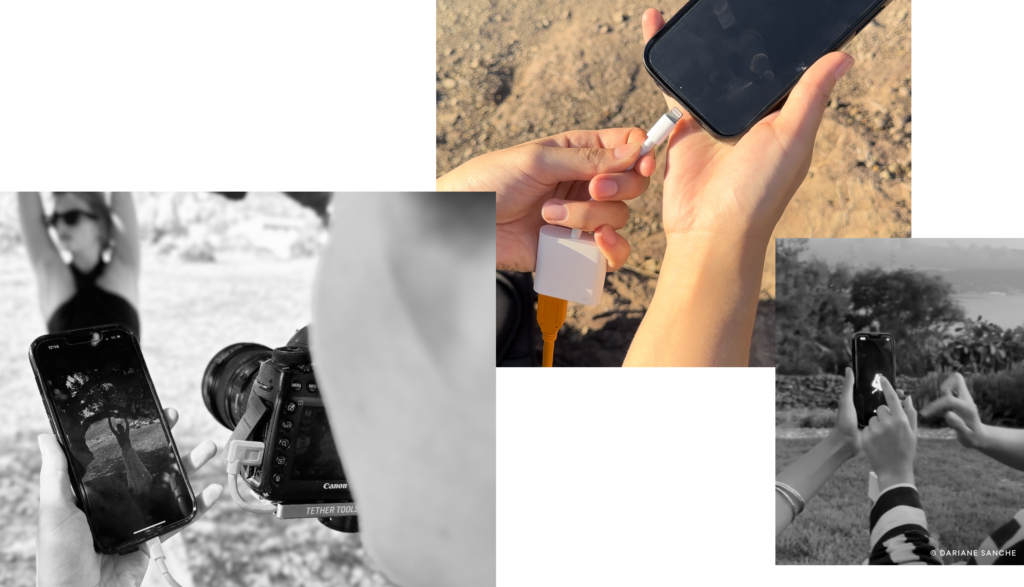
We were thrilled to join Ejatu at her recent photoshoot at Spring Studios in London, where she shared her journey with us and explained how our latest features have affected her workflow. During the shoot and creative process, she was one of the early testers of our new features, including ReTether, AI Masking, Snap to Eye, and plenty more.

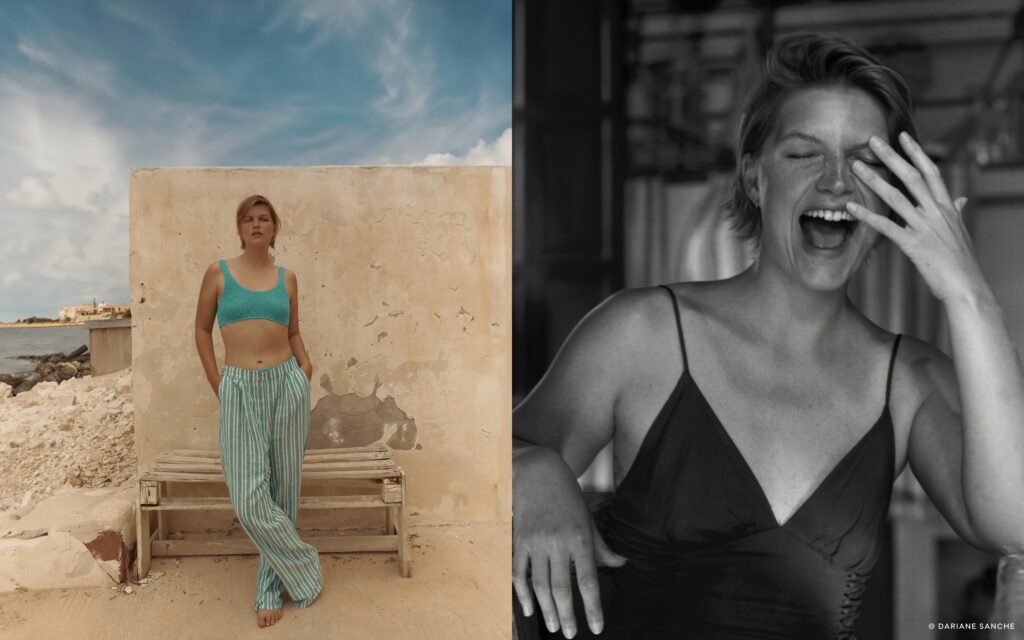
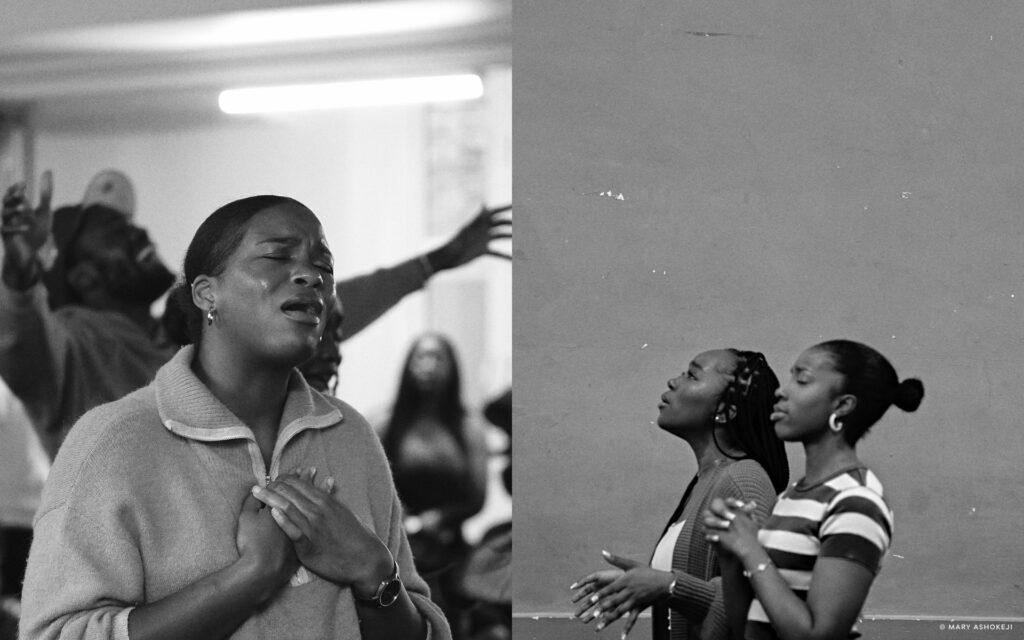
“Poly-“, Ejatu Shaw.
Can you tell us about your journey as a photographer and content creator and how you started in this field?
I think my knack for photography kicked in during a trip to my native country of Sierra Leone in 2013, where I spent the entire time taking photographs on my phone—of the beautiful scenery and people we visited from various households. I’d spend the long journeys in the car between each family visit editing the photos on editing apps on my phone. I absolutely loved the process. One of the main reasons I have used photography as my primary medium for expression is the brilliant interactions it allowed me to have with people I knew and strangers.
Your work explores themes of identity and personal experiences. Please share a bit about your path and how it has influenced your work.
I’ve always been very drawn to African cinema and photography, studying how themes are explored in a sensitive but provocative manner that can generate some practical conversations. For example, in my 2017 project “Poly-”, I explored my Fulani/Islamic heritage, using subjects from my family and a friend to step in for me (before I started taking self-portraits). I used elements of Islamic symbolism and rich colors and textures to delve deep into the realms of my Islamic identity and African heritage, showing a fusion of the two and a departure from both.
What is your favorite subject or genre of photography to shoot, and why?
I’m pretty drawn to self-portraiture, as the process can uniquely bring forth your internal, private image. While I use self-portraiture to explore identity and documentation, it can also be seen as a performance, an opportunity to reinvent oneself and explore a new character, bringing to light what may usually be hidden.
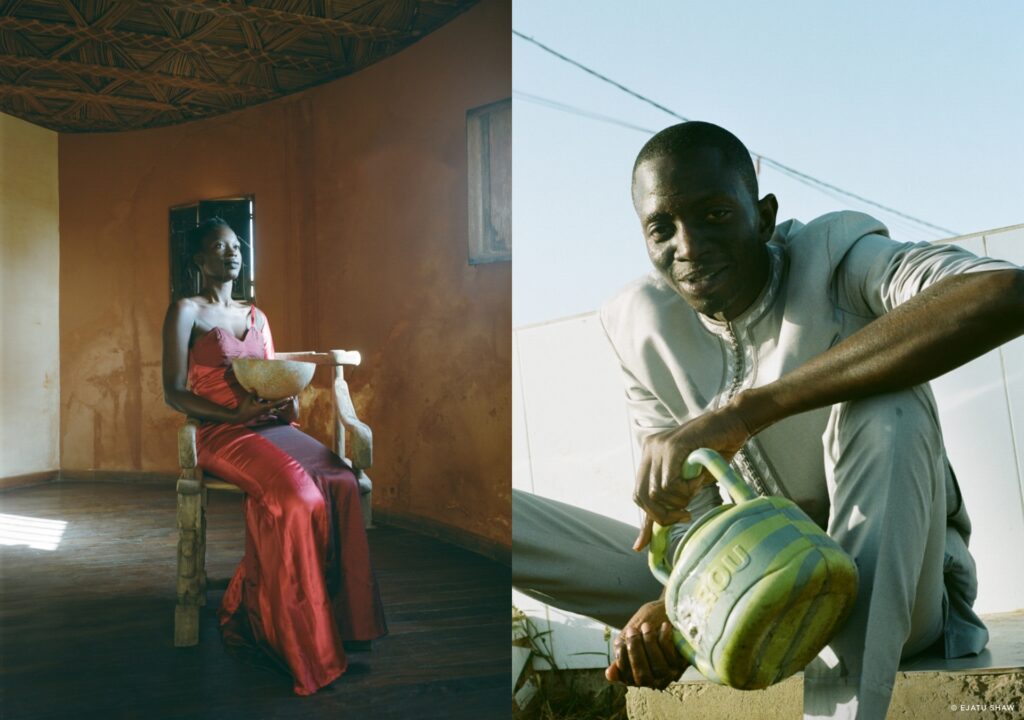
“Teranga”, Ejatu Shaw.
Tell us about a project you’ve worked on that has profoundly impacted you?
I truly enjoy going back home and exploring culture and community under new circumstances. For example, my project “Teranga,” translated from Wolof, which means ‘hospitality,’ documents the sense of welcome I felt when I first visited Senegal, which has a high population of Fulani people. I was able to reconnect with my culture and heritage on this trip thanks to the incredible people I met and my experiences in the country. I wanted to document the individuals that showed me this hospitality and capture the essence of my visit.
At your recent shoot in London, you got to try out our new features. Could you share your experience with us?
What really stuck out to me was the flexibility the new features offered me. The ReTether feature, for example, was so helpful to remove my tether cable and keep shooting freely without affecting my workflow. This meant I was not limited with my angles and left me with so much room for creativity and trying out new things in an environment that is typically high pressured – and then I could plug back in and have all the files load up with the correct naming and all my adjustments applied automatically.
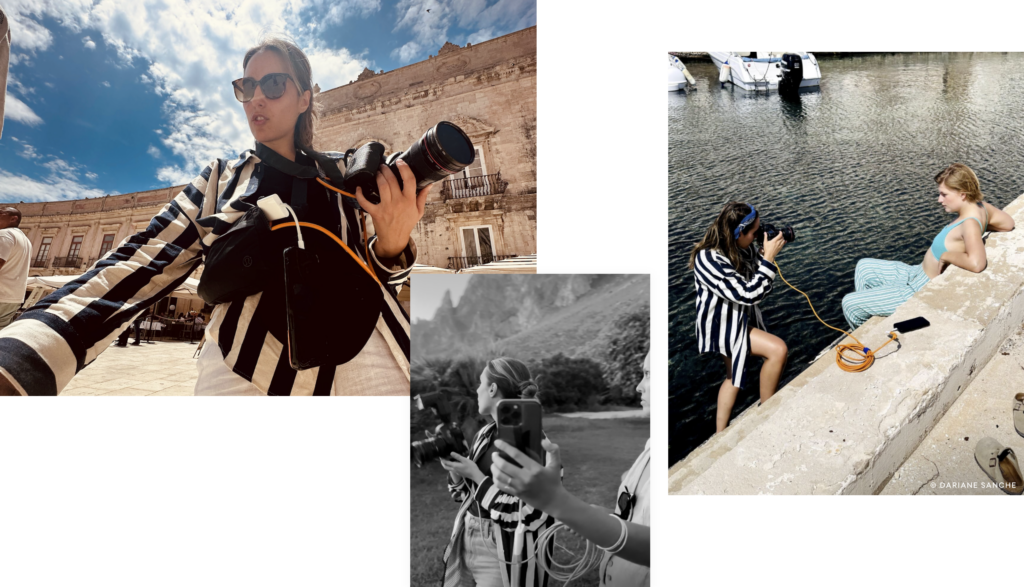
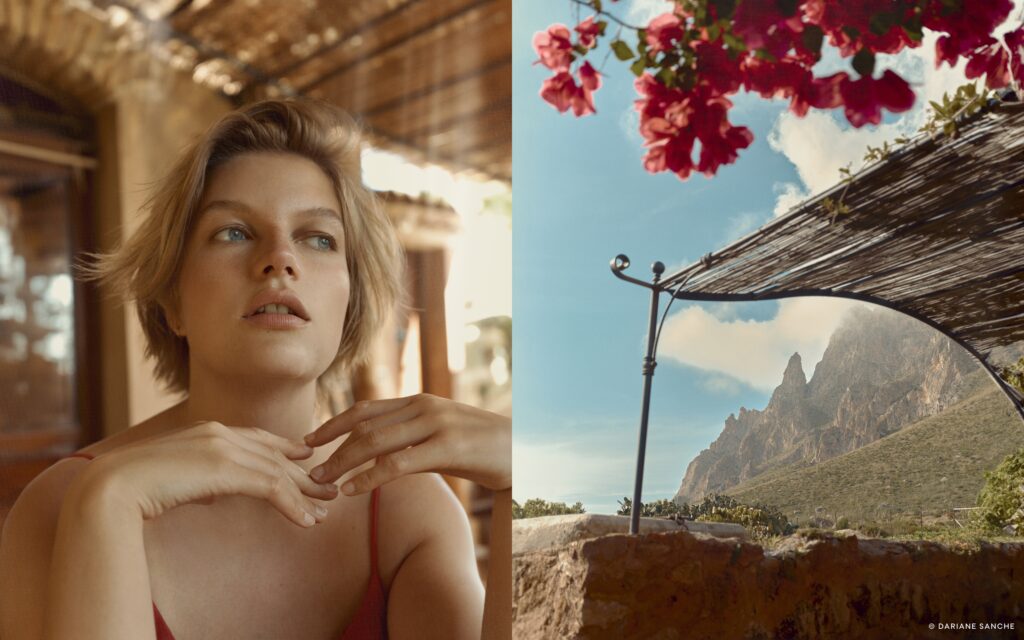
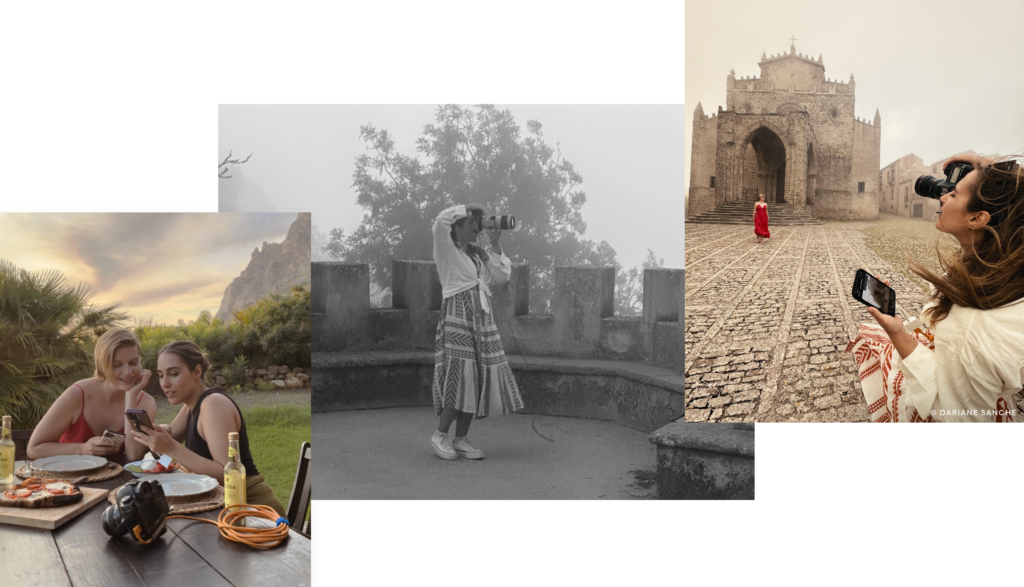
Take a behind-the-scenes look at Ejatu Shaw in action, testing our upcoming features at Spring Studios.
Photographer: Ejatu Shaw, BTS Photographer: Thomas Martin, BTS Video: Nina Veech, Makeup: Billie Mckenzie, Stylist: Efe Igbinadolor, Digi: Holly Louise Taylor, Model: Temi (Named Models), Spark: Brian Salcedo, Gaffer: Nathan Ford.
Collaborating with clients and sharing your work is crucial to any shoot. Have the Live updates impacted your client interactions and feedback process?
The Live update has been so helpful in alleviating pressure on shoots. Giving all collaborators (both on set and remote) access to the live imagery from their own devices gives me much more space to focus on the model and communicate. While still maintaining communication with my team and receiving immediate feedback in an organized way.
Snap to Eye is designed to speed up reviewing images for sharpness. How has this feature influenced your post-shoot image selection and editing process?
My post-production workflow is so much faster now that I can quickly check each image’s sharpness. I can now dedicate more of this time to the grading and editing process. It’s also very helpful while working on set as my assistant no longer needs to manually click on the eye of each image, which means they have more flexibility to help with other aspects of the shoot.
In photography, precise and complex masking is crucial but time-consuming. How was working with our new AI Masking?
I absolutely love the AI Masking. It’s very responsive and gives you much more control when adjusting a specific image component. So far, I’ve used it to brighten my subject, bring back details in the sky when shooting outdoors, and change the color of backgrounds or clothing items.
Can you share any upcoming projects you’re excited about and where these new features might play a role?
Thanks to the new features, I have a few editorial and commercial projects coming up where this very flexible workflow will be beneficial. From my smaller shoots and personal projects to the busier commercial shoots where my team may be bigger, I’m confident that all my shoot days will run smoothly.
Discover what our new features have to offer. Curious to see more? Explore now.
See more of Ejatu’s work on her Instagram and website.
New to Capture One? Try it for free for 30 days here