NOTE: This article discusses an outdated version of Capture One. To learn more about our latest version, click here.
Food photographer and stylist Michaela Hartwig uses Capture One Pro to create sumptuous and mouth-watering photos. From color grading to the Layer tool, here are the five key advantages that sold her on Capture One’s photo editor:
The power of Layers
When I first started working with Capture One Pro, I quickly realized that it offers me the incredible lucidity in the library as I know it from Lightroom, combined with the power of Photoshop when it comes to layers.
You might be wondering – why are layers important? Can’t I just use the brush tool for local adjustments like I do in Lightroom? That’s certainly a workflow practiced by a lot of photographers and it works for them. But have you ever created several adjustments in Lightroom and then had difficulties finding the right one when you wanted to change it? This has never been easier than when applying those adjustments in Capture One Pro across separate layers.
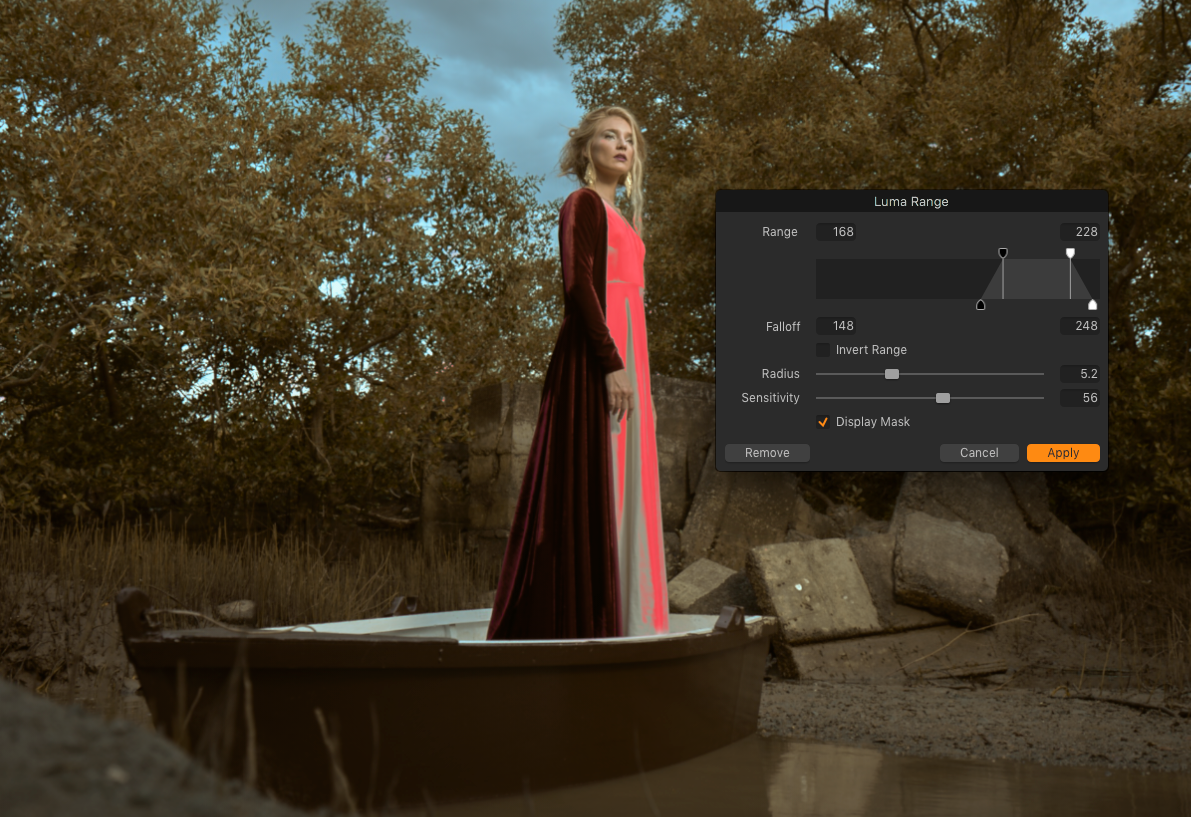
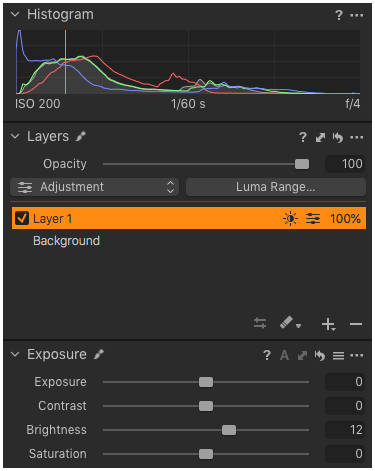
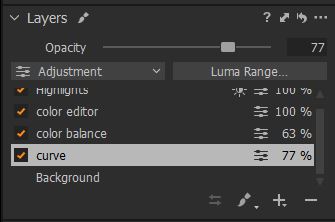
Just to name a few advantages: You have a very clear overview over all the adjustments applied on the image. You can create radial masks and linear masks. You can fill masks over the whole layer but you can also erase parts of the mask. You can create masks by luminosity –> you can apply adjustments to just the shadows or just the highlights of an image.
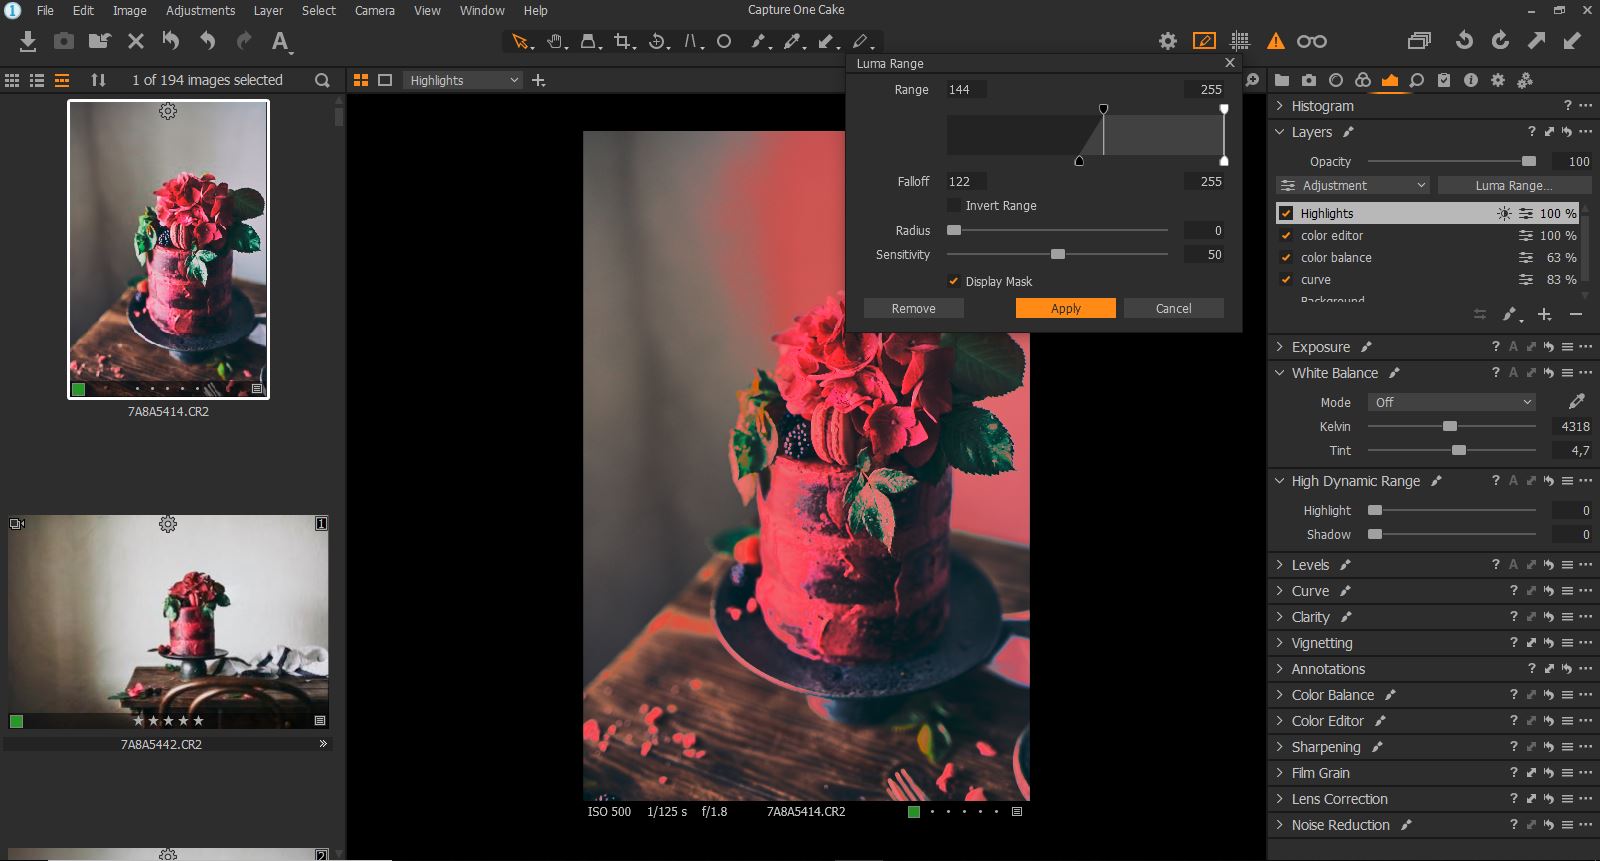
And to me the most important advantage: You can change the opacity of masks. Imagine this: You created a tone curve with a matte film effect and some blues and greens in the shadows, it took you quite a long time to find the right balance of colors. But when you’re done with editing you realize that the adjustments are too strong. Instead of now destroying your fine-tuned color tone curve, just turn town the opacity. This way you can still keep the desired color effect of the tone curve but with less of an effect.
Maximum control over color grading
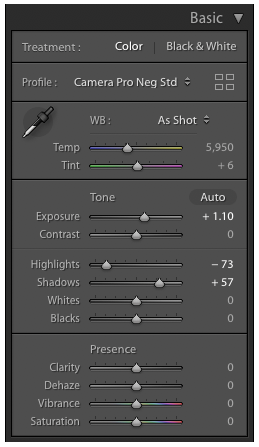
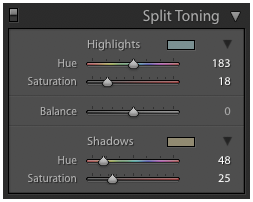
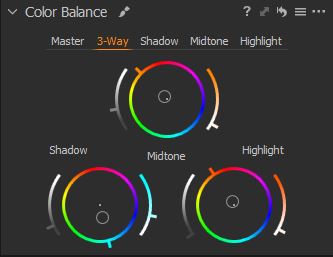
The color tools in Capture One Pro are incredibly versatile, powerful and there are many different ways to achieve your color goals. This was intimidating for me the first time I worked with Capture One Pro. But once you understand both the single tools and how they work together, you will love color grading with Capture One. You can use the levels tool or the tone curve, the color editor, the advanced color editor, the skin tone tool, the color balance. There are no rules and no borders. I particularly enjoy using the tone curve and the color balance tool to give my shadows, my mid tones and my highlights the specific color grading which my pictures are known for. The color balance tool in particular can have a huge effect on contrasts and colors in a very comprehensive way.
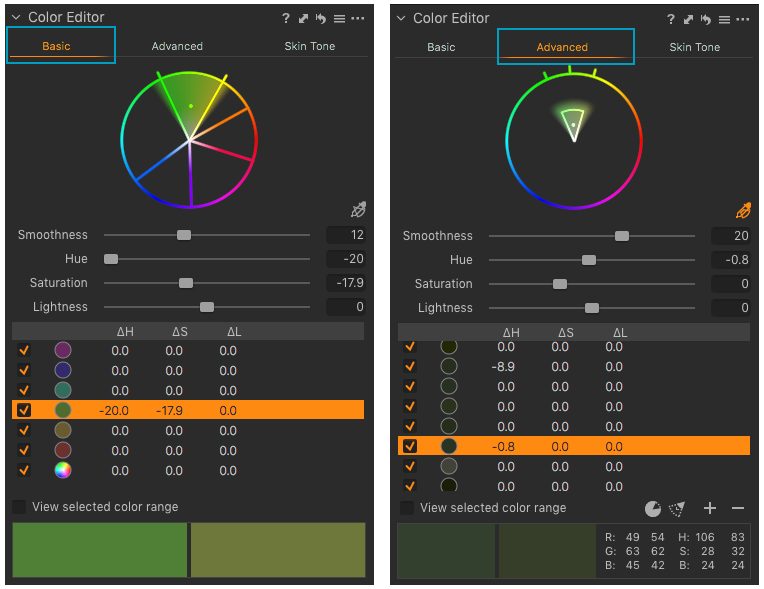
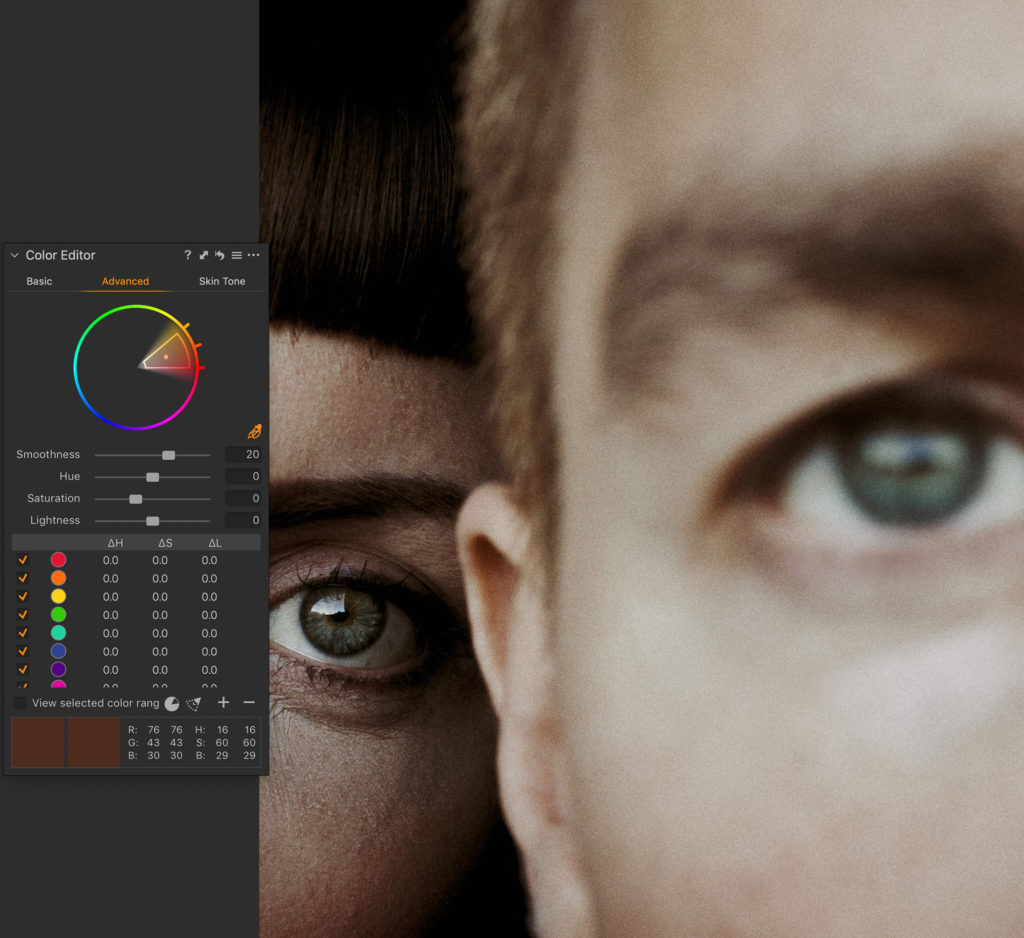
I also want to emphasize a specific color tool which you won’t find in Lightroom. It allows for modifications which would otherwise require tons of layers and a lot of effort in Photoshop: the Skin Tone Tool. I am not a beauty photographer or retoucher, but this tool is still incredibly helpful for food photography as well.
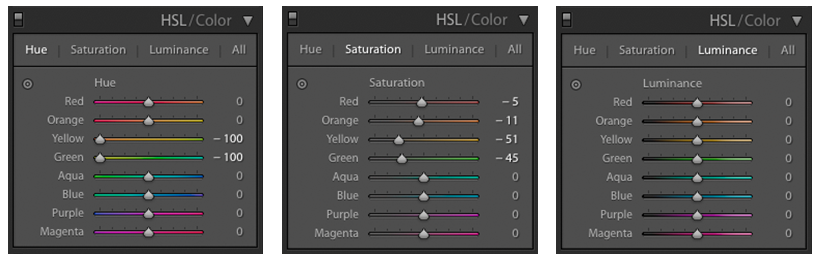
I want to show you how critical it is via the below picture. In this picture, I have several different tones of green. Some parts have a saturated, rich green and other parts have some yellow tones. With the skin color tool it’s possible to equalize those colors. I pick the color of my choice and by using the sliders in the red square I can adjust all colors in the marked color wheel to my desired color point in terms of hue, saturation and brightness. When I have several colors in my shadows, this can also have an uncomfortable effect on an image, so I use the skin tool for correcting. It’s incredibly helpful.
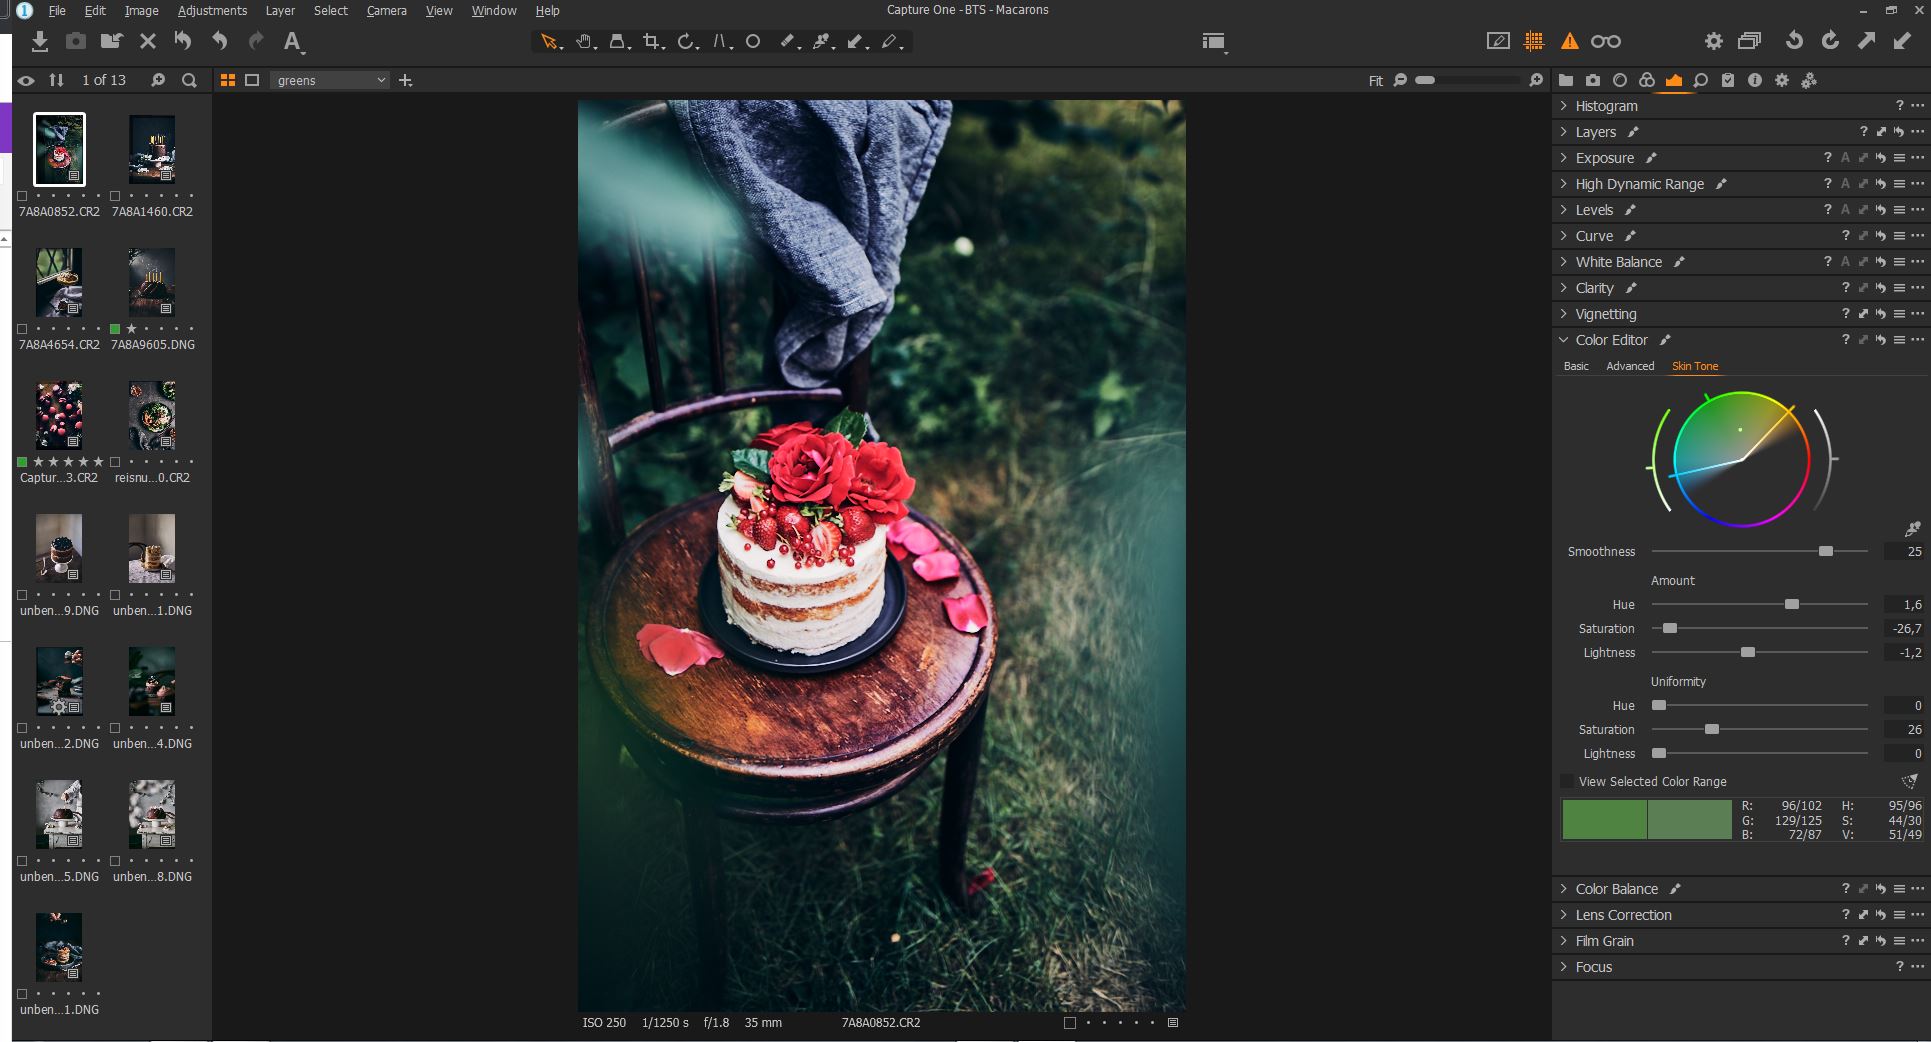 Greens before
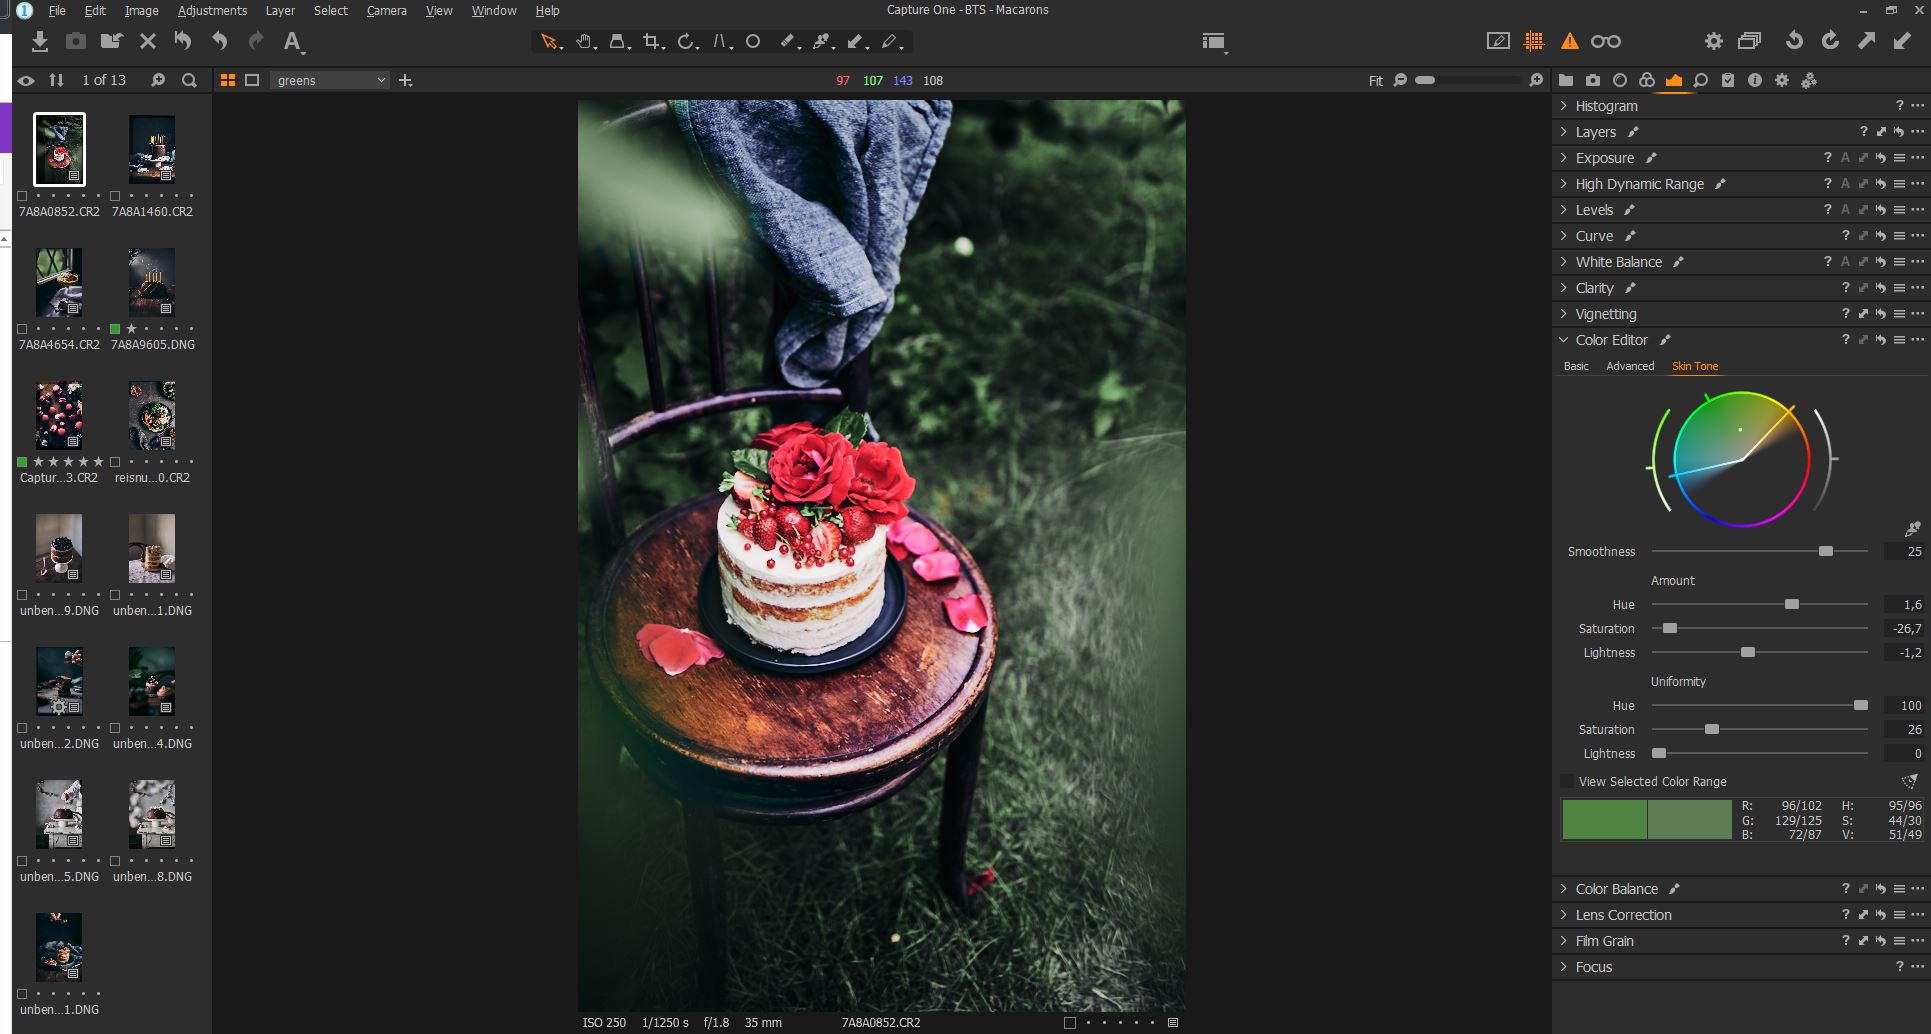 Greens after
Sessions over catalog-based workflows
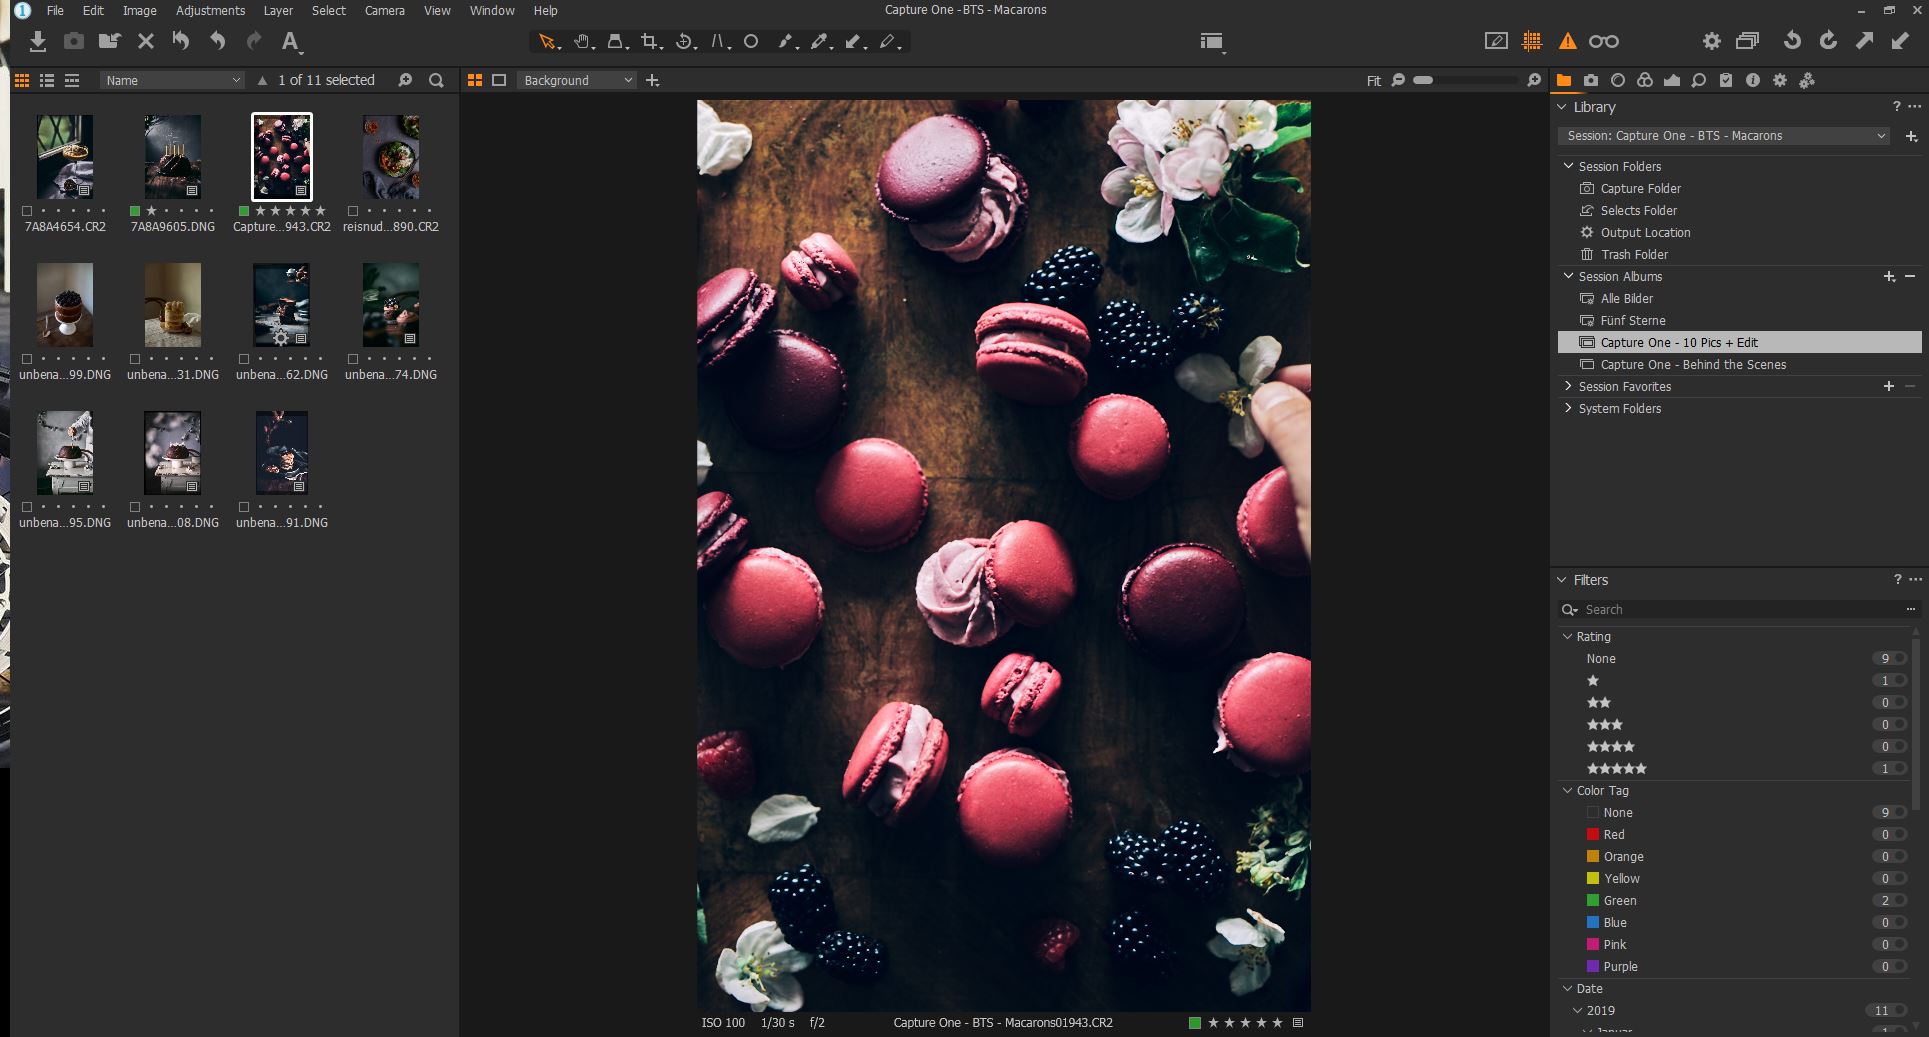
Catalog-based workflows – equivalent to catalogs in Lightroom, is possible in Capture One Pro. But when working on current projects, I always prepare my work with Sessions. Here are the top 3 benefits from working with Sessions:
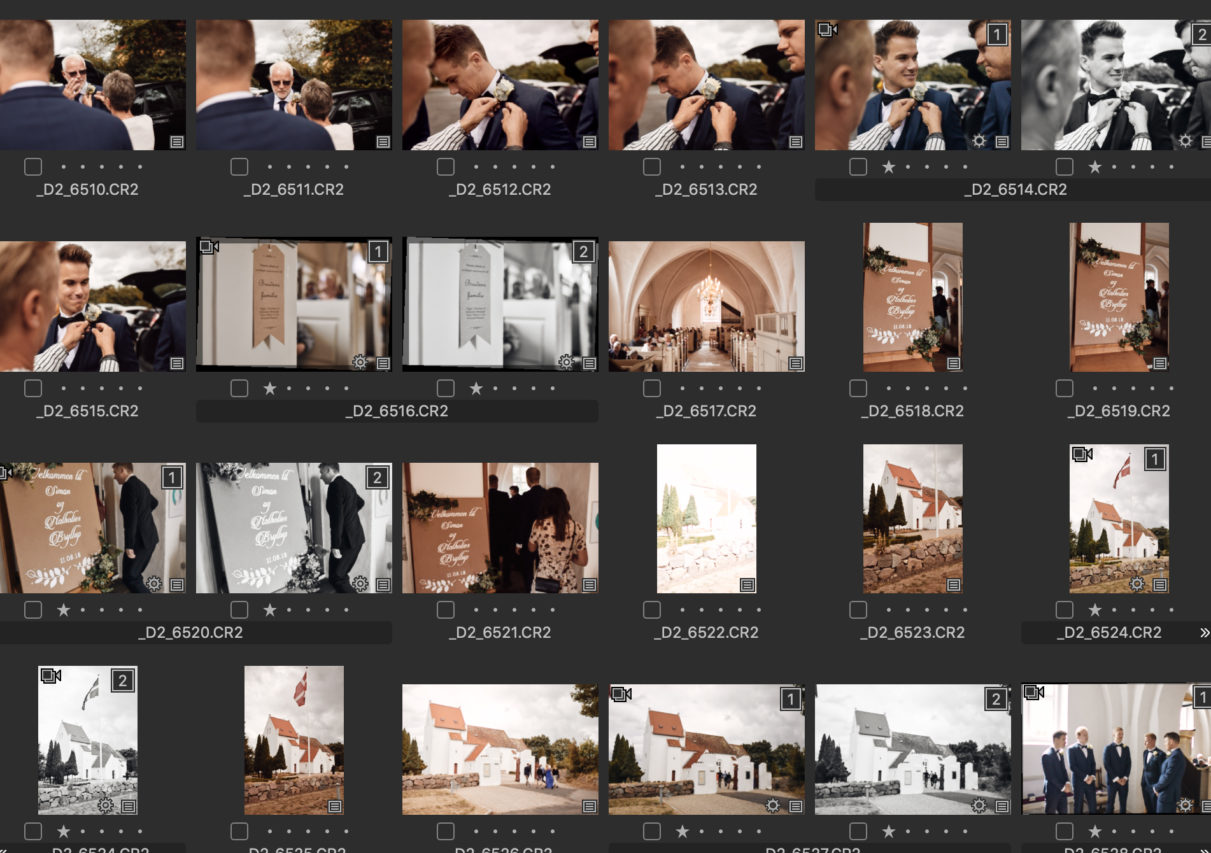
- It’s easily accessible. You don’t have to search within a catalog for a specific project or shot. Just go into your PC structure folder, double click on the desired session and Capture One will open your files within that session automatically.
![]()
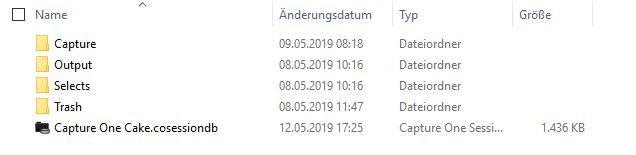
- Capture One Pro creates an automatic folder structure within the session. It creates four default folders once you start a new session: Capture, Selects, Output, Trash. The Capture Folder contains all the images that were shot tethered or imported from your SD card. Once you make a selection of your favorite images in Capture One Pro, they will automatically be moved to the Selects Folder. If you want to delete specific images, these will be moved to the Trash folder by default, but they are not gone. You can easily move them back. And the Output Folder is the folder where your exported variants will be sent unless you choose a different folder.
- Similarly to Lightroom’s Collections, you can create Session Albums and move your desired images from several folders on your hard drive to a favorite session folder, without physically moving them. This is especially helpful when you want to build up your portfolio.
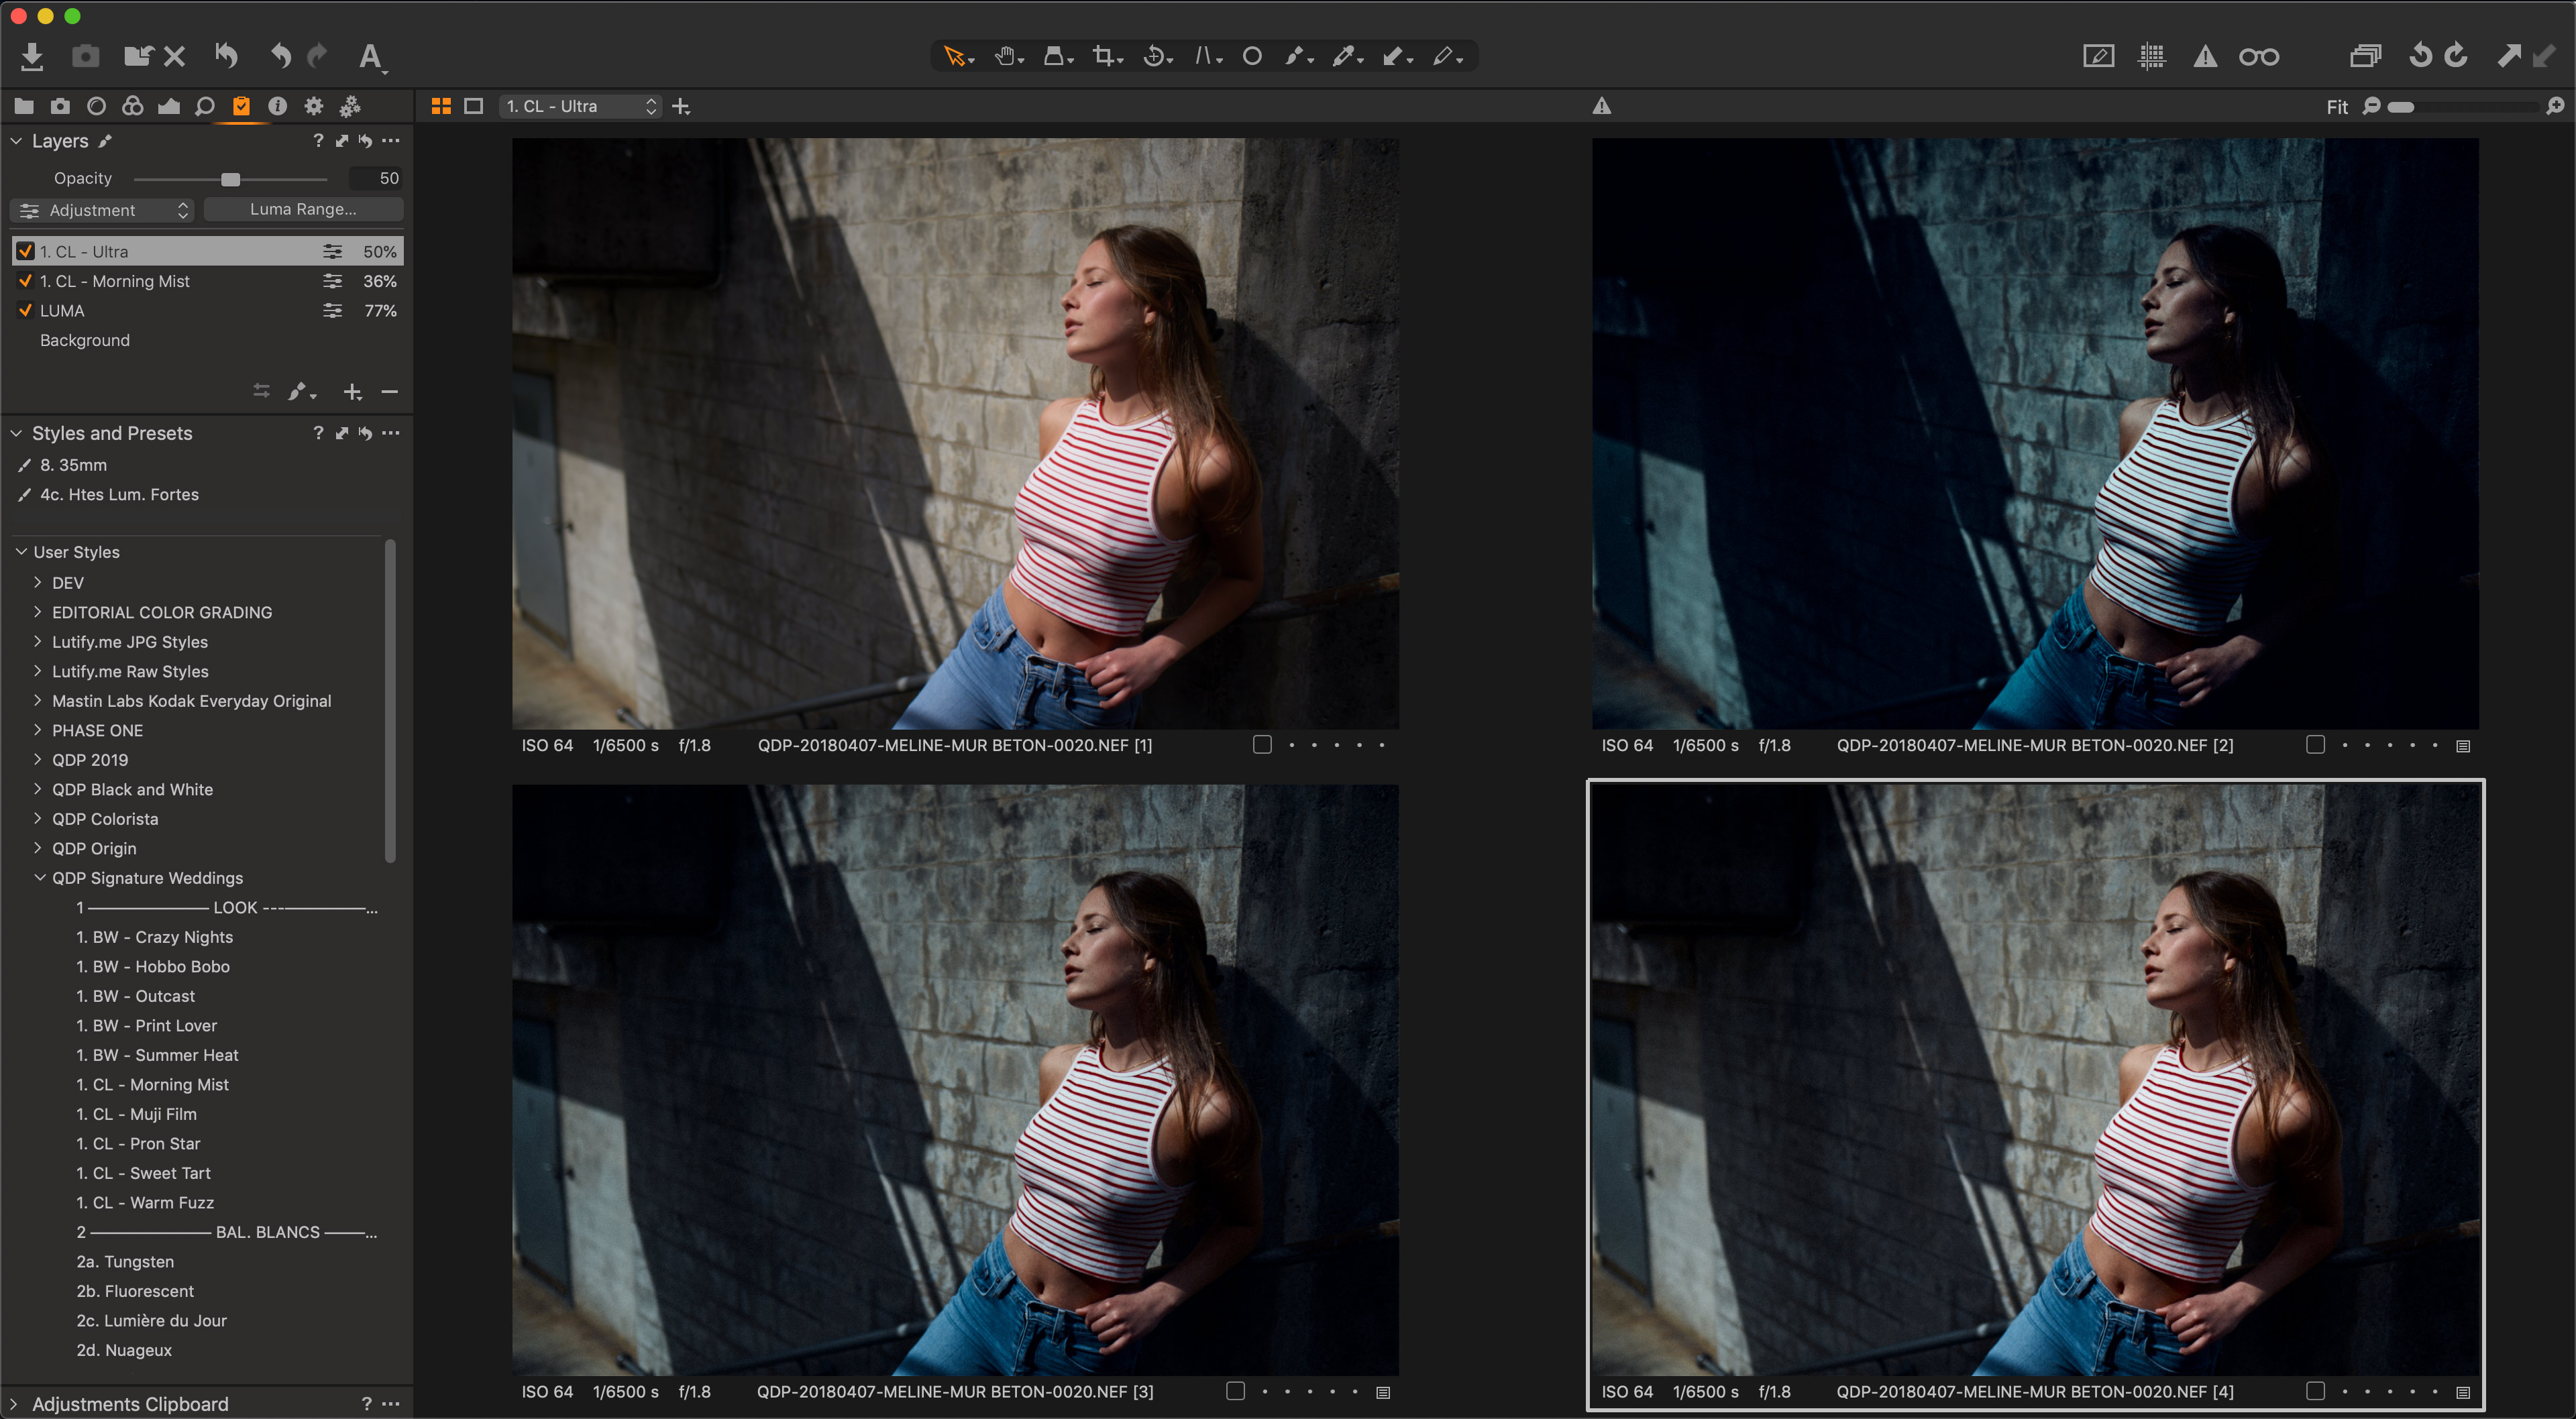
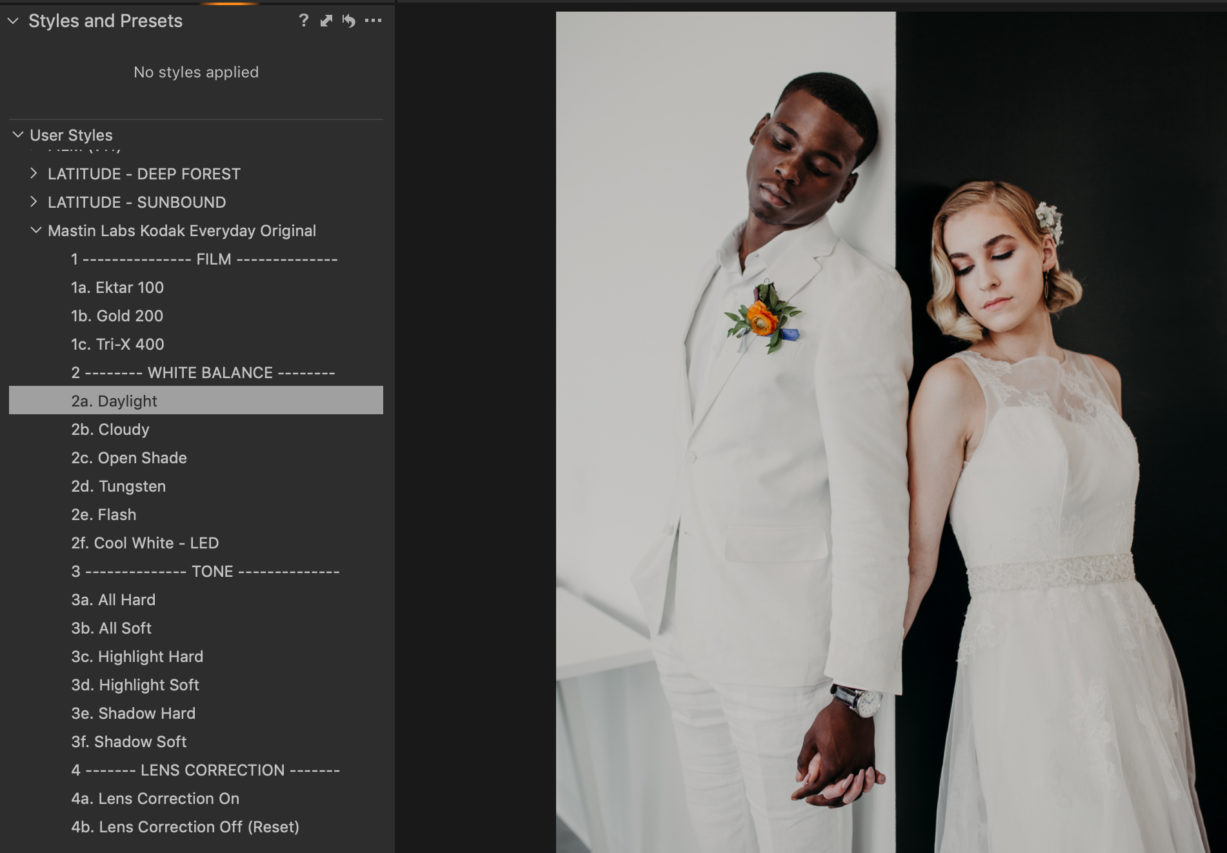
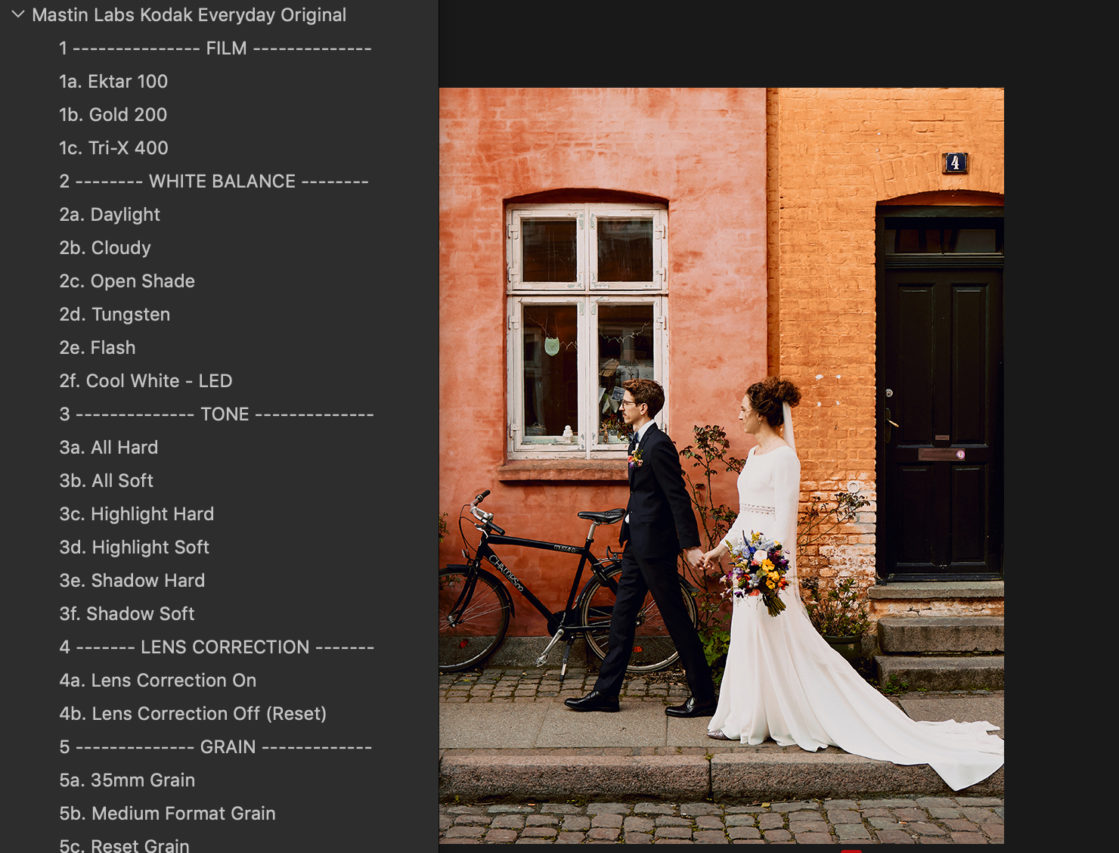
Working with Styles / in combination with Layers
I’ve never been a fan of Presets in Lightroom, because most of the time all the adjustments of a specific preset just did not match my image. That’s where Styles in Capture One become important. If you’re working on the background layer, it’s possible to combine several Styles just by clicking on them.
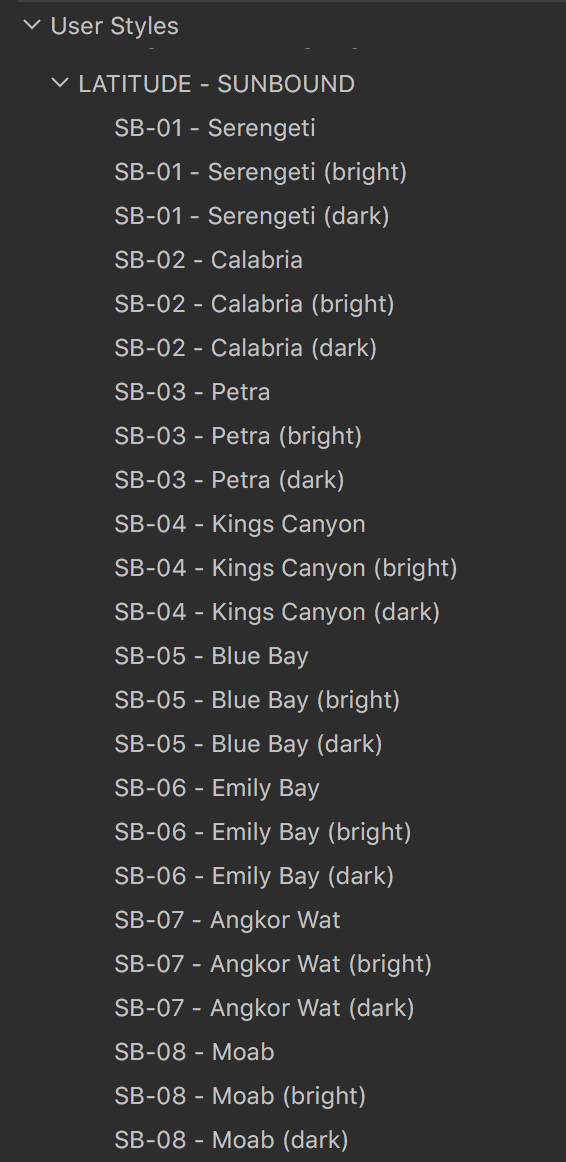
However, this is what I would recommend: Apply your styles as new layers if you want to combine with another layer.
For example, you can apply a Style as a layer with one specific adjustment, i.e. a specific tone curve you’ve created before and then combine it with another layer containing other adjustments.
This method helps you develop your specific retouch style, but it’s still highly subjective depending on different images. As mentioned before, you can adjust the opacity of those layers so that you can make the Style match to your image without changing the Style itself.
Tethering
When I first started to use Lightroom for tethering, I couldn’t be more frustrated. It was so incredibly slow, so I preferred to use live view on my phone. However, identifying mistakes on such a small screen and getting the sharpness right was difficult, or even impossible, to achieve. This was the first feature from Capture One Pro to become critical to my workflow: Tethering.
I don’t normally use it when shooting private scenes where layout and details are not that important. But I use it every time I do a product or recipe shot for a client to make sure I get sharpness and composition on point. Capture One Pro’s photo editing software provides fast and easy tethering with a lot of options.
Migrating from Lightroom to Capture One: Practice practice practice!
Export a high res file from Lightroom into your desired Capture One Pro Session and try to recreate the look.
The sliders in Capture One Pro work differently from the ones in Lightroom – you have to get used to them. For example, when using the HSL tool in Lightroom, you will need to use the color editor in Capture One Pro to achieve similar results. But I personally think that the brightness option doesn’t bring you the same result as the luminance slider in Lightroom. therefore, the options for selecting and changing colors and re-editing them in the Advanced Color Editor Tab of Capture One Pro gives you many more possibilities to modify your colors than Lightroom could ever do.
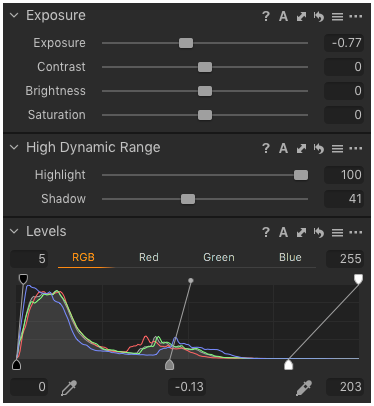
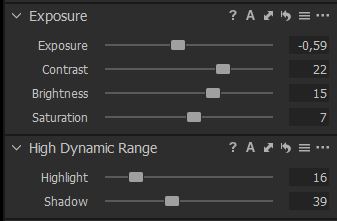
Also, in Capture One Pro you don’t have that section of blacks/darks/lights/whites which can save your shadows and highlights in lightroom. I work with the HDR tool & brightness tool at the same time to achieve similar effects.
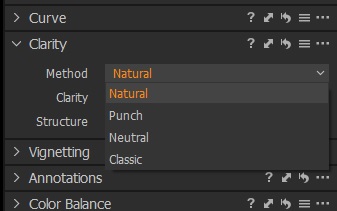
When it comes to the clarity, you will find the biggest difference to Lightroom. Capture One Pro offers you 4 varieties of clarity. The one I use is called “natural” and that is exactly what it’s called. It gives you a subtle contrast of the mid tones, in combination with structure you get a crisp and sharpened result without the artificial look of the clarity tool in Lightroom. Almost every food photographer relies on the clarity slider in Lightroom, resulting in a very specific look.
You won’t have that exact same clarity effect in Capture One Pro. It is different, but in my view, it’s better.
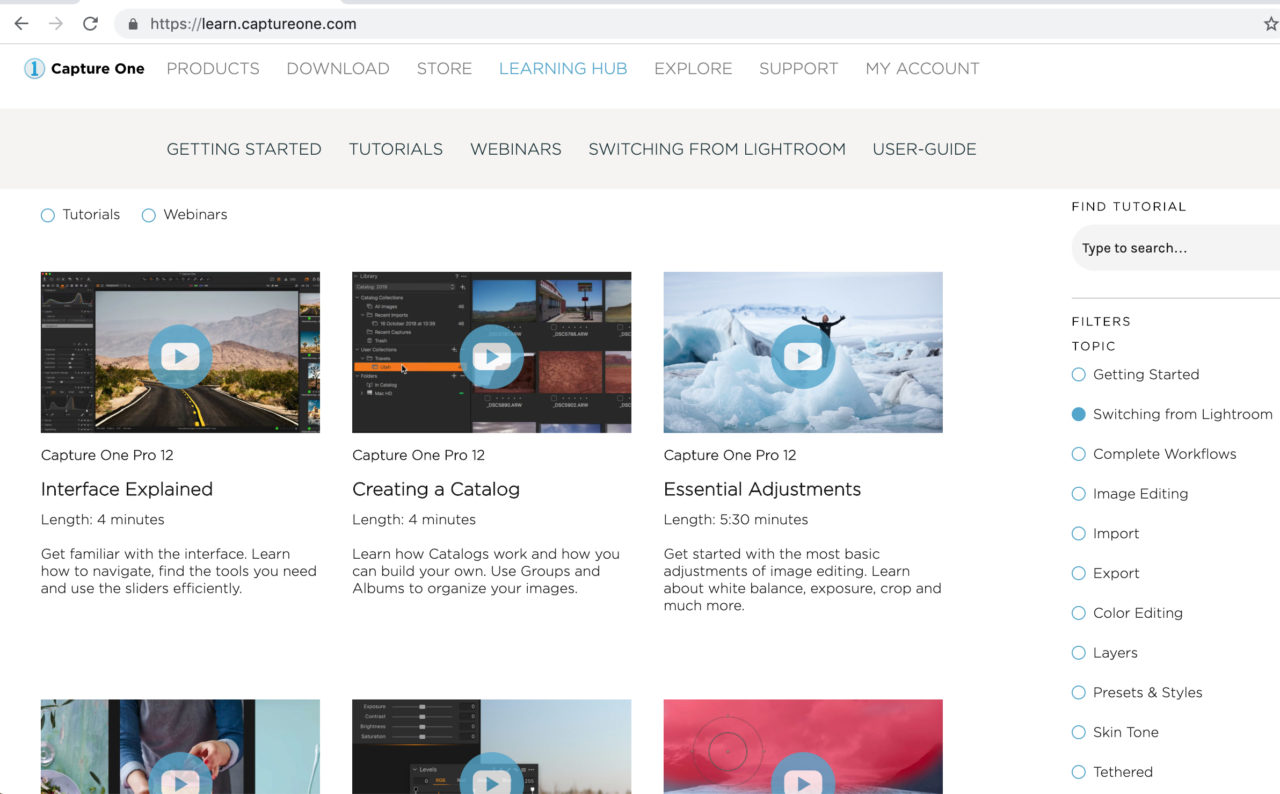
Give it a go and edit some of your favorite images in Capture One Pro. You will need to go through a few images until you like the result of the edit. It’s very important that you don’t give up too early! The Capture One Blog and webinars found on Youtube are really helpful when starting out. In particular, the resources which focus on color grading tools like the Advanced Color Editor, the Skin Tone Tool and the Color Balance are highly valuable. You will be surprised by the possibilities!
If you don’t already have Capture One, you can download a 30-day trial and try it out.