NOTE: This article discusses an outdated version of Capture One. To learn more about our latest version, click here.
Nailing the perfect underwater portrait is a huge challenge, because water affects skin tone and your SOOC (Straight Out Of Camera) pictures will be a bit blue and sometimes green. Capture One Pro’s photo editing software helps me achieve the ideal skin tone and the high-performance RAW processing engine helps me work more efficiently, even with the most difficult files.
In this blog post, I will share my workflow for editing underwater images. When I shoot an underwater session, I usually work with continuous lights and use a camera with high fps (frame per second). I use the camera in Burst mode, so I have more likelihood of getting the best pictures – but on the flipside, this means I have to deal with so many pictures in post-processing and the image editing process.
Luckily, Capture One Pro’s asset management system is an ideal solution for faster processing. I love working with Sessions, which makes it easy to arrange my files, categorize them into the best images, then second-grade pictures and selected photo stocks for composite processing in Photoshop. In the past, I was very bad at organizing my RAW files and edited files in Photoshop, but now that I work with Sessions in Capture One Pro, I have all my files in the same folder which makes my workflow much more efficient.
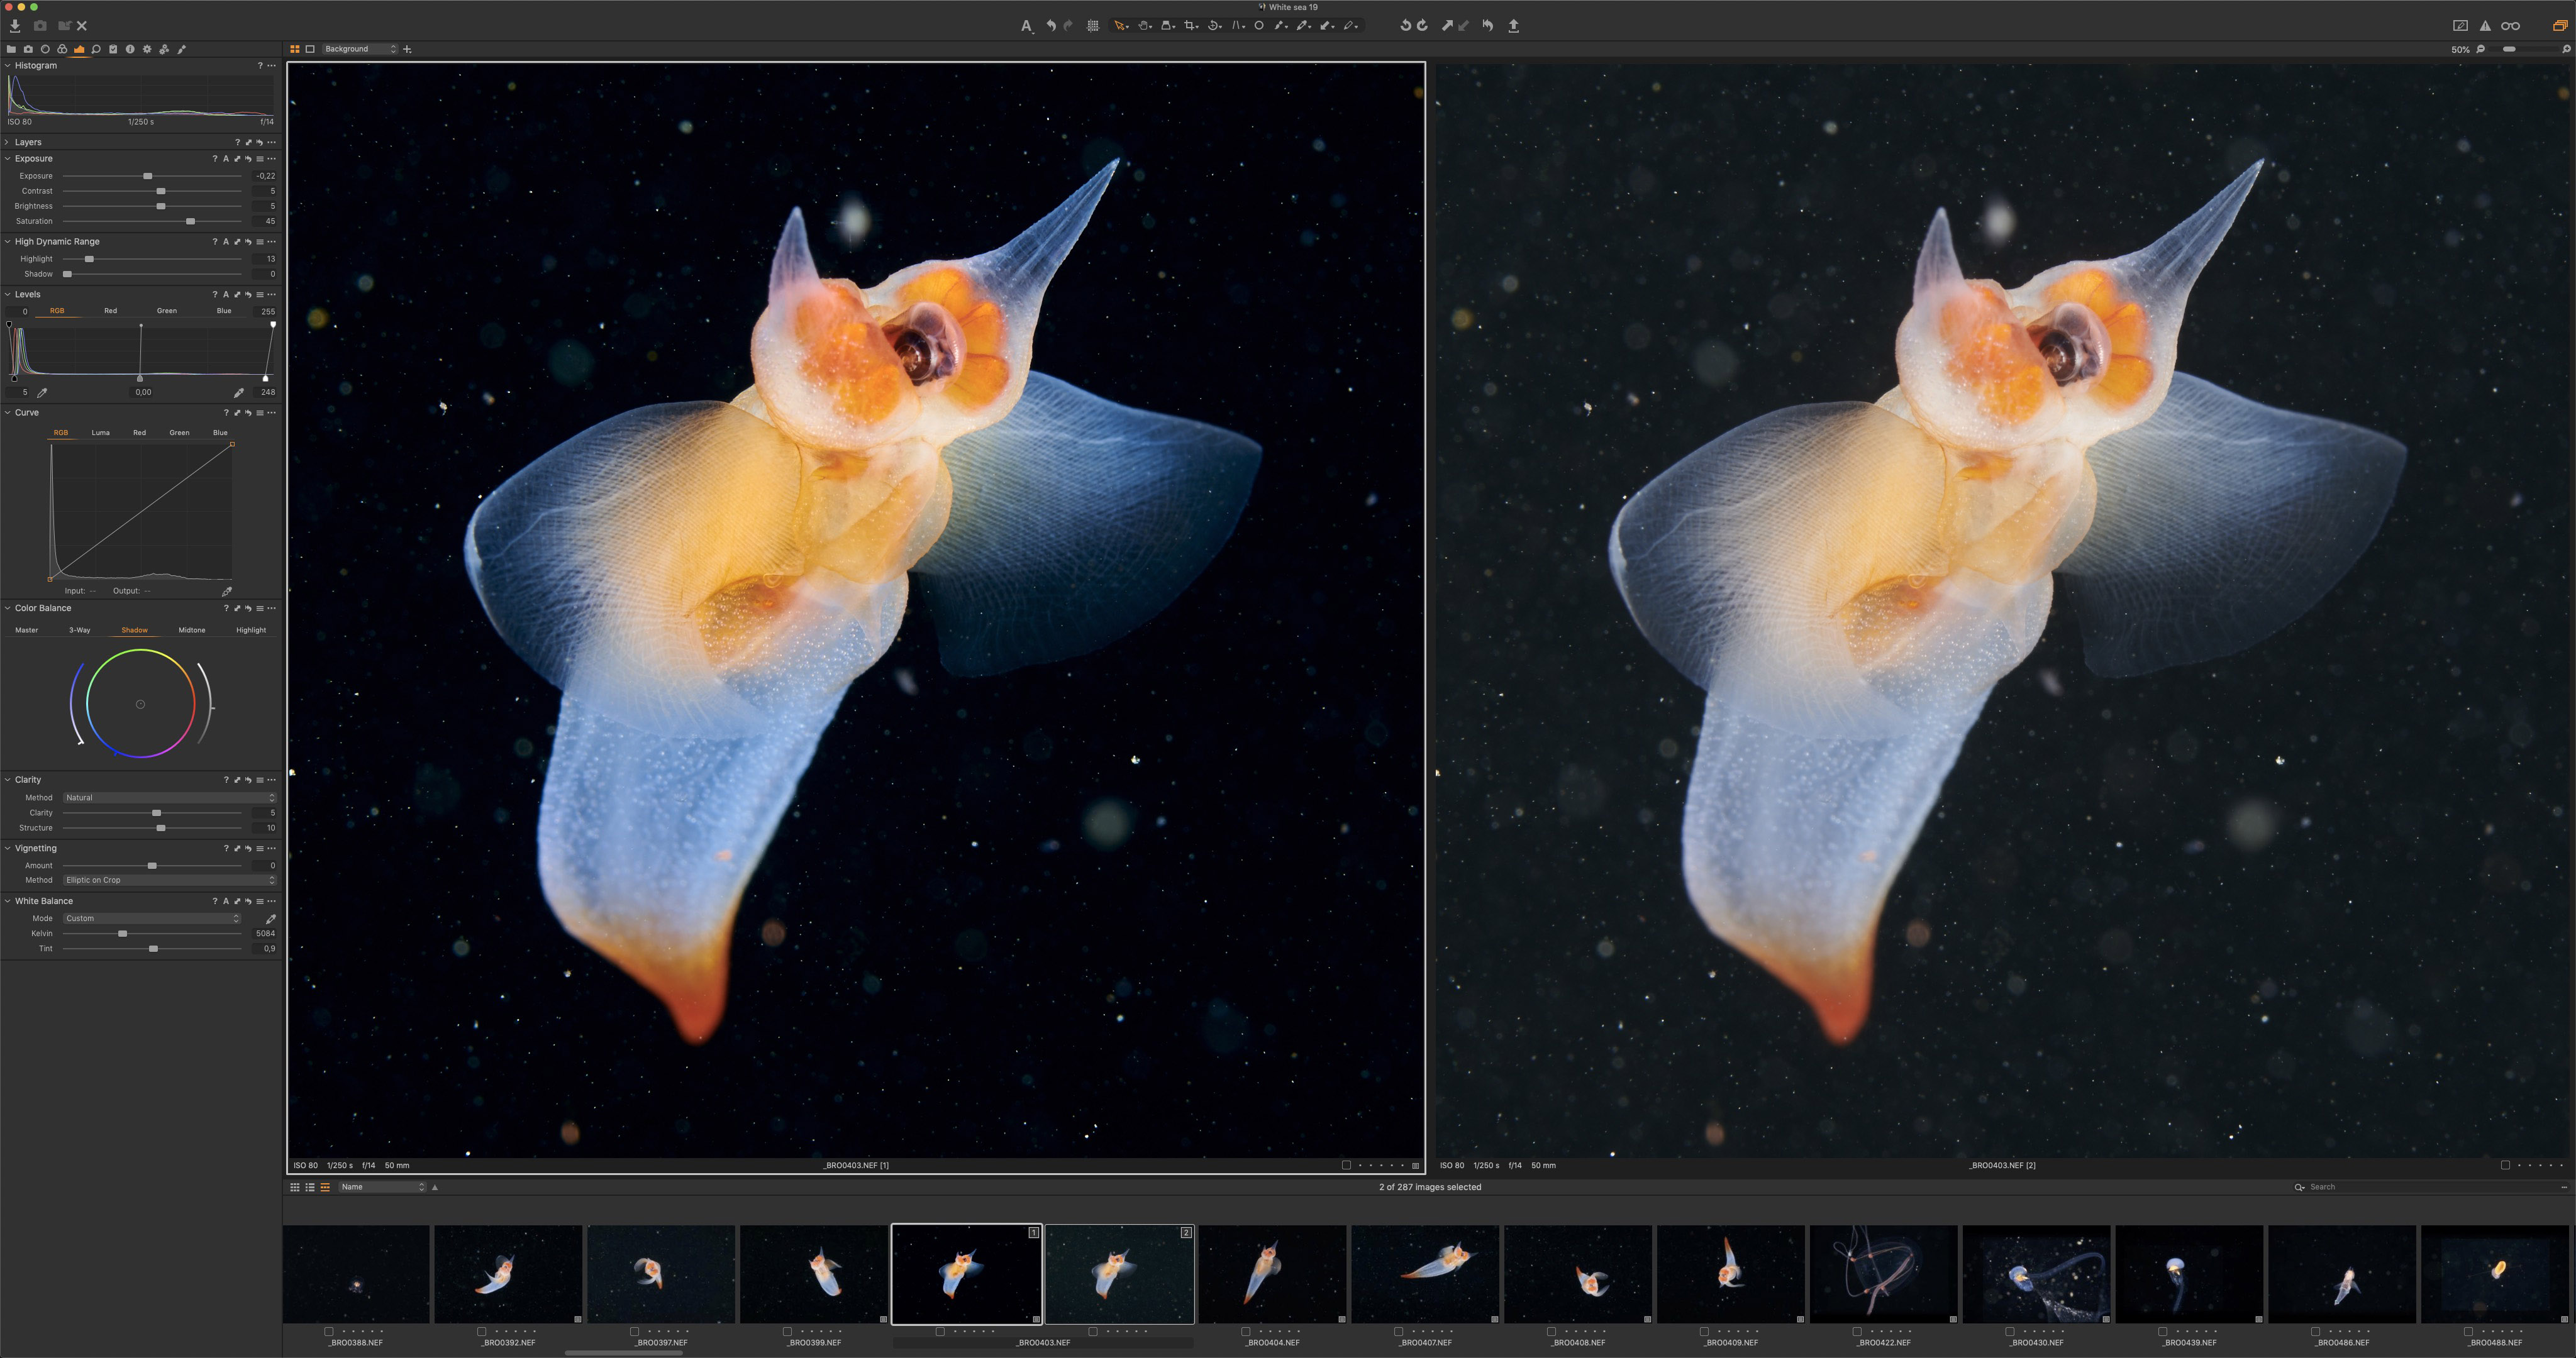
Color Correction:
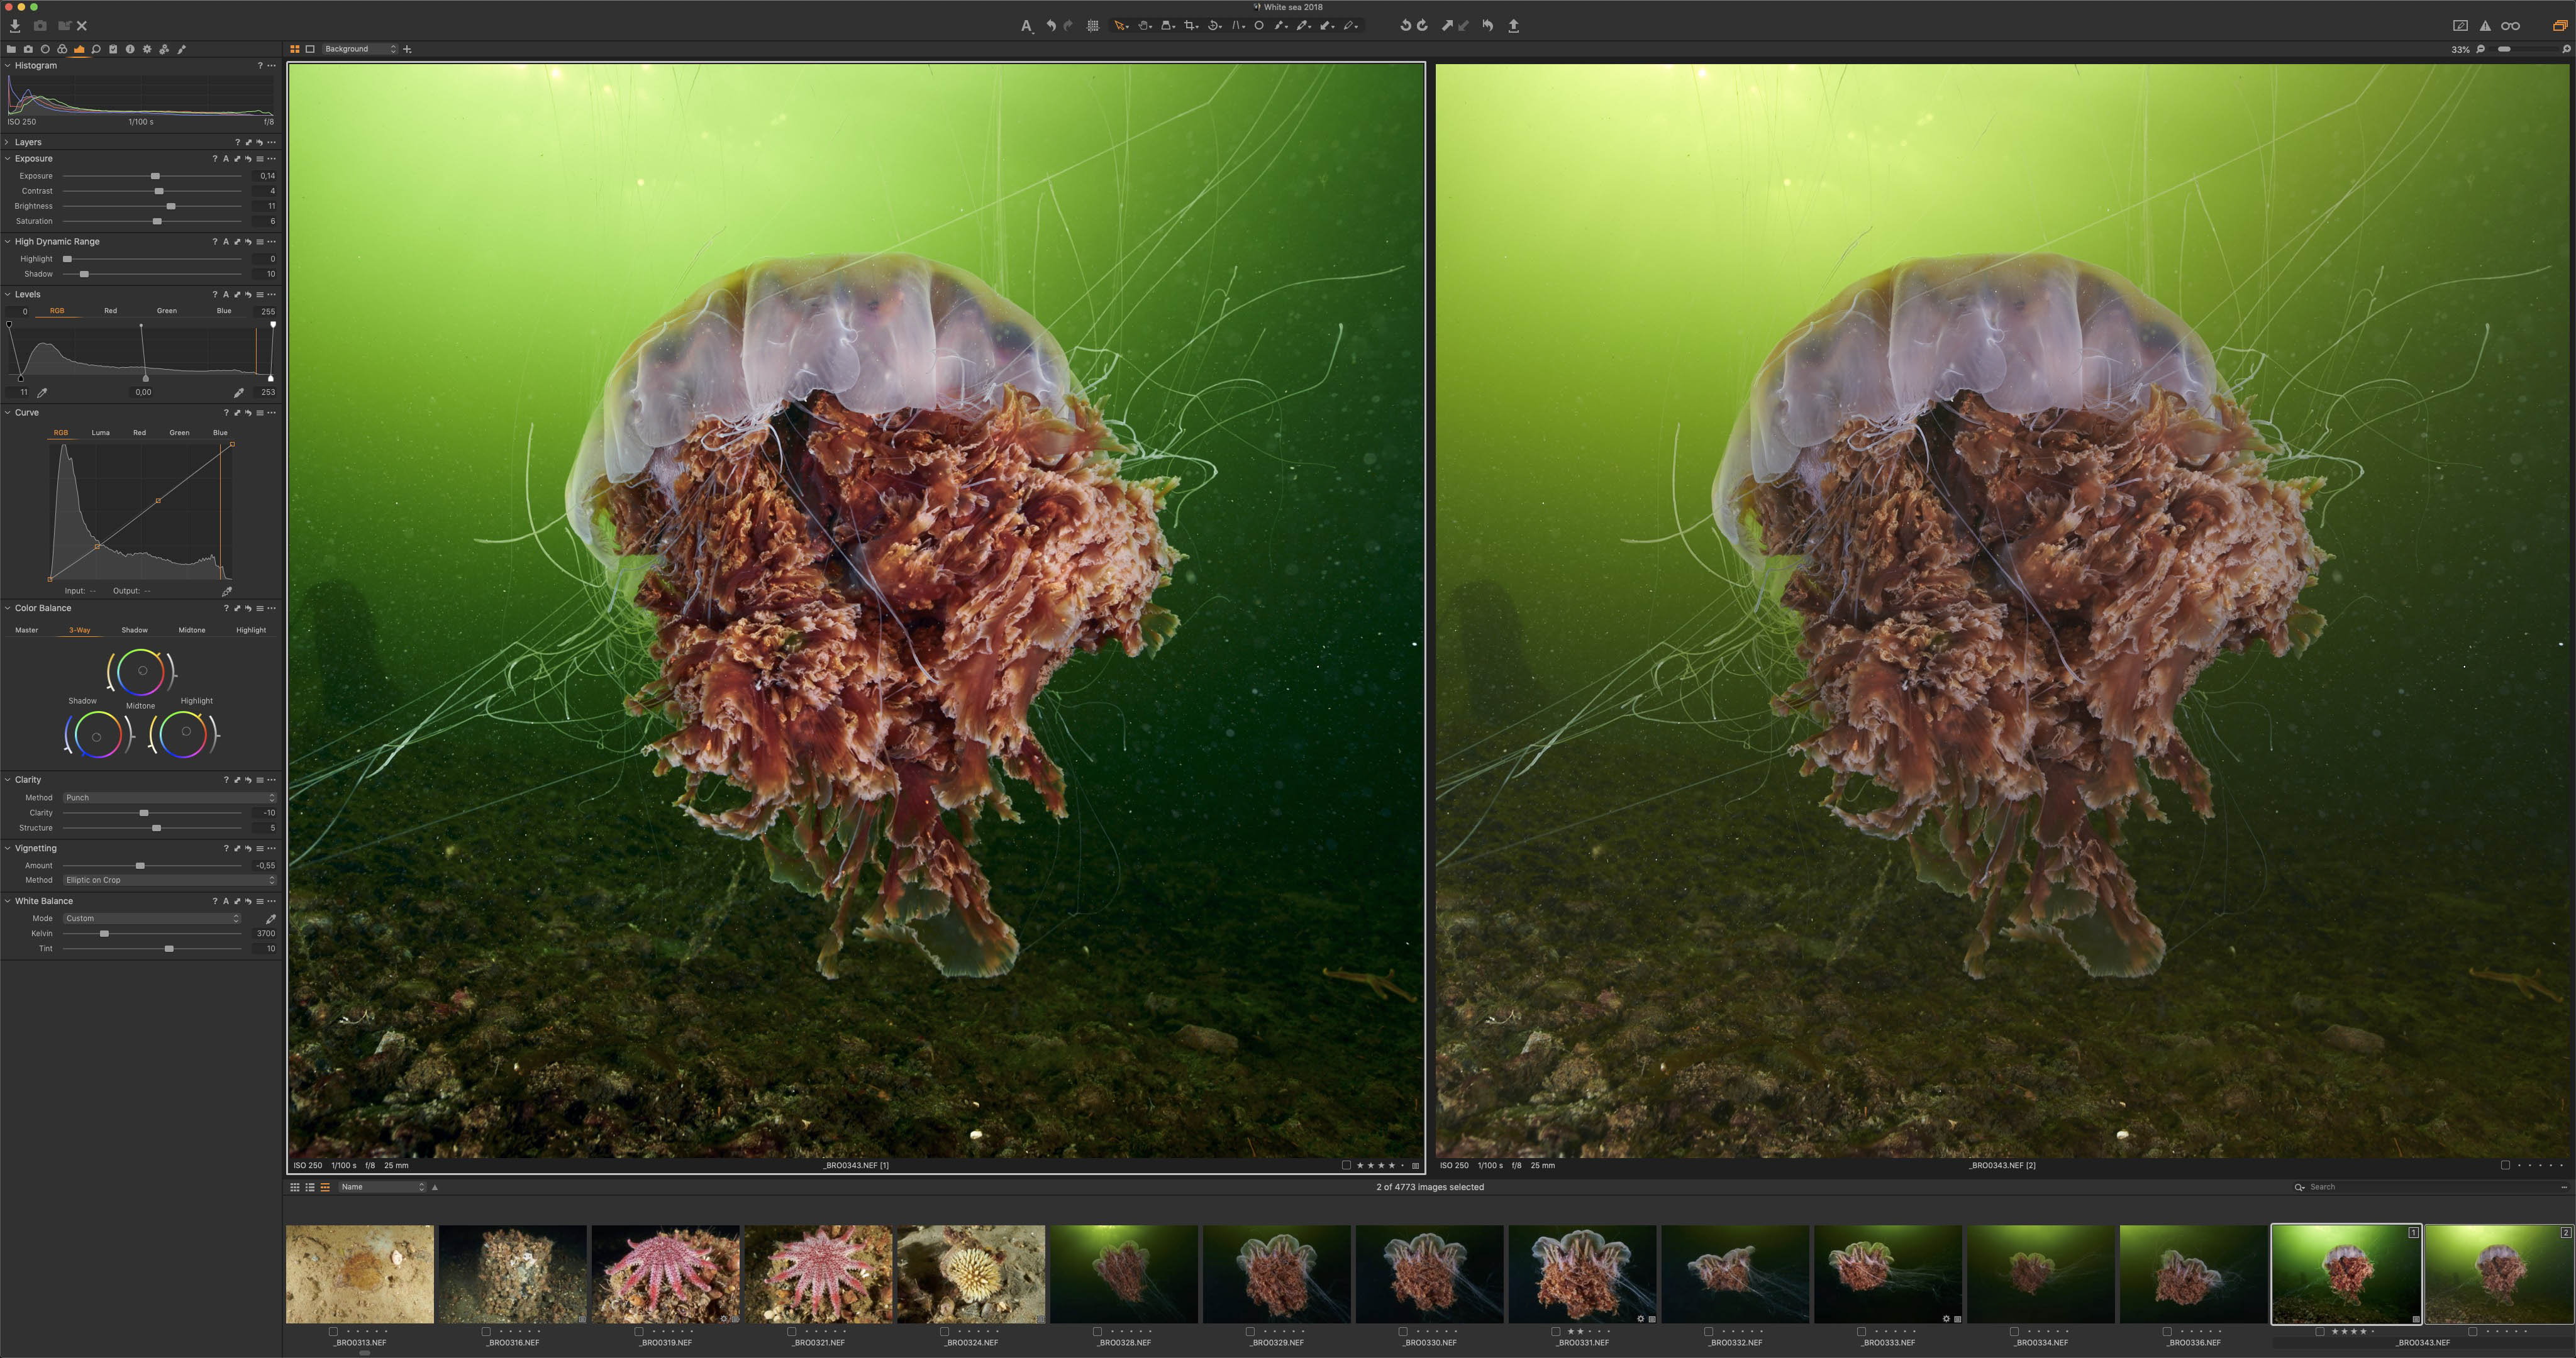
The first thing I do with underwater pictures is color correction and contrast correction. I always look for neutral colors, beautiful skin tones and beautiful contrast. It’s important to note that these pictures use water as a medium, and water contains not only particles but also from the pool and water itself. Shooting with a strobe light could help me to gain better contrast, but another problem is that when I am working with talent with no diving experience, they can only hold their breath for a couple of seconds.
In this picture, my talent is a pregnant mom. As a pregnant person can hold their breath for a shorter time, I took this picture with natural light.
I then make color corrections with the Kelvin and Tint Adjustment in Capture One Pro. I usually set it at around 8000-9000 Kelvin and 30 Tint. Each picture will be different because the color of the pool gives different results.
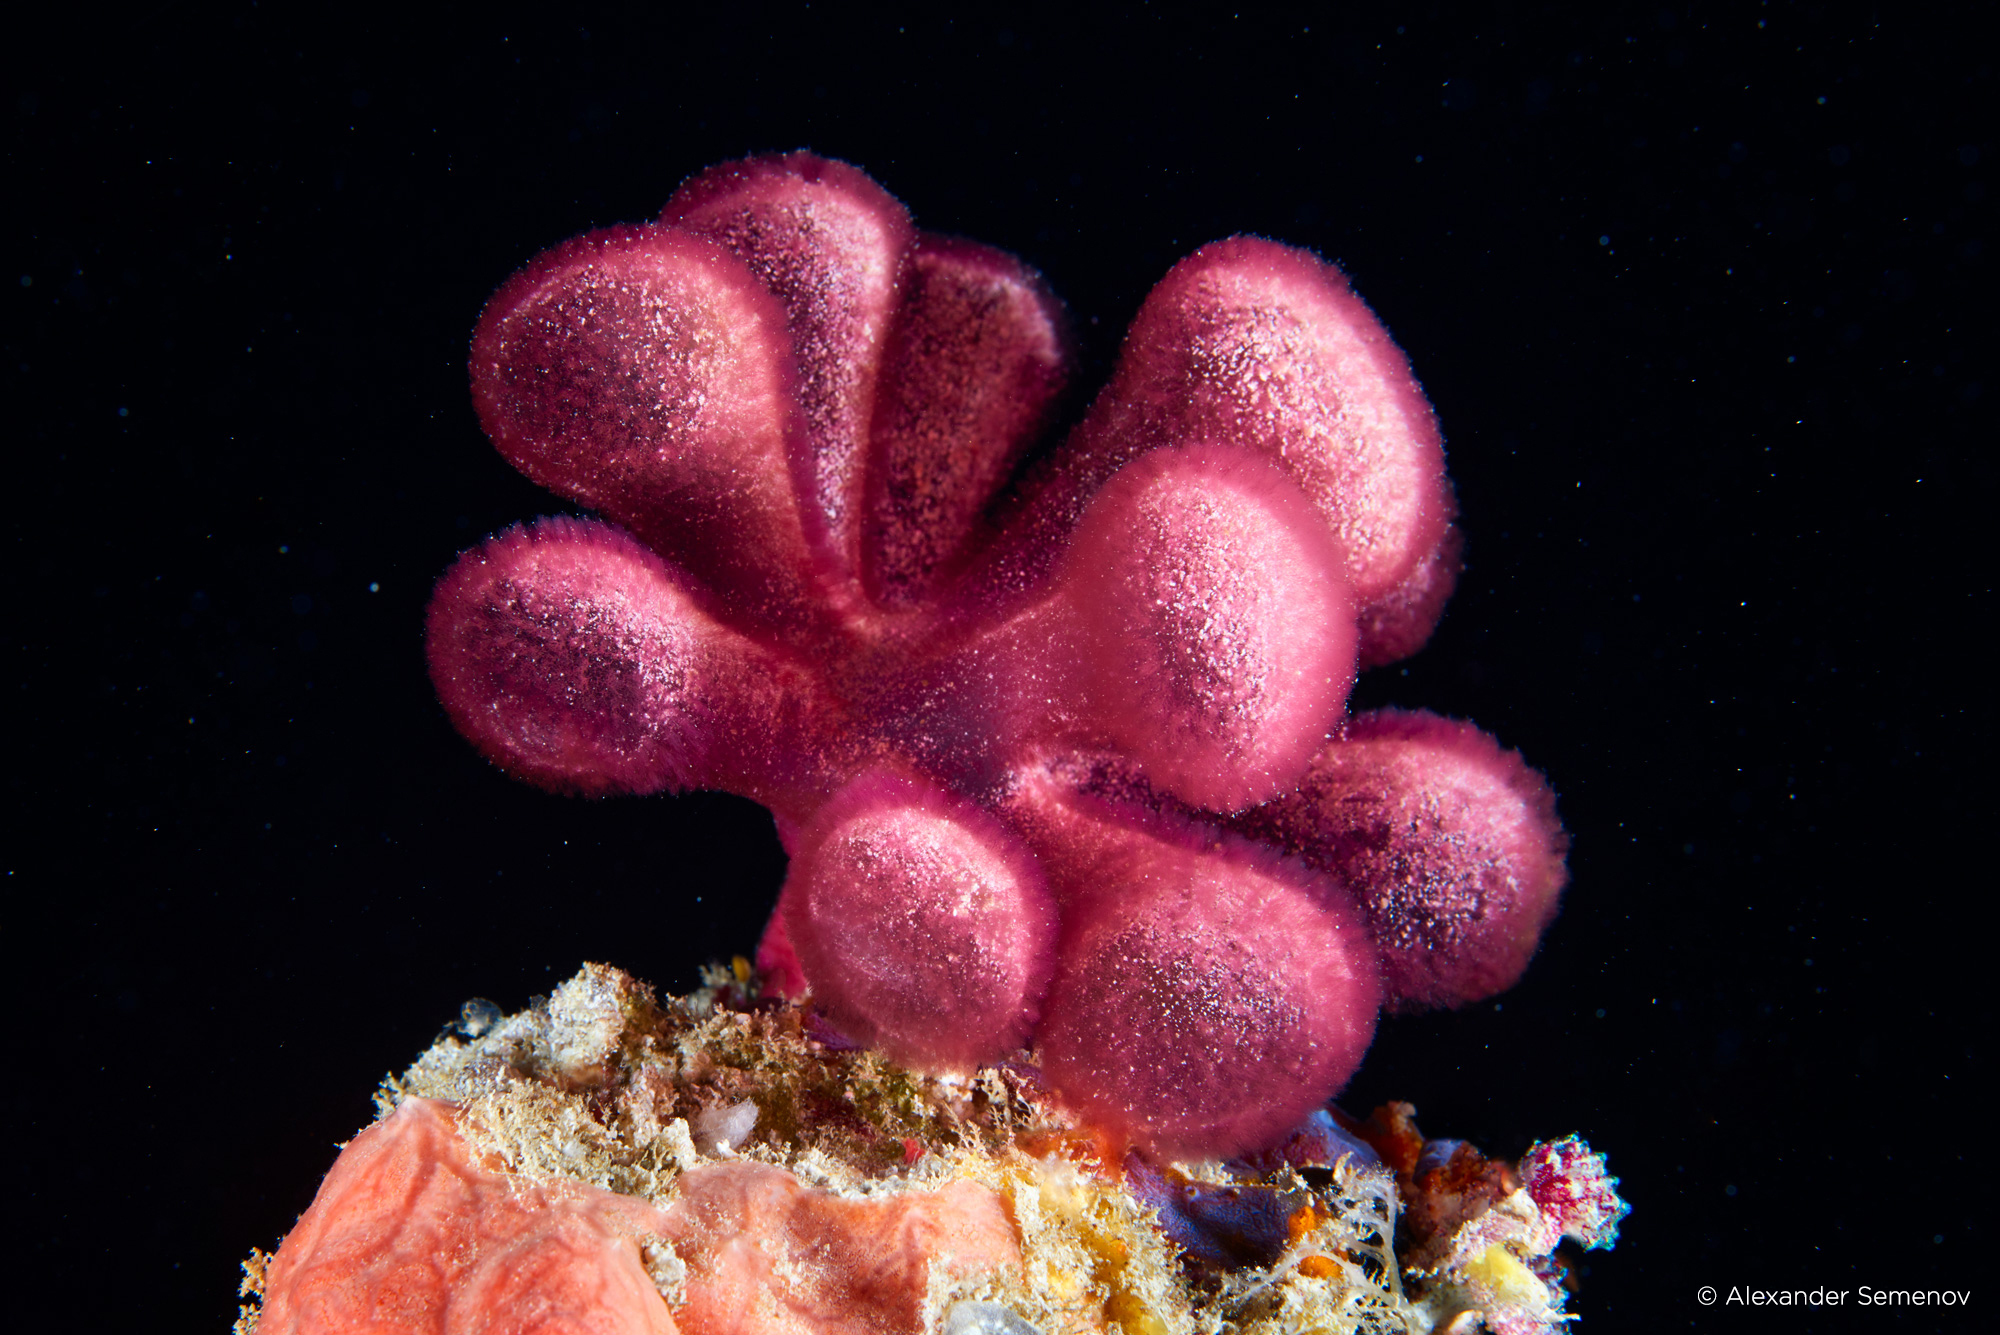
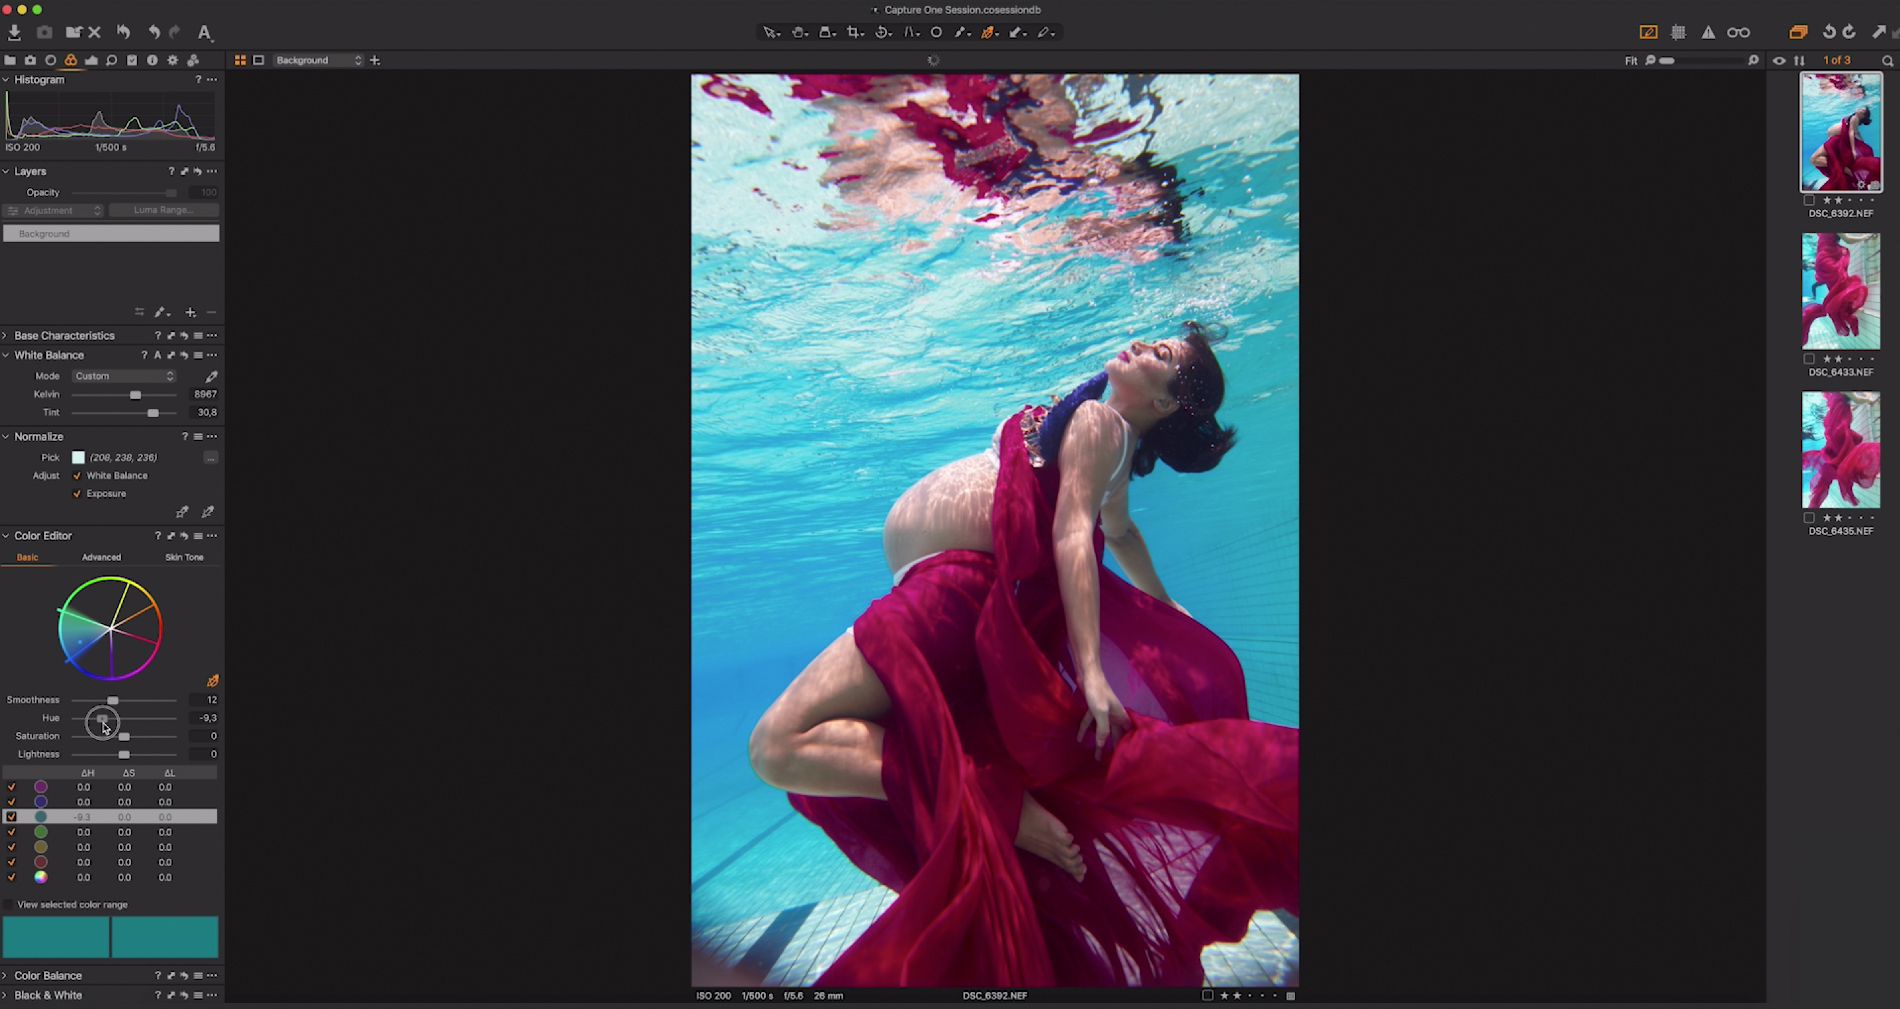
Color Editor:
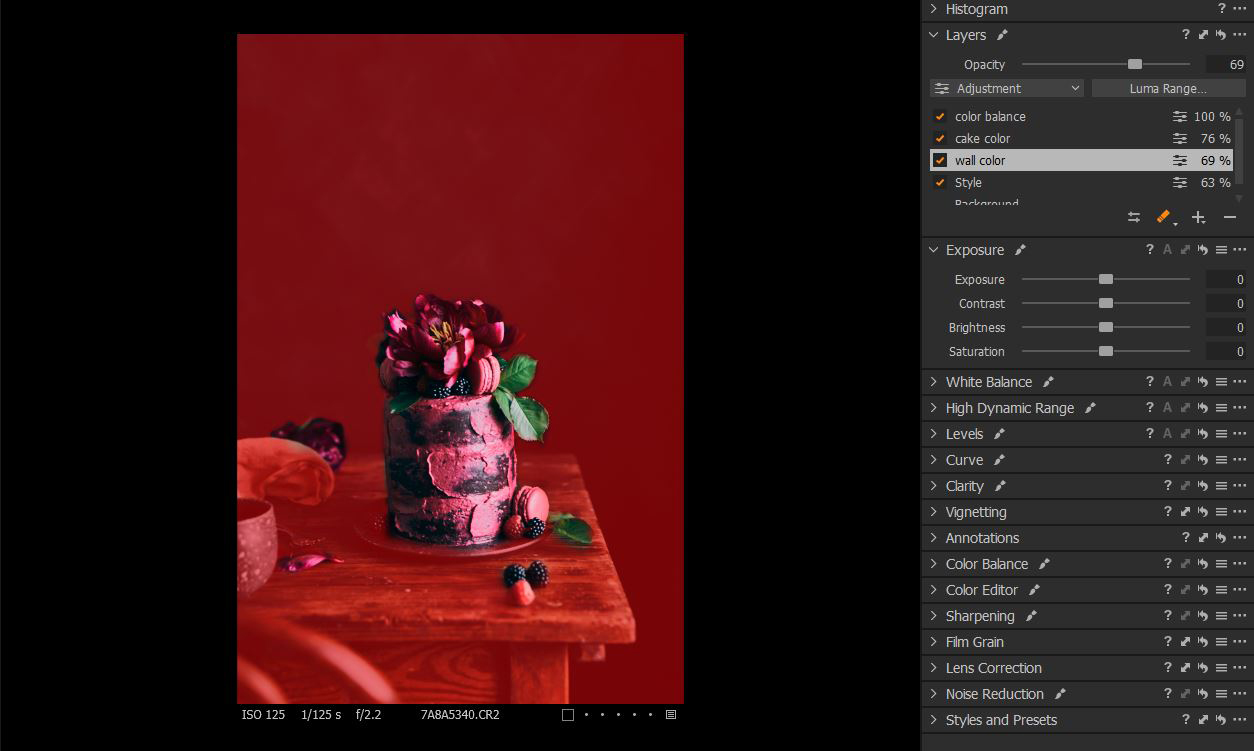
I love to check all colors one by one, especially the most dominant color. In this picture, the red is the main color. It contains some magenta and I love the colors to be “thicker”, so I have to adjust it in Capture One Pro’s Color Editor using the Color Picker Tool. I simply click on the magenta area and slide down the lightness and make a slight Hue adjustment. I then adjust the saturation of the blue, making it desaturated and a lower lightness.


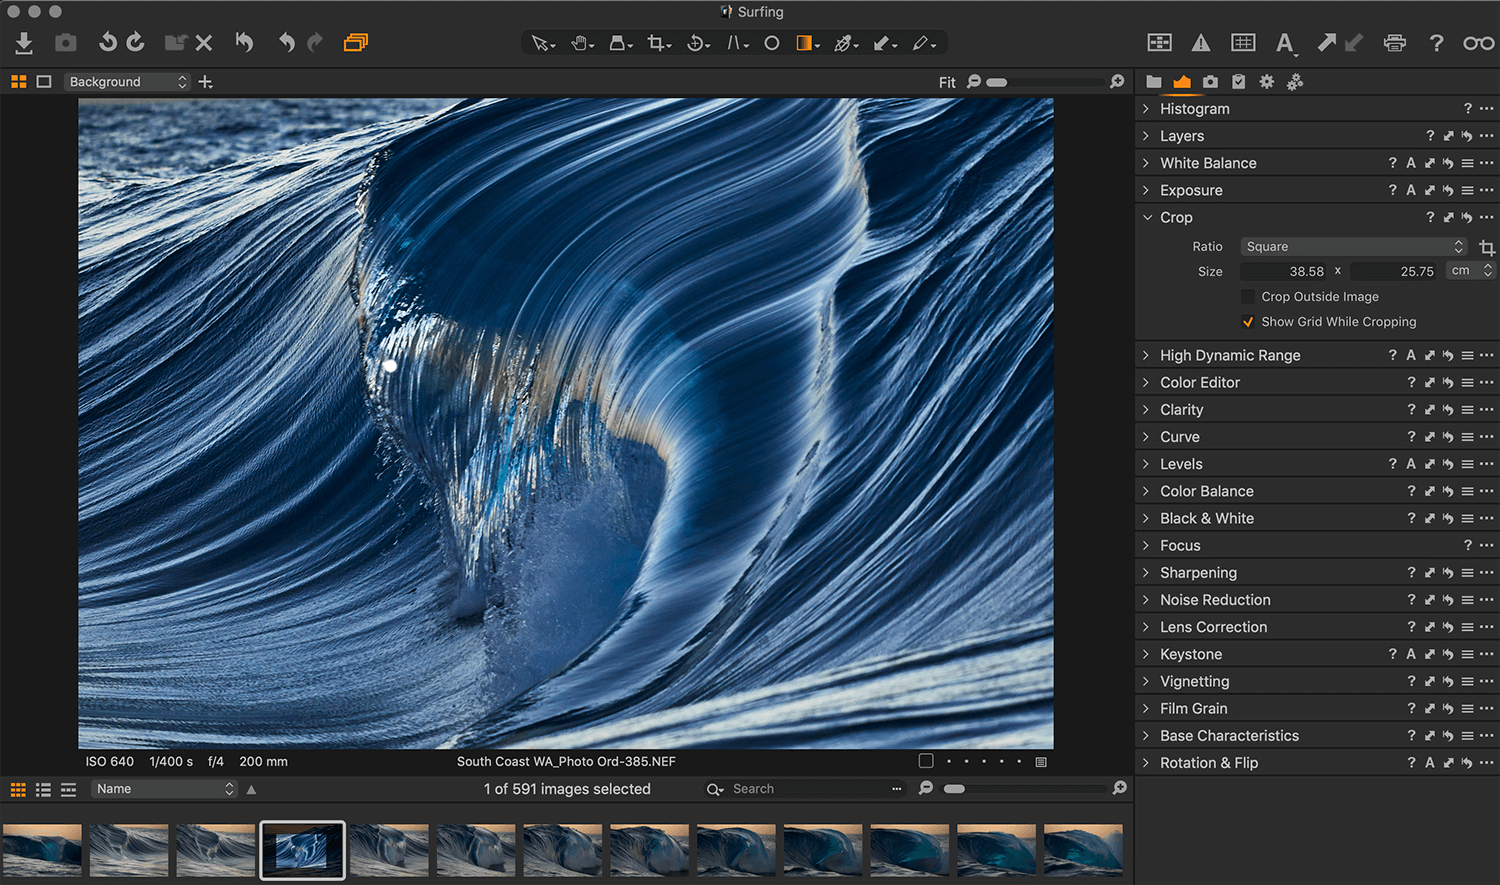
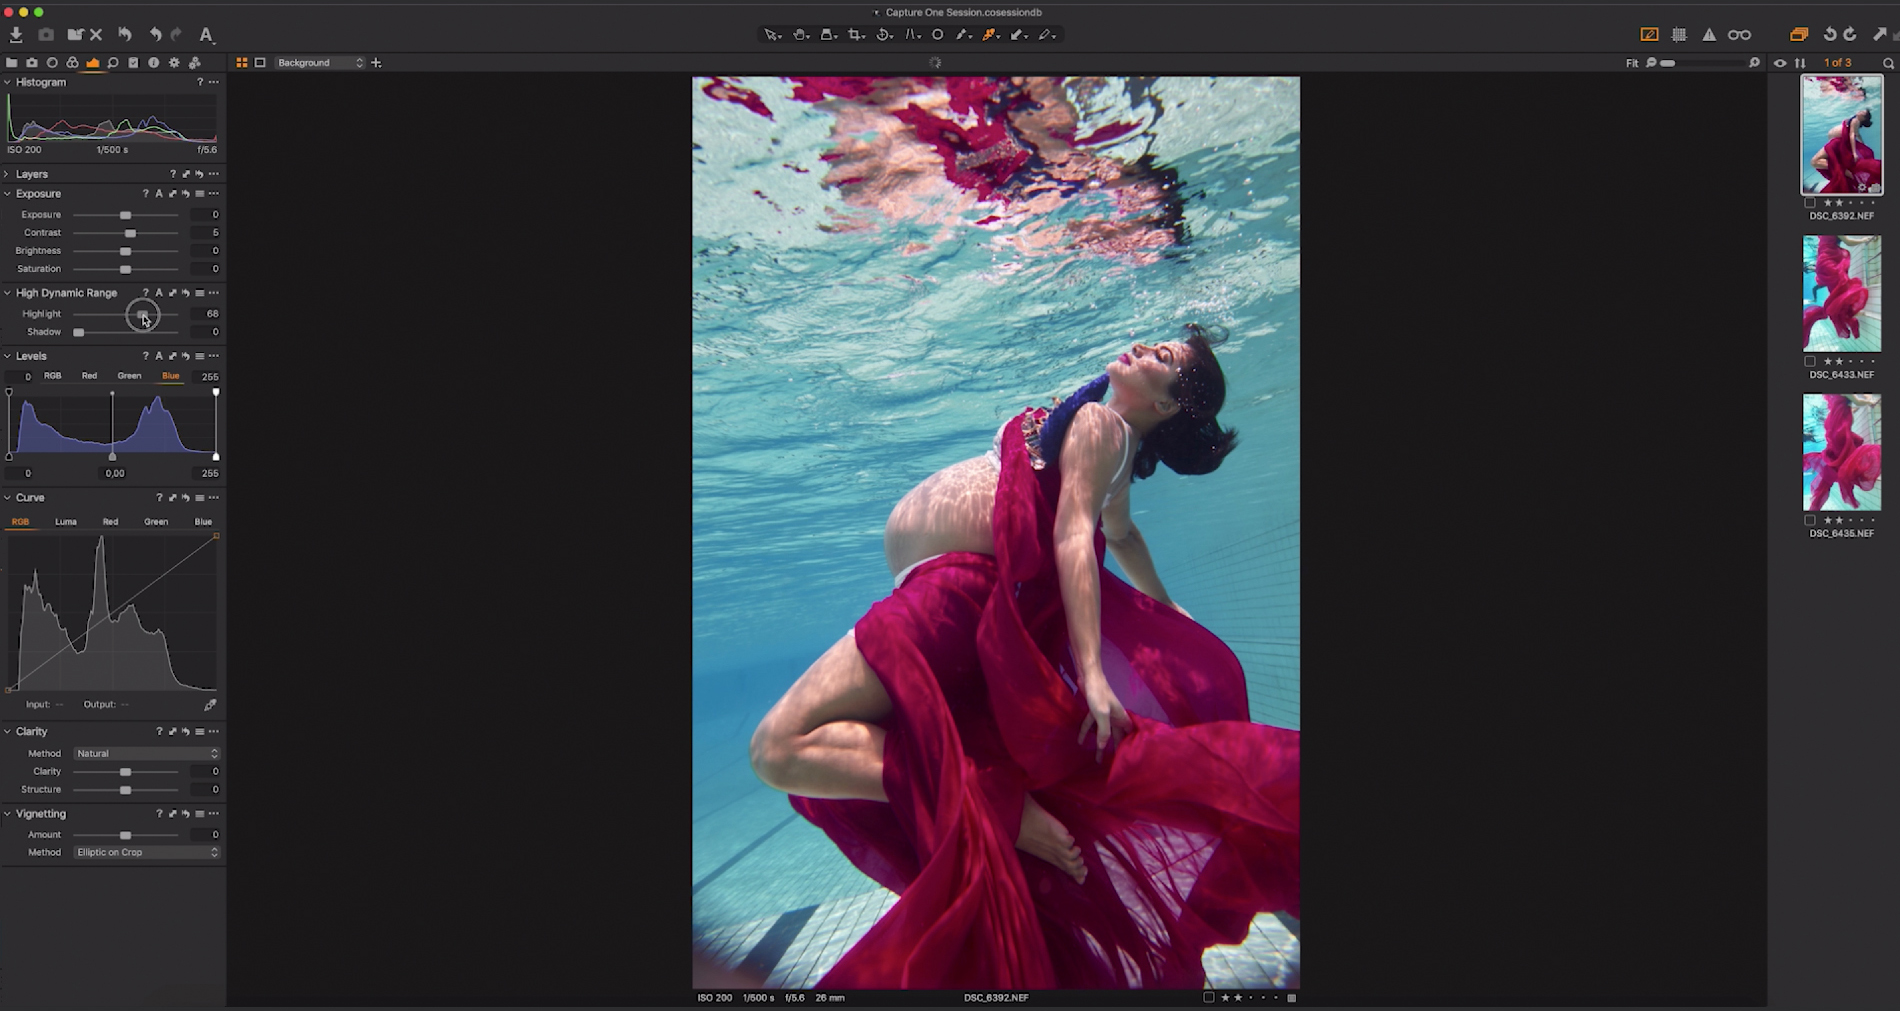
Exposure:
It’s common to have less contrast on underwater pictures, so I always add some contrast in Capture One Pro to make it look nicer. I also adjust the shadow and highlight areas to get balance exposure.
Copy & Paste:
When I’m working with a large number of images, the shortcuts in Capture One Pro make it easy to apply the same set of adjustments across multiple photos – speeding up my workflow in a big way and saving me tons of time. Everything on the menu is adjustable, meaning you can create the best possible set-up and to amplify your image editing process.
Working with PSD files
As a Capture One user, I can also work in Photoshop – all I need to do is right-click and choose “Edit With”, then I can choose the editing software and file format. The new PSD file will appear below the RAW files and will automatically update after editing in Photoshop. Usually, I add more fabrics to make it look more glamourous. When I’m finished, I just save it and the PSD files in Capture One Pro will automatically update.

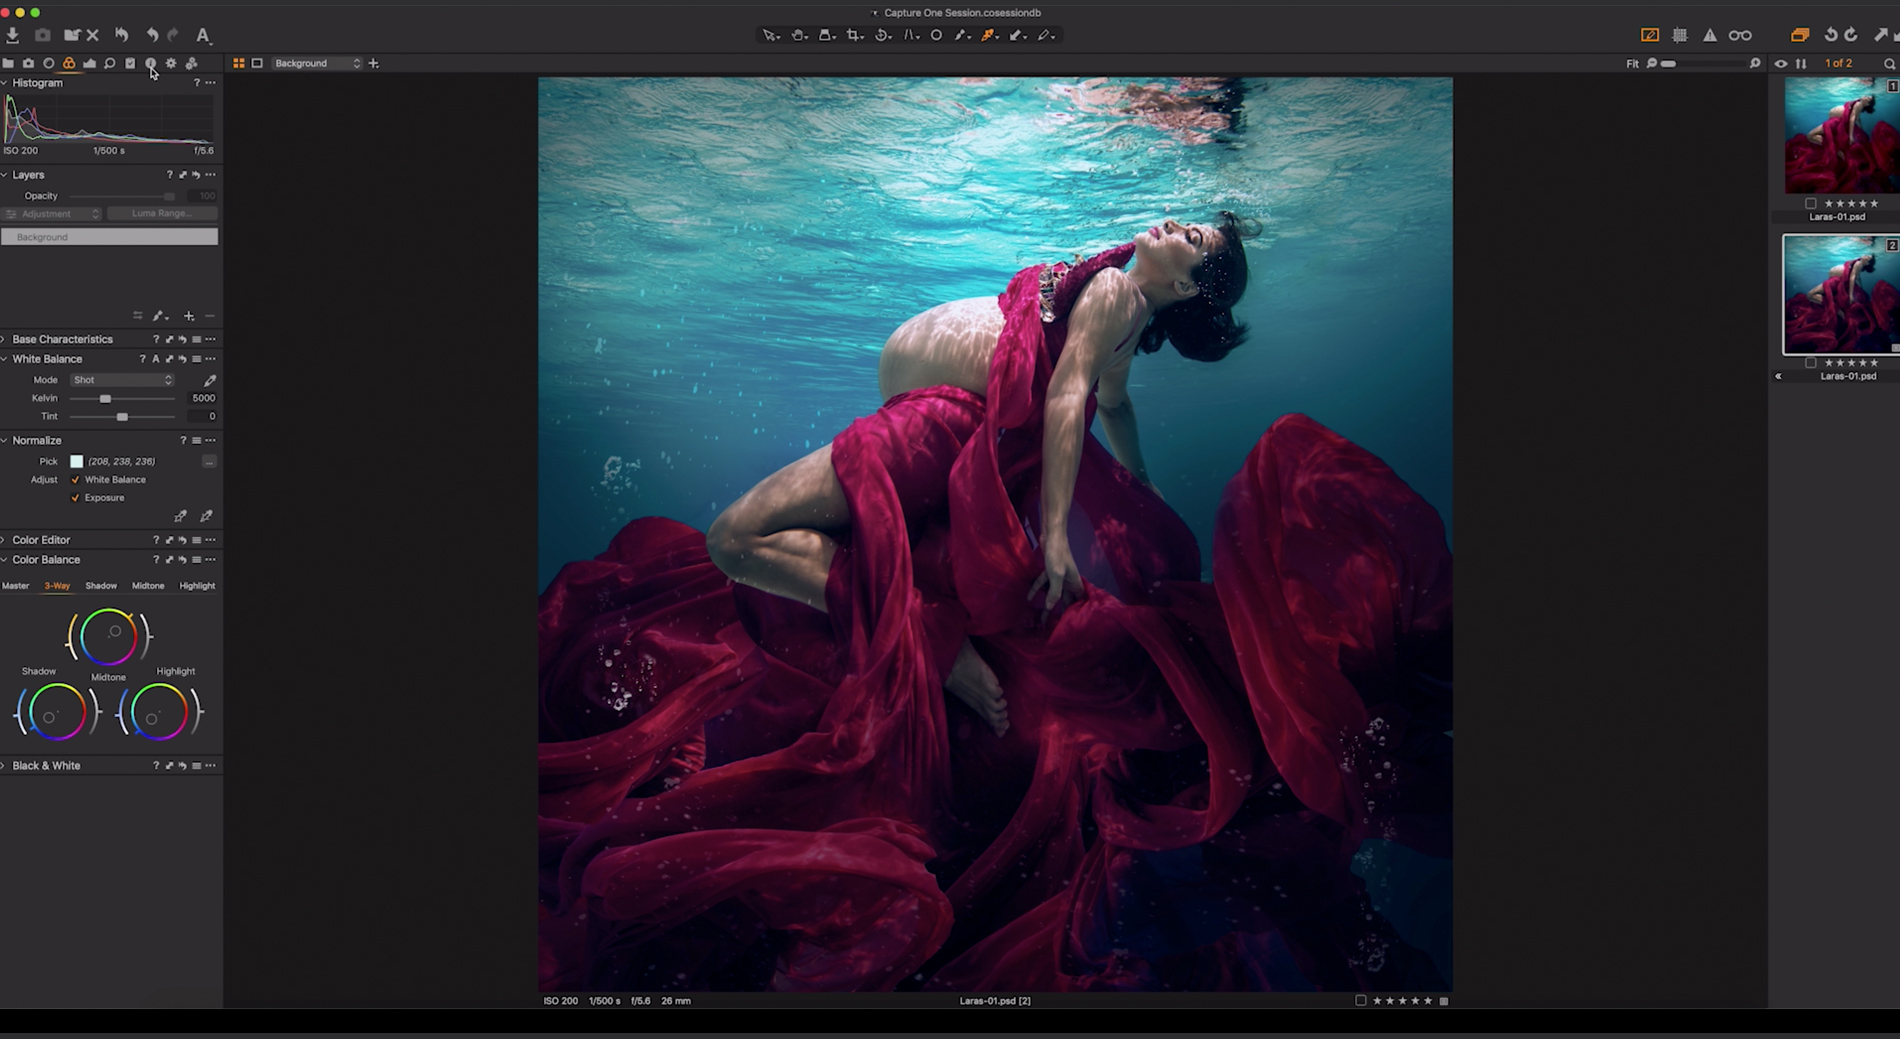
Color Balance:
After I’m finished the composite process in Adobe Photoshop, I just need to do color grading on the Color Balance menu. I usually work with mid tones and then highlight, and the last one is shadow. Color Grading in Capture One Pro is awesome because it has far more natural and authentic colors compared to other RAW editing software I have worked with.

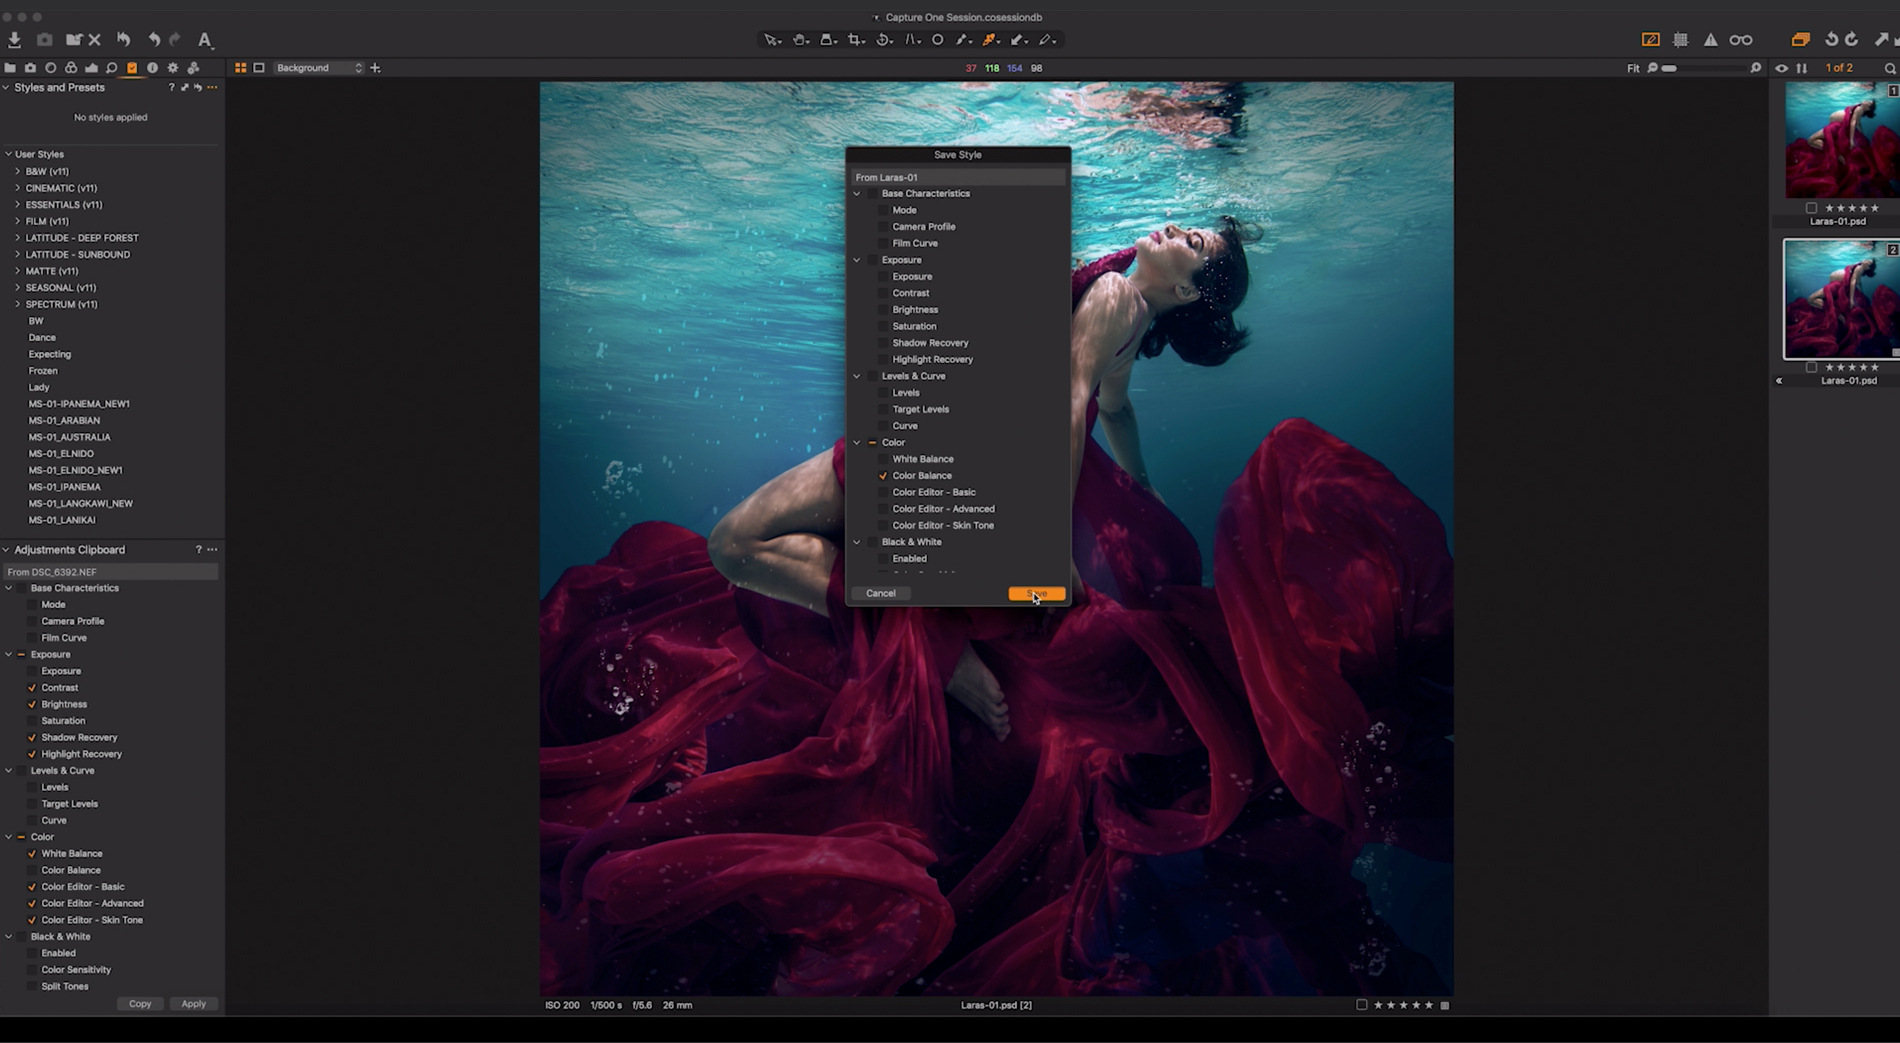
Speed up your workflow by saving adjustments as Styles
After you are finished color grading, you can save the settings as a User Style and give it a title. You can then apply your saved Style to future pictures, and adjust them down the line. Or, use Capture One Styles – which are developed by leading photographers and come in different packs with a range of looks– as inspiration or a starting point for your photo editing. There’s freedom to experiment and play – you can easily tinker with your saved Styles or the Capture One Styles.
If you dont already have Capture One, you can download a 30 day trial and try it out.