NOTE: This article discusses an older version of Capture One Pro. To learn more about our latest version, click here.
After switching from Lightroom, Japanese-Australian fashion photographer Seiya Taguchi shares the top tools that make Capture One the better choice for photo editing software.
Since my days studying Graphic Design at university, I always equated creative tools with the Adobe Creative Suite. Given that I subscribe to the creative suite, I thought I’d be a loyalist forever.
But my colleagues and fellow photographers eventually convinced me to dive into the deep end – and I’ve been completely converted to the power of Capture One.
In this post, I’ll share some of the Capture One photo editing tools that make it the superior choice for processing your RAW image files.
Tethered Shooting:
When shooting tethered, I need speed and reliability. Capture One beat Lightroom every time on these parameters.
The ingest speed for the images are lag-less which means I have time to double check the images and make up-to-date tweaks to the lighting and camera controls whilst shooting. It’s also a great way of keeping clients happy with a steady stream of images.
Lightroom has a tendency to freeze or stop responding to the camera attached to the computer, which forces me to pause the shoot and reconfigure the camera to the software and go through menus and dialogues to do so.
I’ve never experienced this with Capture One, it’s so reliable. In fact, even if I were to disconnect the camera, the program automatically configures itself to the camera and picks up where we left off in the session.
Focus Mask:
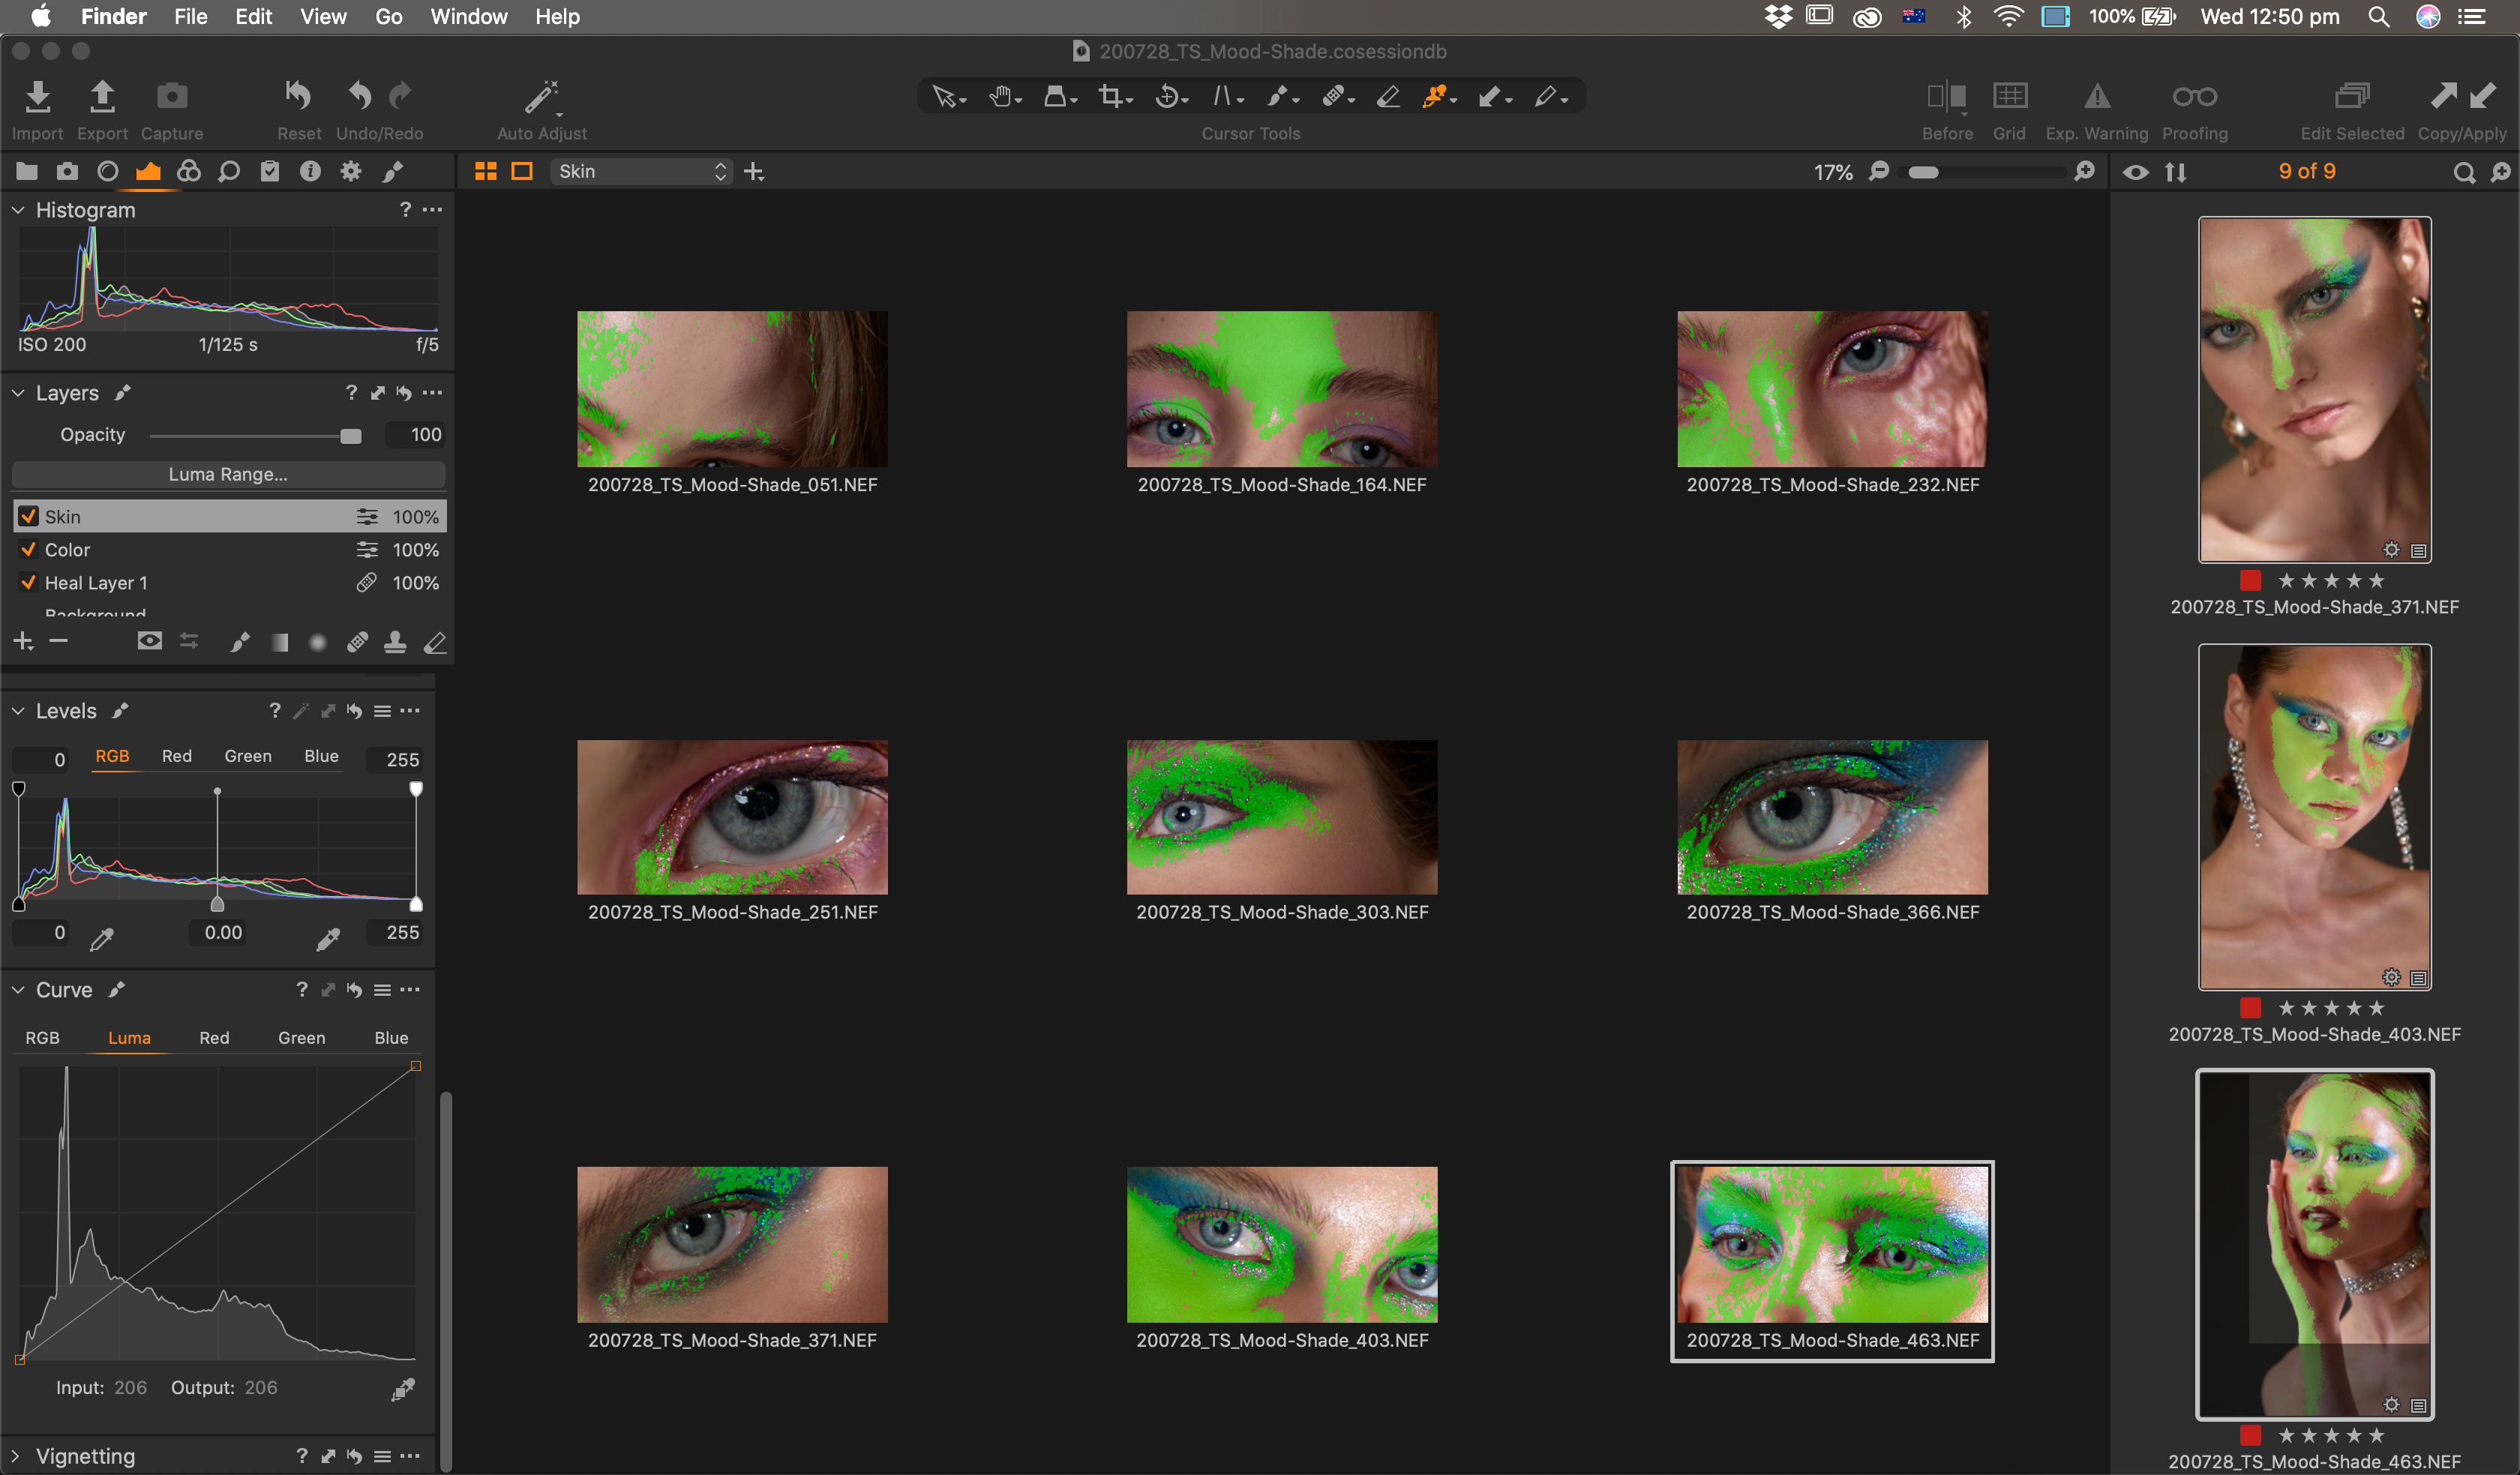
Post shoot, the first thing I need to do is make selects and cull unusable images. The first point of call is to remove any images that missed focus or are slightly soft.
With the “Focus Mask” tool I can instantly see which images are sharp. The helpful green mask appears in both the thumbnails and the larger preview of the image, making the process of culling extremely quick and painless.
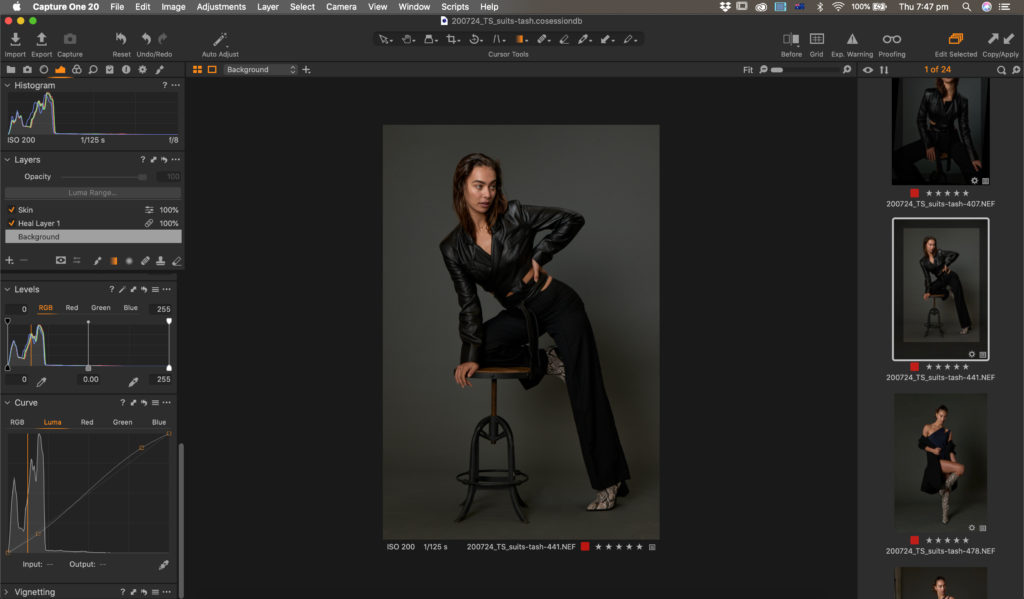
Layers:
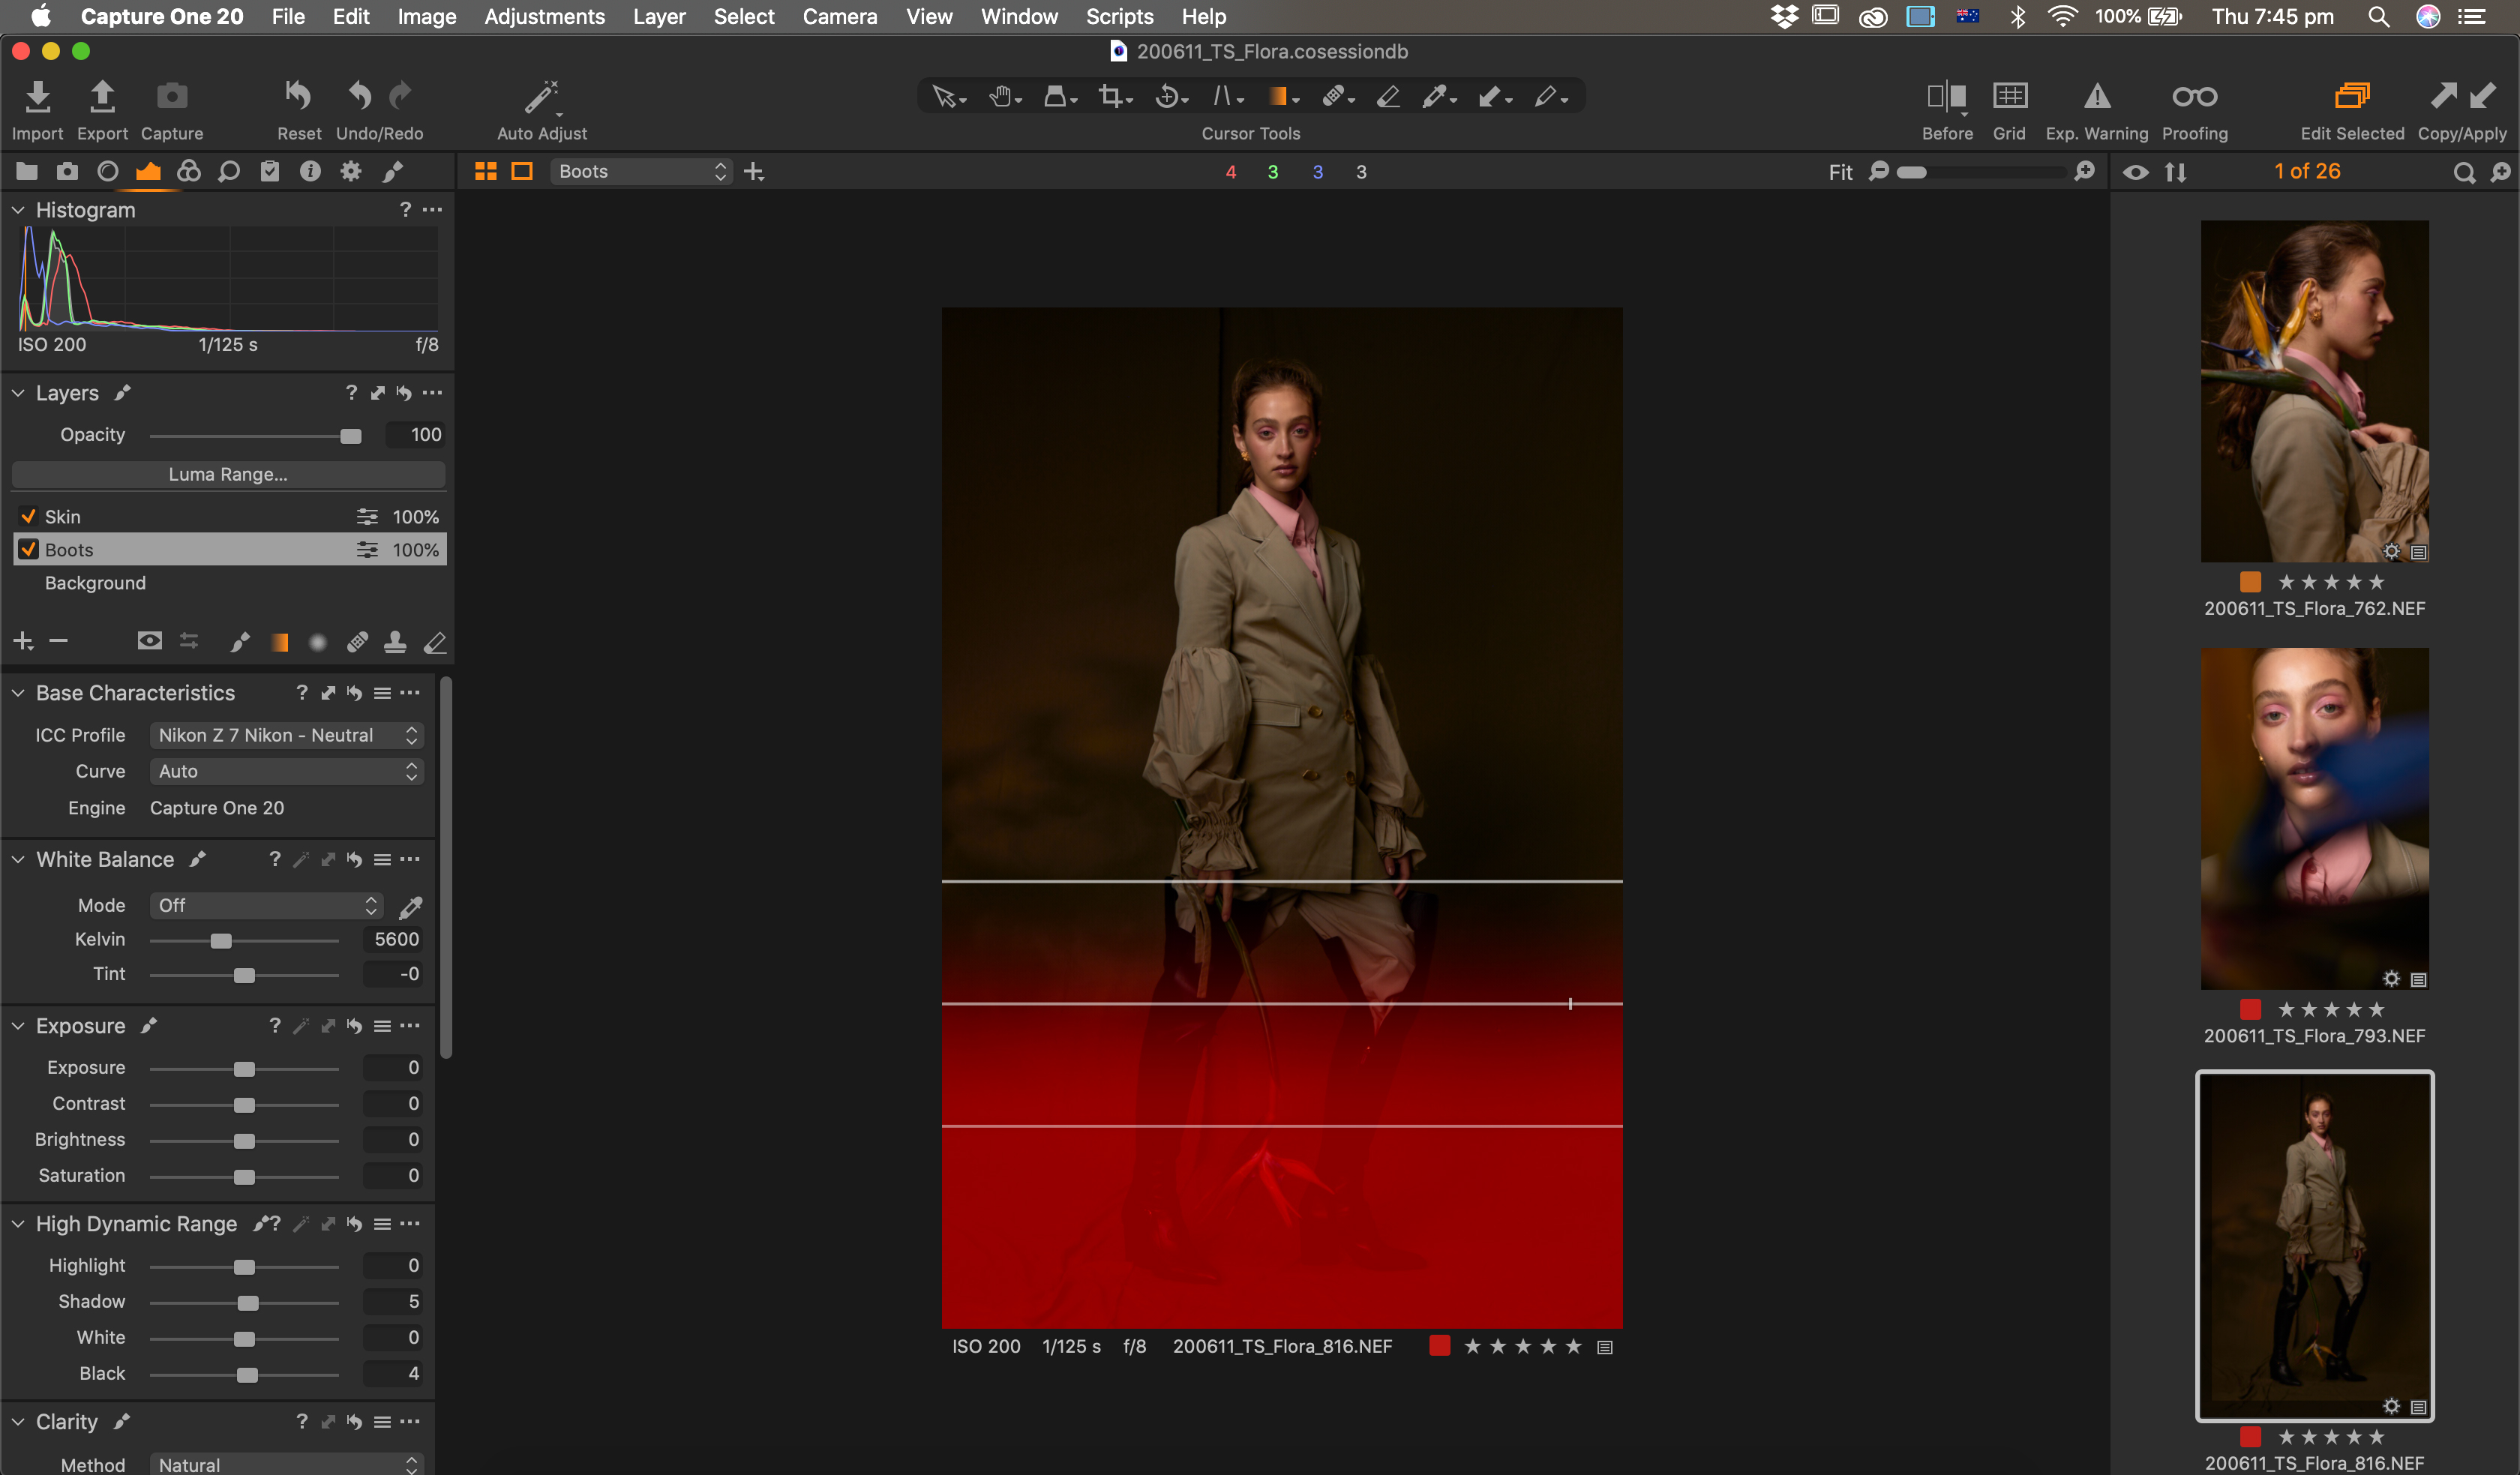
When making edits in quick succession, it’s crucial is to see the effect the edits have on the image and to be able to isolate each edit in order to change them or remove them accordingly.
With layers built into my RAW processor with Capture One, I can do most of that before bringing the images into Photoshop to make incremental changes either by adjusting the value or the opacity of the layer.
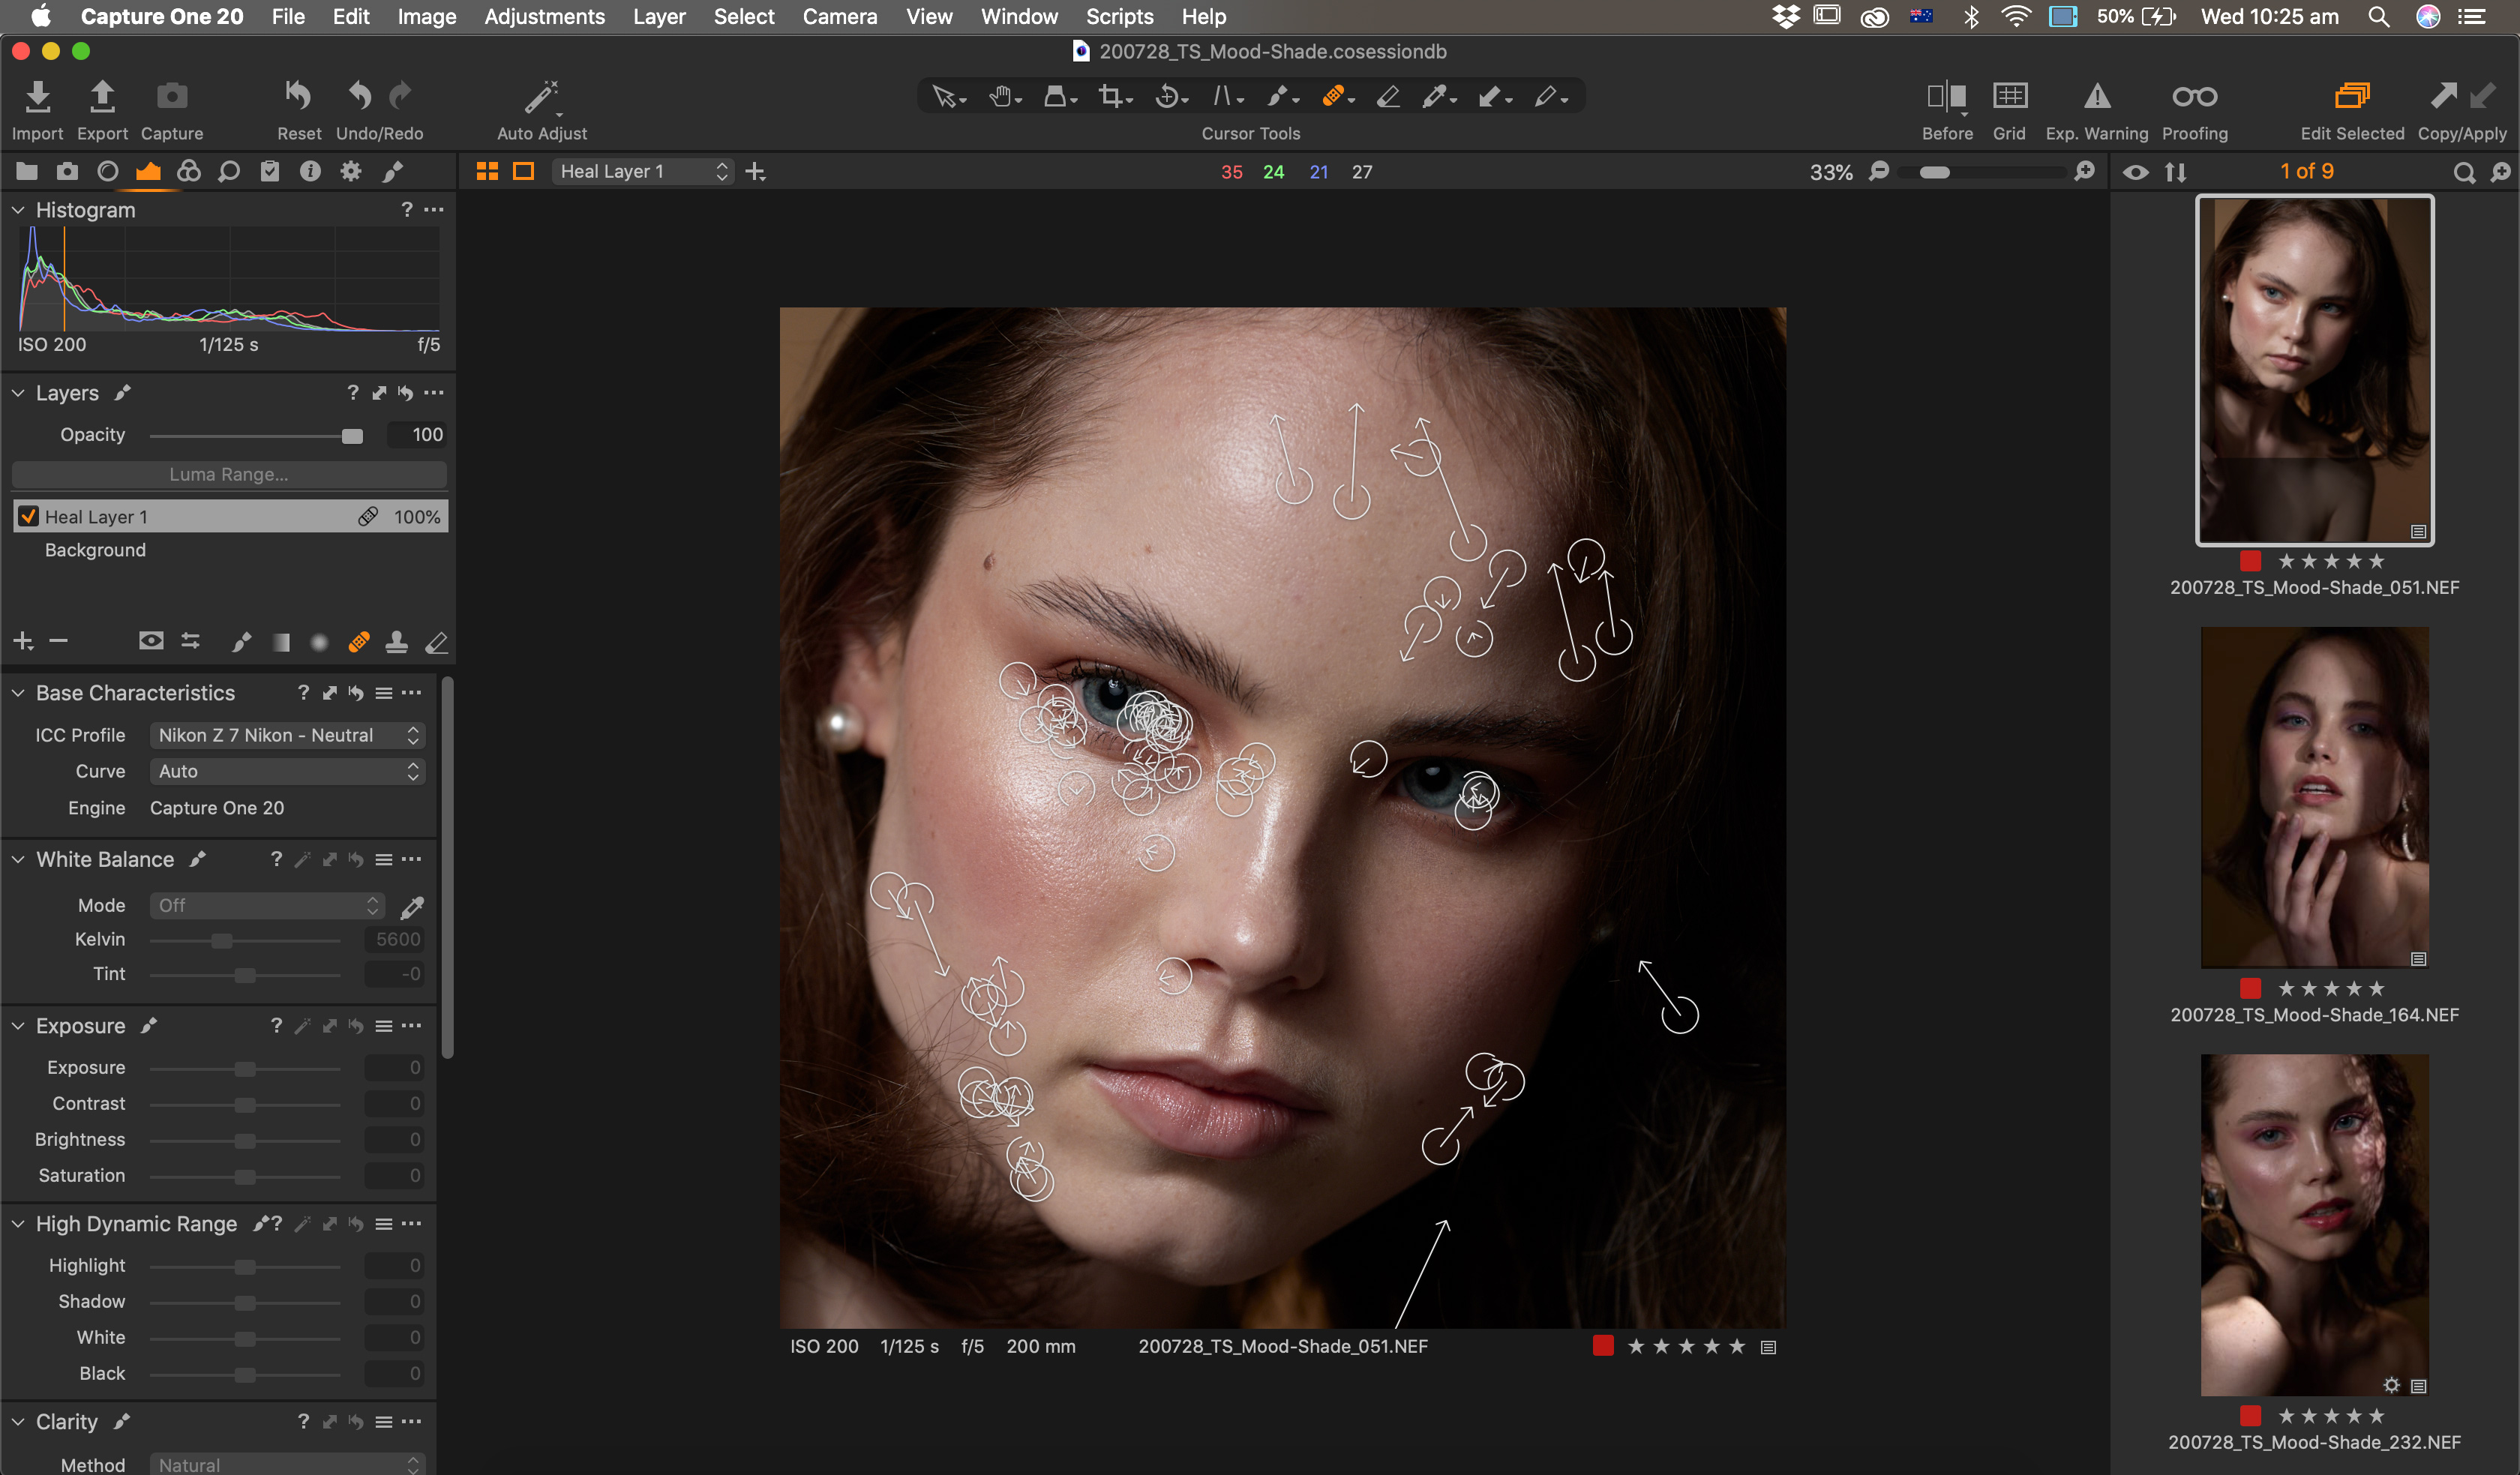
An added bonus is that for tools like the Heal Brush, Capture One will automatically create a new layer and will keep all edits in that layer.
Highlight Recovery:

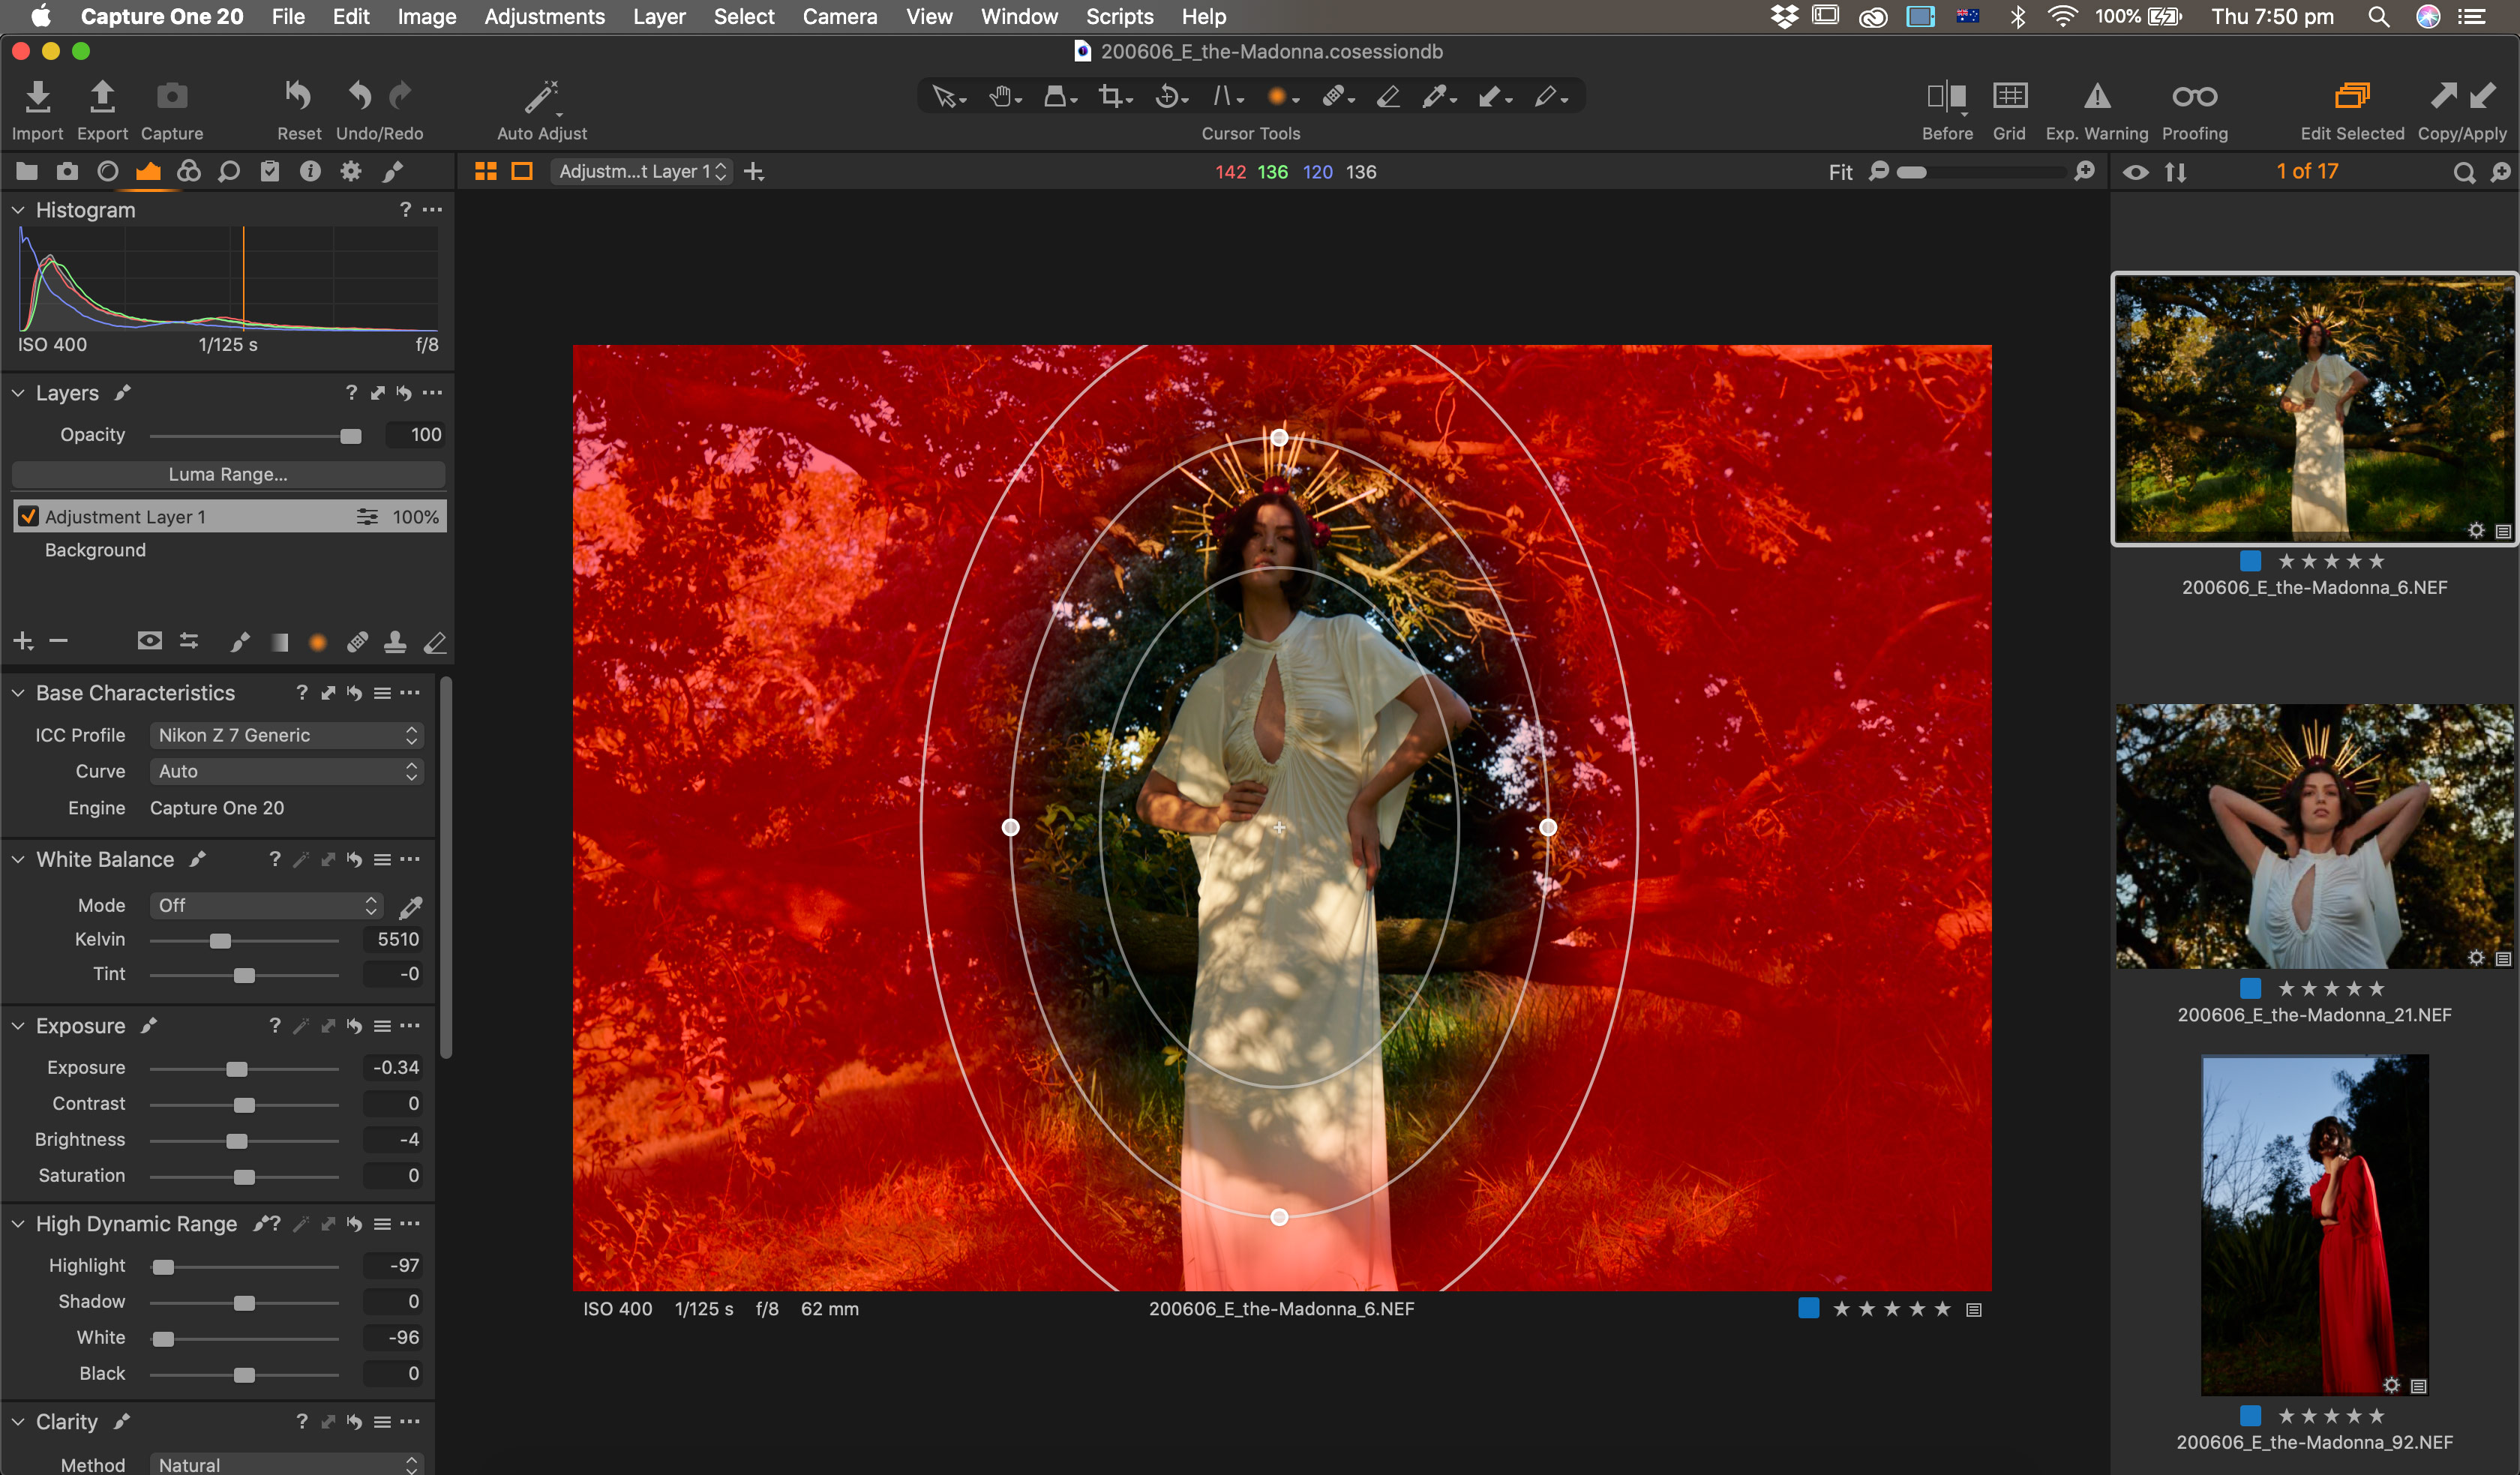
When processing RAW files in Lightroom, the one aspect always left me wanting has been fixing overblown highlights. At a point it is near impossible and you just need to cut your losses.
However with Capture One, there’s more possibility and room to fix your highlights and images that were once hopeless in Lightroom have a greater chance of being recovered with Capture One.
Visual Color Adjustment:
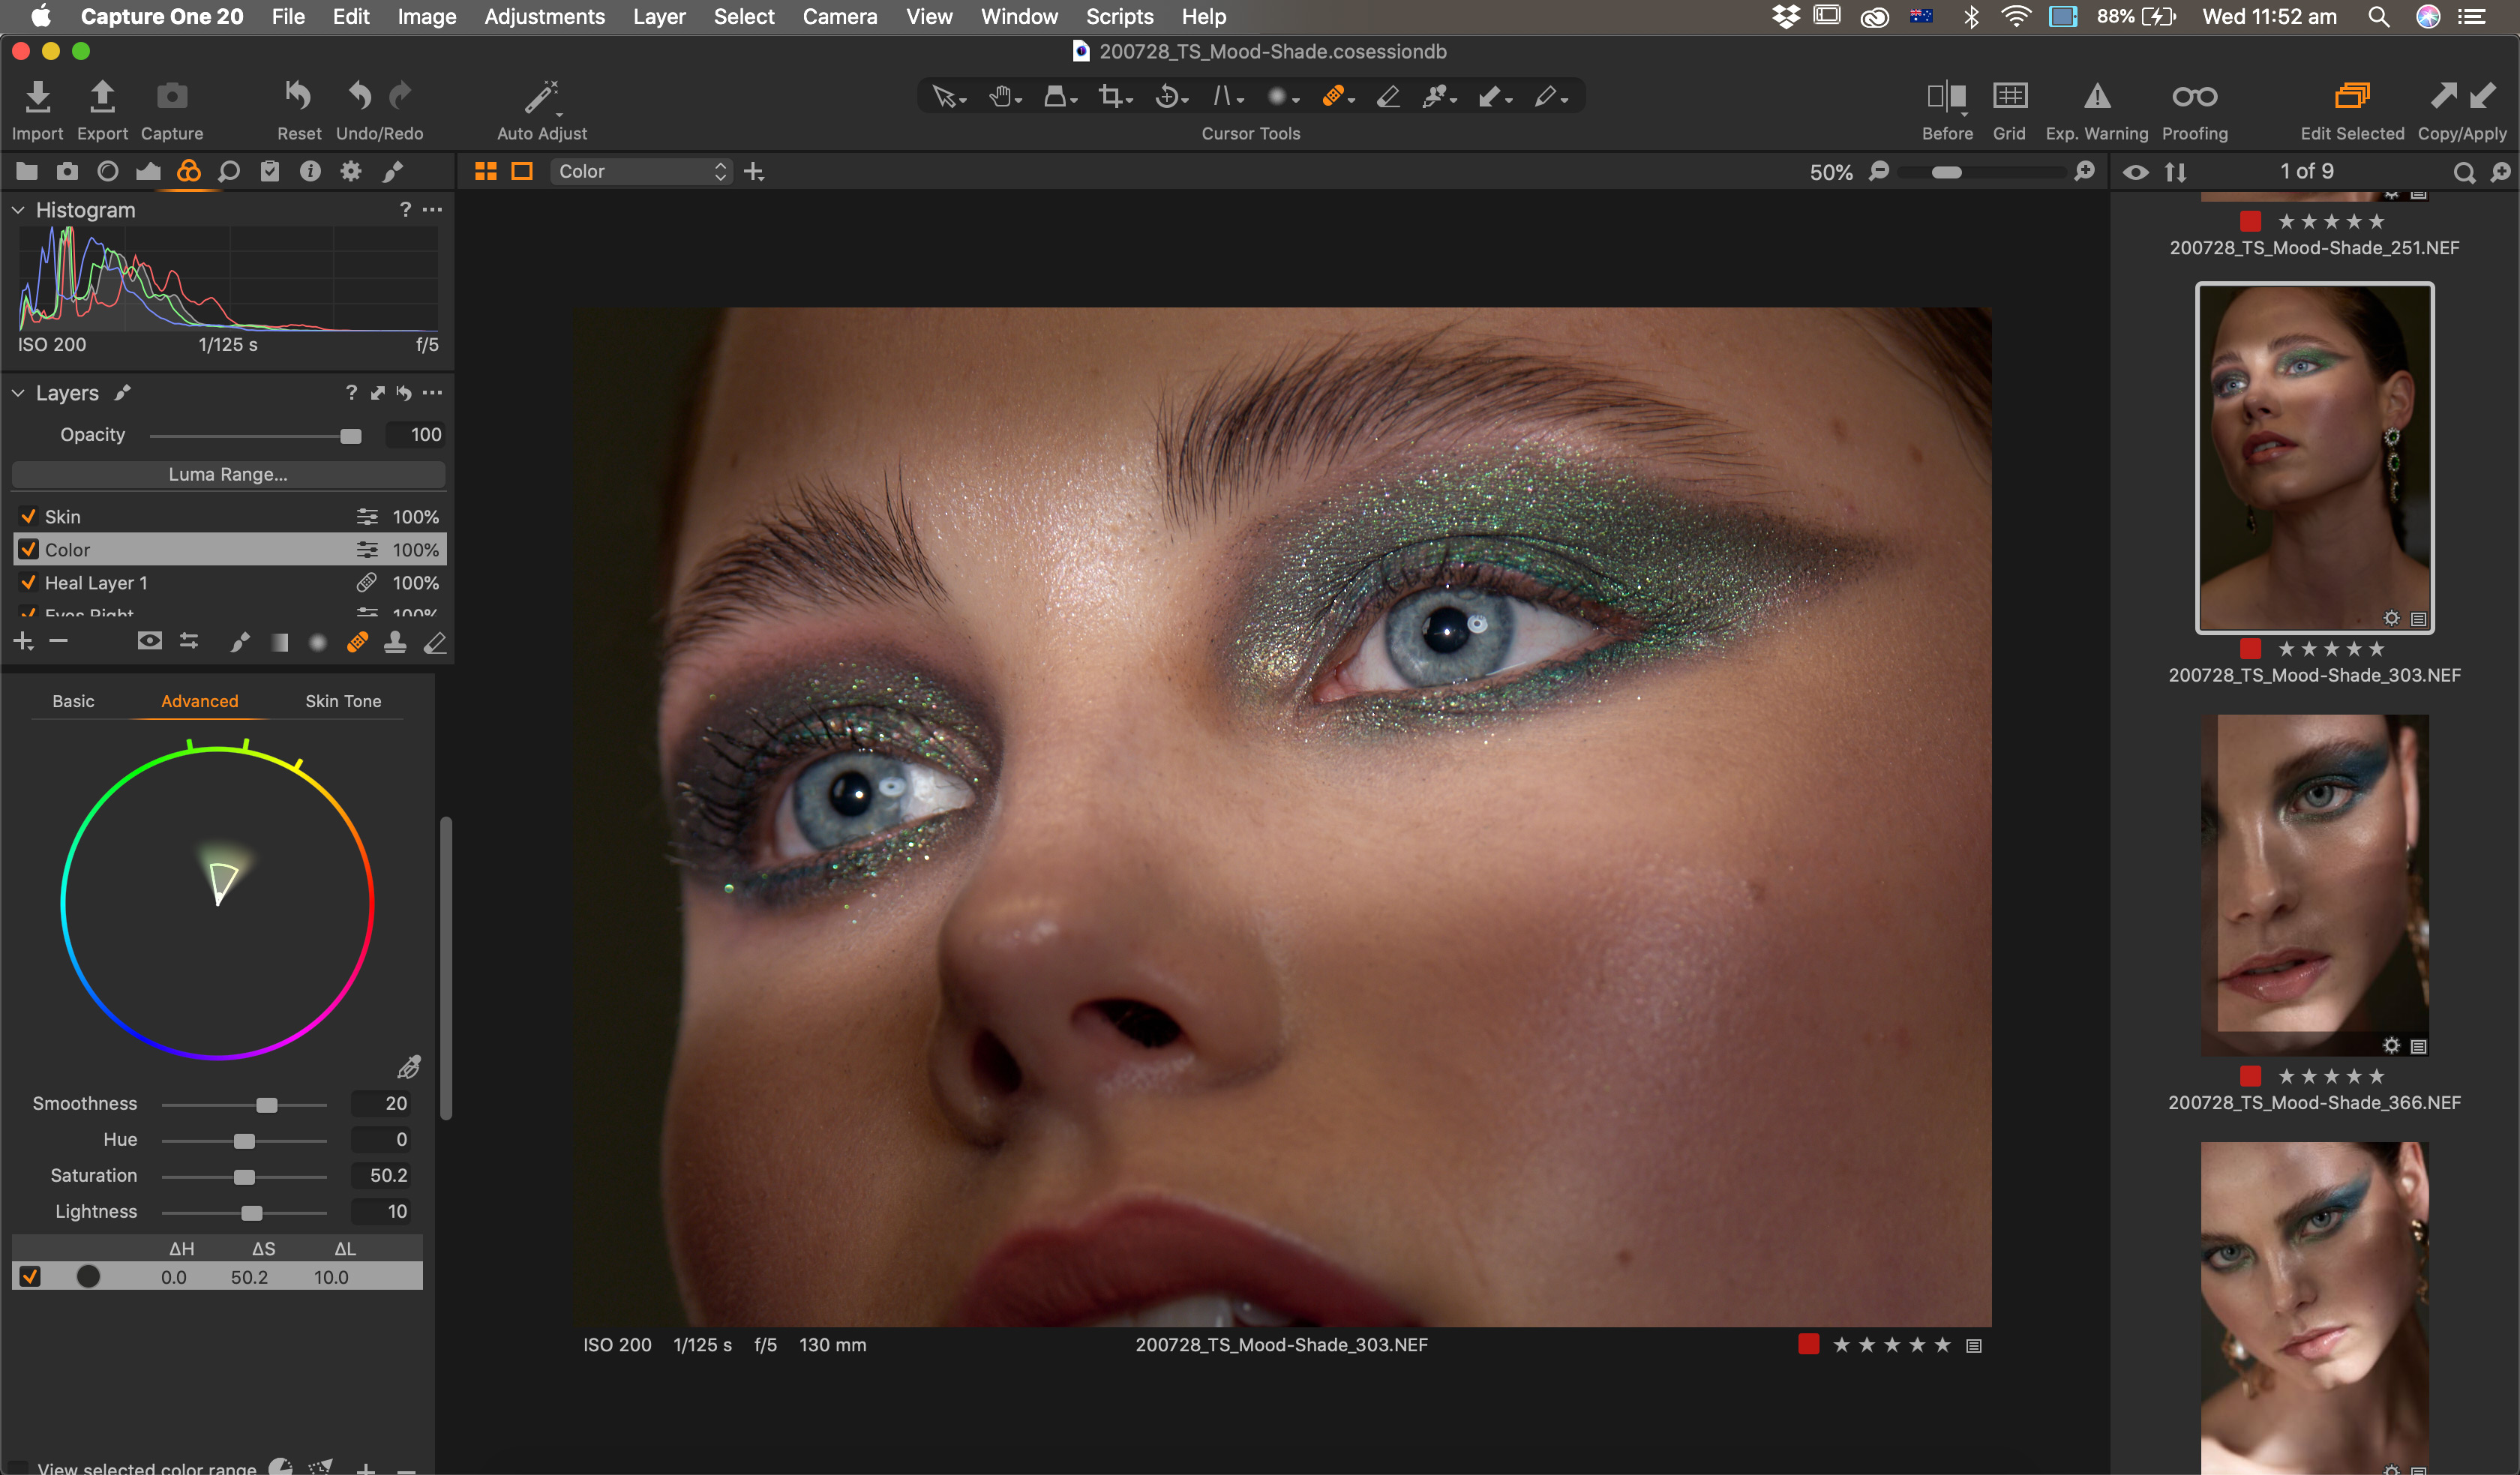
The greatest joy in switching to Capture One has been the level of control I have in editing the colors. The level of detail that I can tweak and refine overall color and specific hues has been incredible.
Capture One offers all of the same editing dialogues for colors as Lightroom, but it surpasses the Adobe version by adding things like color wheels and layers to be able to pinpoint specific colors and make isolated changes to those selected colors without affecting the rest of the image.
Having those selected colors as layers means I can go back and re-edit them later if other edits affect the overall tone and balance of the image.
Luma Curve:

When making accurate changes to the colors in an image, there is nothing worse than making curve adjustments that affect the saturation of the entire image. With the “Luma Curve” only the luminosity of the image is affected by the adjustment.
Which means I can adjust the contrast of the image without having to sacrifice on color fidelity.
Skin Tones:

Finally, my favourite tool of the bunch in Capture One is the designated “Skin Tone” dialogue in the color module.
When editing my photos, the greatest portion of my time is dedicated to retouching and adjustments of the skin. By being able to isolate colors and tonality of the skin before Photoshop, I save a lot of time.
I can select the general color of the model’s face and create uniformity of the skin tones as well as any color adjustment required.
These are some of the reasons I have loved changing photo editing software. Over time, I am sure I will find even more that I love about editing photos in my new system.
Capture One is without a doubt the superior RAW processor.
That’s why I won’t be opening Adobe Lightroom for the foreseeable future.
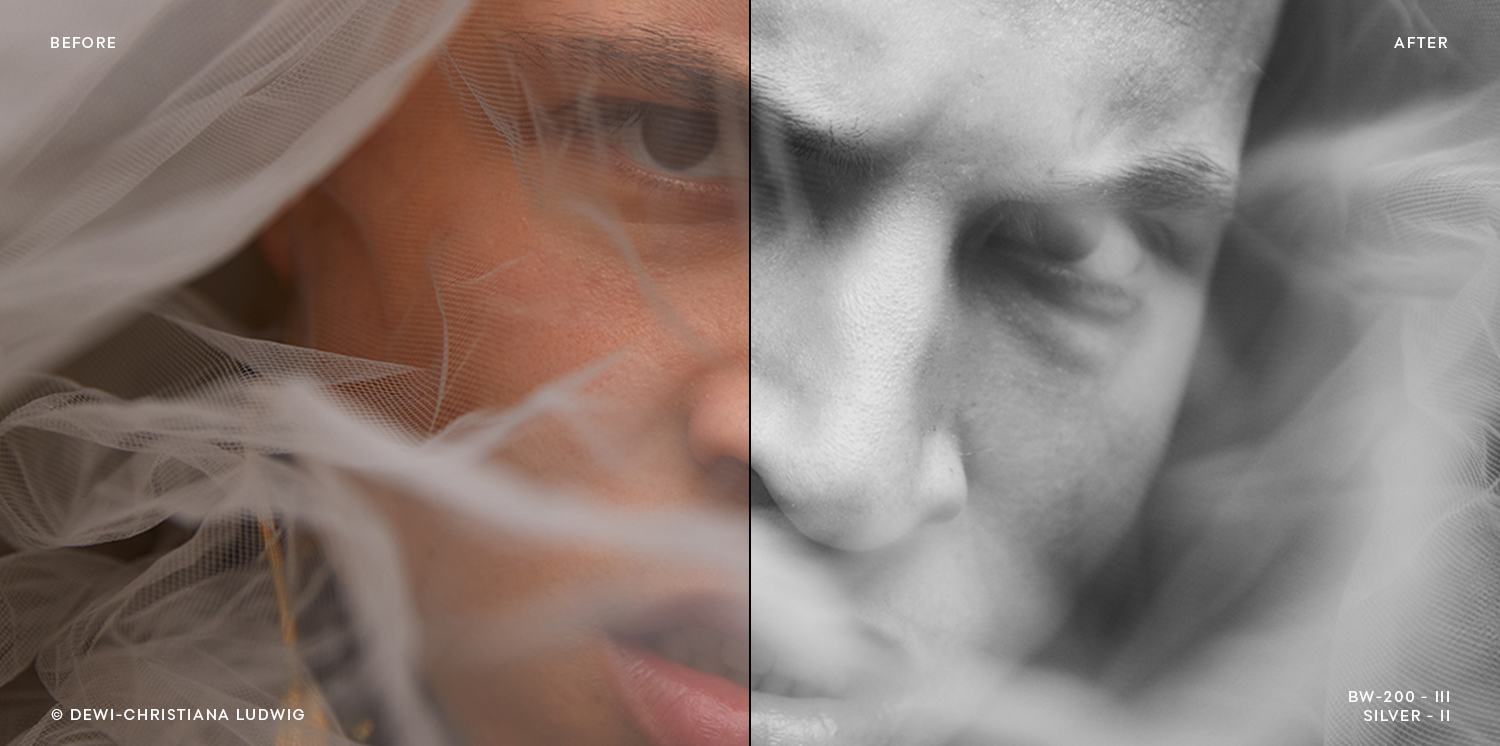
Selected work from Seiya: