NOTE: This article discusses an older version of Capture One Pro. To learn more about our latest version, click here.
Fashion, beauty and movement photographer and Capture One ambassador Sarah Silver discovers the incredible performance when she pairs Capture One 21 with the powerful new M1 Mac.
For Silver, working with a community of creatives is one of the most rewarding aspect of being a professional photographer. A former aspiring ballet dancer, it should come as no surprise that motion and dance figures prominently in her work, and her most recent shoot at Jack Studios in NYC is no exception.
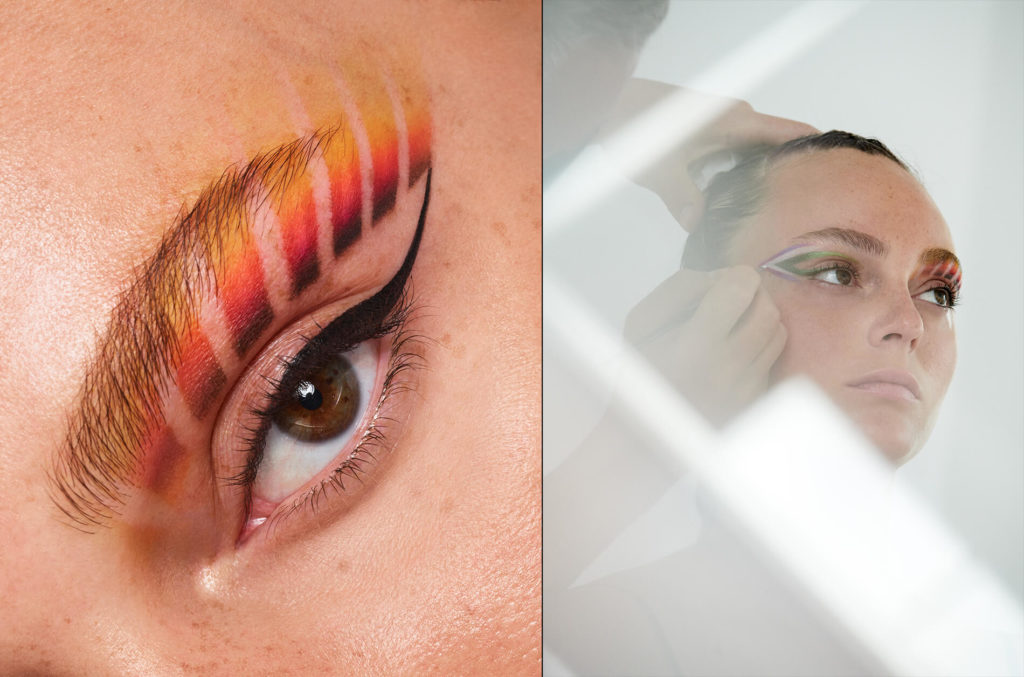
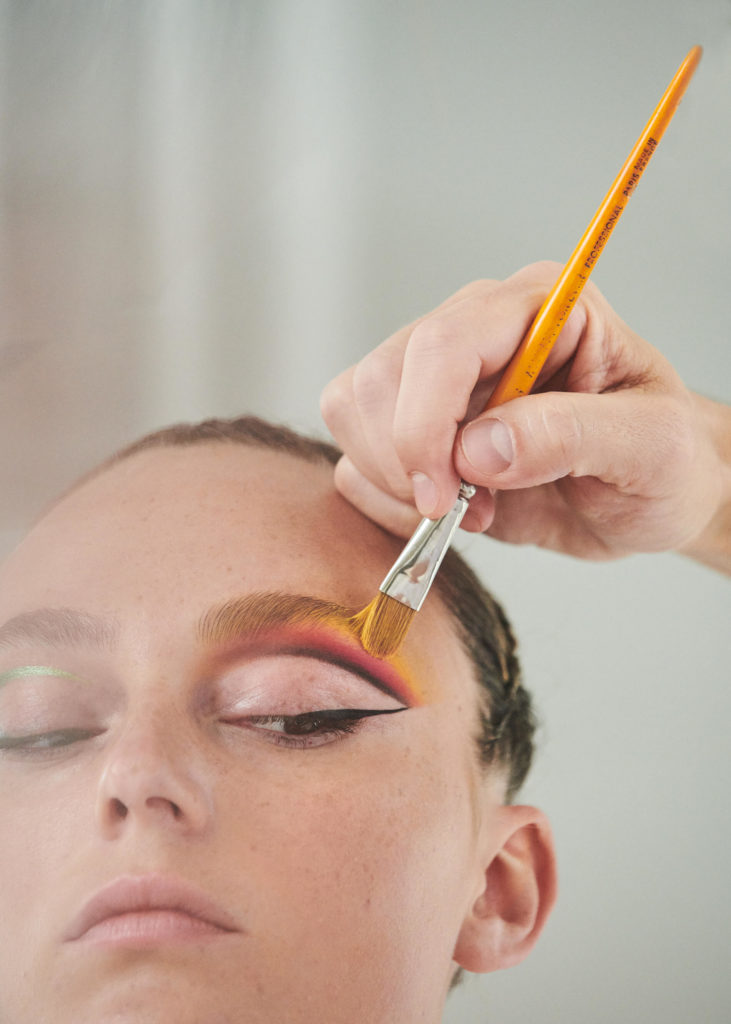
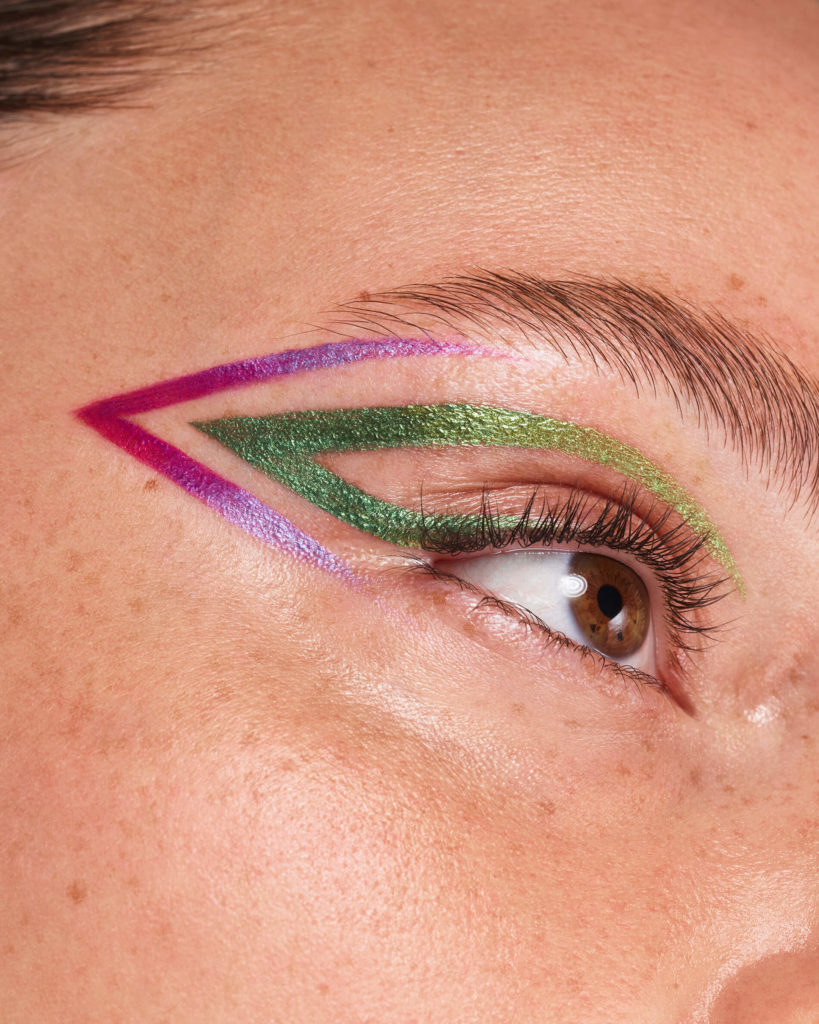
Taking advantage of the new Apple M1 Mac with Capture One 21, Silver teamed up with longtime favorite makeup artist and beauty director, Walter Obal. In the past, the two have pursued projects that explored makeup application that utilizes shimmers, cream colors, and iridescent hues in macro beauty photography.
“Technology has drastically evolved since Walter and I started collaborating in 2002,” said Silver, “Now you can take a picture of an eye and create a stop-motion animation that captures the literal applying and removal of makeup. You can build up a look and run it forwards and backwards in Capture One and see in real time what the final stop-motion will look like.”
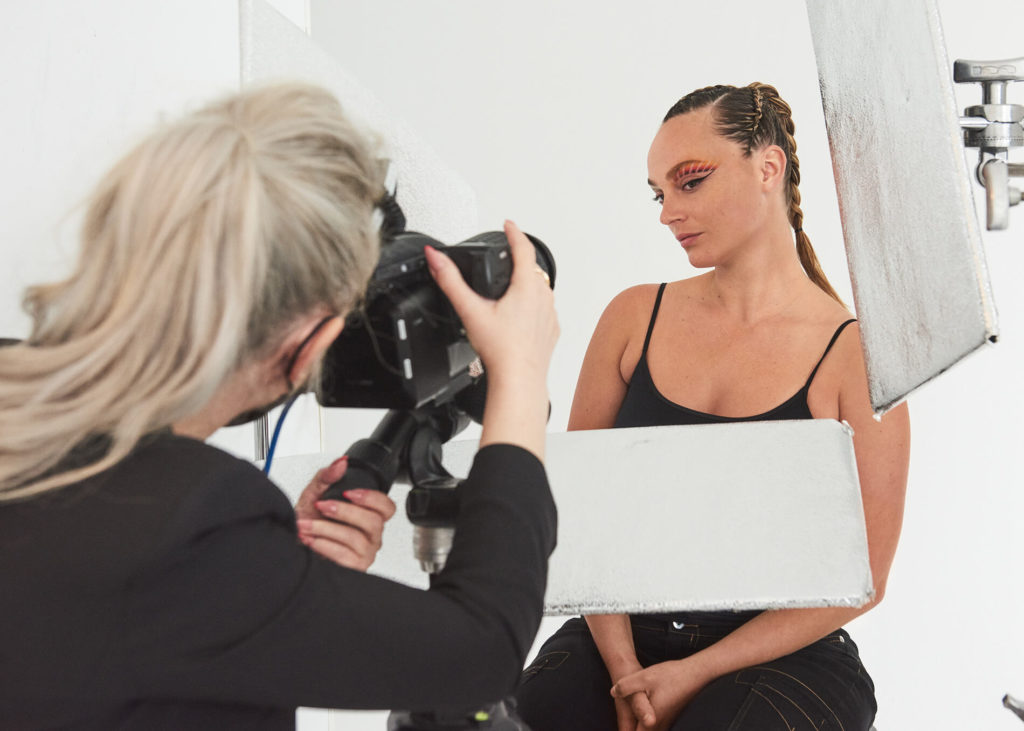
For their subject, they choose an artist, Adriana Wynne, a sculpture and painter, whose use of bright colors complemented Silver’s own aesthetic.
“In this scenario, the painter was the canvas,” said Silver.
But Adriana was not the only artist on set, “Every single person on set with me that day is an artist in their own right, and we all worked together to bring this shoot to life,” said Silver.
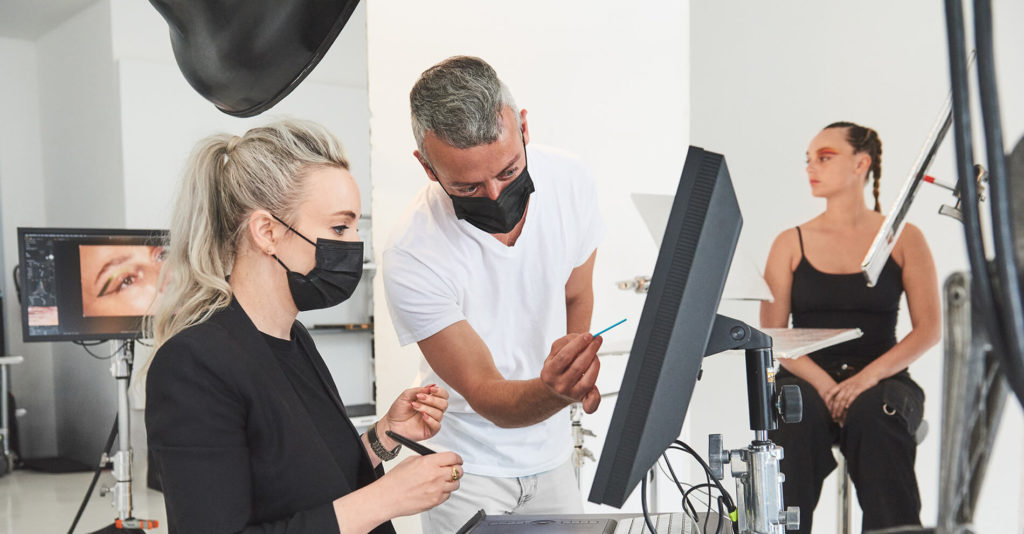
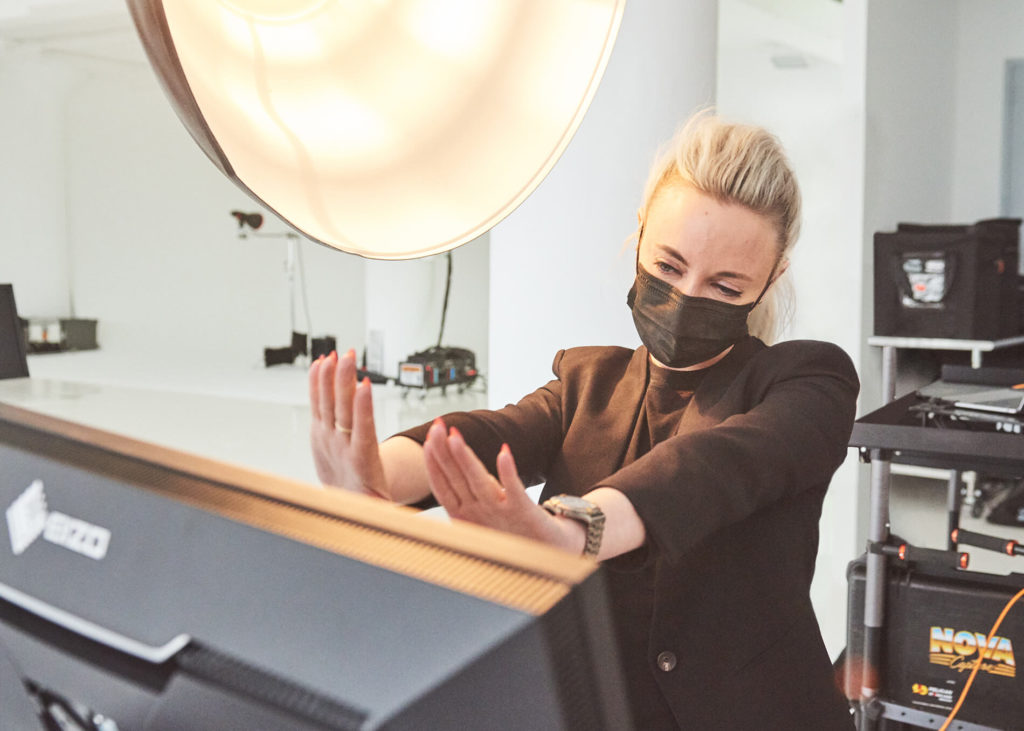
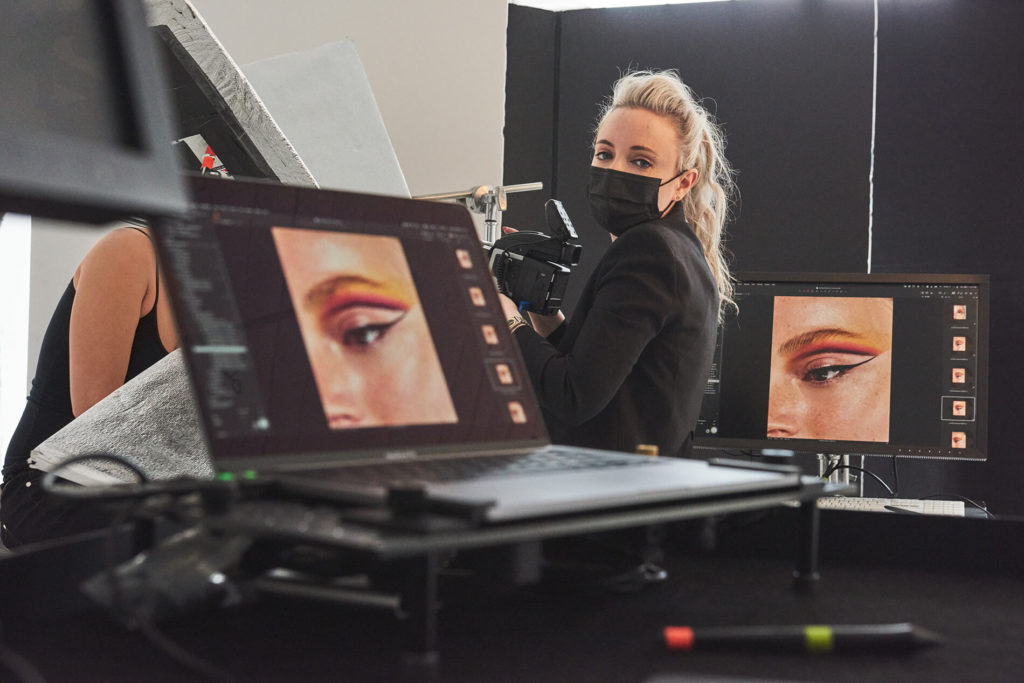
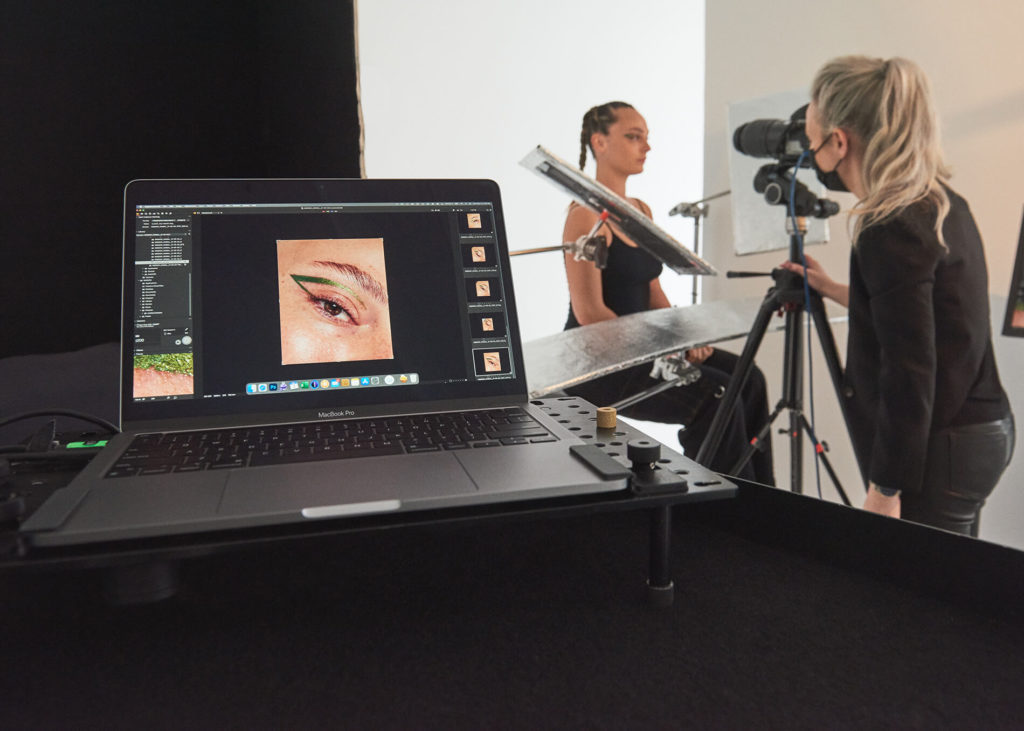
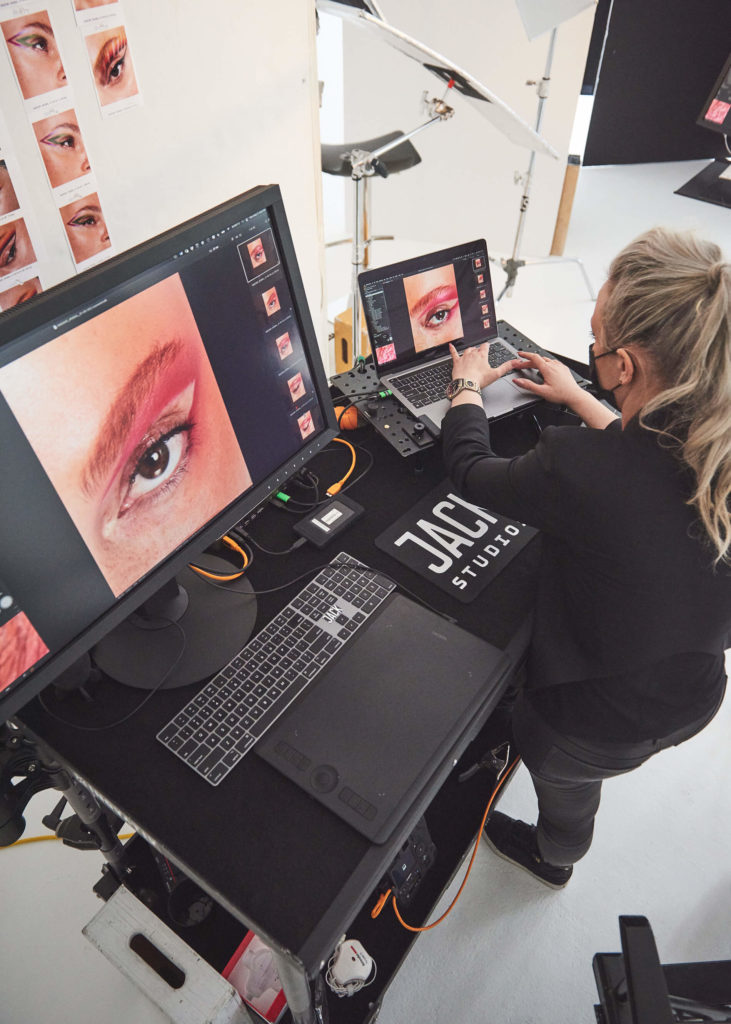
Silver loves to create a collaborative environment – and technology makes this possible. Her sets often have what she calls a “House of Mirrors.” Shooting tethered in Capture One, she has several monitors mirroring the shoot so that everybody can see what’s happening, no matter where they are in the studio. “This House of Mirrors we are creating with cutting-edge technology offers so much room for creativity. If the digital tech sees a piece of dust on the sensor, they fix it in real-time. If our beauty director notices a makeup smudge on the model’s face, they are able to address it immediately instead of finding out after our shoot. There are no limitations. If anything, the limitation is YOU. Not the technology.”
Playing Nice: Hardware and Software
Silver’s shoot was underscored by two other aspects: the new Apple M1 combined with Capture One 21. A long-time Apple user and loyal Capture One user, Silver was curious about how the two would play together.
“Finally, software and hardware understand that they need to play nice,” said Silver. “Often, when you have a great workflow and everything is synergistically flowing, it’s kind of like being able to see the final painting on a museum wall while still laying down the brush strokes in it’s creation stages.”
For Silver, the creative experience hinges on a smooth workflow, which the combination of M1 and Capture One provide. Not having to worry about whether she can connect or will encounter slowdowns is, to her, ultimately what the creative craves and requires to realize their own vision. Translating your creativity from the camera to your hardware and editing software should be as simple as taking out a pen and drawing on a piece of paper, says Silver.
New Conversation
Silver is excited that the conversation about hardware and software has now shifted from individual performance to focusing on how they work together.
“If you are not working on a system that promotes creativity, you are fighting for the creativity every step of the way.”
An avid tech lover, Silver cares about making things work – and making things work well. However, she believes that we are now at a point in technology where you don’t necessarily need to be a tech guru or wiz to make things work. For her, those who are less tech savvy, should be just as empowered by their workflow.

When it comes to Apple and its M1 and Capture One, Silver confesses she would expect nothing less.
“With Apple I never say, ‘Oh, it’s a nice computer,’” said Silver, “No! It’s the BEST computer. And with Capture One, I never say, ‘Oh gosh, it’s a nice software.’ No! It’s the BEST software! Without question this is why we as creatives use these systems together.”
For a photographer of Silver’s caliber and class, it should come as no surprise that she only wants to shoot the best and do the best. With Capture One 21 now running now on Apple M1 Macs those very ambitions will continue to unfold, delivering 360-views that can enhance the creative experience for all artists.
CREDITS:
Photographer Sarah Silver at Ray Brown Pro
Beauty Director Walter Obal at The Wall Group
Hair Stylist Clay Neilson
Model Adriana Wynne
BTS Photographer Andrew Boyle
Art Director Becky Leung
Shot at Jack Studios in New York City
Special thanks to Eizo, Wacom, Datacolor, Phase One, Inovativ, Broncolor, Hasselblad, and Harwin Camera