NOTE: This article discusses an outdated version of Capture One. To learn more about our latest version, click here.
I love making landscape images. But I’m not interested in producing record photographs – pictorially accurate representations of the scene before me. I’m far more interested in producing personal interpretations of my chosen subjects.
I like to leave room for the viewers of my photographs to make up their own story around the image, to bring a bit of themselves into their interaction with my photographs. I believe that images that perfectly describe a subject leave little or no room for that interaction to take place.
Deliberately generic – placeless and timeless.
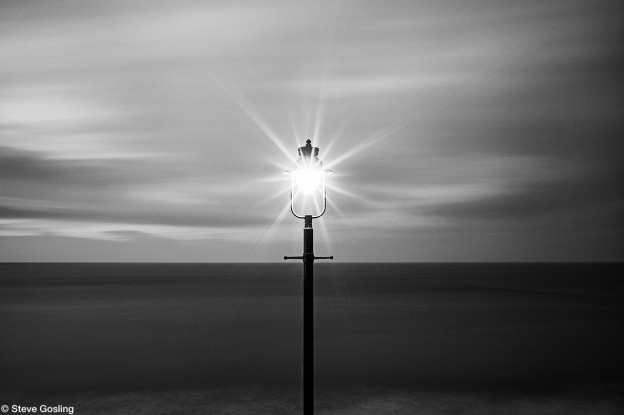
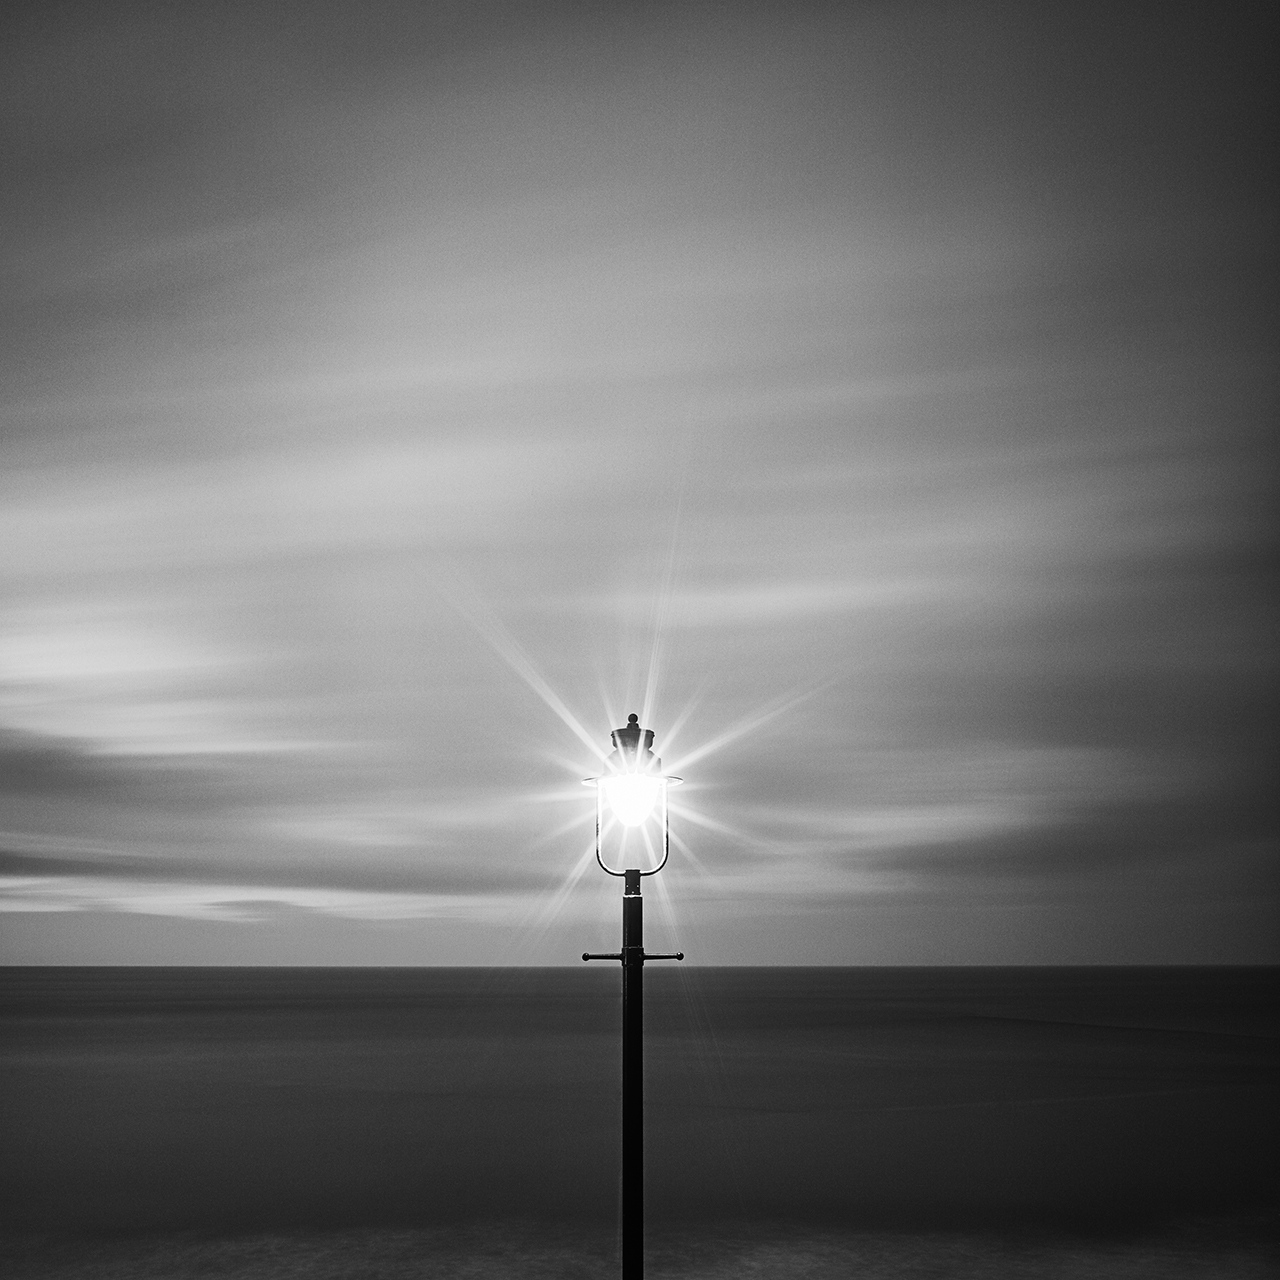
This image is typical of my style – I hope that it is evocative, moody, atmospheric but I acknowledge that it says very little about the location. For the record it was taken at a small town, Whitby, situated on the North East coast of England – does that information contribute much to the viewers reaction to the image? I don’t think so. It’s deliberately generic – placeless and timeless.
It’s also typical of my compositional style – graphic & minimalist. I take a reductionist approach to composition – removing anything from within the frame that doesn’t contribute to the final image. I look to take things out of my frame rather than add more in.
On a cold winter’s day
This was taken at the end of a cold winter’s day as the light was beginning to fade. I saw the potential for this composition, set the camera up and took a few photographs but they lacked the atmosphere I was looking for.
And then as dusk drew in, the light came on and I had the photograph I had envisaged.
I was concerned about the contrast range in the scene and fitted an ND graduated filter over the sky area. This helped to keep detail in both the lamp and some texture in the sea behind it. The ability of the Phase One back to record a wide exposure range also help me retain detail in the lamp itself – even recording the shape of the bulb.
Post production
Once I put the image into Capture One Pro 7, the processing stage was for once straightforward (sometimes I spend hours tinkering with an image before I’m happy with it). In a way this reflected the simplicity of the image itself.
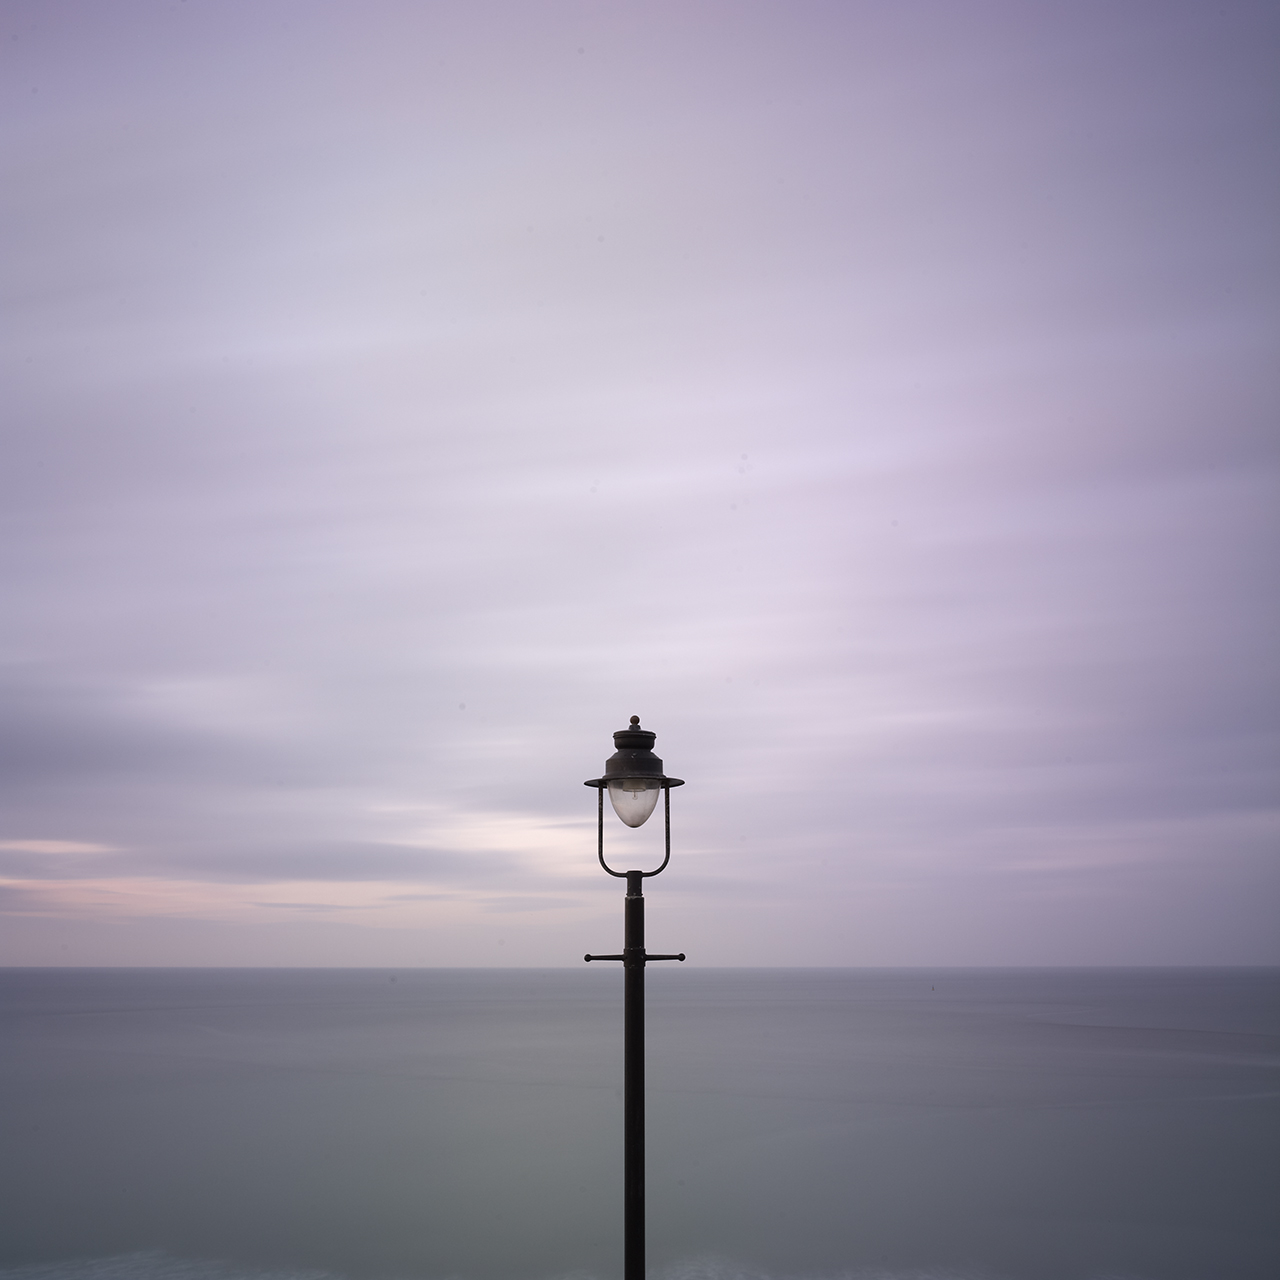
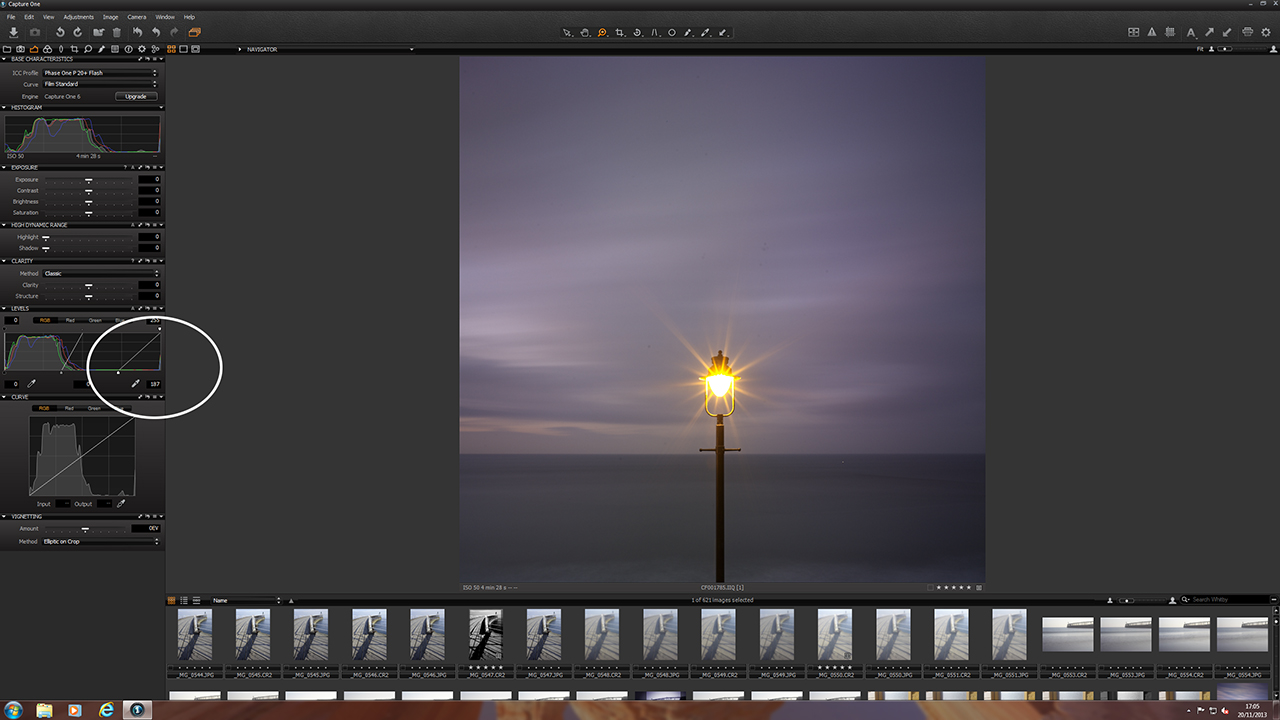
I always like to get a reasonable colour image as my starting point prior to conversion to Black & White so I made a basic adjustment to the exposure via the Levels Tool to lighten the highlights.
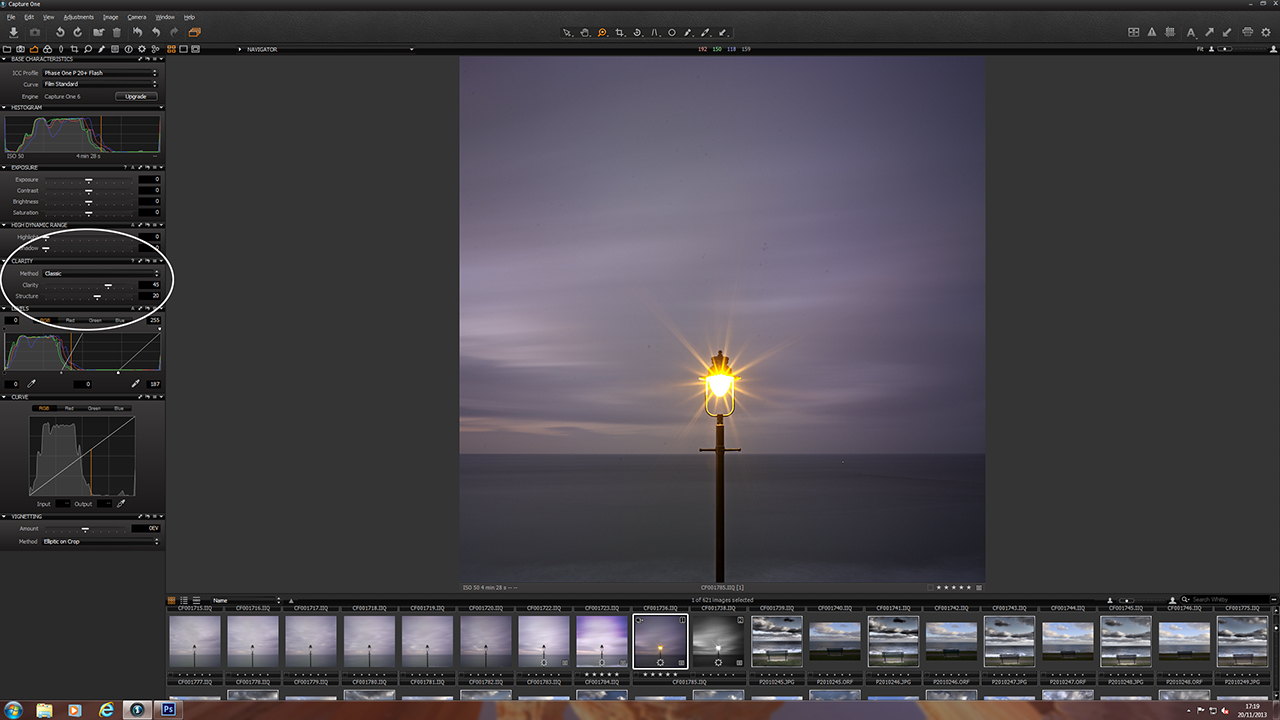
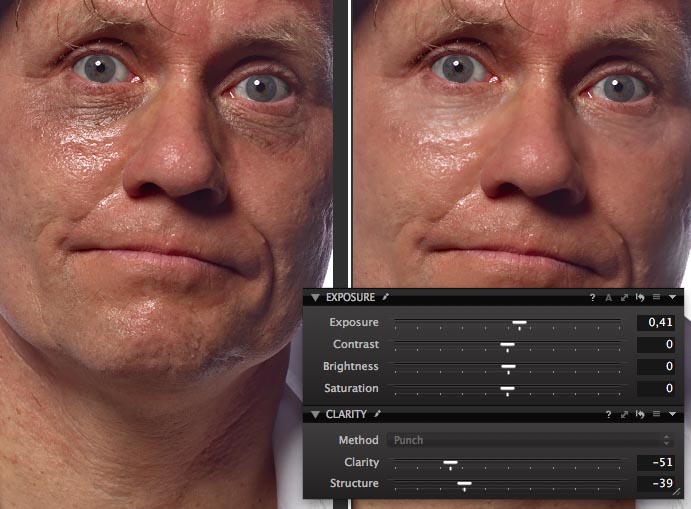
I also increased both clarity and structure via the Clarity Tool to increase contrast and improve the definition around the lamp.
The resulting colour image looked like this:
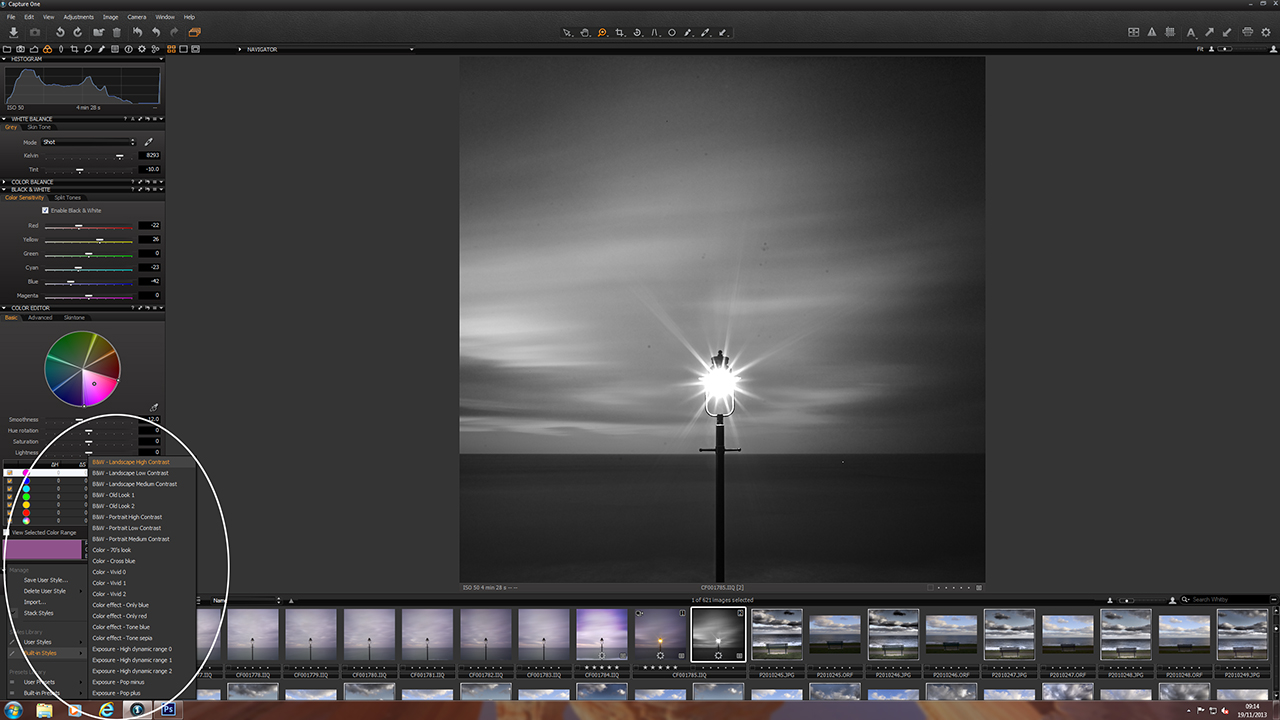
I then converted the image to B&W using the Styles built into Capture One Pro 7 (in this case ‘B&W High Contrast’)
I chose this particular setting as it did a good job of bringing out the textures & details in the sky. I often take the presets as a starting point and then adjust them to fine-tune the result to my personal taste.
With this image I only had to increase the contrast a little (via the Curves Tool) to give the image more ‘punch’, clone out the dust spots (I’m ashamed to say that my sensor was particularly dirty on this day) and sharpen prior to exporting.
All the best,
Steve
Location: Whitby, North Yorkshire, England
Equipment: Alpa TC Camera, Schneider 36mm lens, Phase One P20+ digital back, Manfrotto tripod with Manfrotto 410 geared head, Lee 0.6 stop ND graduated and 0.9 ND filters
Exposure details: f16, 4mins 28secs, ISO 50
