Latest Posts

Shortcuts to a faster workflow with your Wacom tablet

NOTE: This article discusses an outdated version of Capture One. To learn more about our latest version, click here.

I personally began using a Wacom tablet to work with Photoshop some time ago. It was more out of necessity as I found it simply too uncomfortable to use a mouse for long periods of time while retouching images.

Never looked back

It took me a couple of days to get used to it, but since then I have never looked back.

More recently I have begun to explore the Wacom preferences and added in some customization of the pen and the tablet, adding additional shortcuts I can use in Capture One Pro 7.

Customize more and work faster

Capture One Pro 7 already supports pressure sensitivity linked to the size of the Local Adjustment brush, but there is so much more you can do to leverage the various options in the Wacom preferences to use other features in the software.

I have found this is an additional way to work faster, as well as using keyboard shortcuts.

The following blog post was written based on using a Wacom Intuos 5 touch, which is similar to the more recent Intuos ‘Pro’ series.

Why use a Wacom Tablet?

I mentioned in the introduction that I moved from using a mouse for comfort reasons. In fact, even for non-imaging applications I still stick with the pen and tablet. I find it faster and easier to use.

If you haven’t tried out a graphics tablet before, then in my opinion it is certainly worth a trial. They consist of a touch and pressure sensitive tablet and a pen. The tablets are available in a variety of sizes with varying functionality, for example how many levels of sensitivity they may offer. You can read more about the Intuos here

Customizing

All functionality of the pen and tablet is changed in system preferences (In this case on the Mac). Here, for example, we are looking at the various options available for the pen:

2014-01-09_09-52-28

What I like about the customization options is that they can be application specific.

Note, in the ‘Application’ heading I have added Capture One Pro 7 as an application and all changes to the pen and tablet options will only be made for Capture One. I could continue to add other applications here. Applications that are not shown will use the options in the ‘All Other’ tab.

The tablet has a number of programmable shortcut keys, known as Express keys, while the pen has a two way rocker switch and also an ‘eraser’ on the end – more on that later!

The Pen

I only make a couple of changes to the Pen, namely on the rocker switch. I have this set to enter the ‘Radial Menu’ (more on that later) and to be able to Pan and Scroll.

2014-01-09_09-57-18

Pan/Scroll means that when I hold the button down, and subsequently drag with the pen, I can scroll through the thumbnails, for example, and any other scroll action, like moving up and down a web page.

If this does not fit with your personal preference then you can see from the screen grab below, that there are a multitude of options available!

2014-01-09_10-02-18

That’s indeed one of the strengths of the Wacom system. Pretty much any input option on the pen or tablet can be set to do a huge variety of actions.

The Tablet

The mind also boggles here with the number of customizable options you can make, but I limit myself to a few changes.

The tablet has a number of Express keys on the side of the tablet. These again can be set to do various different options and keystrokes. I don’t make extensive use of these as I always have my wireless keyboard close by. I do however use the Touch Ring and Radial Menu.

The Touch Ring

The Touch Ring is a touch sensitive scroll wheel that I mostly use for changing the size of the Local Adjustment brush. There is a keyboard shortcut in Capture One Pro 7, that also changes the size of the brush. This is [ and ] – The square brackets.

Therefore it is an easy task in the Touch Ring menu to add this keystroke to one of the Touch Ring options. You can have four different actions of the touch ring, by pressing the centre button to move between each one. Here is the setup page for adding the square bracket keystroke.

2014-01-09_10-40-42

Now it is easy when I am working with Local Adjustments to keep one hand on the pen and my other hand on the Touch Ring to quickly alter brush size as I work around an image. The good news is that brush hardness can also be controlled by the shortcut Shift-] so to avoid having to enter the Local Adjustment brush dialog box, I can also use the Touch Ring to change hardness, by setting the Keystroke in a similar way.


See how fast it is to move round an image in this short video clip below. What I wanted to do for the title image was to lighten the background compared to the sculpture. I figured the easiest way to do this would be to mask the sculpture itself and then invert the mask.


Also in this clip, I choose to ‘clean’ up the mask using the erase brush. You can actually flip the Wacom pen upside down to automatically choose the eraser, but I actually find it faster to simply hit ‘e’ on the keyboard to select that option and then ‘b’ to return to brush.

http://youtu.be/EFk3mSR4kj8

If you would prefer to link brush size to pressure, then turn on the option in the Brush Settings dialog box. Access it by right-clicking while the brush tool is selected.

2014-01-09_12-05-49
The Radial Menu

The Radial Menu brings up a floating circle of customizable options when you hit either one of the Express keys, or in my personal case, the top part of the rocker switch on the pen. It looks like this.

2014-01-09_11-47-17

I have customized each segment with a useful command in Capture One Pro 7. For example creating variants, as you can see in the top and adjacent segment.

So to create a new variant, I click the rocker pen switch once, and then click on the segment itself. Each segment can be changed here.

2014-01-09_12-12-58

I haven’t fully decided if this is faster than keyboard shortcuts or menu selections (one thing I find with a pen and tablet is that I can move much faster around my monitor area compared to a mouse), but it does give me another option.


One final mode that I have discovered recently is Precision Mode. If I want to draw more complex masks, it can often be a help.


I have set one of the Express Keys on the side of the tablet to activate this mode.

2014-01-09_11-54-47

Initiating Precision Mode concentrates the area of the tablet into one section of the screen.

2014-01-09_11-57-15

Therefore you can be extremely precise for mask drawing. You can adjust the size of the precision area too.


I hope you have found the above suggestions useful. I am sure there is more I could do to leverage the tablet even more, so I would be interested to hear if any of you have come up with some interesting ways to work with tablets and Capture One Pro 7.


Best regards,

David

Sign up for the webinar

Steve Gosling’s tricks to create stunning B&W images

NOTE: This article discusses an outdated version of Capture One. To learn more about our latest version, click here.

I love making landscape images. But I’m not interested in producing record photographs – pictorially accurate representations of the scene before me. I’m far more interested in producing personal interpretations of my chosen subjects.

I like to leave room for the viewers of my photographs to make up their own story around the image, to bring a bit of themselves into their interaction with my photographs. I believe that images that perfectly describe a subject leave little or no room for that interaction to take place.

Deliberately generic – placeless and timeless.

This image is typical of my style – I hope that it is evocative, moody, atmospheric but I acknowledge that it says very little about the location. For the record it was taken at a small town, Whitby, situated on the North East coast of England – does that information contribute much to the viewers reaction to the image? I don’t think so. It’s deliberately generic – placeless and timeless.

It’s also typical of my compositional style – graphic & minimalist. I take a reductionist approach to composition – removing anything from within the frame that doesn’t contribute to the final image. I look to take things out of my frame rather than add more in.

On a cold winter’s day

This was taken at the end of a cold winter’s day as the light was beginning to fade. I saw the potential for this composition, set the camera up and took a few photographs but they lacked the atmosphere I was looking for.

Image 1 No Light 1783

And then as dusk drew in, the light came on and I had the photograph I had envisaged.

I was concerned about the contrast range in the scene and fitted an ND graduated filter over the sky area. This helped to keep detail in both the lamp and some texture in the sea behind it. The ability of the Phase One back to record a wide exposure range also help me retain detail in the lamp itself – even recording the shape of the bulb.

Post production

Once I put the image into Capture One Pro 7, the processing stage was for once straightforward (sometimes I spend hours tinkering with an image before I’m happy with it). In a way this reflected the simplicity of the image itself.

I always like to get a reasonable colour image as my starting point prior to conversion to Black & White so I made a basic adjustment to the exposure via the Levels Tool to lighten the highlights.

Levels Adjustment Screen Grab

I also increased both clarity and structure via the Clarity Tool to increase contrast and improve the definition around the lamp.

Clarity Tool Screeen Grab

The resulting colour image looked like this:

Final Colour Image 1785

I then converted the image to B&W using the Styles built into Capture One Pro 7 (in this case ‘B&W High Contrast’)

B&W Styles Screen Grab (2)

I chose this particular setting as it did a good job of bringing out the textures & details in the sky. I often take the presets as a starting point and then adjust them to fine-tune the result to my personal taste.

With this image I only had to increase the contrast a little (via the Curves Tool) to give the image more ‘punch’, clone out the dust spots (I’m ashamed to say that my sensor was particularly dirty on this day) and sharpen prior to exporting.

Dust Spot Removal Screen Grab

The Last Light Final ImageFinal image

All the best,

Steve


Location:     Whitby, North Yorkshire, England

Equipment:  Alpa TC Camera, Schneider 36mm lens, Phase One P20+ digital back, Manfrotto tripod with Manfrotto 410 geared head, Lee 0.6 stop ND graduated and 0.9 ND filters

Exposure details:   f16, 4mins 28secs, ISO 50

Sign up for the webinar

HAPPY NEW YEAR Y’ALL

I hope that you had a fantastic New Year’s Eve. I know, I sure did………..ehmm!

Time has come to move forward and look at 2014.

This special “day-after-professor-tip” will help you remove the red eyes from yesterday’s images. However, what you did last night Capture One Pro 7 cannot change!

Tip725 imge4

Removing the lipstick mark

To do this I will make a Local Adjustments layer and use the Color Editor in
Capture One Pro 7.

Tip725 imge5

I use a rather small brush with hardness set to 0 to ensure a smooth blend into the background layer.

Tip725 imge6

With the Color Picker in the Advanced Color Editor Tool I pick the red color of the lipstick. As the shirt is almost white I can then just reduce the saturation of the picked color. This leaves the lipstick mark as a dark mark.

Tip725 imge7

By adjusting the lightness slider I am able to find a level where the previously dark lipstick mark now gets the same lightness as the shirt and the lipstick marks are perfectly removed.

Fixing the red eyes

Here I will also use a Local Adjustments layer. But this time I need to make a more precise mask of the white part of the eyes. I use a small brush with the hardness set to 95 and I carefully draw a mask for the white part.

Tip725 imge8

When drawing the mask I do not pay attention to the colored part of the eye, as I use the Eraser Mask Cursor Tool to clear that part afterwards.

Tip725 imge9

By reducing the saturation in the Exposure Tool for the selected Eye mask, I can now minimize the effect of the reddish-looking eyes.

Fixing the skin tones

I will also try to fix the dark shadows under the eyes. To do this I create another Local Adjustments mask with hardness set to 0 and as big a brush as possible while still being able to select the dark shadows under the eyes.

Tip725 imge10

I use a simple Exposure to brighten up the shadows under the eyes. I combine this with a bit of negative Clarity. The negative Clarity removes the darkness from the shadows of the wrinkles.

Finally I make a rough mask for the cheeks and add some negative Clarity. By doing this the two latest masks blend more natural together and leave the skin looking a bit cleaner and softer.

Well it made a big change. Maybe a good shower is in order now.


All the best,
Niels
Sign up for the webinar

Organize your Catalogs and find your best assets in no time
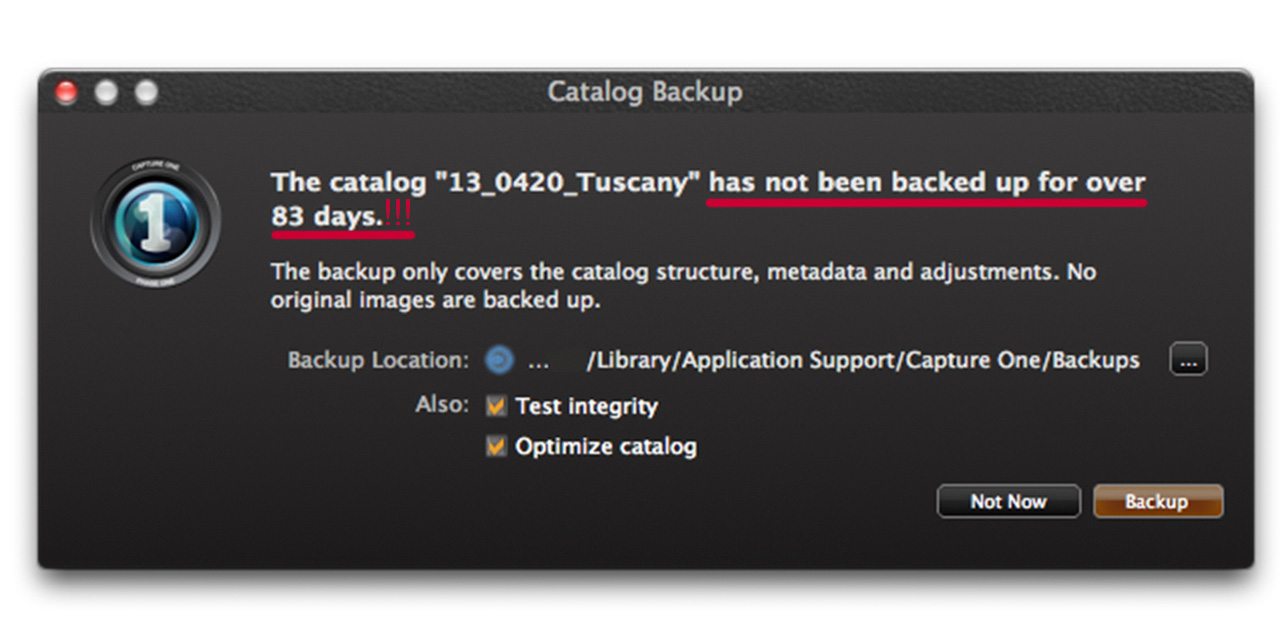
Basically, a Capture One Pro 7 Catalog can be organized in two ways:

  • By using a simple folder structure at a system level (i.e. the organizational structure is handled using folders on your Mac or PC with images residing in the folders you’ve made).
  • By using a virtual organization in the User Collections area of the Capture One Library Tool.
How does virtual organization work?

A Collection is simply a ‘group’ of images gathered in one place for easy reference. I used the term ‘Virtual’, as placing images into a collection does not physically move them on disk. We simply update the Catalog database to reflect where you have organized images and in which collections.

Virtually organizing your images has a number of advantages over the traditional way of placing images in various physical folders on the system:

  • A single image can belong to several different collections and does not require a physical copy
  • Smart Albums can be used to automatically sort images with a variety of search terms
  • Projects (one of the four Capture One Pro 7 organizational items) can be intelligently used to enhance your organization and workflow.


The main benefit, of course, is that you should not be struggling to find your best assets in your Catalog… EVER!

Creating organizational items

All the virtual organizational items can be created in the User Collections area of the Library Tool. So for example, if we wished to create an Album in our Catalog, we would simply click on the Plus icon in the User Collections title bar:

2013-11-22_14-17-34


Then you can choose one of the four organizational items, which I’ll go through now:

Albums

Albums are the most basic of organizational items. Simply create it and then drag and drop, whichever image(s) you want to appear in that album. Remember! You are not moving any image files on the disk, therefore an image can belong in several different albums.

2013-11-22_14-20-11


2013-11-22_14-23-42


Smart Albums

If you have never used a Smart Album before then I would recommend you to explore them. Smart Albums are quite versatile in helping you sort images with a minimum of effort.

A Smart Album populates itself with images based on a user defined search criteria. For example, you could have a Smart Album that:

  • Only contains images that you have given a specific rating. e.g. Five Stars
  • Only contains images that contain a certain keyword
  • Only contains images shot with a particular lens


… and so on!


Of course, all search terms can be combined to create complex queries with results being returned in a matter of milliseconds.

For example, a Smart Album could be set to only contain images shot within a certain time period, that are keyworded with a certain term, are rated five stars and, captured with a particular camera and lens combination. The only limit is your imagination really!

Using Smart Albums with Projects

The power of Smart Albums is best explained in combination with the ‘Project’ organizational item. As busy photographers we can all imagine that we could end up with a great number of Smart Albums and Albums in our Catalogs. This could get very untidy and confusing.

Because of this we can use Projects for some brilliant organizational options.

Basically a Project limits the search scope of a Smart Album, so remember these basic guidelines:

  • A Smart Album not contained within a Project will search the entire Catalog.
  • A Smart Album contained within a Project will only search the images within that Project.

Therefore you can use both ‘global’ Smart Albums outside of Projects to monitor your entire Catalog and Smart Albums inside Projects to monitor only images specific to that Project.

Example

In this small Catalog we have 477 images:

2013-11-22_14-40-47You can also see that three Projects already exist in the User Collections area, but let’s make a new Project from scratch to show you the process.

I’ll start by choosing Project from the menu described earlier, and naming it:

2013-11-22_14-42-31

This creates a new, and empty, Project in the User Collections area:

2013-11-22_14-44-46As a Project cannot contain images itself, I will right-click on the Project and choose ‘New Inside…’ and create an Album.

2013-11-22_14-51-29

If you expand out the Project, the empty Album will be ready to accept images, simply by dragging and dropping as we did before.

Alternatively, if you right-click on the album and choose ‘Set as Selects Collection’ we can use a handy shortcut to quickly move images into that album, if you prefer not to drag and drop.

2013-11-22_14-53-39

Simply select any image(s) and hit Cmd (Mac) / Cntrl(PC)-J on the keyboard to populate the Album with the image.

After selecting our files, we have an Album that now contains 13 images. Circled in orange is the icon that designates this as the Selects Collection.

2013-11-22_14-58-39Now the magic starts with Smart Albums!

I’ll right-click on the Project once more, as we did to create the Album in the Project earlier, but this time I’ll choose to create a Smart Album. The following dialog box opens, which is where we set the parameters for the Smart Album’s search scope. I have used a Preset to automatically set the Search Criteria that the rating must equal five stars.

2013-11-22_15-00-34

So any image in my Project that agrees with the criteria will be automatically added to the Smart Album.  You can see that the Smart Album now only contains six five star rated images from that Project.

2013-11-22_15-03-48

Finally, if I were to place a Smart Album outside of any Project in the User Collections area, then this Smart Album would search the entire Catalog. Here we have a returned result of 143 Images.

2013-11-22_15-06-28

Using Groups

Our final organizational item is a Group. This is a free form item, which you can use pretty much the same way as a system folder. It places no limits on the scope of Smart Albums like a Project does.

For example, here I have just used a number of Groups to categorize my collections further.

2013-11-22_15-11-51

I hope by reading this tip you can see there is a lot of scope for using virtual organization as a way to empower your Catalogs in an intelligent way. By careful addition of Projects, Albums and Smart Albums it will be easier and most importantly faster, to find the assets you need for any given assignment or task.


Best regards,

David


Sign up for the webinar