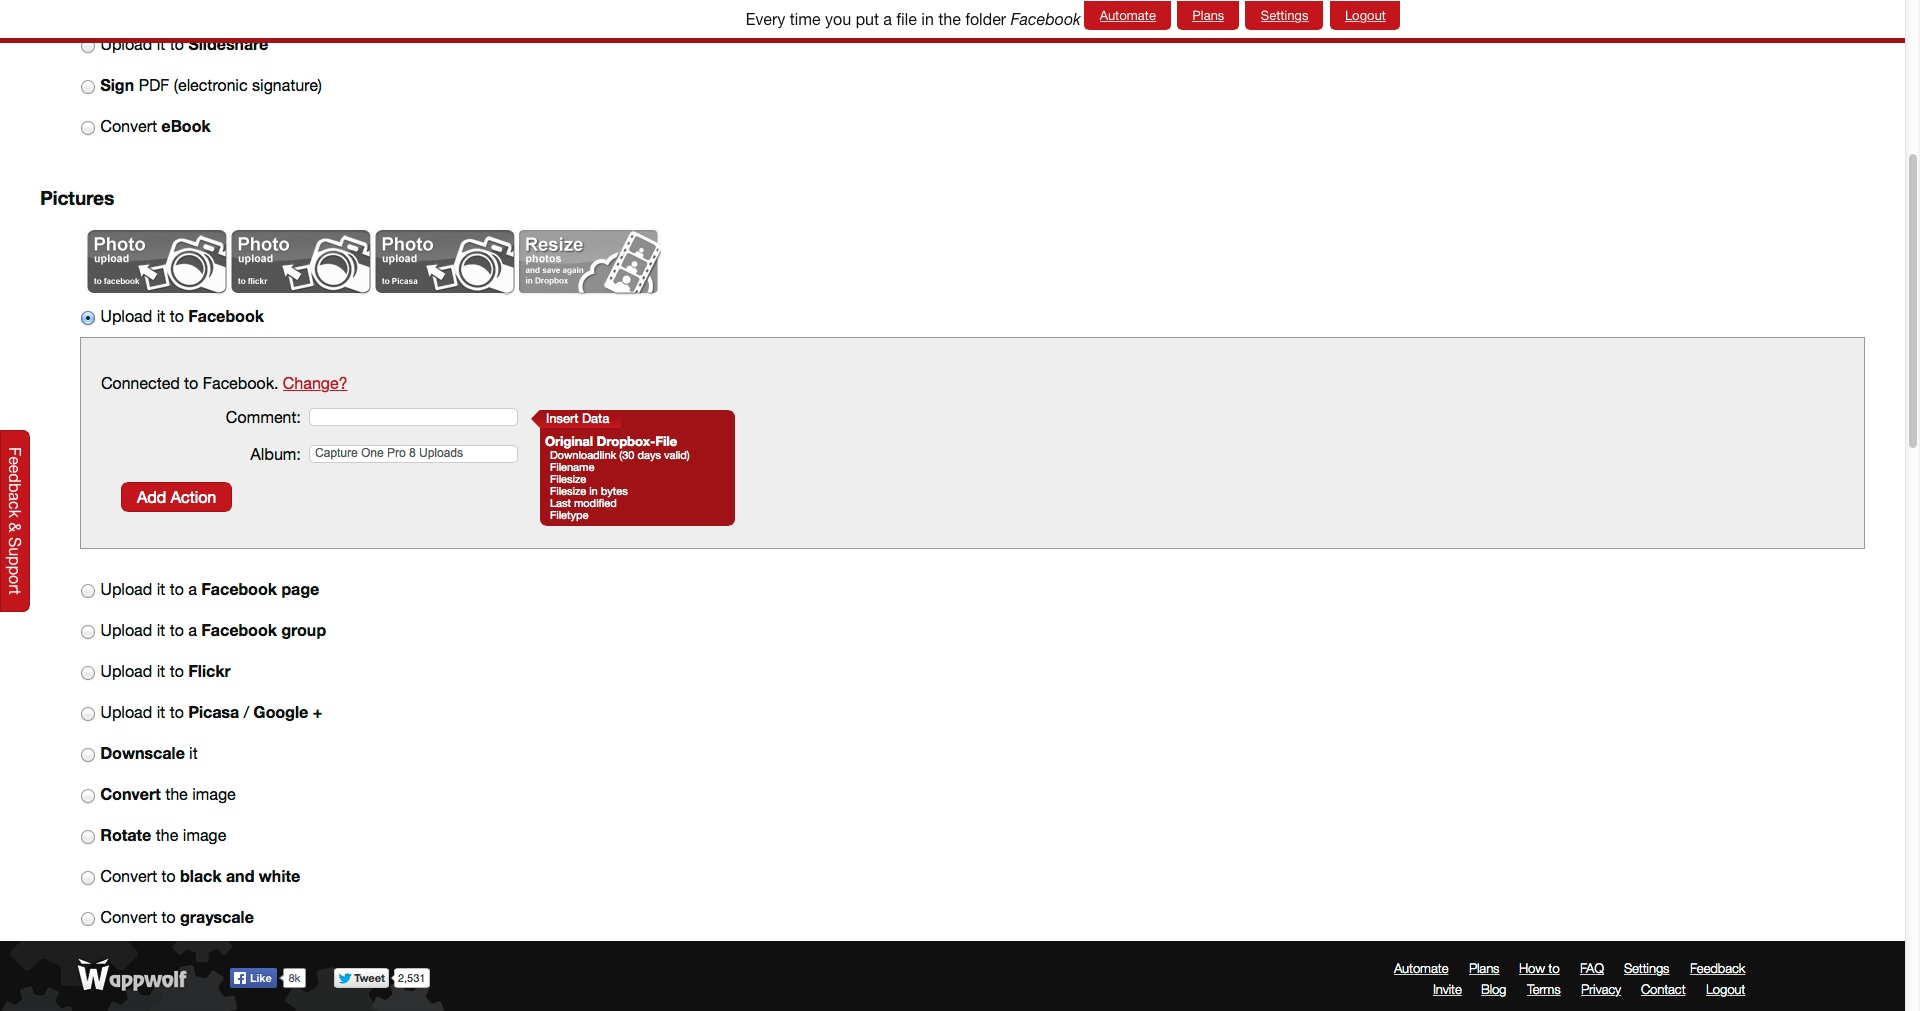
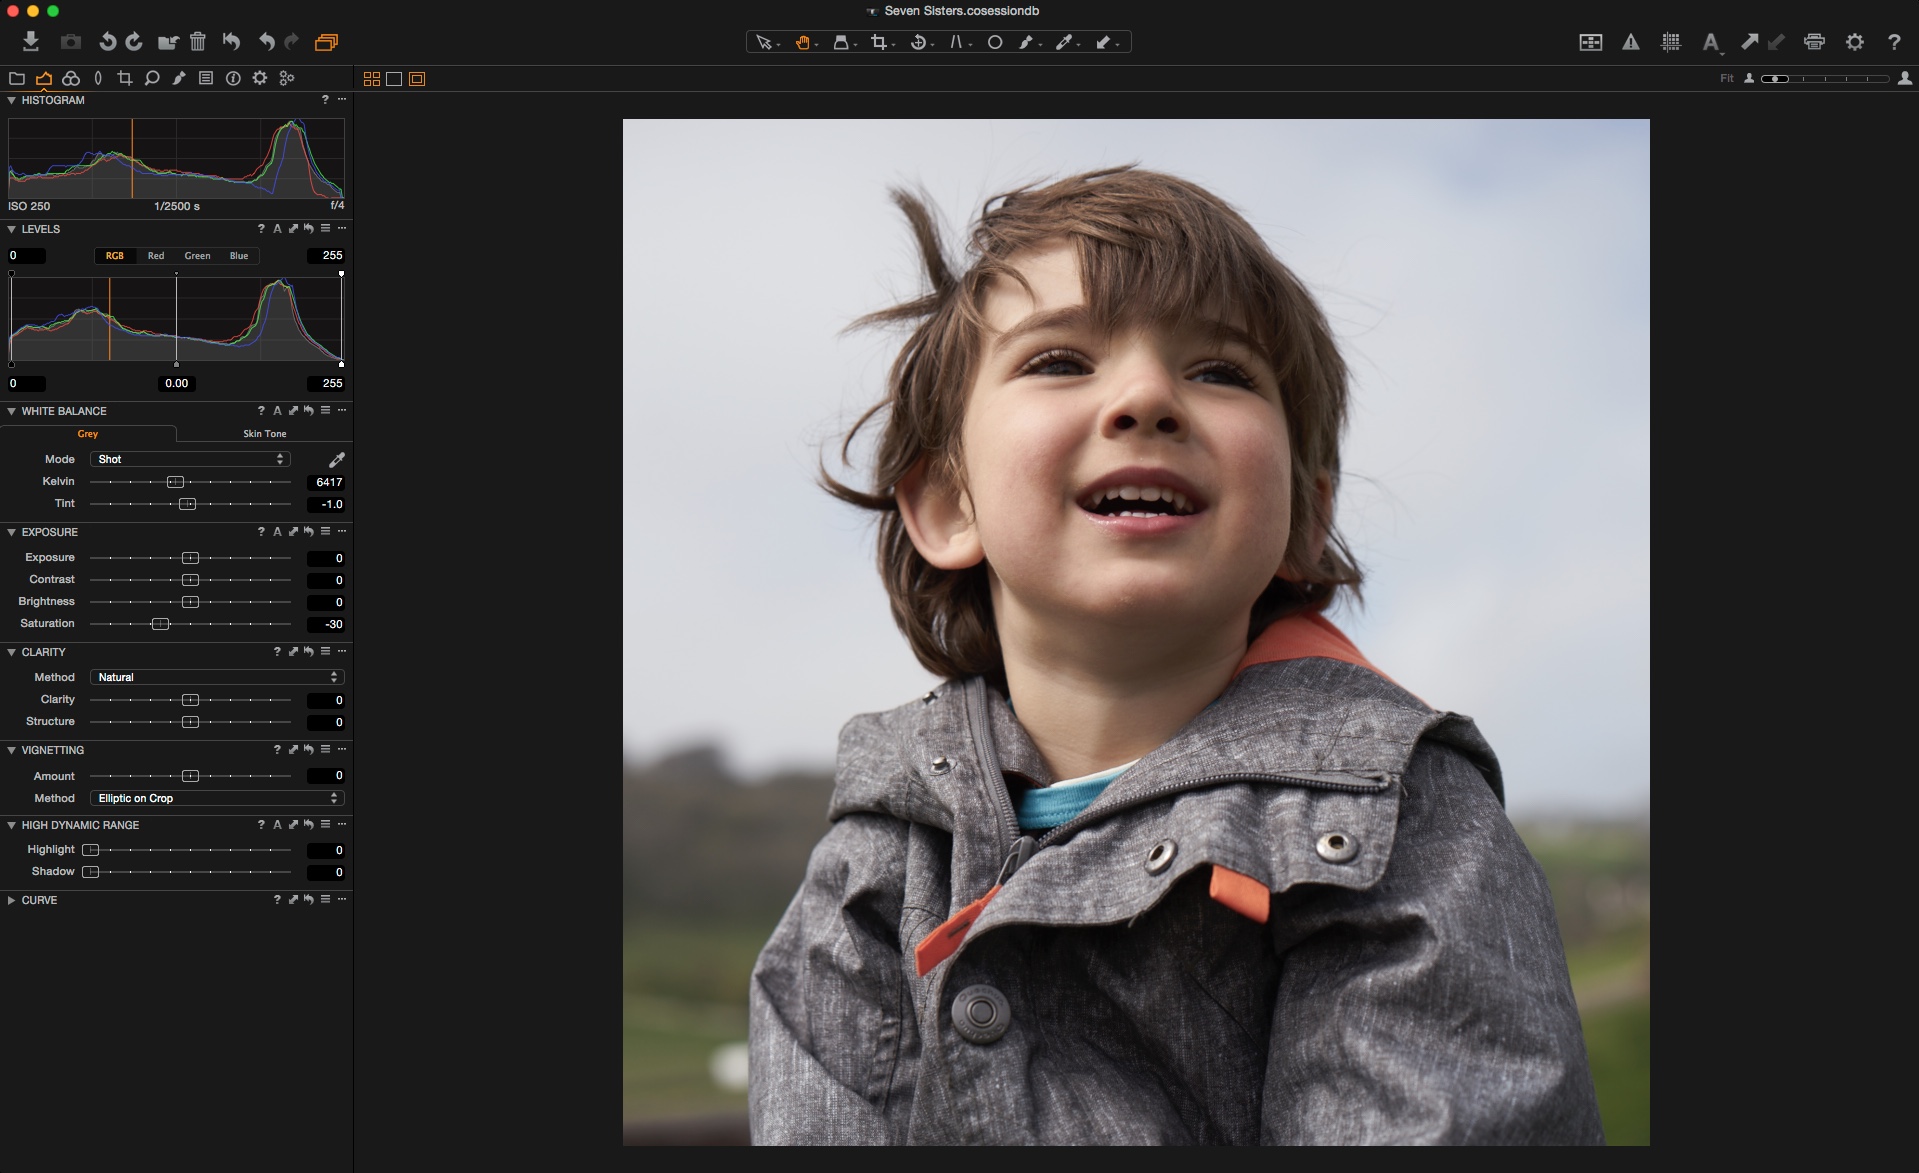
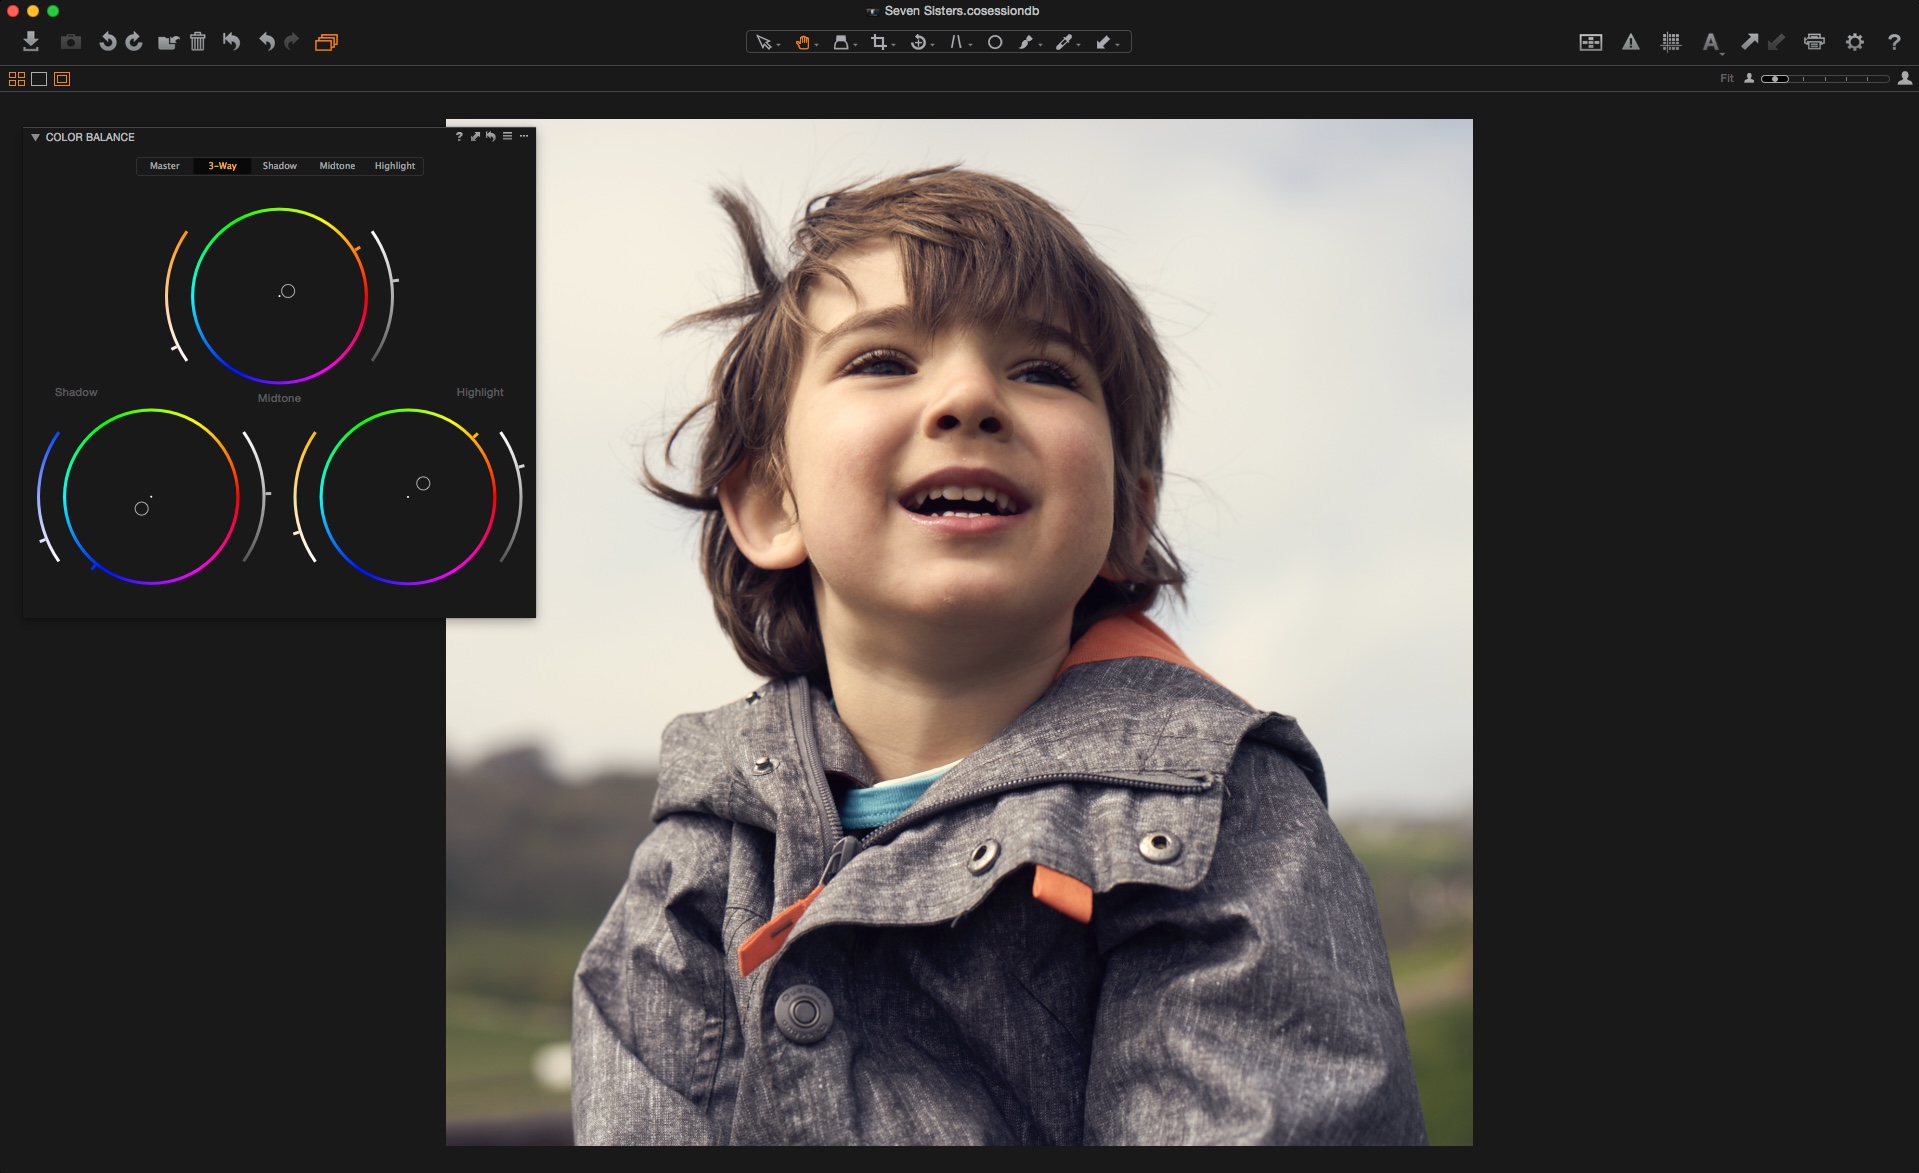
In Capture One Pro it’s possible to fine-tune your images by using Local Adjustments layers.
With 10 layers at your disposal you can do quite a few of changes to an image, but you often find that you need just a few more layers.
In Capture One Pro 8.1, which is now available for download, the maximum number of Local Adjustments layers has been increased from 10 to 16.
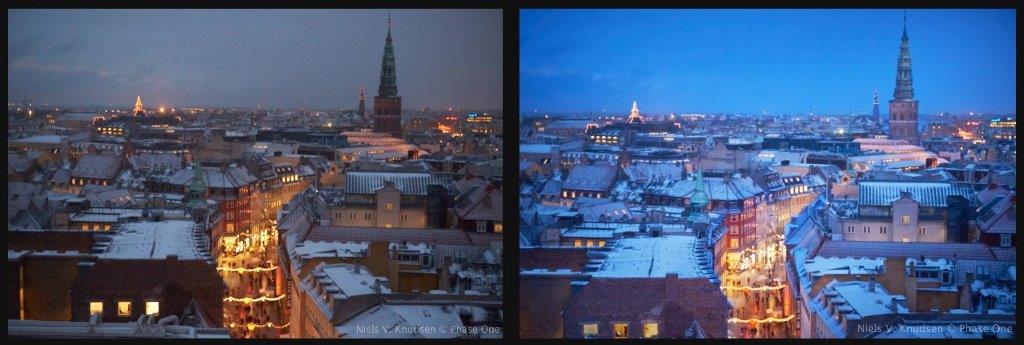
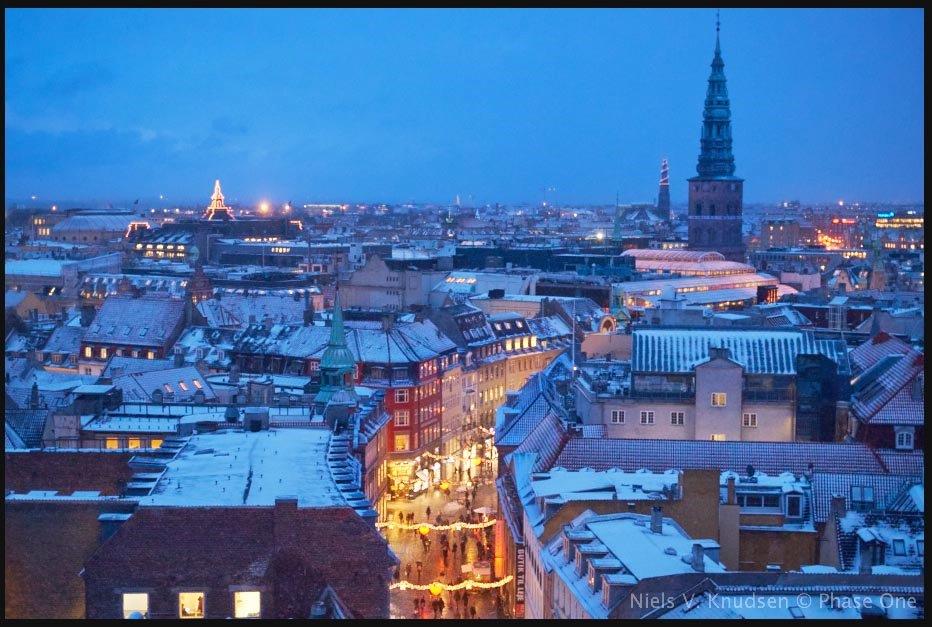
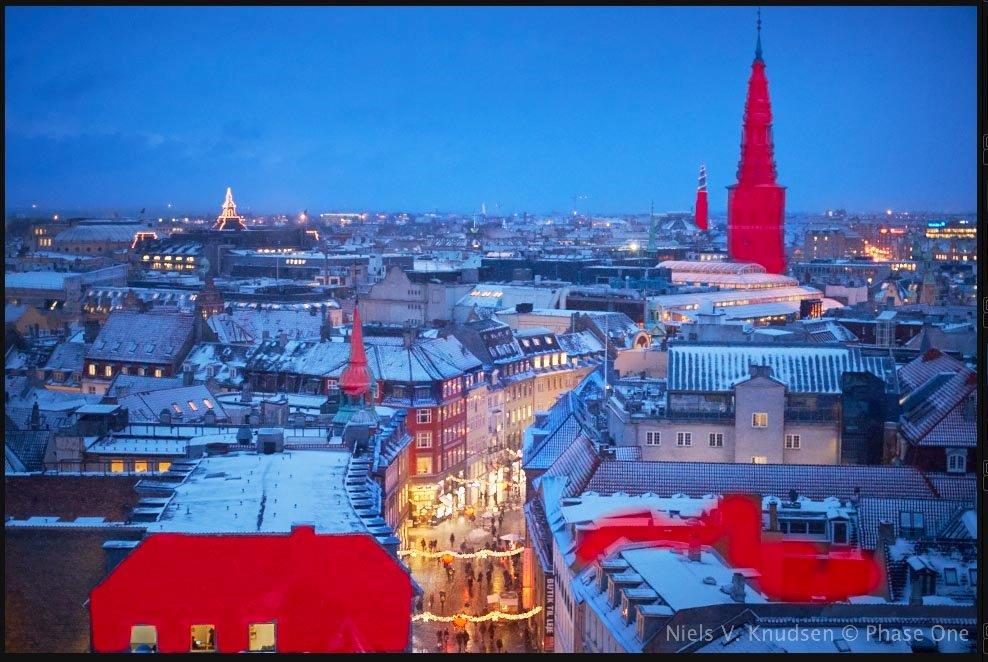
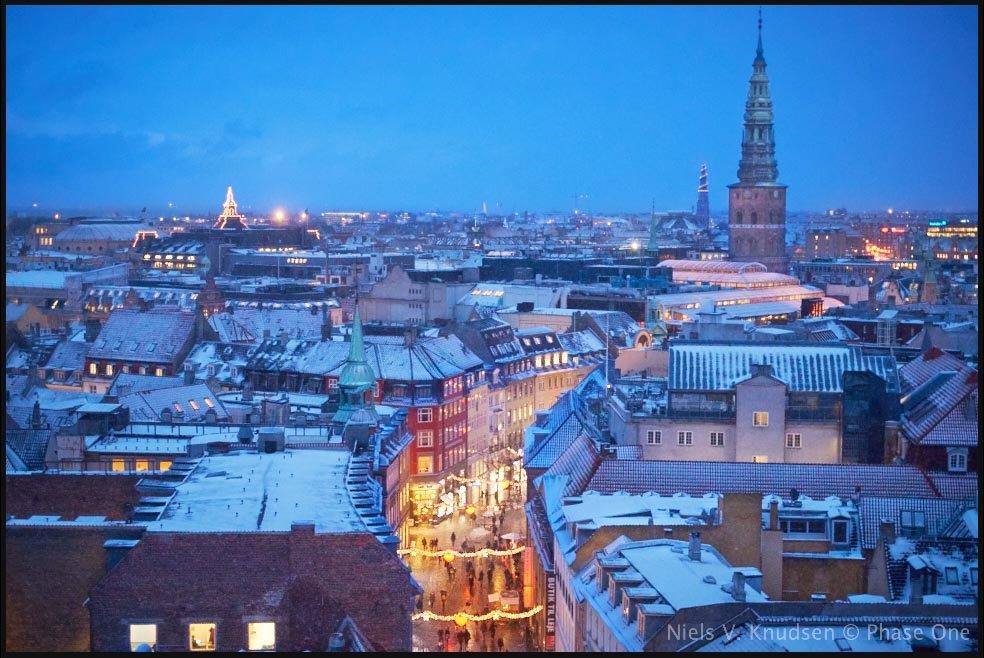
The image to the left is straight out of the camera. The image to the right has been adjusted in Capture One Pro 8.1 using more than 10 Local Adjustments layers.
By using multiple Local Adjustments layers I have been able to control the color and brightness of different areas in the image in order to bring focus on the story of the cozy shopping street in the old center of Copenhagen on a late cold December afternoon.
Below is a step-by-step walkthrough of how I optimized this image in Capture One Pro 8.1
1) First level of tone adjustments:
As I had to lean out of a tower to capture this image, I used ISO 6400, which is about the upper limit for the camera in order to produce a fine result. The image has been exposed with a bit of clipping in the brightest areas of the street lamps in order to minimize noise in the rest of the image.
My first adjustments will be a first level of tone adjustments just to bring the image a little closer to where I want it. As I already know that I will be doing many other corrections to the image, this first level of adjustments doesn’t need to be that precise.
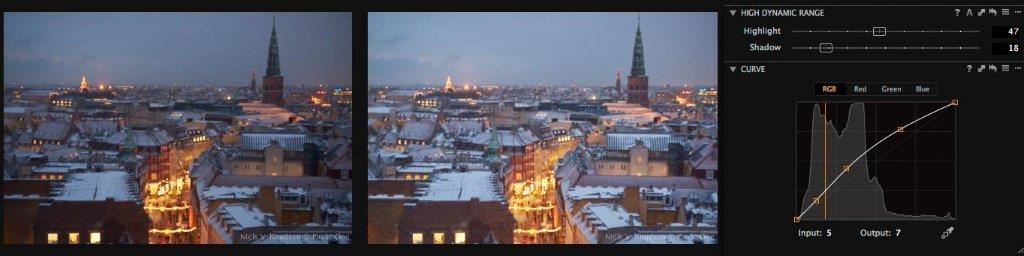
With the High Dynamic Range tool I open up the shadows and bring back some of the details in the highlights. On top of this I add a Curve to brighten the image in general.
2) Setting the overall color tone of the image by adjusting the White Balance in different areas of the image:
I would like to get a general more bluish tone to the image in order to focus more on the theme of a cold winter and cozy shopping. I will now divide the image into three major zones: the sky, the snow-covered rooftops and the lit shopping street.
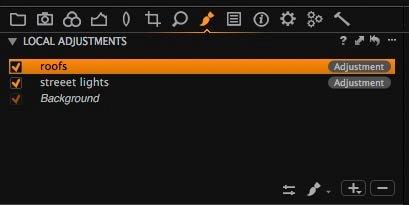
In the Local Adjustments tool I create two new Adjustments layers one for the street lights and one for the rooftops. The sky will be controlled by the background layer. When drawing the masks I use a brush with hardness “0” to ensure that the different areas blend smoothly into each other.
 Background The street lights The Rooftops
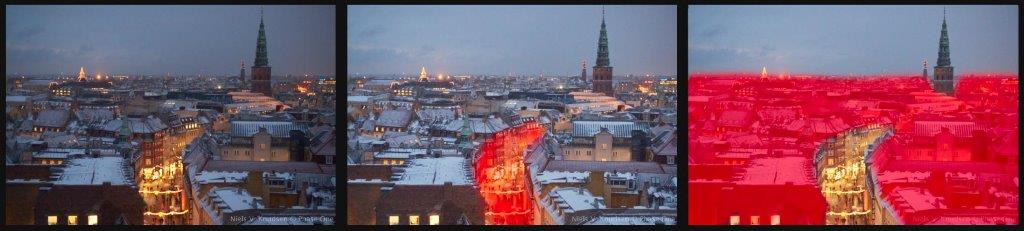
For drawing the masks for the rooftops I start drawing the edge of the mask and then use the “Fill Mask” option.

When using the “Fill Mask” option I only need to draw the edges of the mask.
Now it is time to set the overall color tone in the image by setting an individual White Balance for the three areas. I use the Kelvin and Tint sliders. I start with the Kelvin slider and fine-tune with the Tint slider.
 The image with individual White Balance adjusted for the shopping street, the sky and snow-covered rooftops.
3) Adjusting individual buildings in the image
There are a number of buildings I would like to work on now. First of all the church at the end of the shopping street needs to be brightened up a bit in order for the viewer of the image to be attracted to this part of the image but a few other buildings need a little work too. I create Local Adjustments layers for each of them.
 The five different buildings that need to be adjusted
 With the five buildings adjusted
4) Getting rid of distracting elements
Now looking at the image above I find a number of distracting elements. First of all the three windows in the lower left corner are way to bright and draw unnecessary attention to them and therefore need to be fixed.
Close to the tower with lights in the background there is a very bright lamp that needs to be removed and finally I would like to draw more attention to the shopping street and the church tower by adding a mask that darkens everything but this path of the image. Right now the brightest part of the image is close to the light-covered tower.
For the three windows I make an adjustment mask and use a combination of the highlight slider in the High Dynamic Range tool and the Exposure tool.
The bright lamp in the background I remove by using a Clone layer and clone in a building close by.
The mask for drawing attention I create by using a very wide brush with hardness “0” painting over the area I want most attention to. I then invert the mask to darken the surroundings.
 The attention mask before I invert it
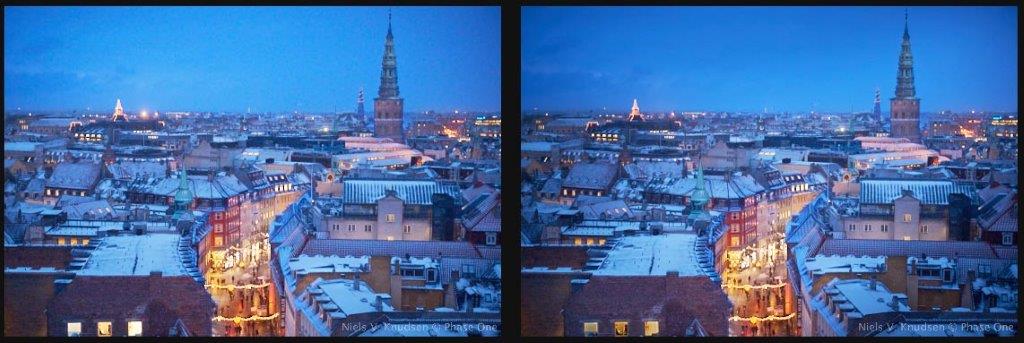 Before After
Before and after fixing the distracting elements in the image.
5) Fixing the red hearts in the street decoration
The last thing that needs to be fixed is the color of the red hearts hanging over the shopping street. If you look at the reflection on the street is obvious that the hearts were red, but because of the over-exposure of the highlights, the red hearts have turned yellow. To bring back the color of the hearts I create a mask for the hearts and use the Color Editor and the Highlight slider in the High Dynamic Range tool.
 Before and after fixing the color of the red hearts in the street decoration.
The example above could only have been made with the same degree of optimizations by utilizing the extra number of Adjustments Layers now available in Capture One Pro 8.1
Download Capture One Pro 8.1 here
All the best,
Niels