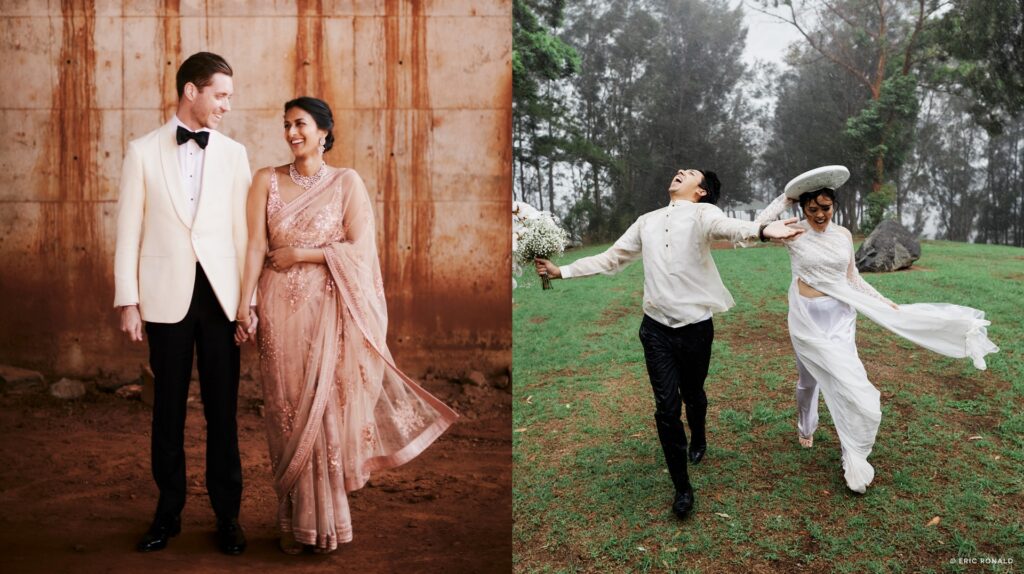
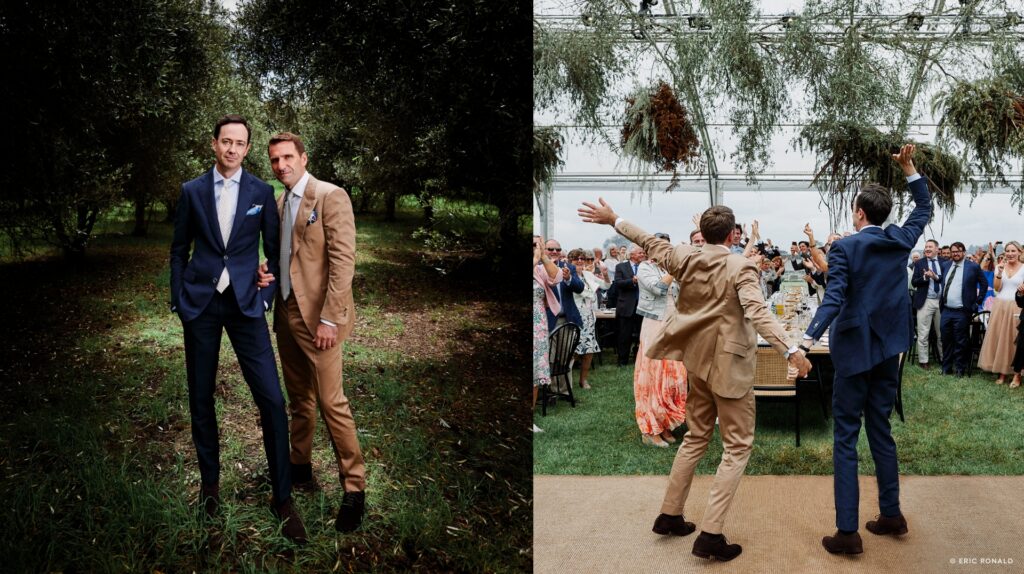
With a mission to empower marginalized visual artists, Authority Collective is working to end systemic and individual abuse in editorial, documentary, and commercial photography. In their Photographer’s Guide to Inclusive Photography, the group is challenging photographers to think about their responsibility when telling visual stories.
“The guide definitely came out of the recognition that photography, since its inception, has been an extremely extractive space,” explains Tara Pixley about the Photographer’s Guide to Inclusive Photography, which addresses the specific things photographers should consider when shooting stories related to race, gender, sexuality and more.
Tara is a visual journalist, professor, and one of the founding members of Authority Collective, a community for women, non-binary, and gender expansive people of color working with photography, film, and VR/AR to connect and share resources.
It was at a conference in 2017 that Tara and nine other photographers of color got together to create the collective after noticing they had all had similar experiences in the photography industry – many of them experiencing microaggressions from usually male and white photo editors, creators, and colleagues.
“If we hadn’t come together and kind of had this conversation, we wouldn’t have realized that this was happening to a lot of different people. We wouldn’t have come to this realization that it wasn’t us as individuals – we’re not doing a bad job or we’re doing something wrong. It’s actually these microaggressions that are being put upon us,” she says.
RELATED: Creating a space for Black women photographers
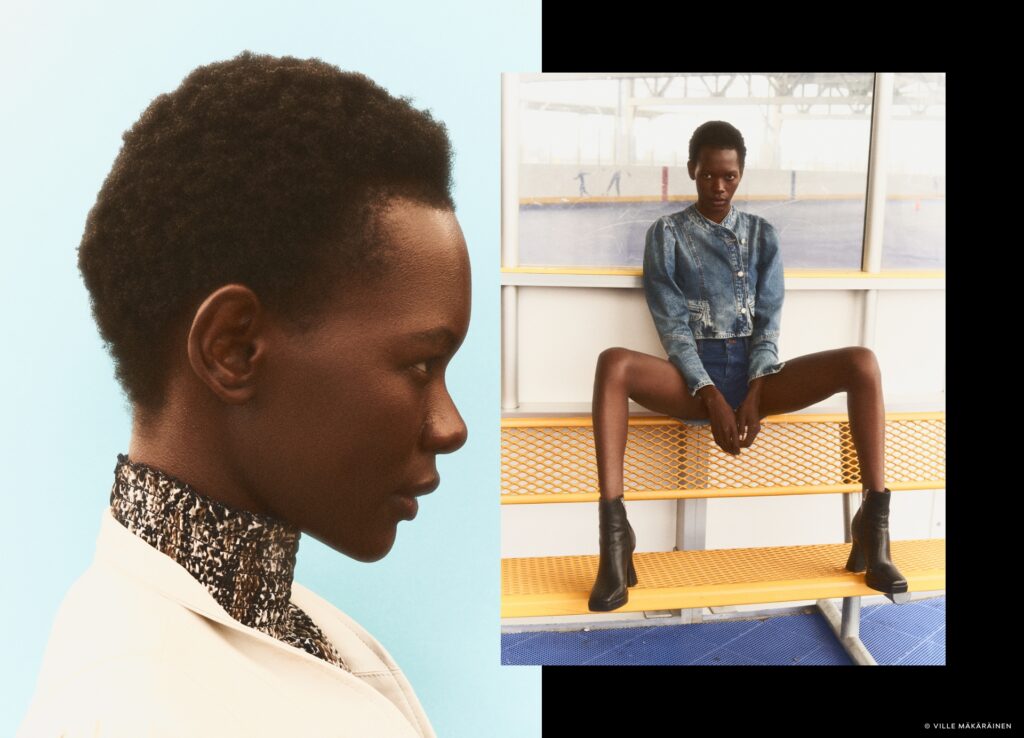
More thoughtful representation
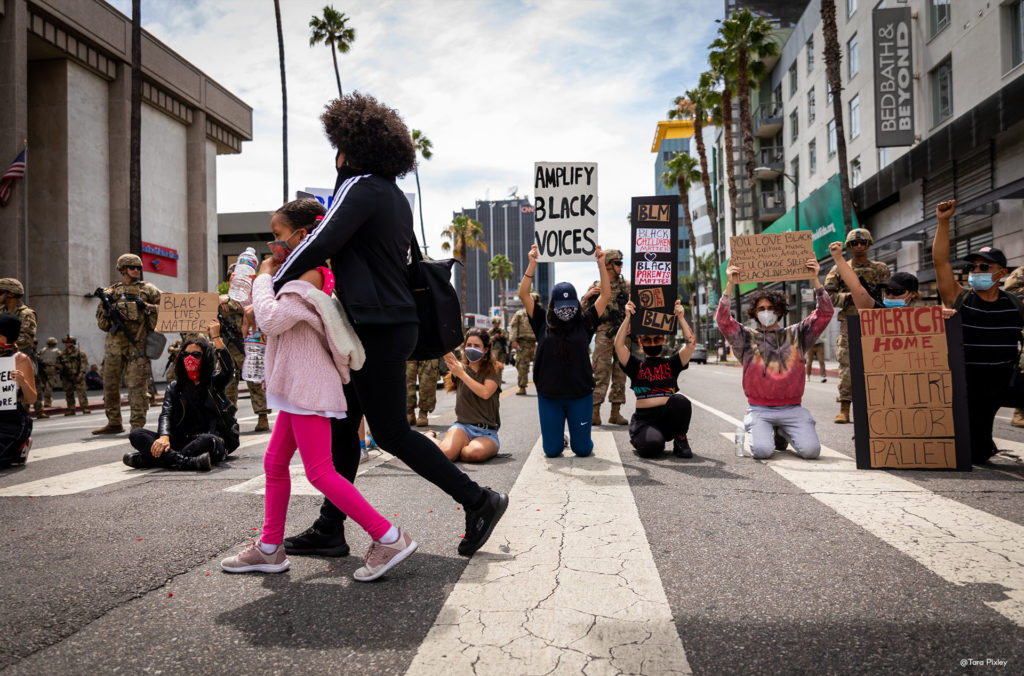
Seeing that it was not only photographers, but the also subjects of photography who were facing discrimination, the collective wanted to find a better way for photographers to work with marginalized groups. Wanting to address the fact that a lot of documentary photography work has been done by people who are photographing communities they’re not part of, often in a way that disadvantages those communities, they began reaching out to editorial and photo organizations to help them address this and other diversity issues.
“We started focusing our energy toward interventions and that’s how things like The Guide to Inclusive Photography came about,” says Tara.
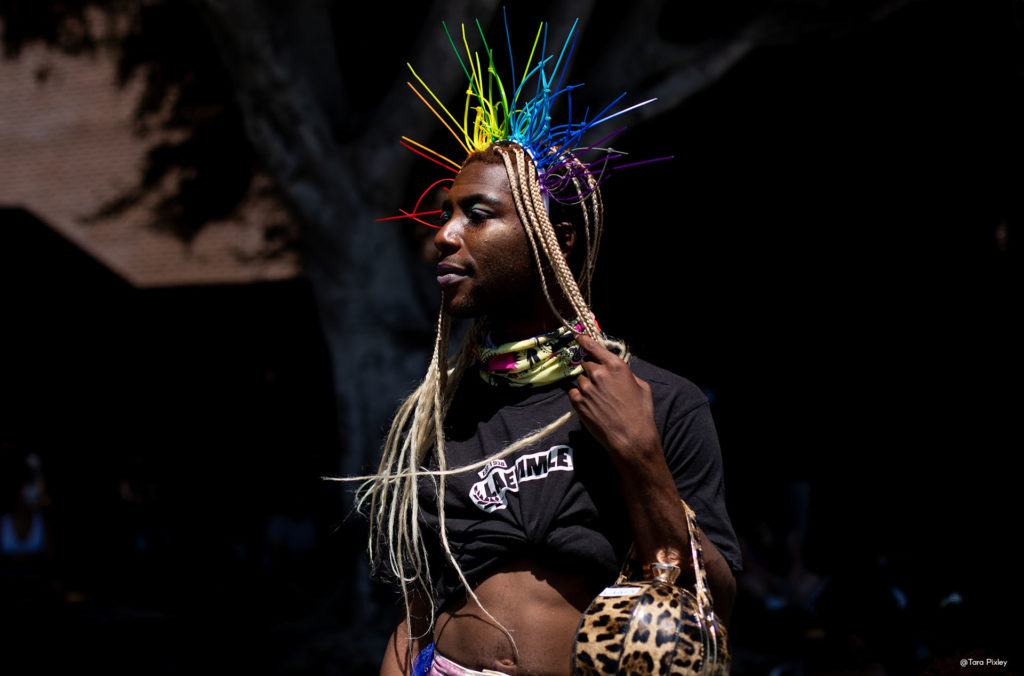
Questions for photographers
“This guidebook was attempting to open up that conversation to say, ‘Hey, here are some ethical approaches. Here are some thoughtful ways to critically engage with your photography and recognize the power structures and power hierarchies at play’,” explains Tara and adds that since it was first published, the guidebook has been downloaded almost 10,000 times.
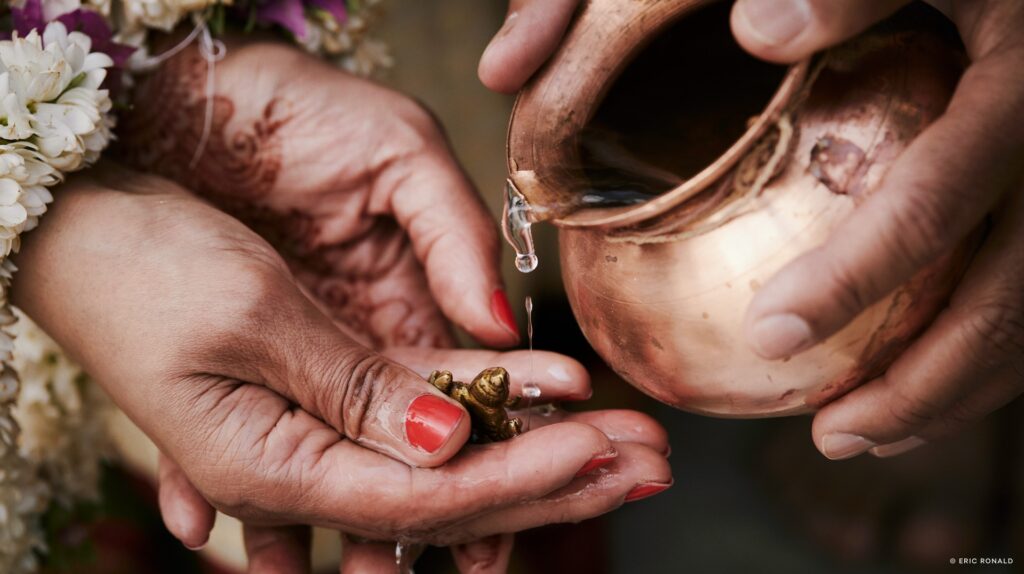
The guide, which was made in partnership with Photoshelter, dedicates chapters to photographing race, the global south, indigeneity, gender, and LGBTQIA communities and addresses the specific things to think about before photographing and portraying each of these groups.
In the end, the guidebook offers a list of questions for photographers to ask themselves to help challenge their own work. Questions like ‘Am I perpetuating stereotypical narratives with my work?’ ‘What are the likely consequences of the publication of my photography?’ ‘Who will be harmed? Who will be helped?‘.
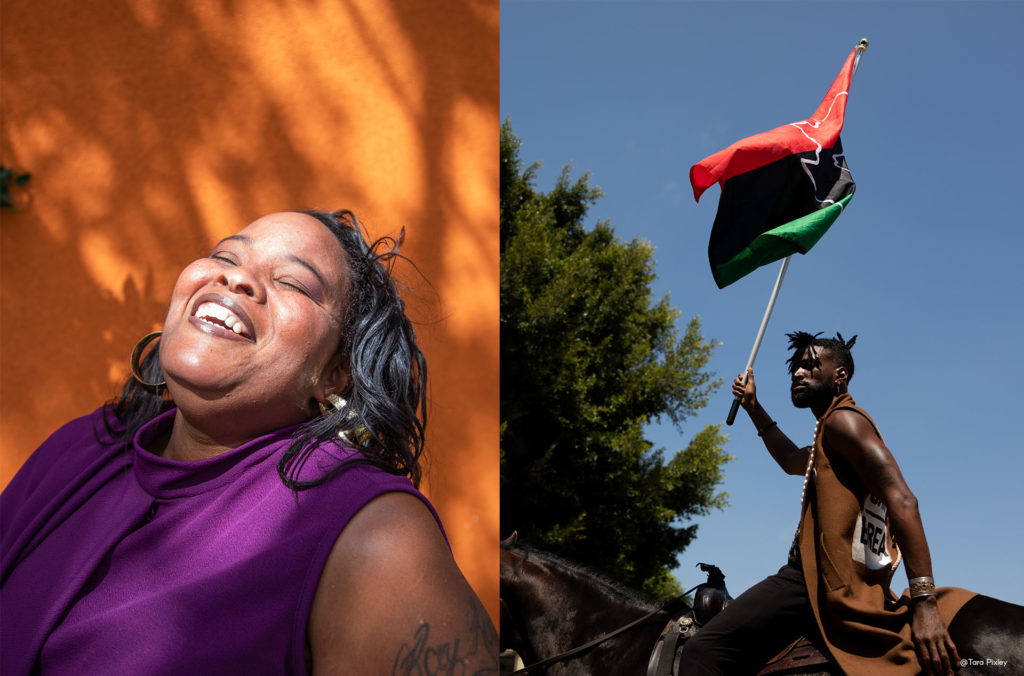
Making room for more perspectives
Tara underlines that the guide is not there to say that people who aren’t part of the different groups covered in the guide cannot photograph them. Instead, the guide offers some ethical approaches to doing so.
“There is no objectivity and neutrality. We are indeed – every single one of us – subjective. So, instead of pretending that [we come with] neutrality, what we need to do is recognize and celebrate where we’re coming from and understand our potential limitations, understand what that makes possible,” she says.
“It’s to make space for all photographers, for all perspectives. Everyone needs to have a multitude of views and understandings in our visual content. We need that. We require it to have a better understanding of the world.”
The guide was edited byTara Pixley and Jovelle Tamayo, who are founding member of Authority Collective. Tailyr Irvine, Mengwen Cao, Danielle Villasana, Laylah Amatullah Barrayn, and Hannah Reyes Morales all contributed to the guide.
Find Authority Collective’s Guide to Inclusive Photography here.
* This post was originally published in August 2022.