Latest Posts

11 nifty tips and tricks for Capture One

NOTE: This article discusses an outdated version of Capture One. To learn more about our latest version, click here.

Capture One has many tools and features that might not be directly visible when first working with it. I’ve tried to gather some of the tips and tricks that help me when I work in Capture One. I hope at least one of them might be beneficial for your workflow as well!
If you don’t already own Capture One, download a 30-day trial and follow along.

1. Sliders

Sliders make up most of the adjustment interface in Capture One. Even though they seem straightforward, there are a few tricks to learn that might optimize how you edit your images.

  • If you place your cursor on any slider and use the scroll wheel, you move the slider. If you’re on a laptop, scrolling using the trackpad works just the same.
  • You can reset any slider by double-clicking anywhere on it.
  • Every slider has a before/after function. Simply click and hold the name of the slider to temporarily view the ‘before’ version.


2. Browse a folder without importing

If you’re not familiar with Sessions in Capture One, you have probably been working in Catalogs, where you must import any image you need to work on. Capture One offers two different database types, where Sessions is the original way of working in Capture One.

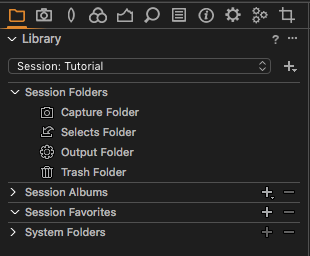
When working in a Session, you can browse any folder on any available drive and see the content of this folder. This is useful if you need to quickly edit and export a few images where the RAW files don’t need to be stored anywhere inside a Catalog or Session afterward. Simply drag an image from any folder into a Capture One Session, or browse the folder via the Library Tool, and the content of that folder will show.

It’s important to mention that this will not add the folder or images to any indexed database. If you need this done, add the folder as a Favorite or import the images into a Session Folder. Read more in-depth about Sessions in our User Guide.


3. Viewer background lightness

Sometimes you want to see your images with a lighter background than the default dark grey. This is easily done from [Preferences > Appearance > Viewer > Color]. You can, for example, switch to white to obtain an improved visual evaluation process, as some images will be used on websites with white surroundings.

Enabling Proof Margin and increasing the size of it helps a lot as well. You can even make a shortcut to toggle it.Capture One 12


4. Use the Color Balance Tool to tweak the warmth across hundreds of images

Having hundreds of images with different Kelvin values is very common for any type of event photography. Changing the warmth across all images is only a few clicks away using the Color Balance Tool. Select one image and tweak the warmth using the Master part of the tool. To copy onto the rest of the images, follow these steps:

  • Select all images including the adjusted image.
  • Highlight the adjusted image while keeping the selection (click on it).
  • Hold down Shift while clicking the tiny double-sided arrow in the top right corner of the Color Balance Tool.
  • All your images are now adjusted with the new Color Balance.

Capture One 12

Read more about the Color Balance Tool.


5. Create a mask from a color selection

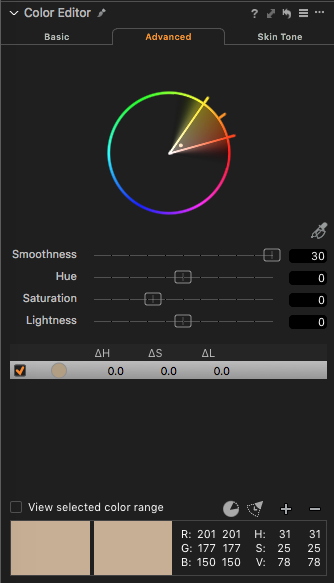
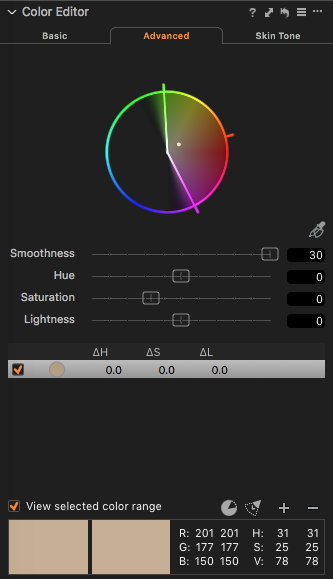
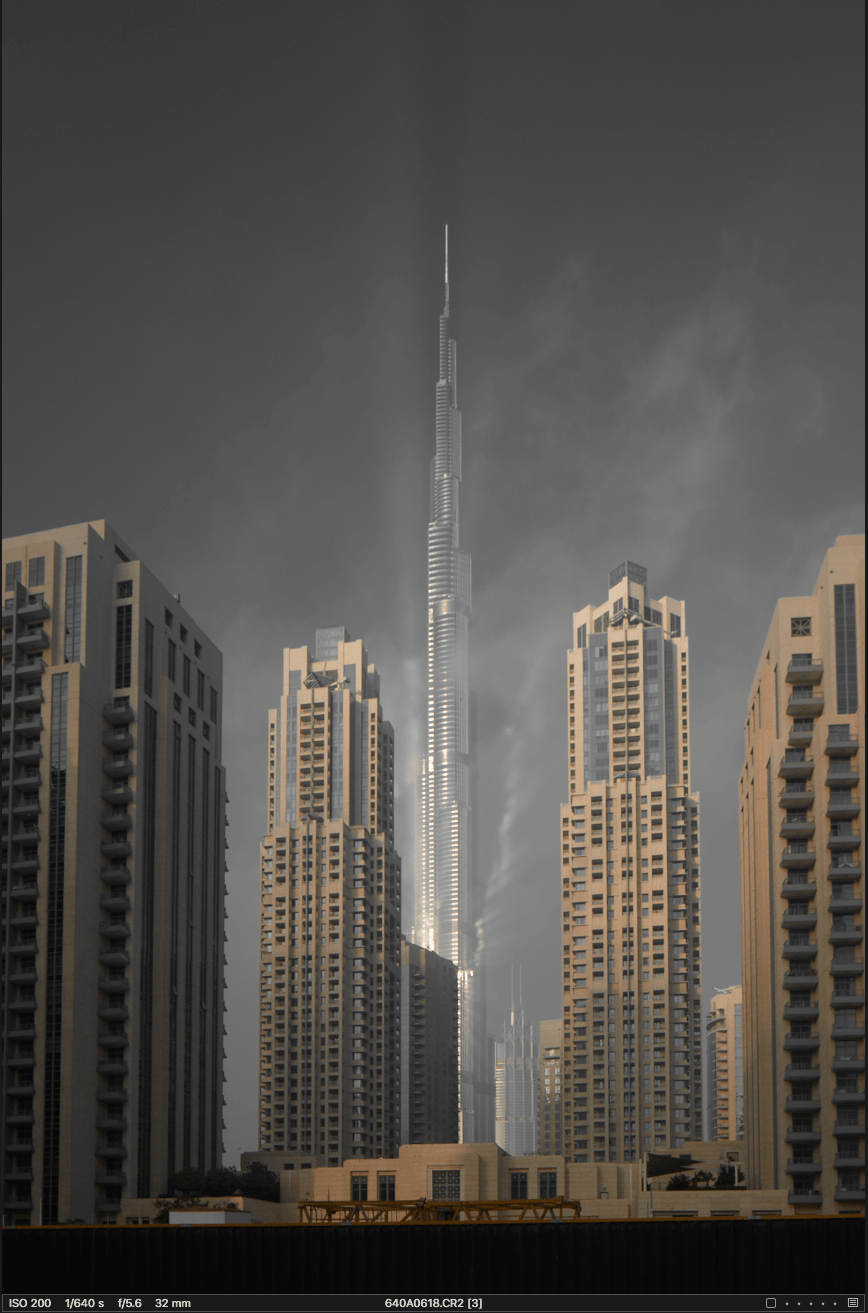
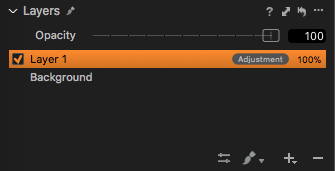
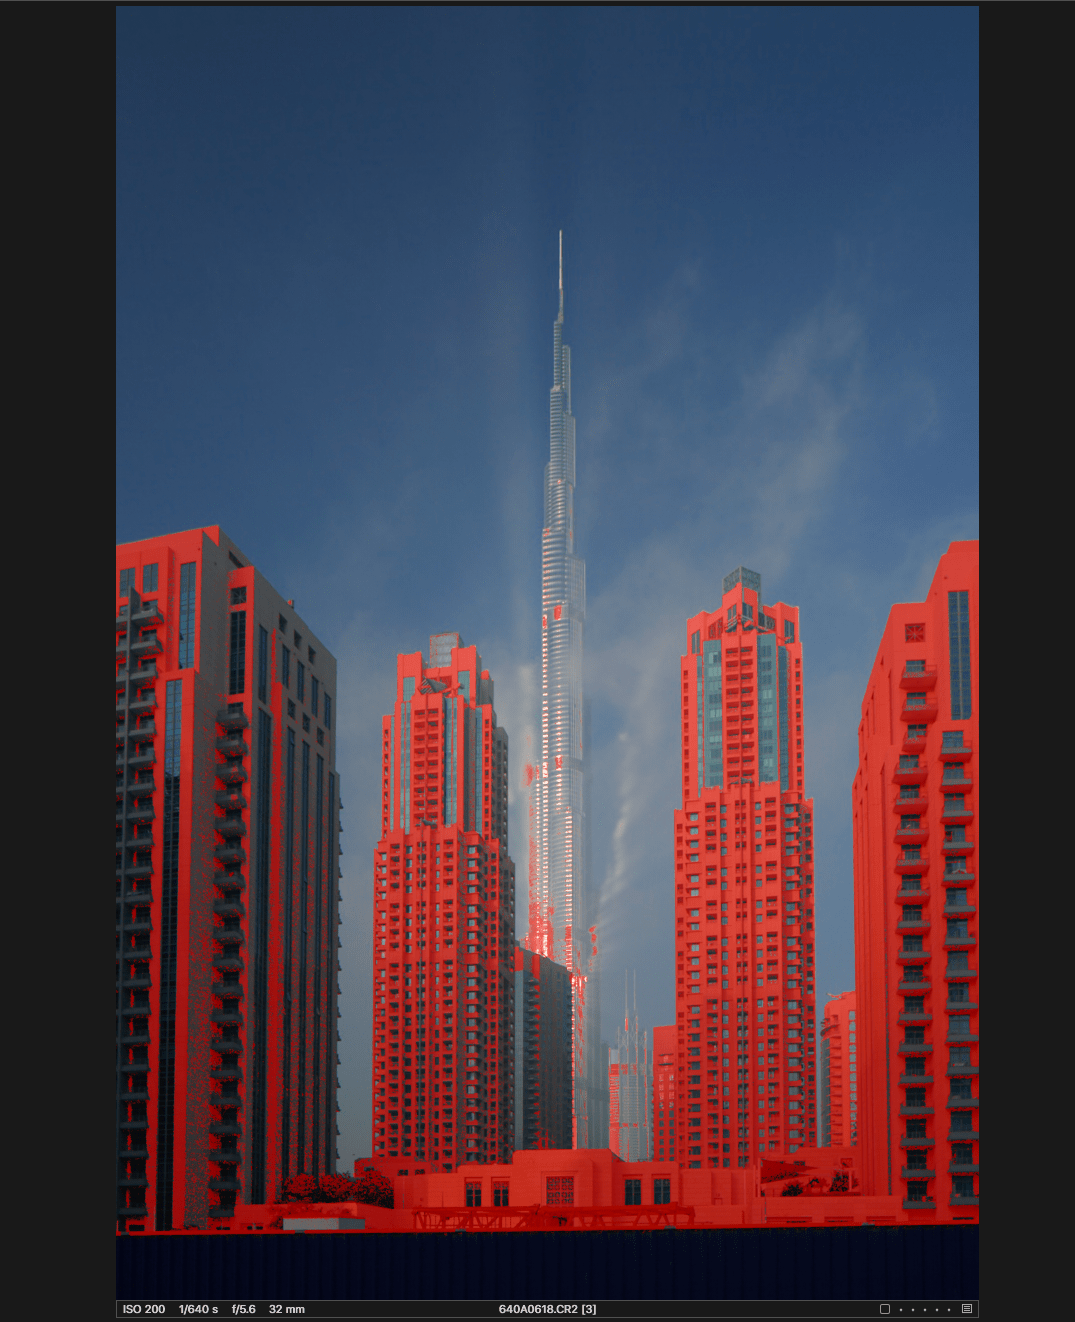
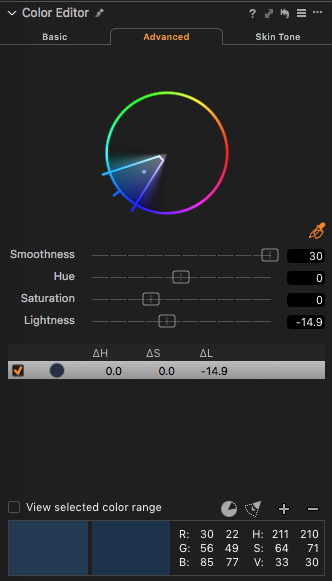
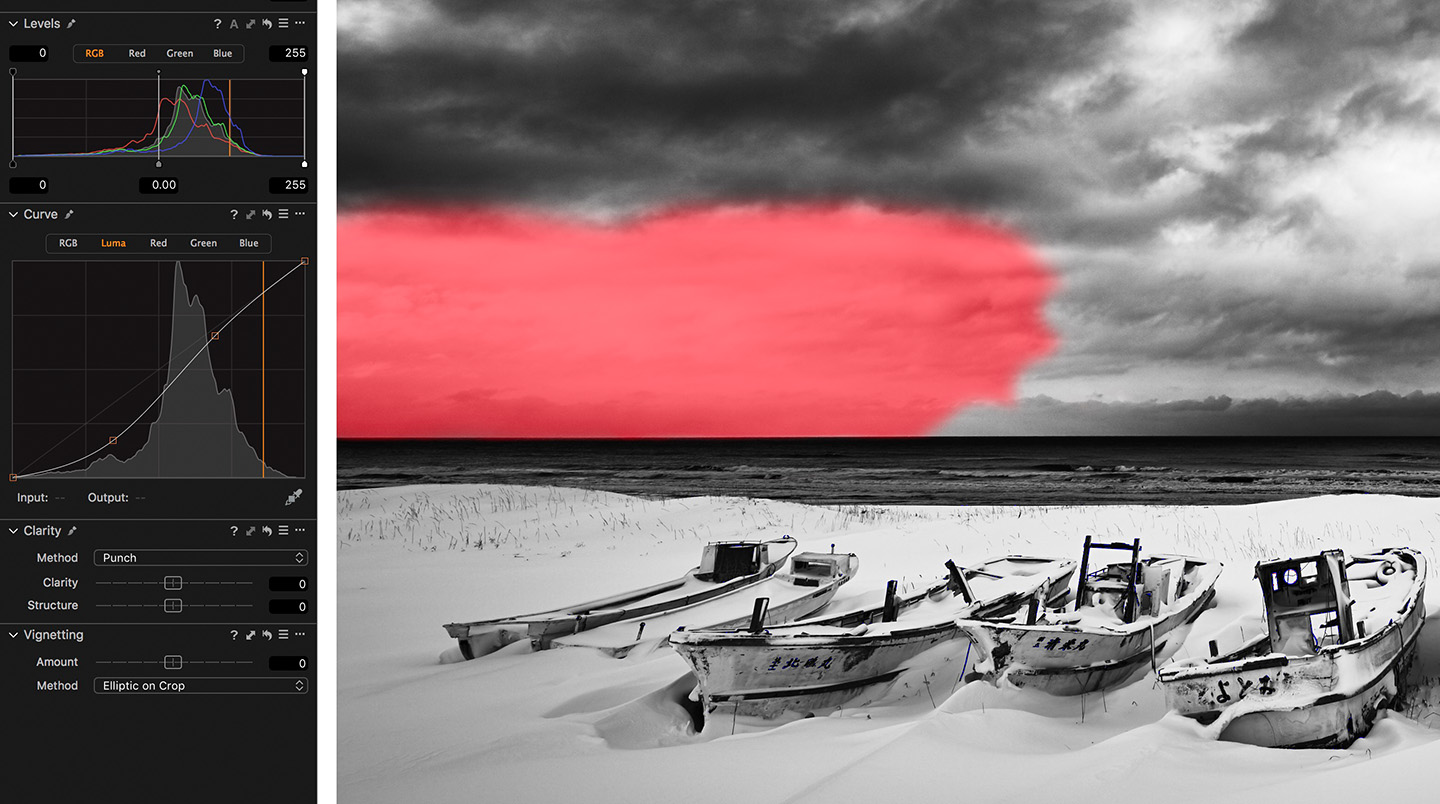
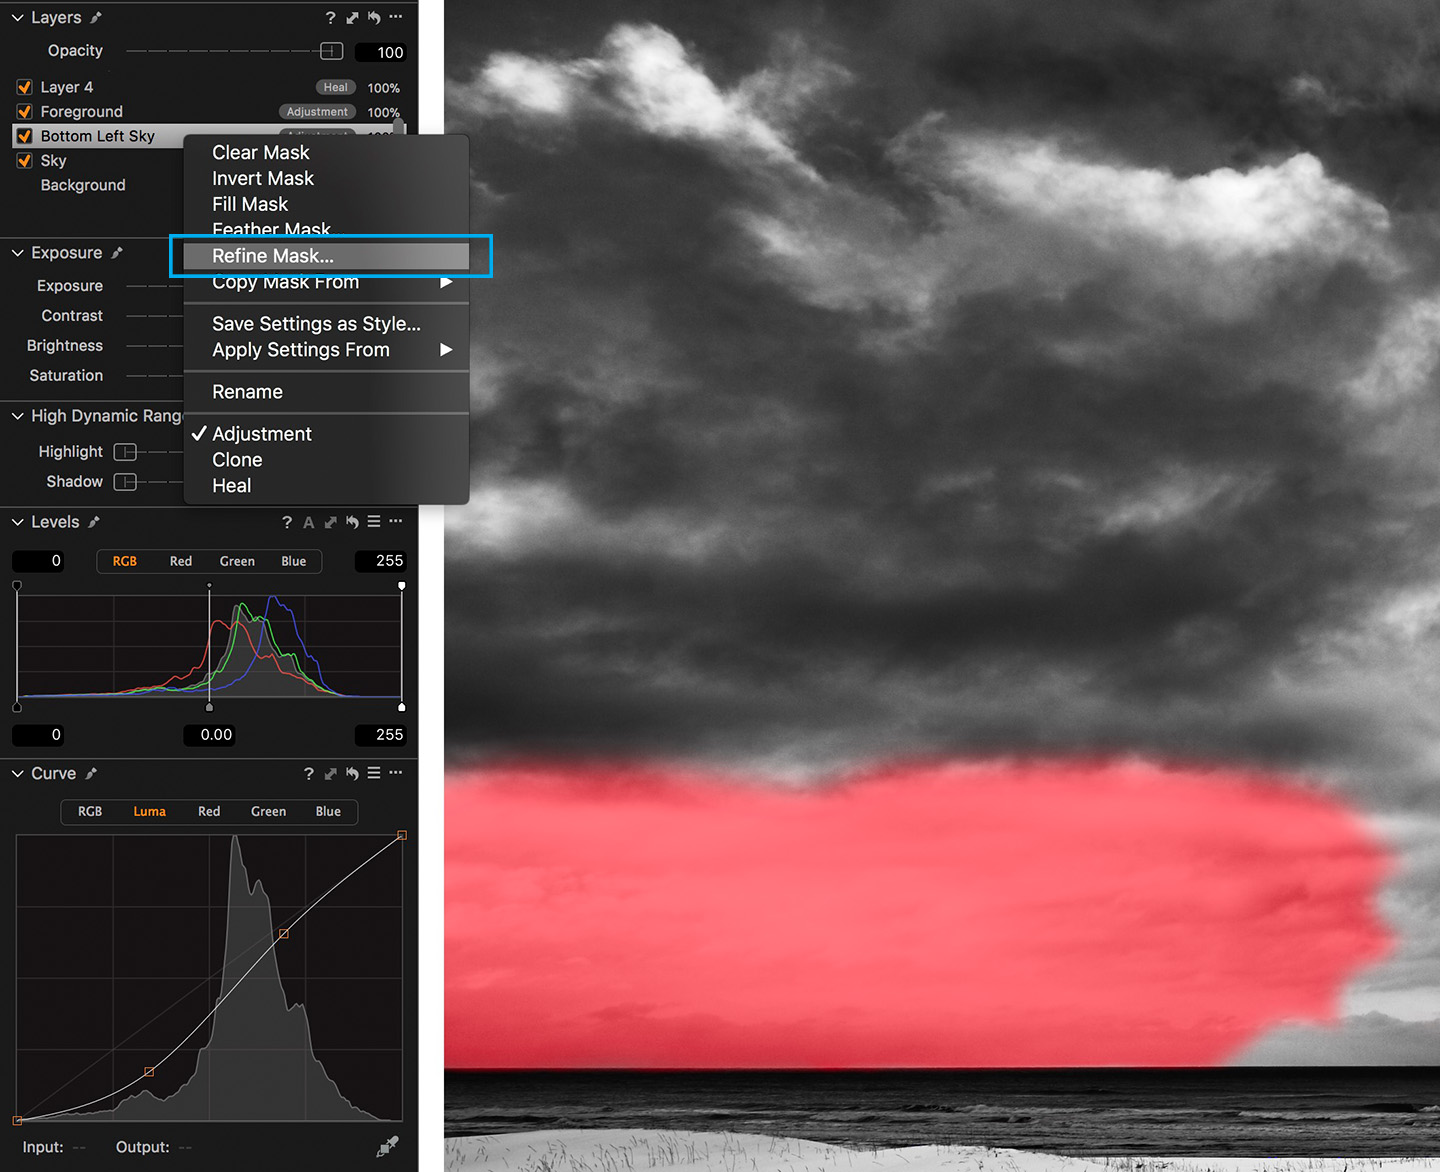
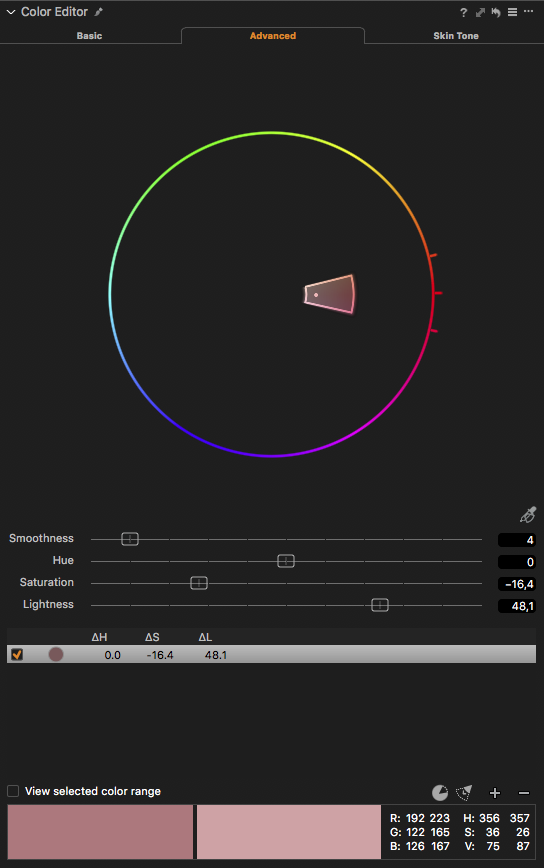
If you have ever worked in the Advanced Color Editor and wanted to change more than the sliders allow to your selection, you’re not alone. Capture One can create a new layer from the selection in the Advanced Color Editor. Simply define a color range using the color picker, click the three dots in the top right corner of the Advanced Color Editor and select ‘Create Masked Layer from Selection.’ This will create a new layer with a mask based on your selection. If you need to blend the edges of your mask, right click on the newly created layer and select ‘Refine Mask…’

Remember that both color selections and masks can be inverted, for example, to separate the skin of a person from the rest of the image, or to select everything but the blue sky in a landscape.

Capture One 12

Read more about creating a masked layer from the Color Editor in our User Guide.


6. Change default values

If you think your images always seem a bit over- or under-sharpened out of the box, fear not. You can change the value of almost any slider and save this value as the new default for your camera. Click the three dots in the top right corner of the tool you’re in, and select ‘Save as Defaults for (camera model).’

Every image from that specific camera model will now have these new default values applied.

Capture One 12

7. Move stuff around

Do you never use the LCC Tool? Remove it. Don’t like the placement of the Grid and Guides icon in the toolbar? Move it. Need a custom Tool Tab with your favorite tools? Add it. The interface of Capture One is highly customizable, and there’s no need for you to settle with an interface you don’t like when you can simply change it.

Read more about customizing your workspace.


8. Refining luminosity in the Color Balance Tool

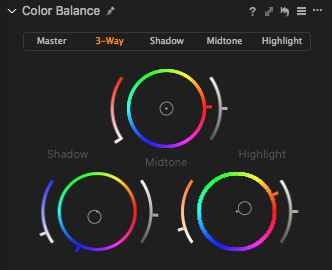
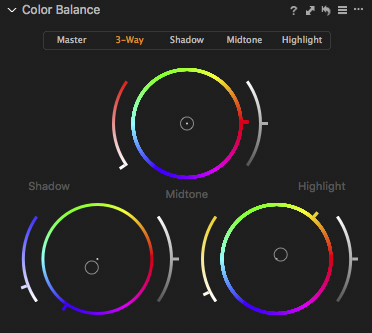
When color grading your images, you sometimes want to adjust the luminosity and tweak the contrast a bit as well. In the Color Balance Tool, the shadows, midtones, and highlights all have a luminosity slider to the right of the color wheel. Play around with it to refine the luminosity of the three different parts of your image.


9. Before/after of a single tool

Just like the sliders, you can see the impact of a complete tool as well. Simply hold down the [option/ALT] key and long-press the tiny reset icon of the tool (a swirled arrow).

Capture One 12

The same effect can be applied to all adjustments at once by holding the option/ALT key and long-pressing the global reset button in the top left corner.

Capture One 12

10. Change the White Balance on black and white images

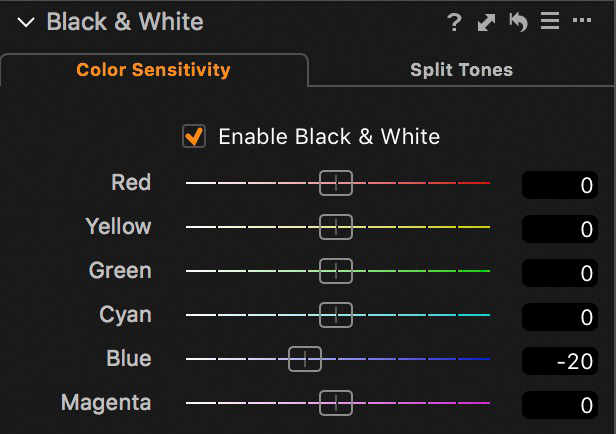
You should always use the specific Black and White Tool to make your images achromatic. Bringing the saturation slider all the way down will not give you any benefits that the specific tool offers regarding color noise control and smooth gradients.

When adjusting the individual channels of the Black and White Tool, the White Balance will have an impact on the look of your image as well. Play around and you might discover a new approach to your black and white editing.


11. Loupe Tool

The Loupe Tool (shortcut: P) allows you to see a magnification of a selected area of your image in a loupe. Long-pressing the Loupe Tool in the top middle of the interface provides several options. You can change the size of the loupe as well as the zoom level inside the loupe.

If you need an instant quick-loupe without changing the cursor tool, press ALT + spacebar (CTRL + spacebar on PC) while hovering on the selected area of your image.

Capture One 12


Do you have a tip that you would like to share?

Sign up for the webinar

Top Things to Love About Capture One 11

In addition to great image quality, if there is one other thing I look for in a software product, it is workflow efficiency and flexibility. Capture One has excelled in the former for quite some time now, and is the de-facto choice for working professionals processing their RAW files. But when it came to workflow, there was still a bit of room for improvement. With Capture One 11, that list of workflow “wants” has greatly diminished thanks to the addition and simplification of a few key features. With a focus on this latest version, I’ll give you a quick rundown of some of things that I feel make Capture One a great tool for photographers.

Download a 30-day trial of Capture One if you don’t already have.

Local Adjustments

We’ve had what’s known as “local adjustments” in Capture One for some time now – since version 6 if I’m not mistaken – and it was one of those features that put Capture One ahead of a lot of its competitors. The ability to mask and adjust a portion of the image was a privilege reserved only for rasterized image manipulation tools like Photoshop, and having the ability to do this at the RAW level was a huge step forward. Despite its advantages, the local adjustment tab was often a source of confusion even for seasoned users such as myself. Certain tools were compatible with local adjustments while others weren’t. Often, I’d find myself working on a local adjustment layer unintentionally and frequently struggled to get well defined masks.

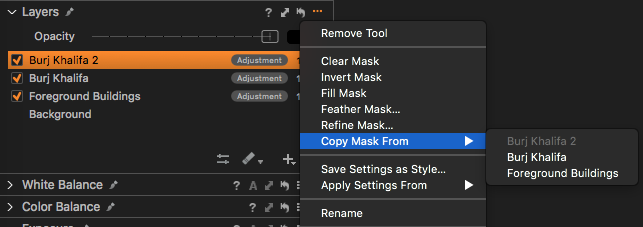
I’m happy to say that with Capture One 11, those problems are now a thing of the past as they have done away with local adjustments entirely. That’s right, gone, completely, no more local adjustments. Now, before you begin to have heart palpitations, I’ll tell you that the development team hasn’t gone crazy, they’ve merely simplified the concept down to something we are all familiar with – layers. Rather than living a lonely life in a dedicated local adjustments tab, our localized adjustments now live inside of layers that are displayed in a Layers panel that is visible across most of the tool tabs. Better still, we no longer have to wonder which tools are compatible with the layers themselves as almost all are. I say “most” because there are tools such as black and white conversion and film grain that still operate on the background layer – but I think we can all see why that might be. The key thing is that those core tools like levels, curves, color adjustments, etc. are now all accessible at the layer level.

Layers, Layers, Layers!

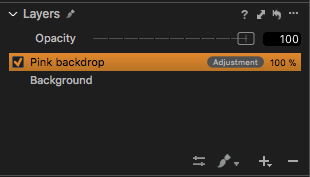
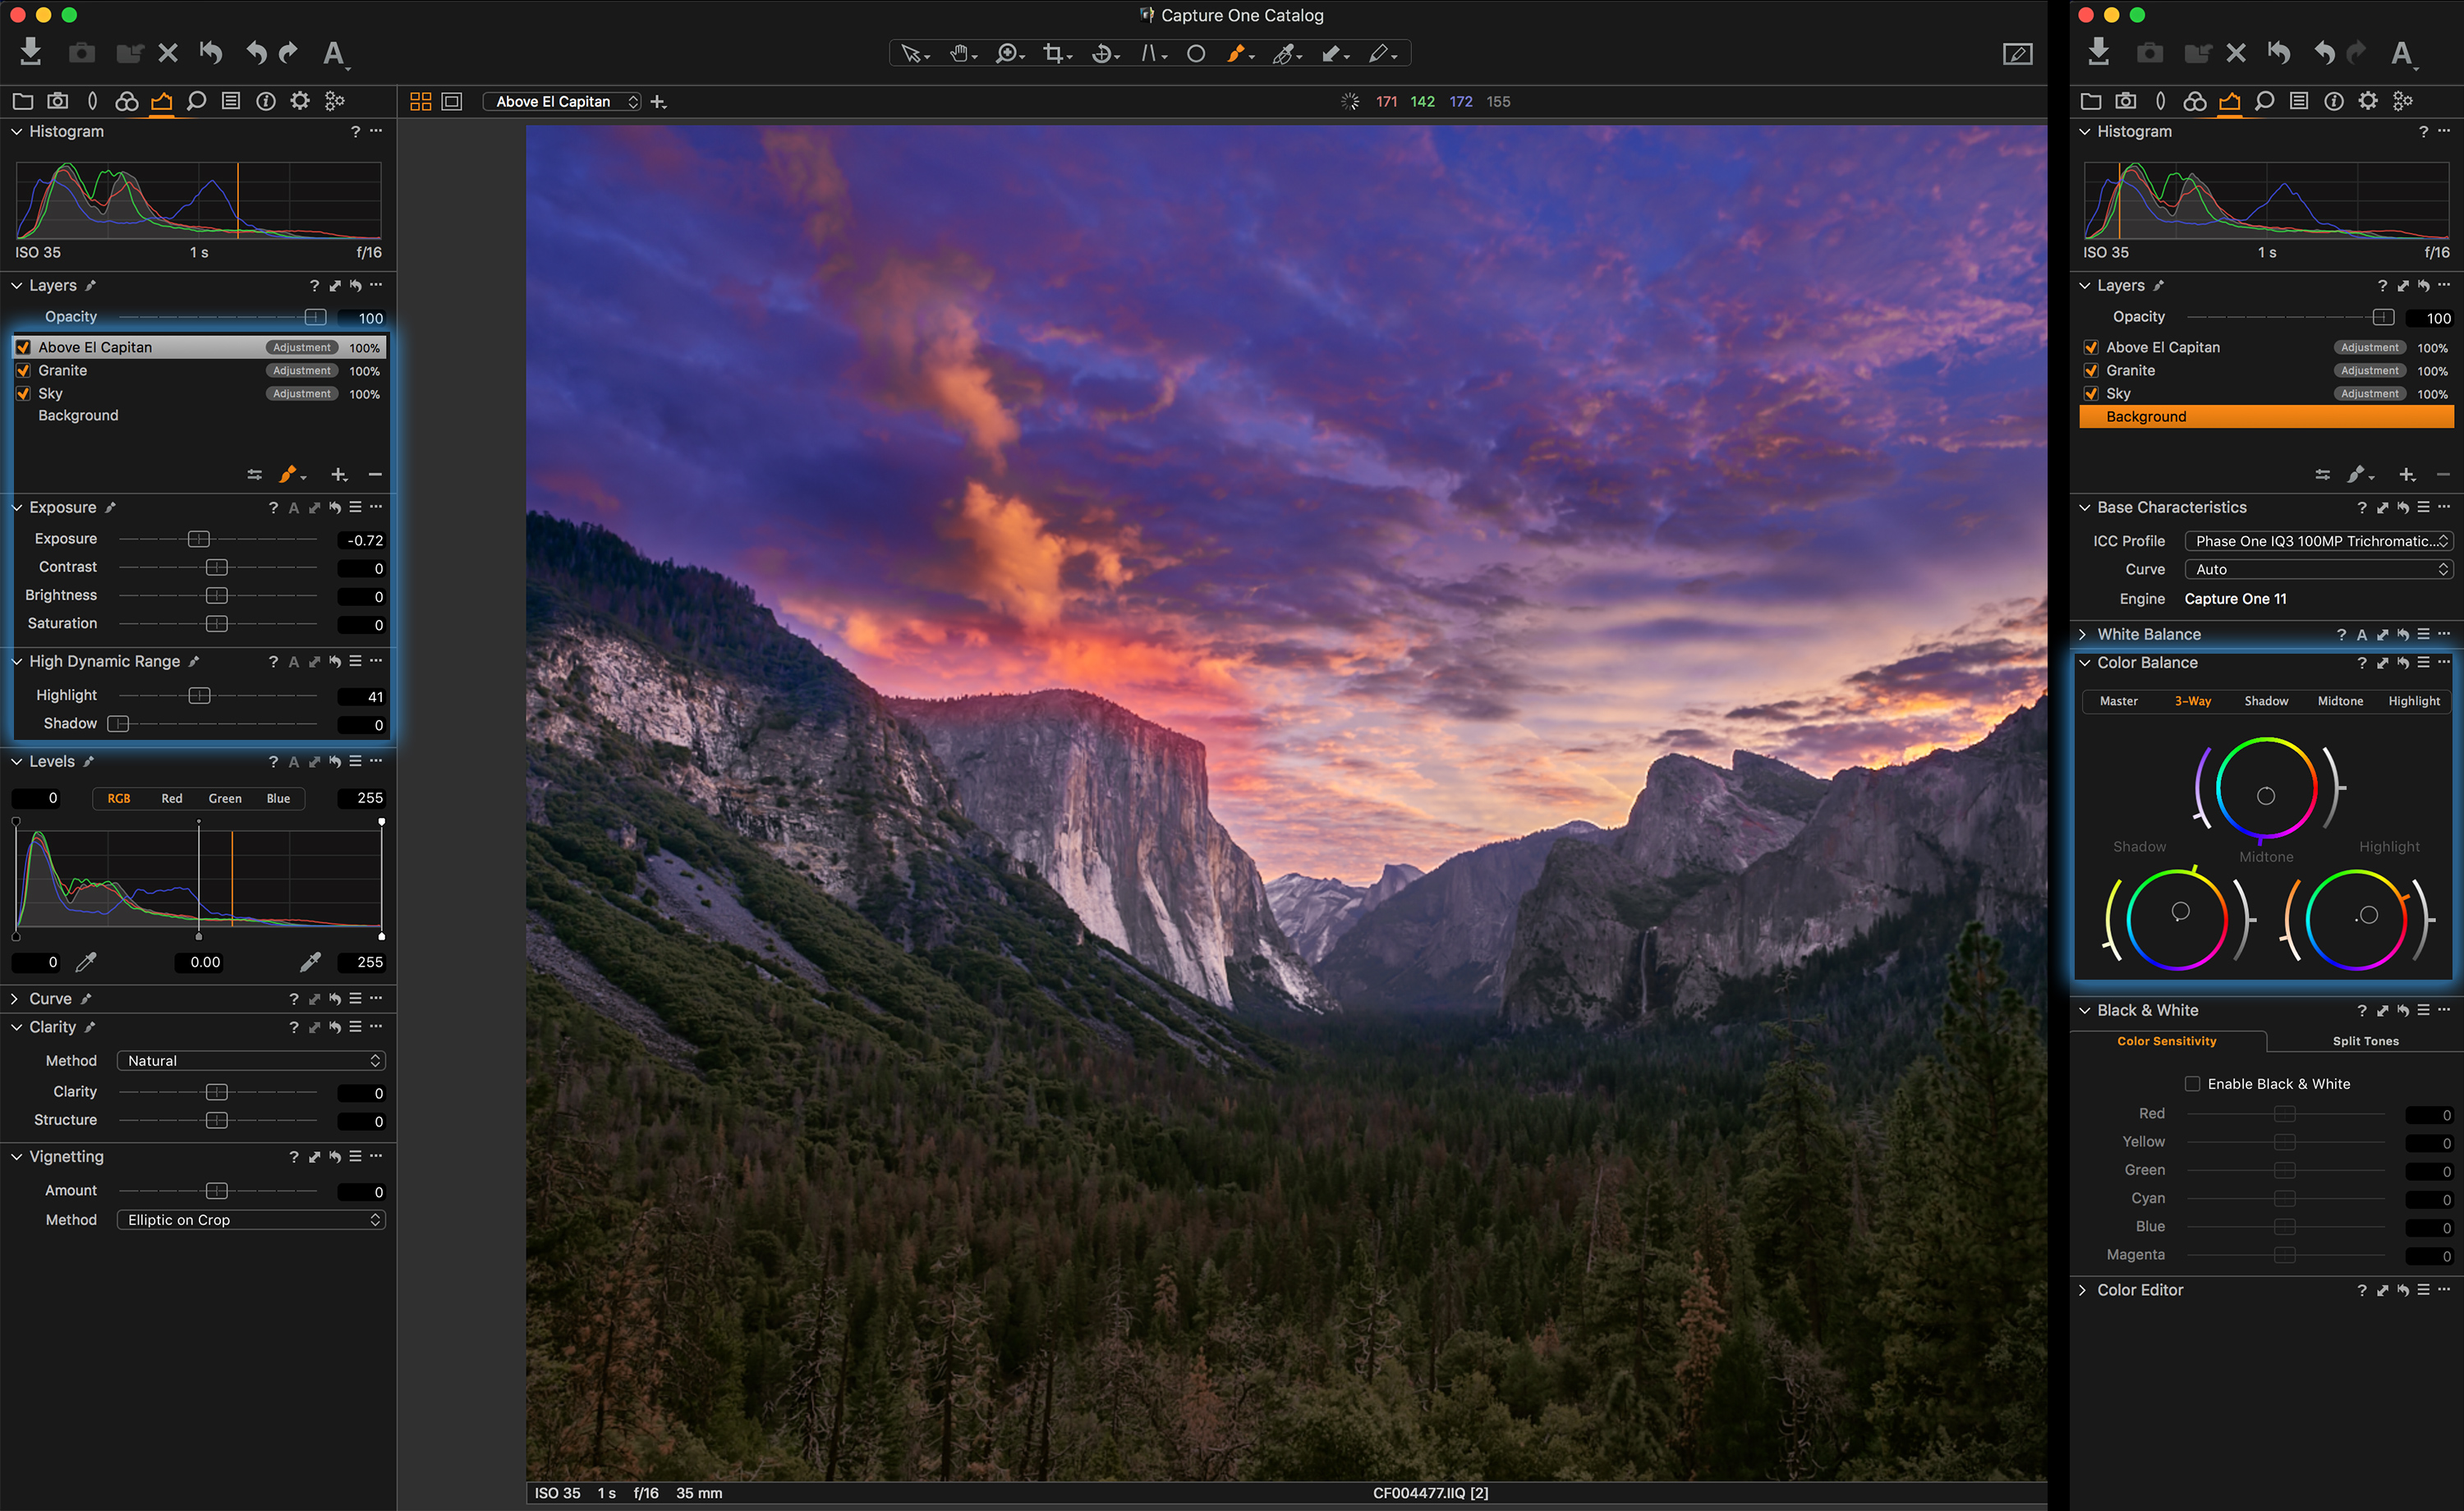
To emphasize just how important this change is, it actually finds its way into my list of favorite features twice, as this new change requires further elaboration. What’s great about having the ability to use all the adjustments at the layer level is that it allows us to separate things like color grading, exposure, contrast, etc. into their own respective layers, and can toggle them and fine tune them in an intuitive manner. Better still, Layers now offer an opacity setting so we can dial our adjustments up or down as needed. I personally like to start at 50% opacity and set my adjustments the way I want them, this way I can decrease or increase the intensity in both directions.

Masking

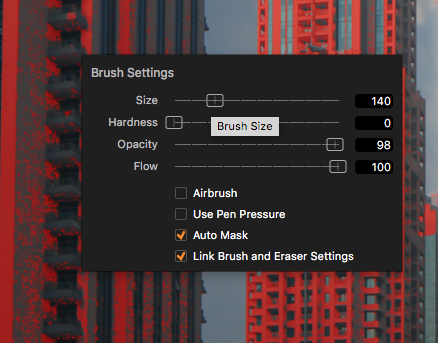
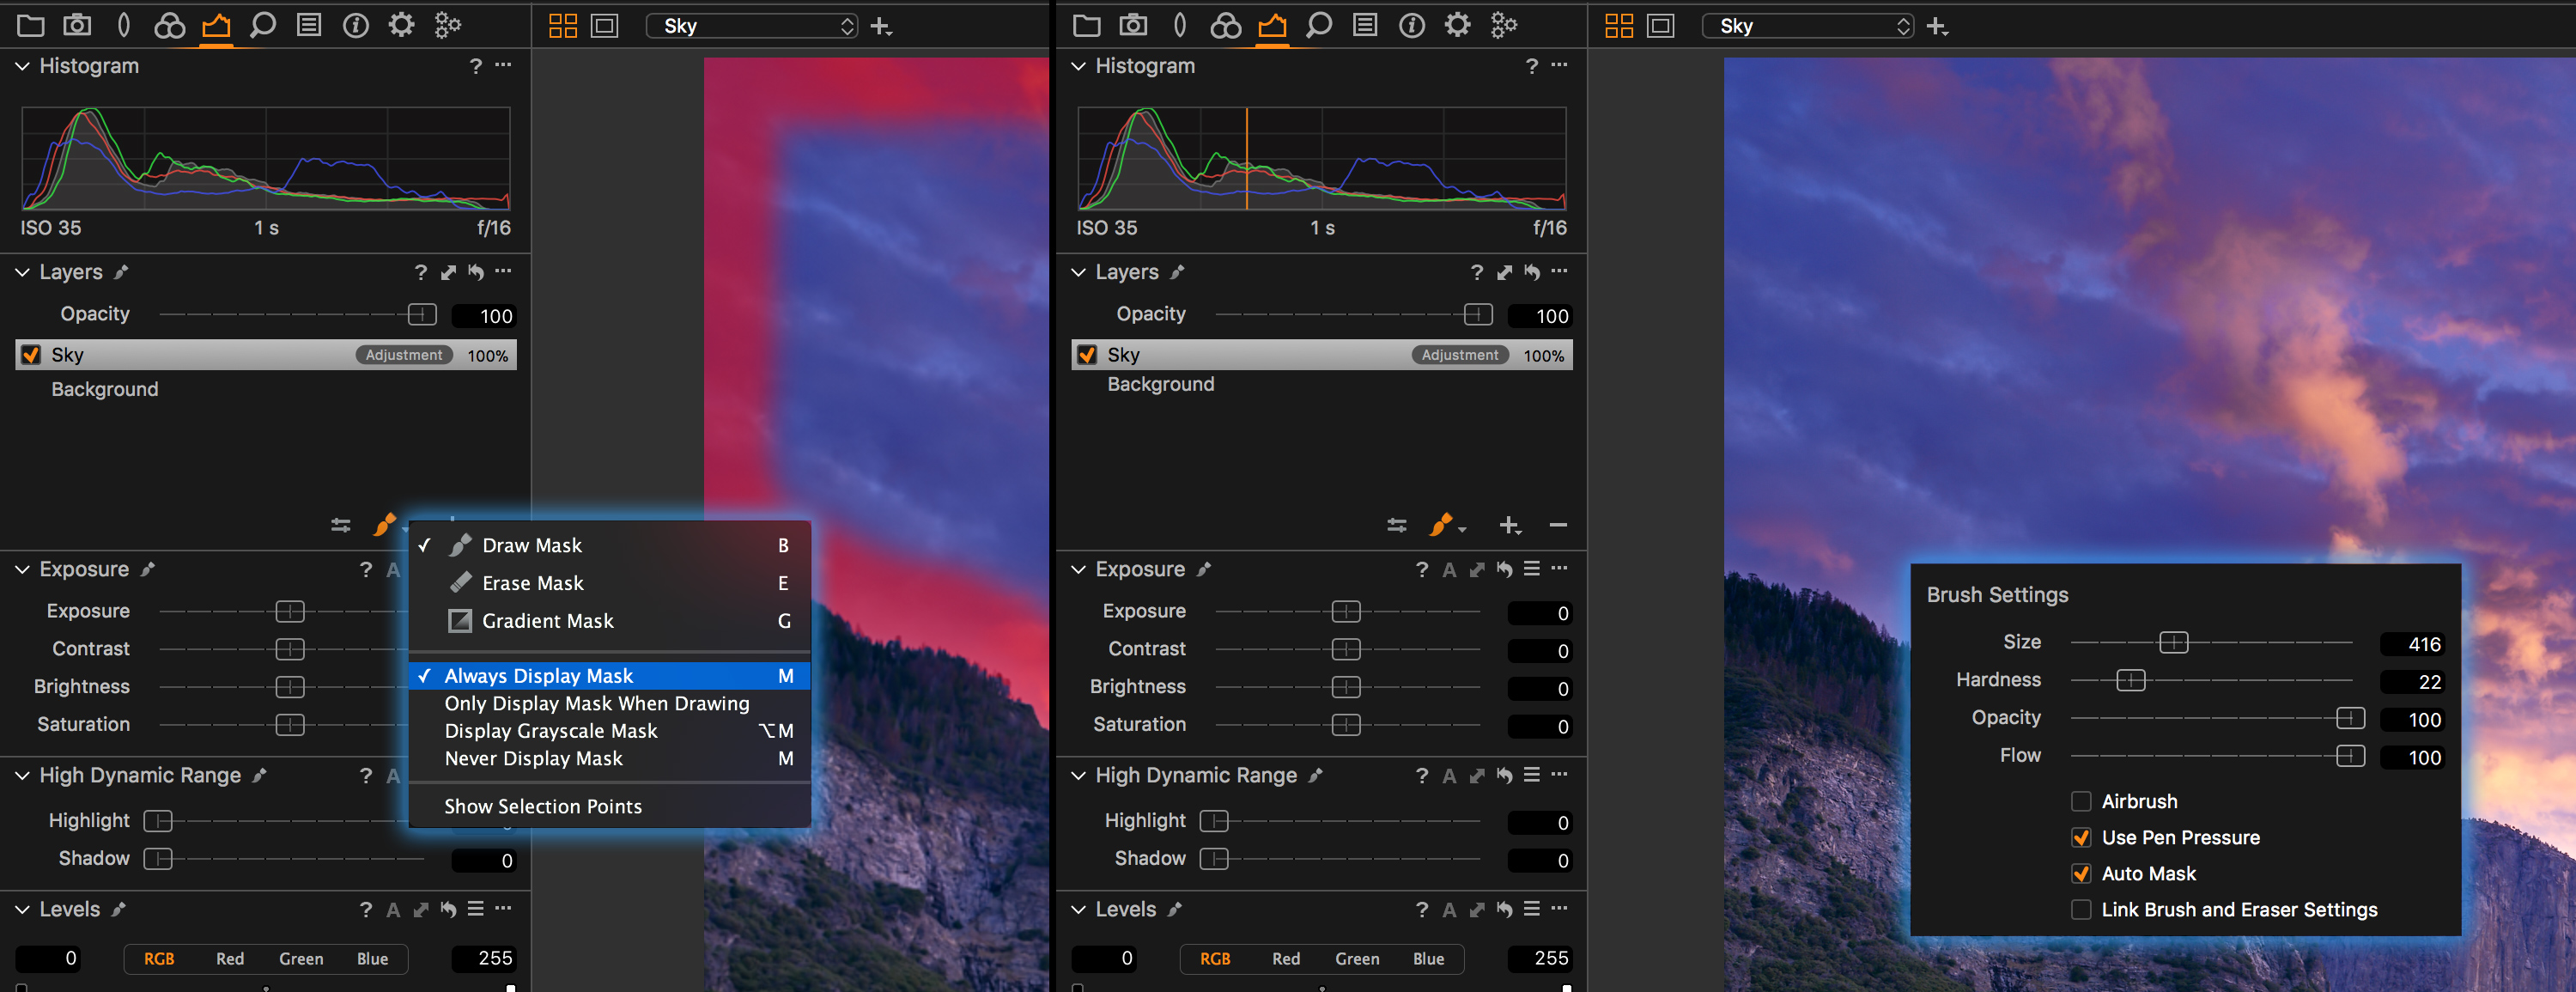
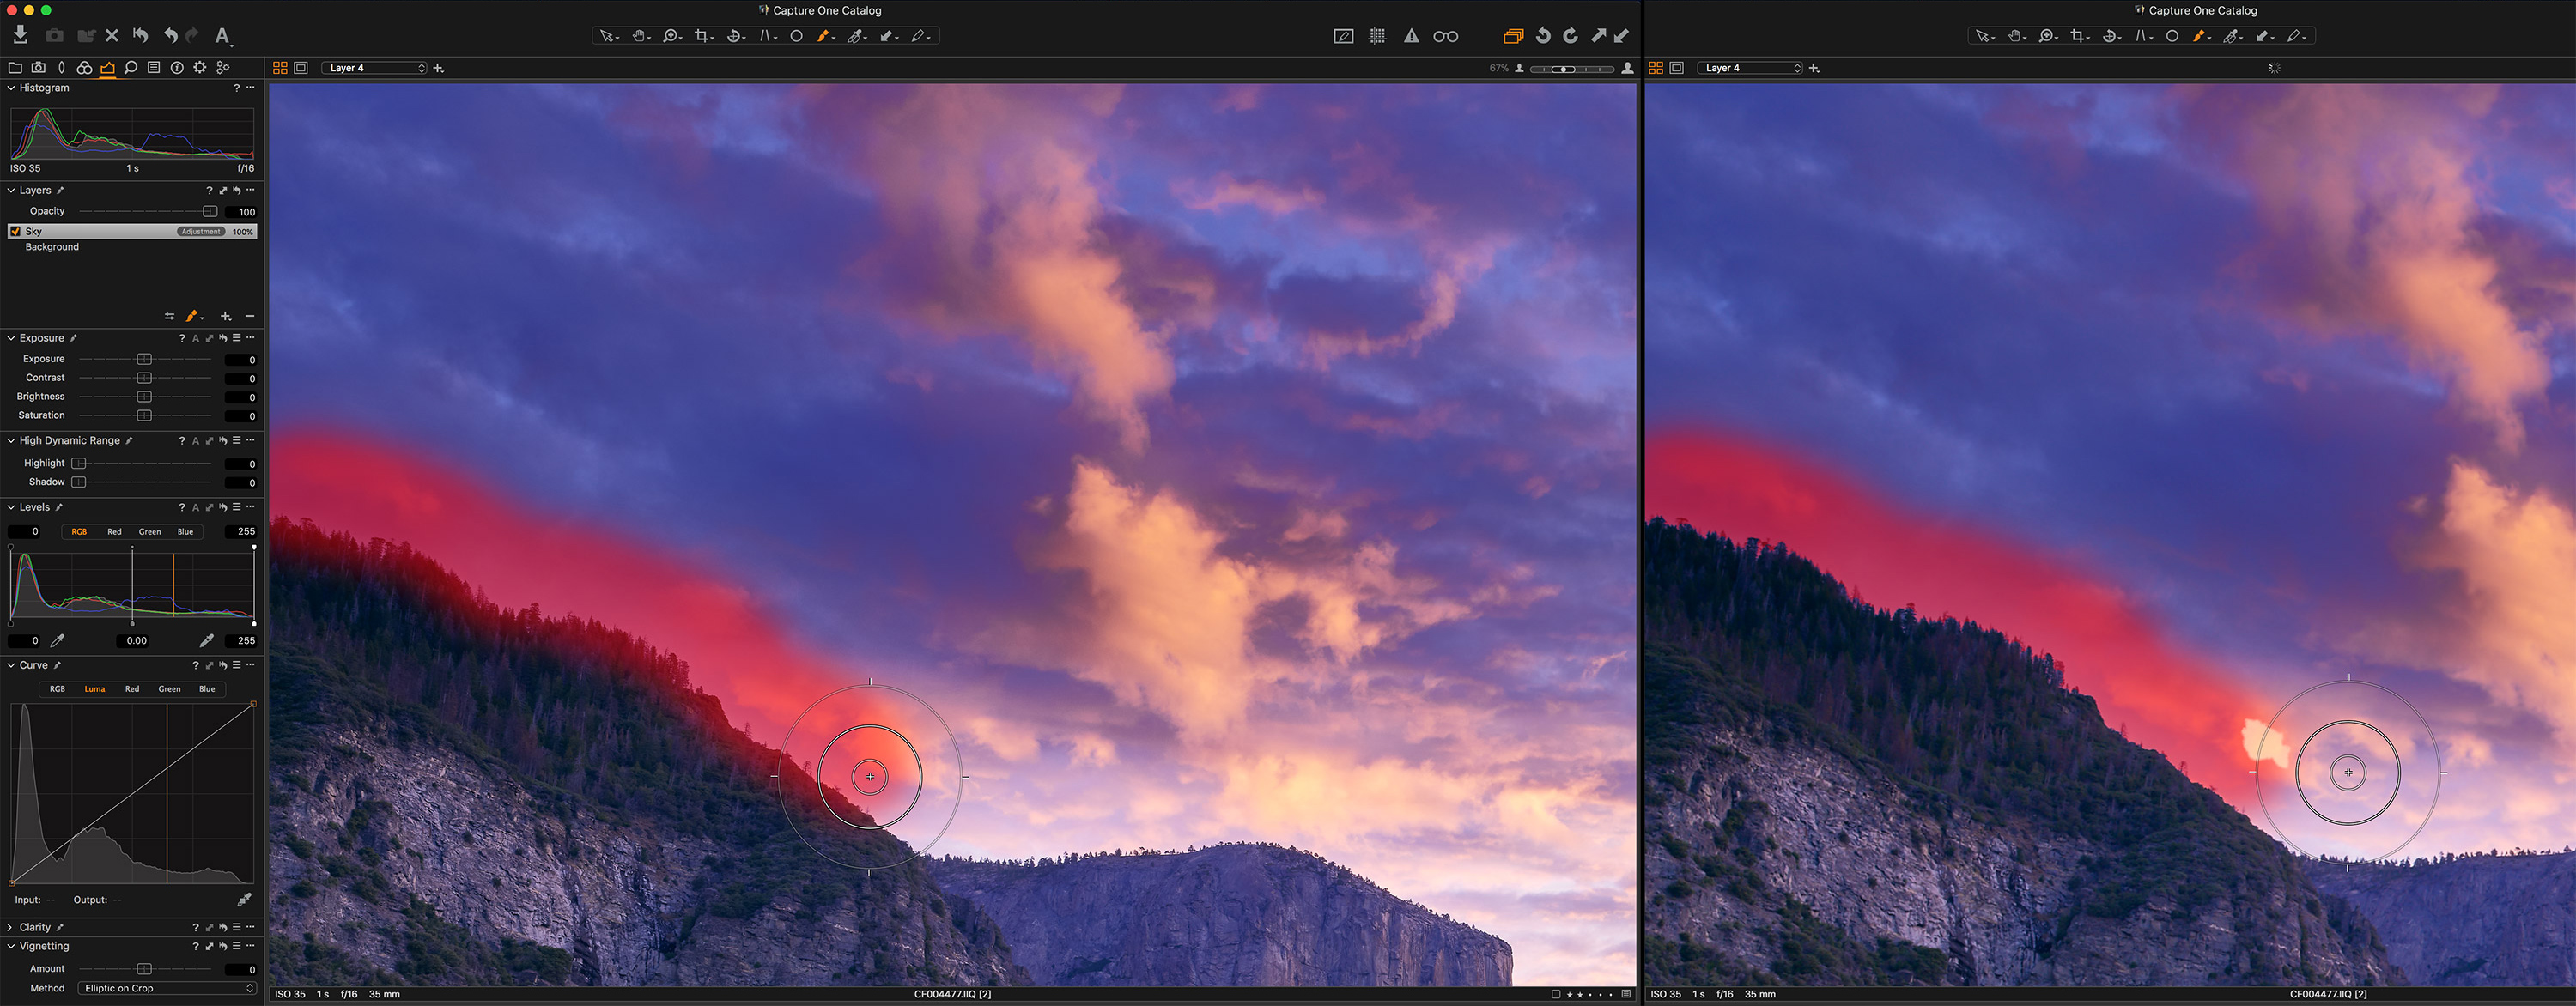
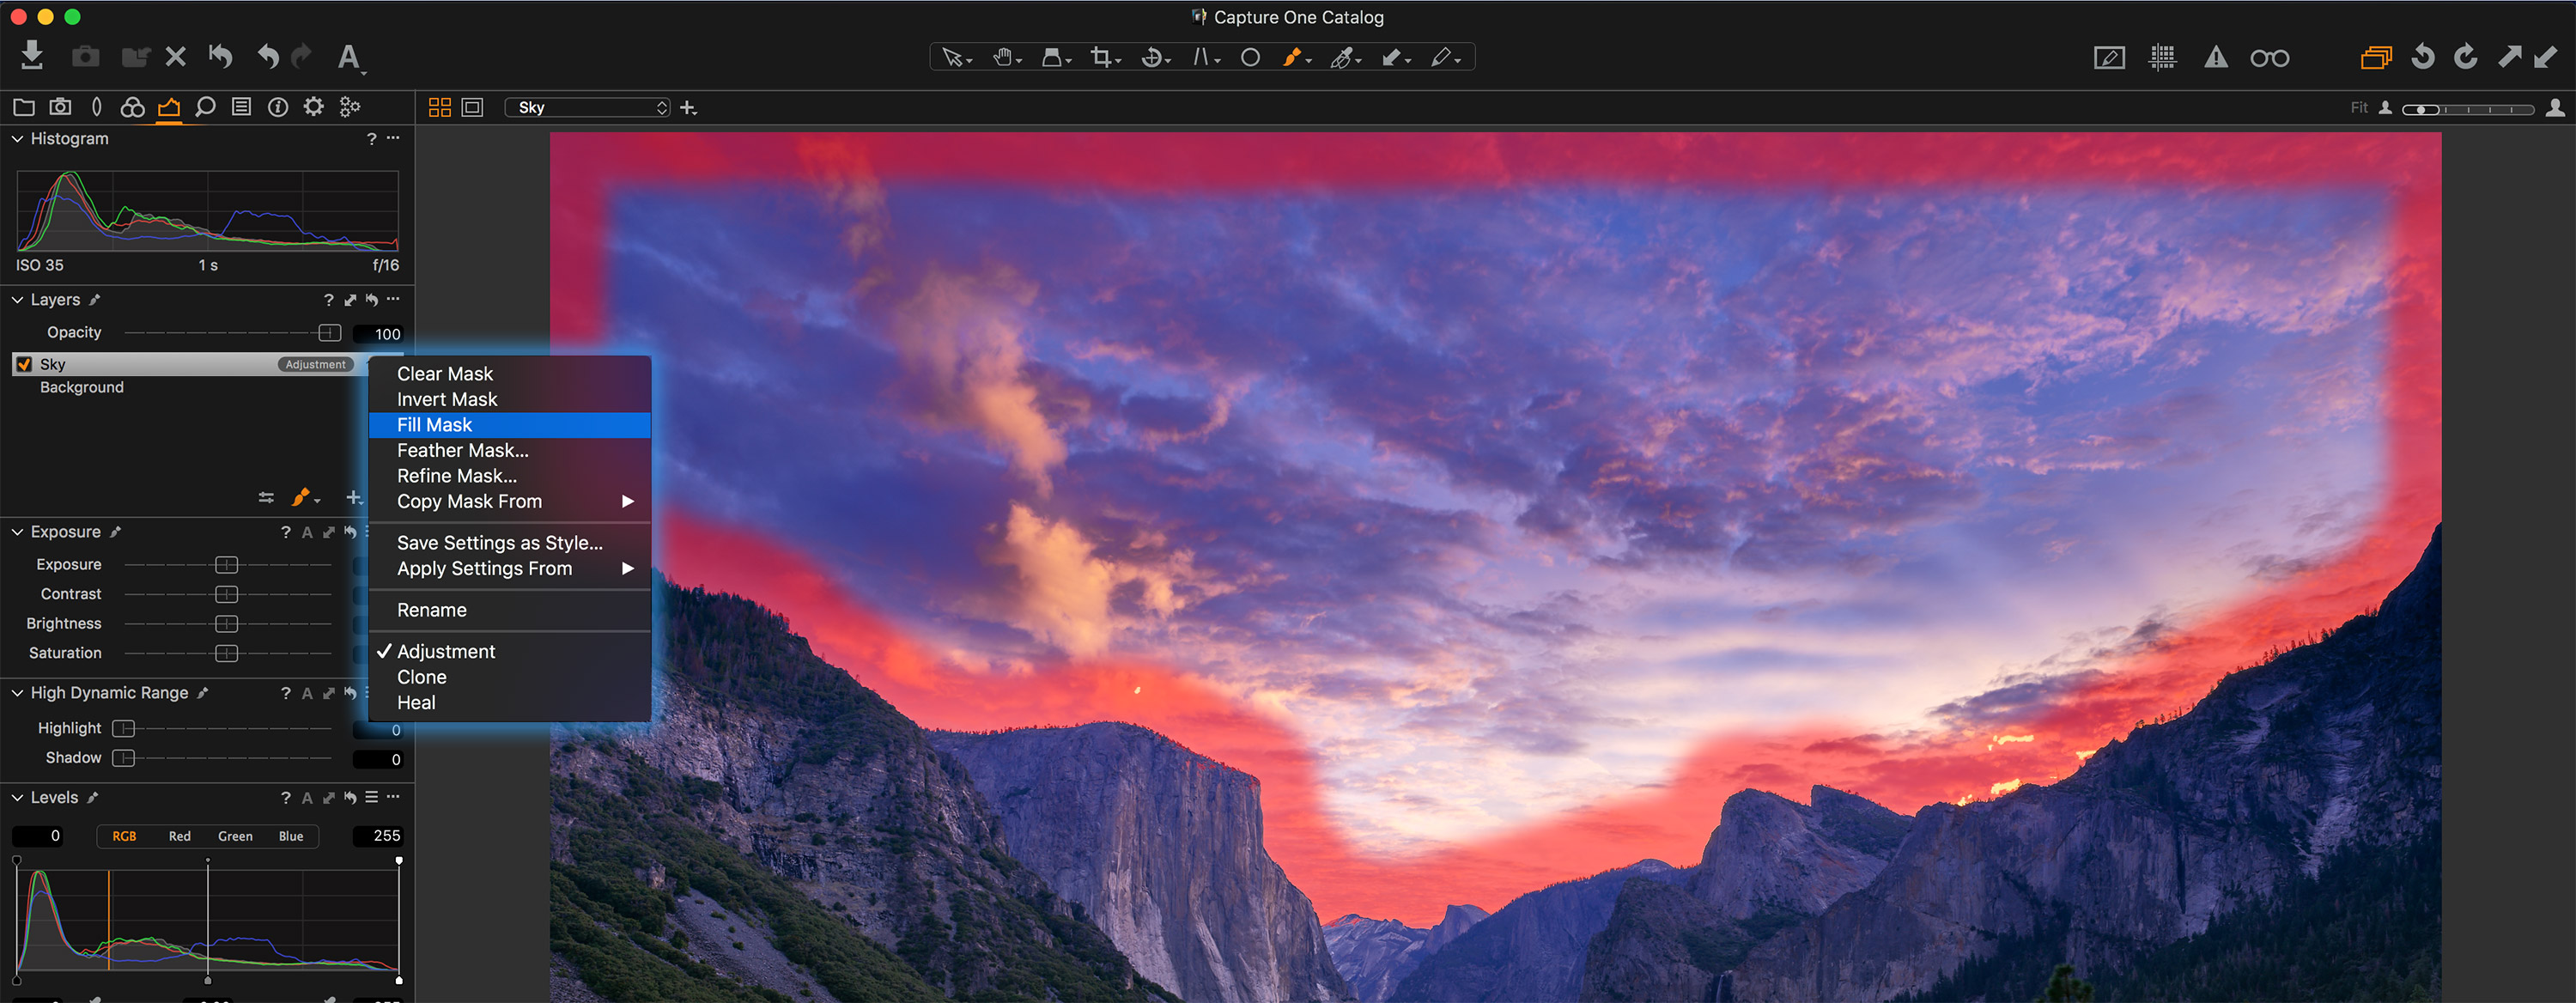
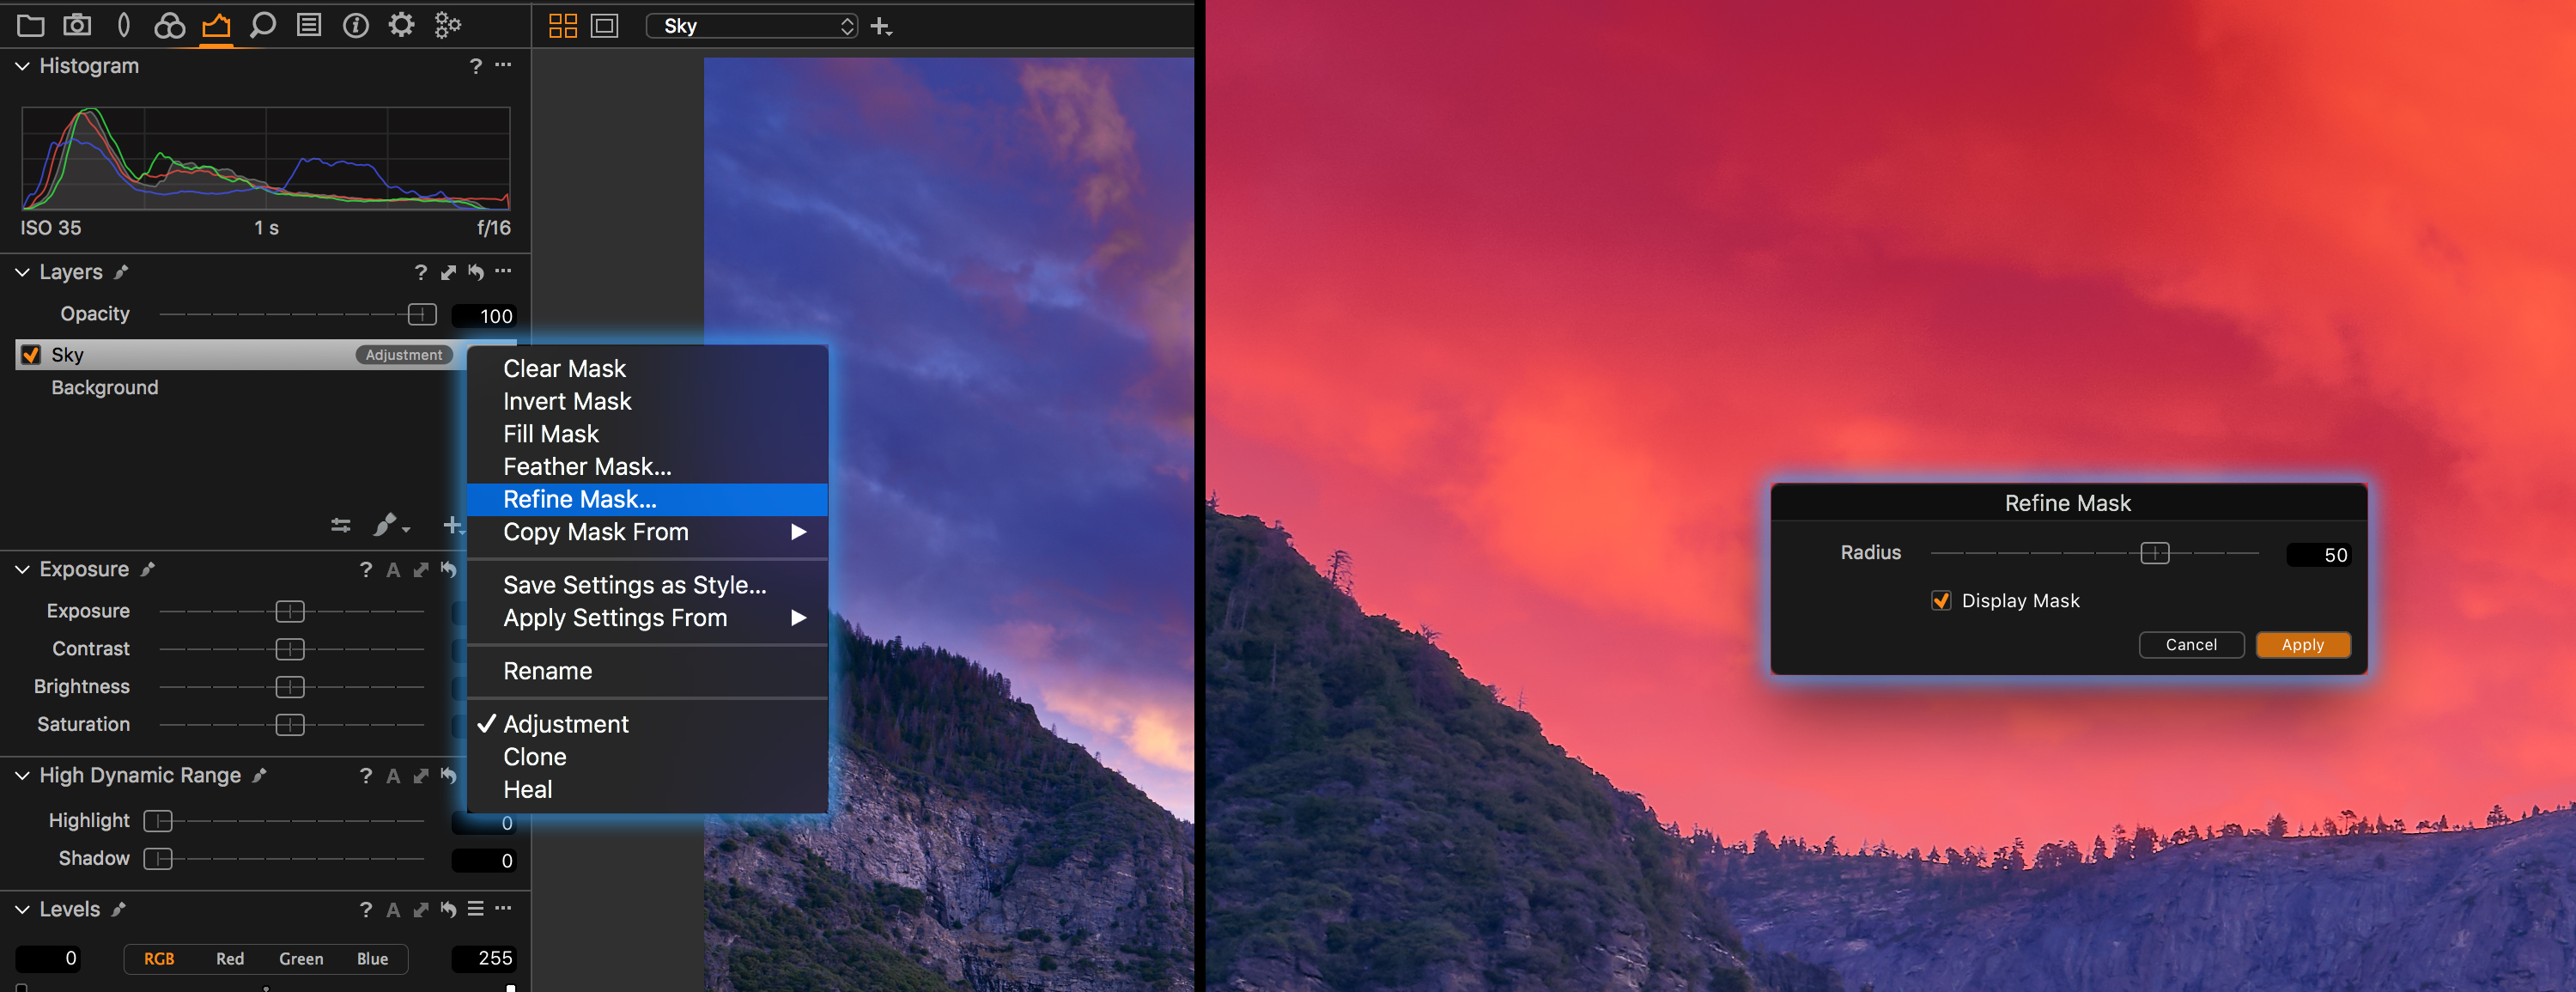
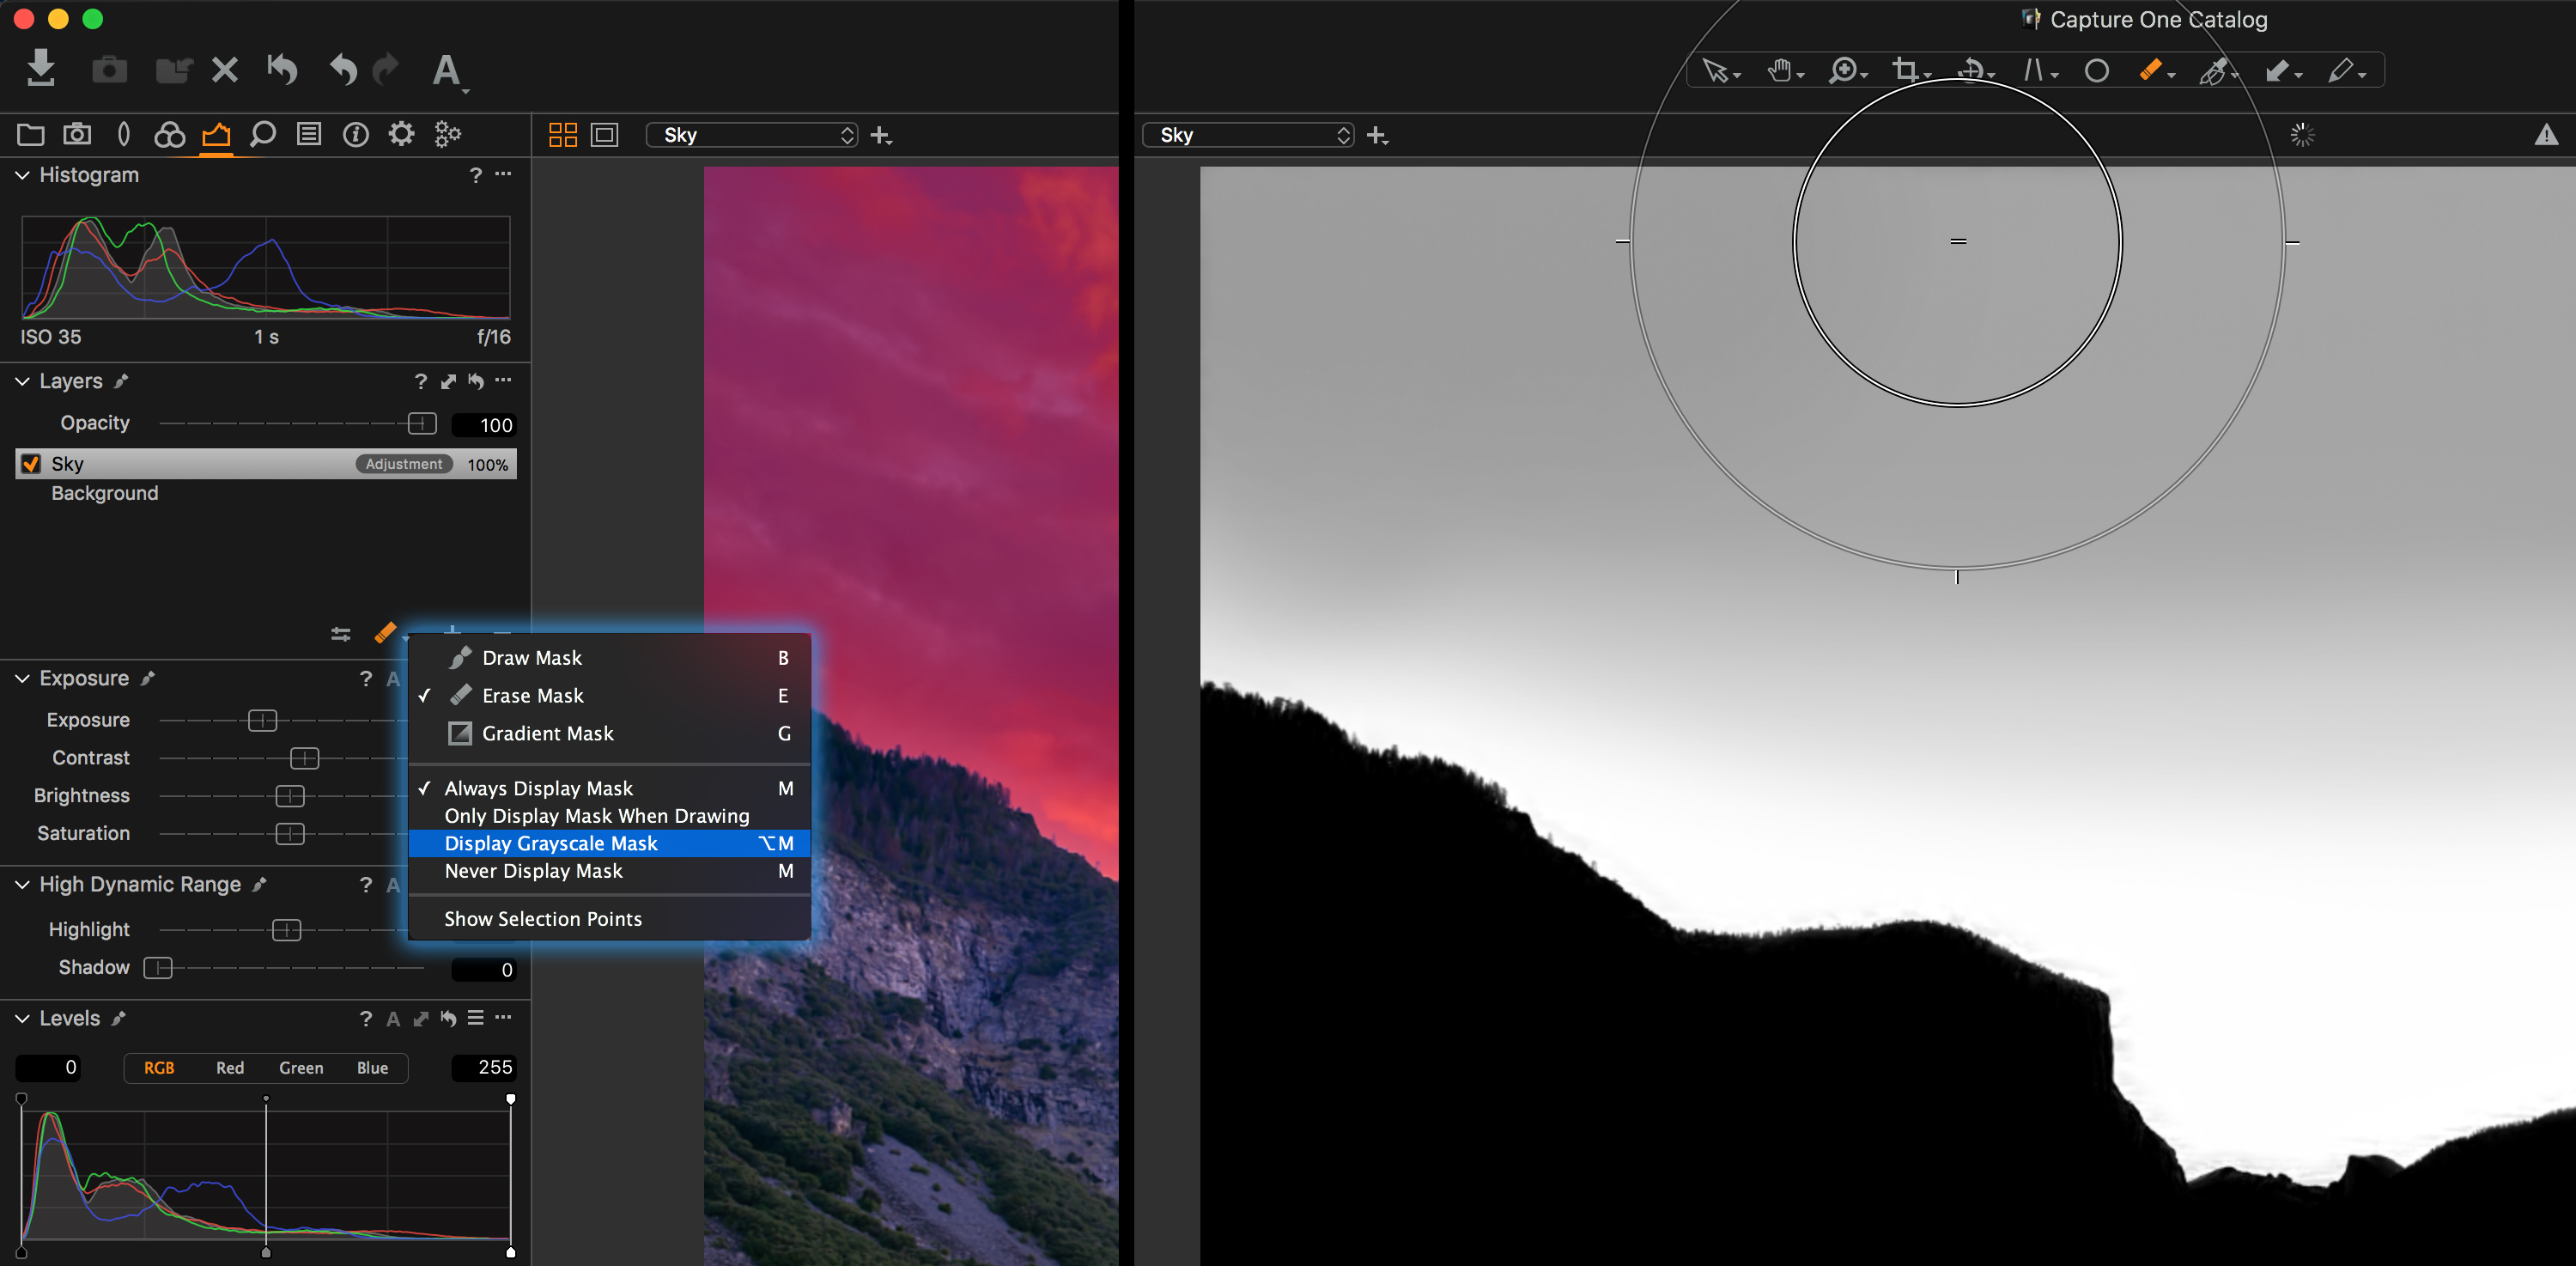
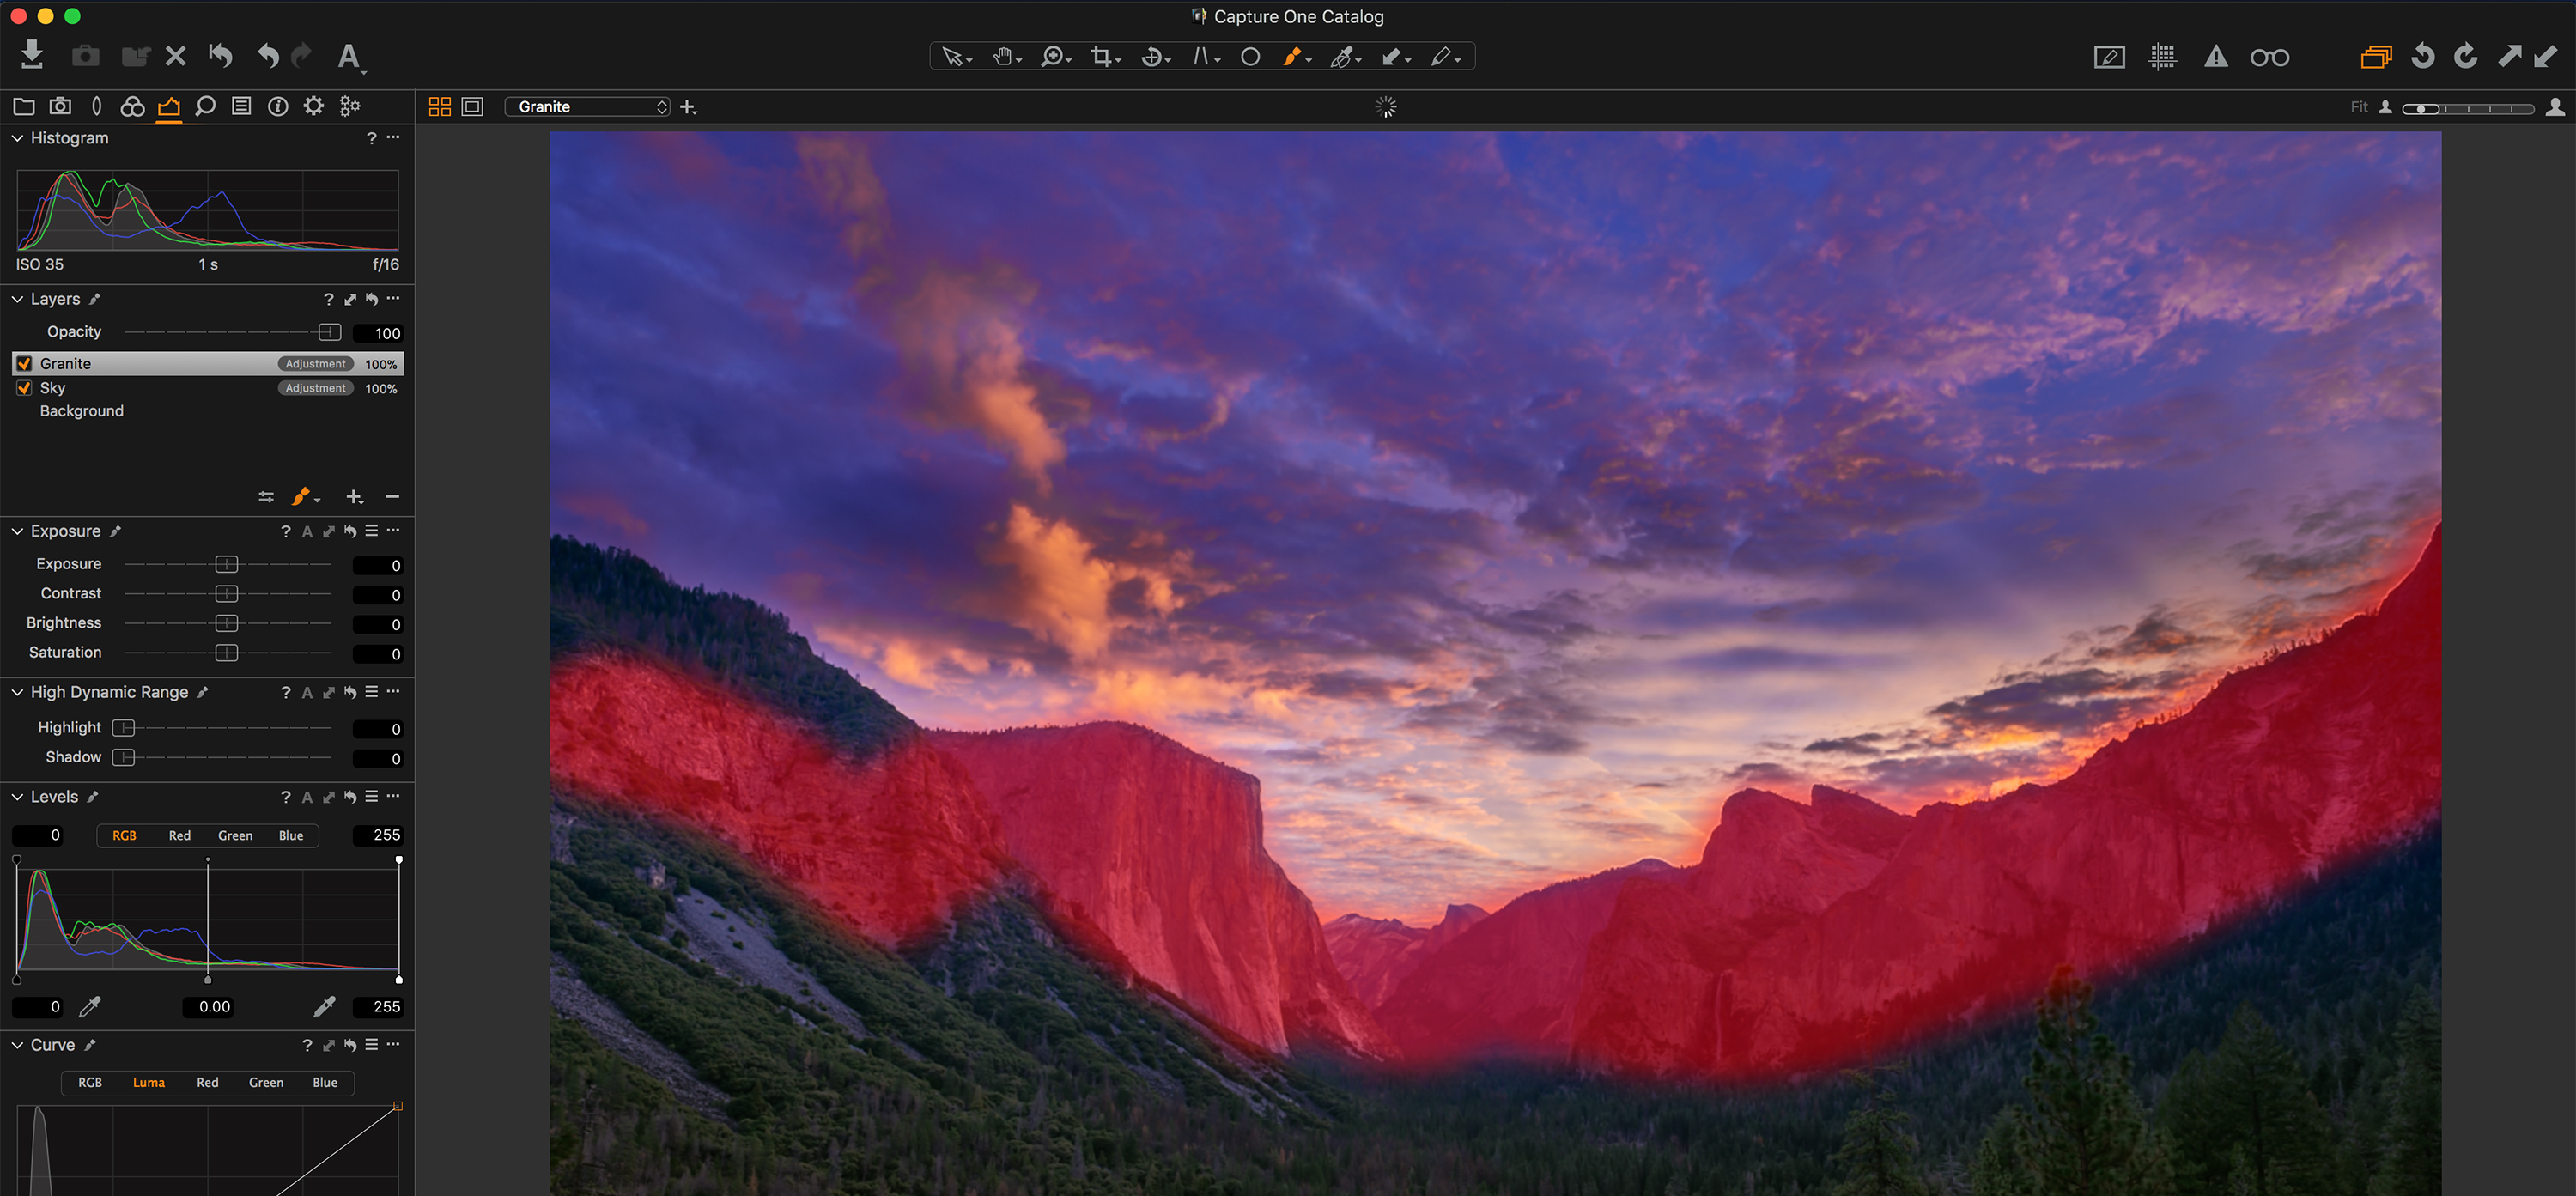
Closely tied to Layers is of course the concept of masking, which we’re all familiar with from Photoshop. Up until now, however, the Masking tools always felt a bit clunky and somewhat unintuitive, which made using them a bit of a challenge in certain scenarios. With version 10, we got some improvements in the way of new tools for controlling brush flow, but with version 11 we now have a full-featured masking interface. If you’ve ever used the “Quick Mask” tool in Photoshop, you’ll immediately feel at home with these new masking features, as there are many similarities between them. The two most notable enhancements are Feathering and Refining. We no longer have to pre-determine our brush softness in advance when selecting an area, but rather we can choose a harder edge, create our outline, fill the selection, and finally soften the edge visually using the feathering tool. Another pain point that has existed is when making selections around a subject’s face or hair, skies, etc. The best we could previously do was with a steady hand and strategically chosen brush softness. Instead we now have a tool that fine tunes our selection in an exceptionally simple and effective way.

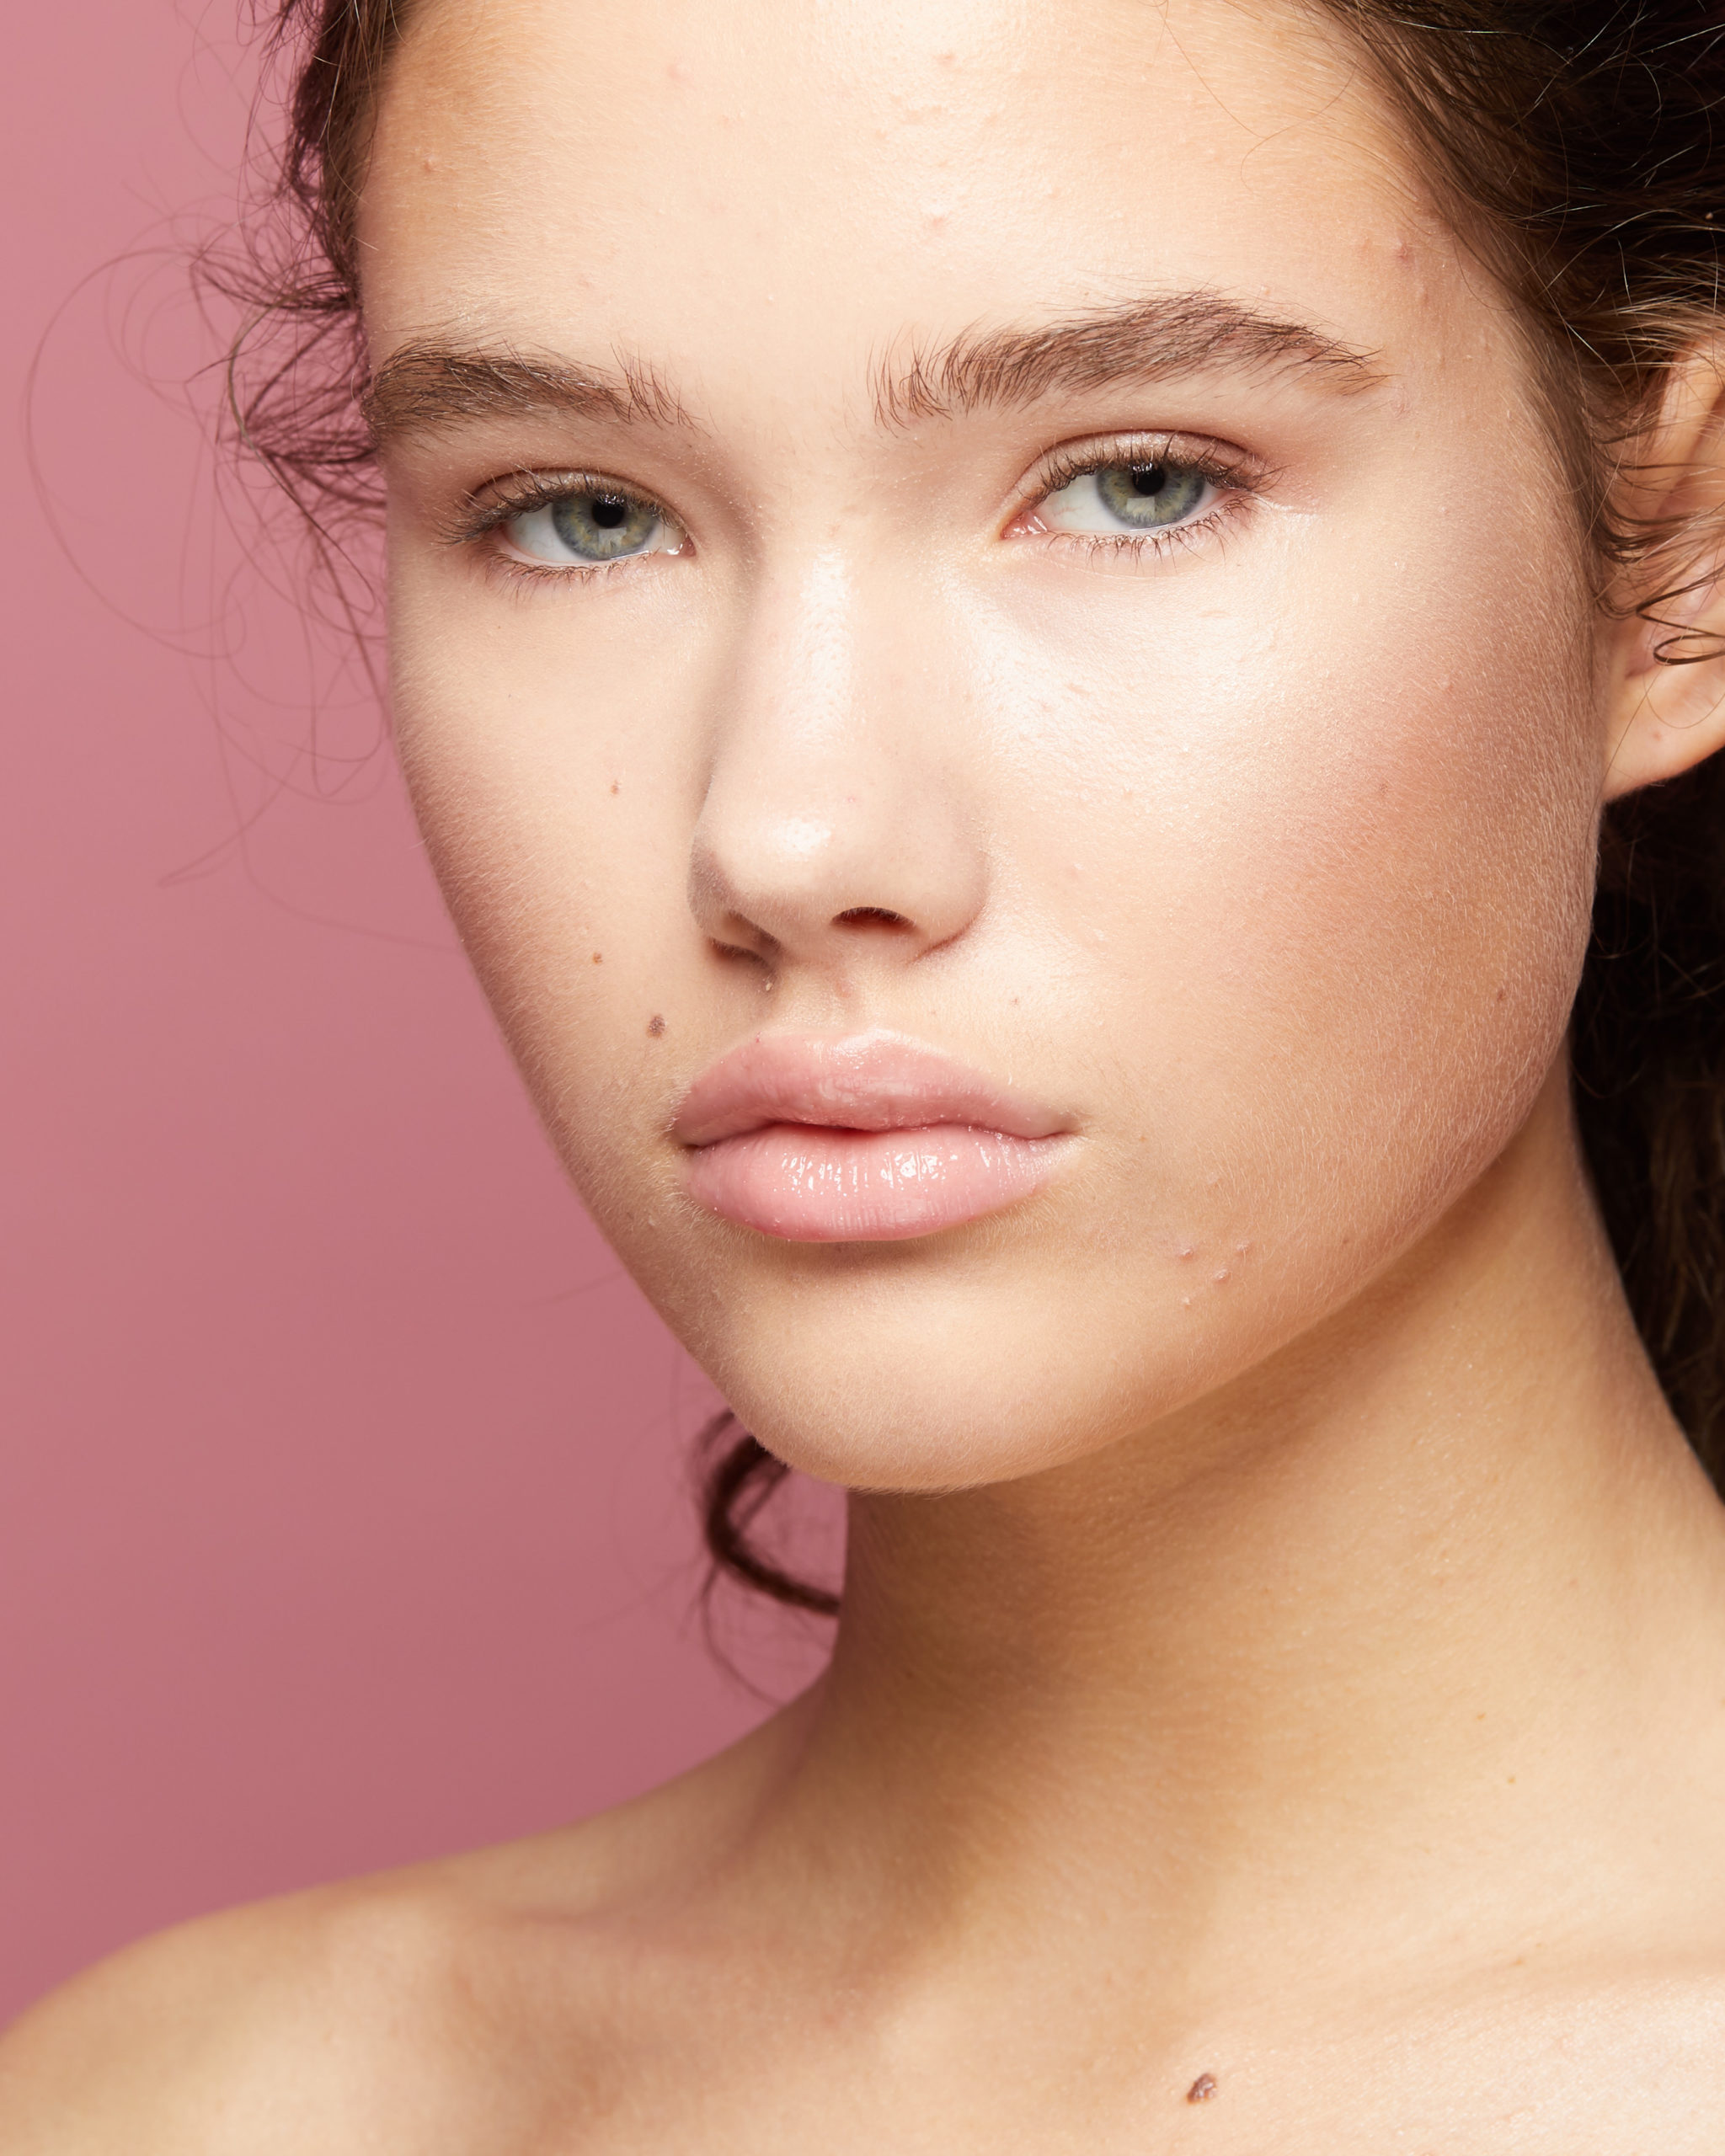
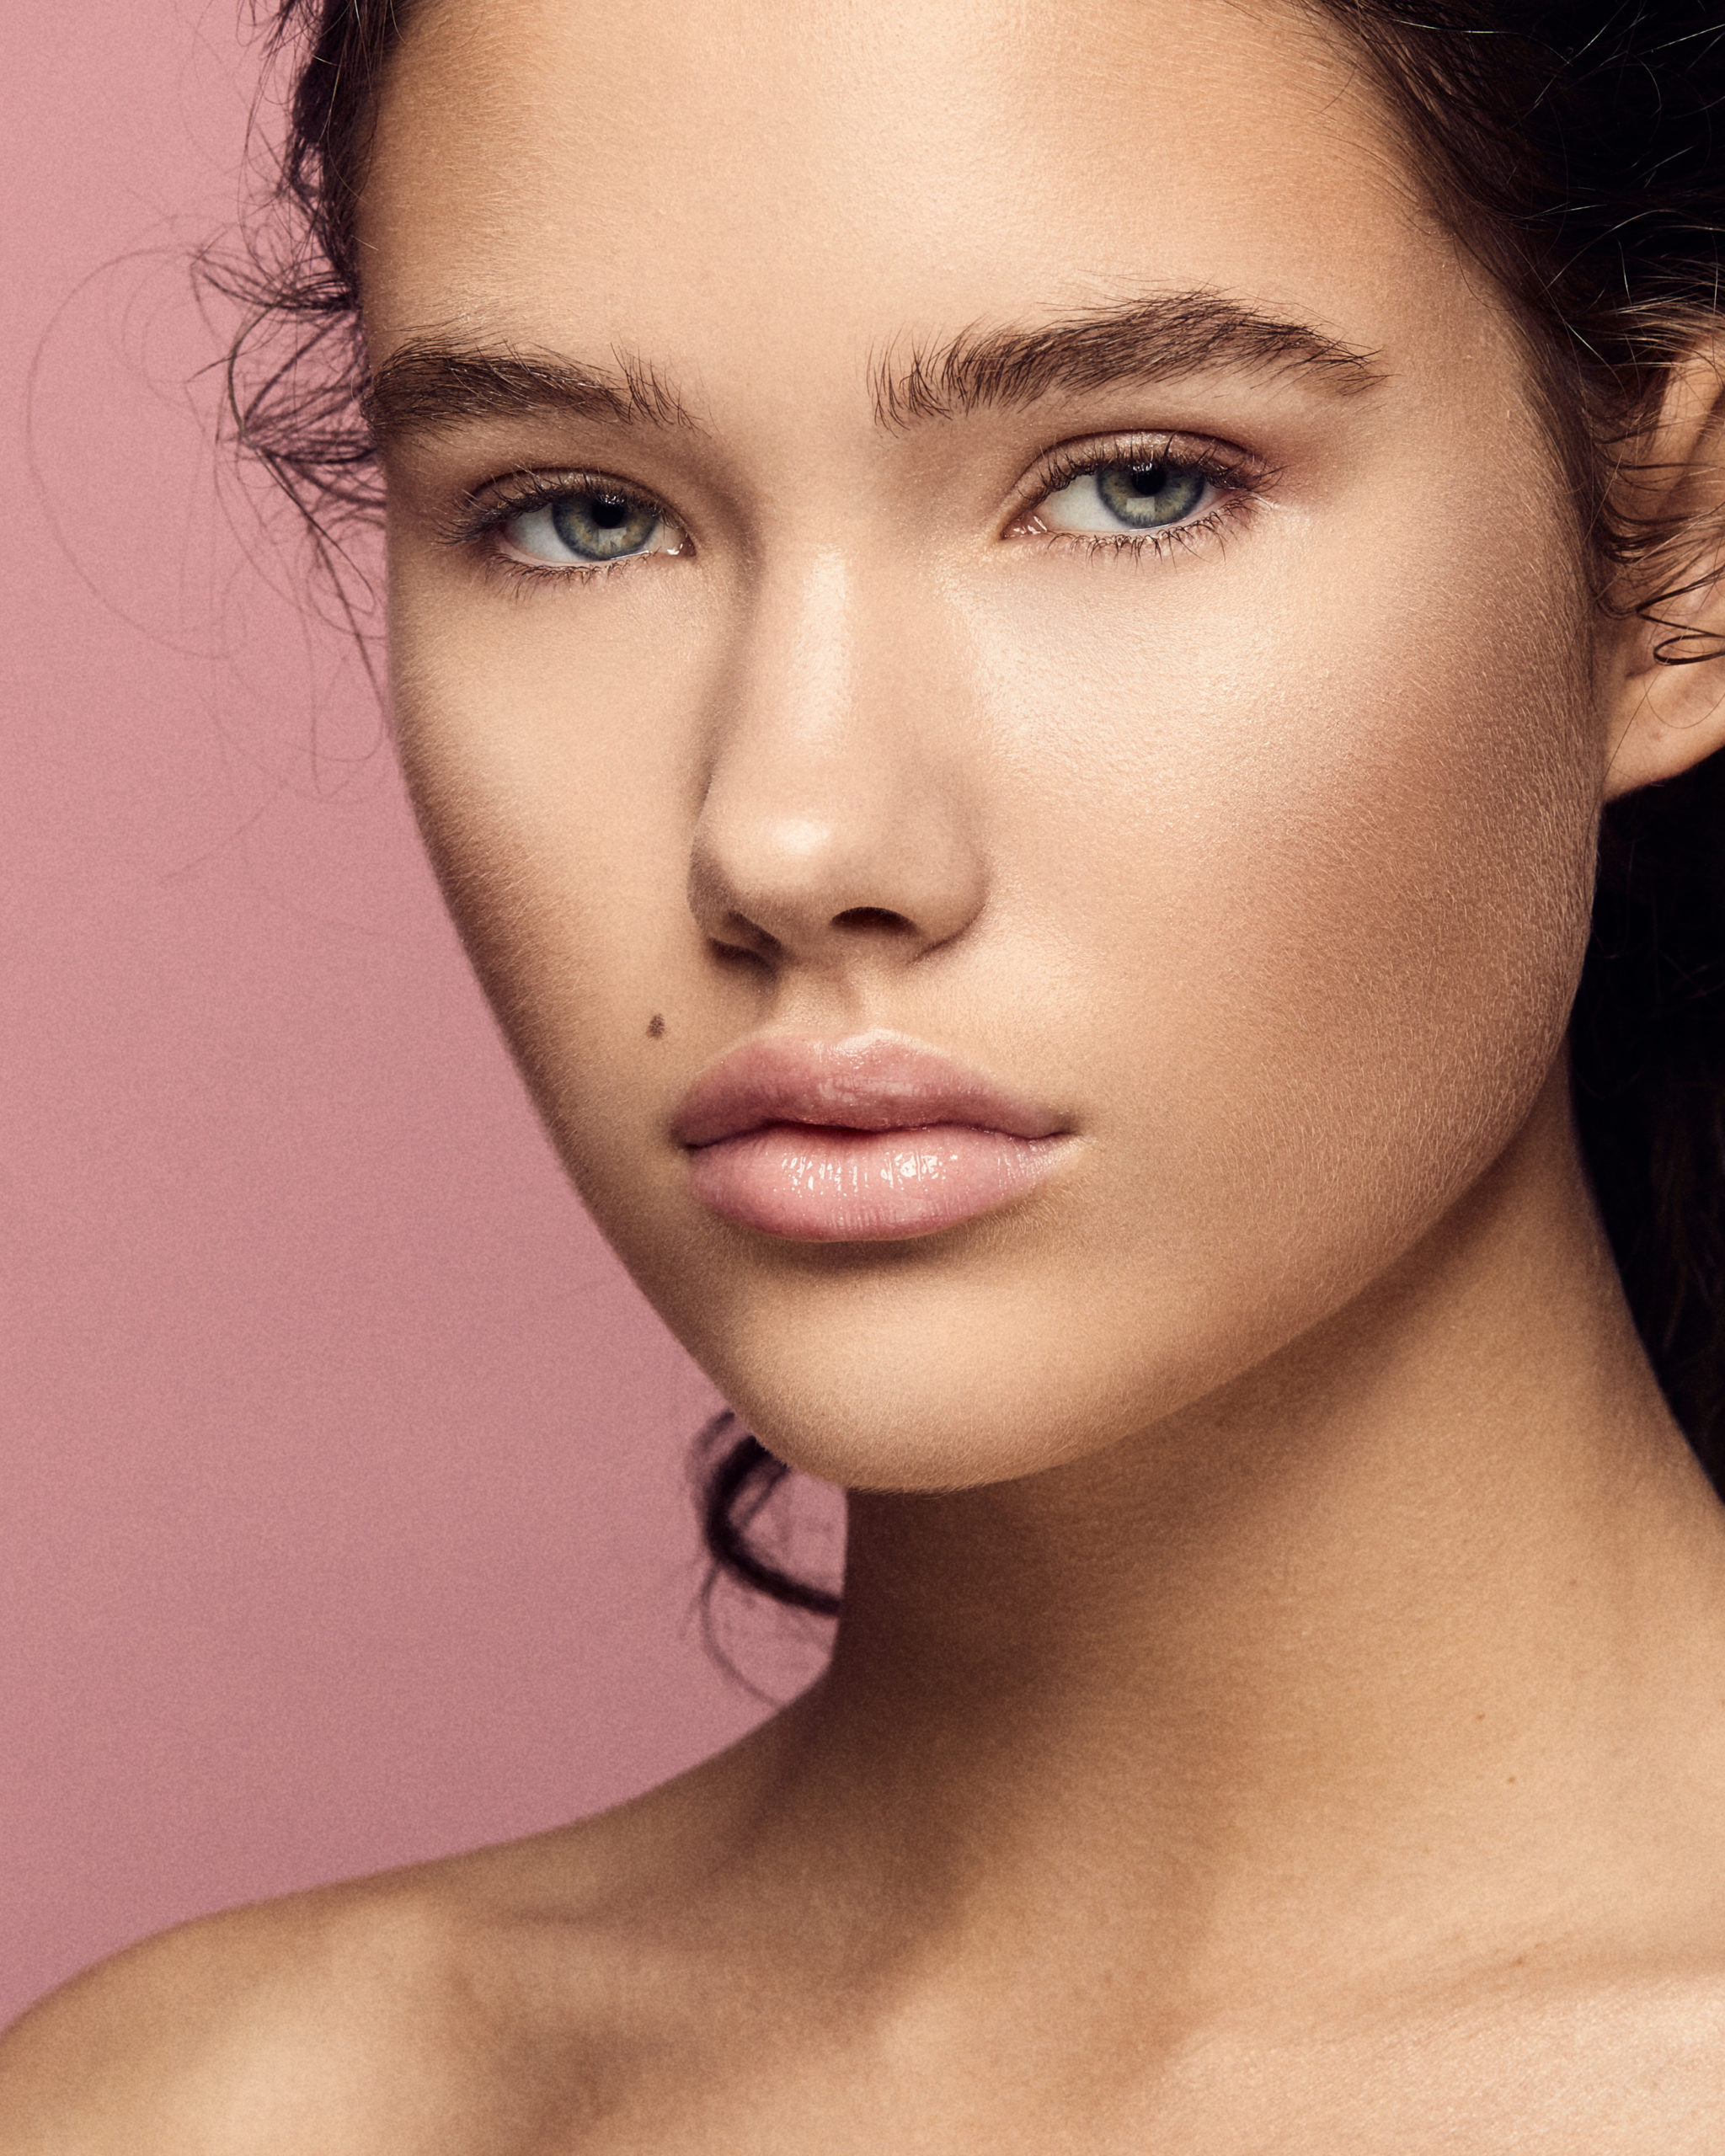
Before imageAfter image

Before/after

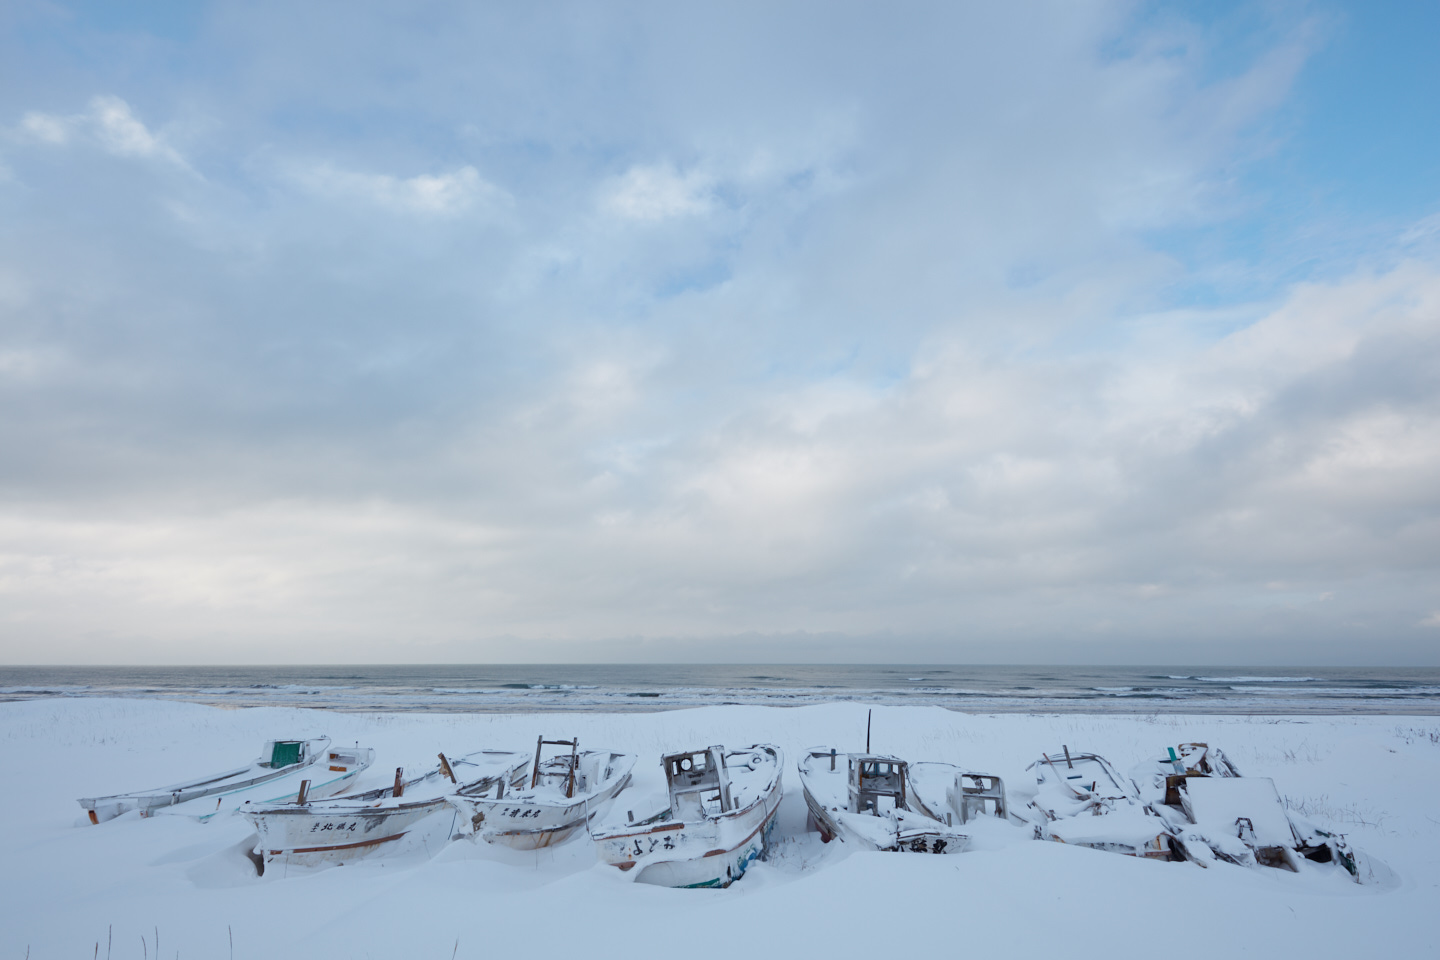
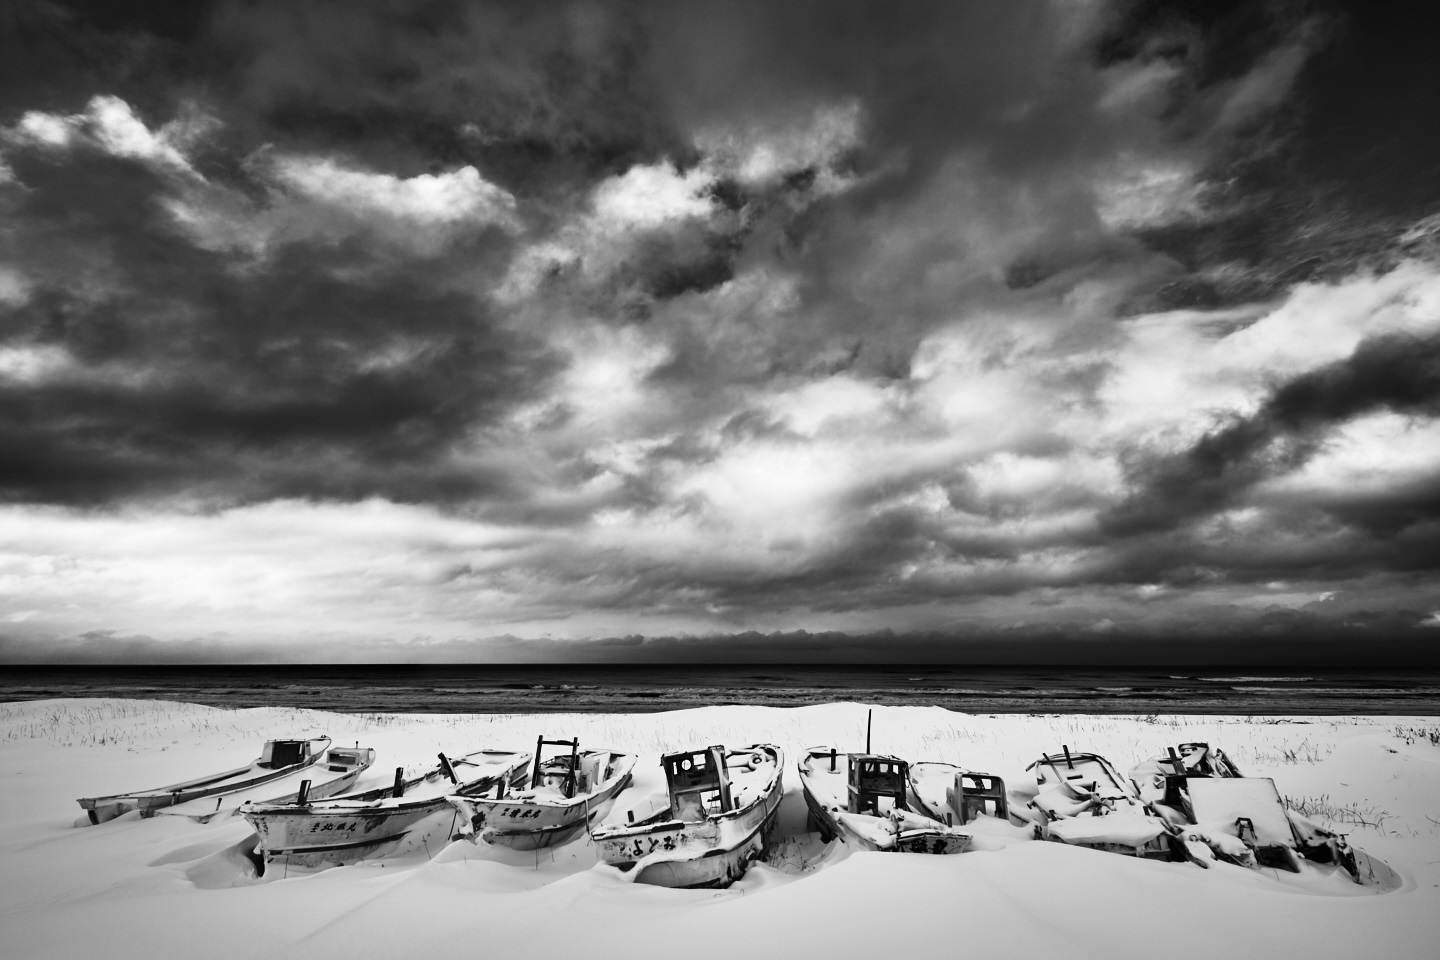
Before imageAfter image

Before/after

Annotations

While most photographers will complete the RAW processing of the photos themselves, they often have to work with retouchers to polish the images in a timely manner for their clients. Along with the image, we often supply a set of annotations to describe what needs to be fixed within the image. Previously, adding these annotations required us to export the image to a rasterized form, getting it into Photoshop, annotating and finally exporting. The multiple steps and time involved in this process was effectively time wasted. Capture One 11 now saves us the headache of moving into Photoshop by allowing us to perform the annotations directly within the application, and then using our process recipes to export them as needed.

Customizable UI

Being able to customize your UI may seem like a trivial thing, but being able to do so within a fine level of granularity is extremely important for a working professional. An effective interface for tethered capture, culling and RAW processing are very different from one another and so it’s crucial to be able to tailor the tools to each use-case. The most notable scenario is in the context of tethered capture. When shooting tethered, it’s not uncommon to have a main display such as your notebook serve as the control point, while a secondary large display positioned vertically displays just the image for your client.

Each job is different, and so having the ability to save several layouts is an extremely powerful and helpful feature. It’s just one of the many reasons why Capture One is the de-facto choice for tethered image capture.

Round-trip Workflow

Added in version 10, the PSD round-trip has quickly become one of my favorite features. Supporting the PSD format is not without its challenges – given that it’s owned by a company that considers itself a competitor to Capture One – but thanks to Phase One’s perseverance, we now have a way to effectively manage the image workflow within Capture One from start to finish. What I particularly love about this feature is that it provides the means for me to complete most of my skin work within Adobe Photoshop, and then finalize the color grade, black and white conversion, film grain, or any other finishing steps within Capture One for maximum flexibility. This is particularly helpful when you have a series of images and wish to apply the same color grade across all of them.

Designed for Professionals

While it may seem logical that software be designed for the way we work, sadly that’s often not the case any longer.  Certain companies – who will remain nameless – have lost touch with how professionals work, and instead have begun catering to the masses with trendy tools and technologies that simply don’t meet the demands of working photographers. Fortunately, Capture One has continued to work closely with artists at the forefront of the industry to deliver the features that add value for them and their clients; rather than working against them. Thanks to that we have a product that continues to improve and make our lives easier and reduce workload.

Styles as Layers

Styles are often a contentious issue among professional photographers, but they can certainly serve a useful purpose. They can provide a great starting point for color grading, as well as shorten the time spent making common contrast adjustments, lens corrections, etc. One of the biggest issues with them, however, was that Styles couldn’t be applied in combination and we couldn’t really dial in the degree of any one style. With the addition of Styles as layers, we can now separate color grading styles from contrast/exposure styles, apply them to separate layers, and lastly, fine tune the opacity of each to achieve our desired effect.

Broad Range of Color Adjustment Tools

As described above, having the ability to perform the color grading within Capture One has many benefits, particularly that of portability, but that would not be possible if the set of tools needed to make those adjustments was not available in the first place.

We’ve seen these tools improve gradually over the years to include all the following:

– Color Balance
– Color Editor
– Curves
– Levels

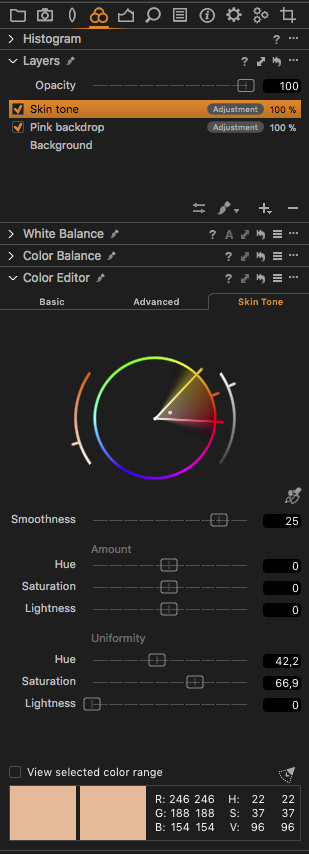
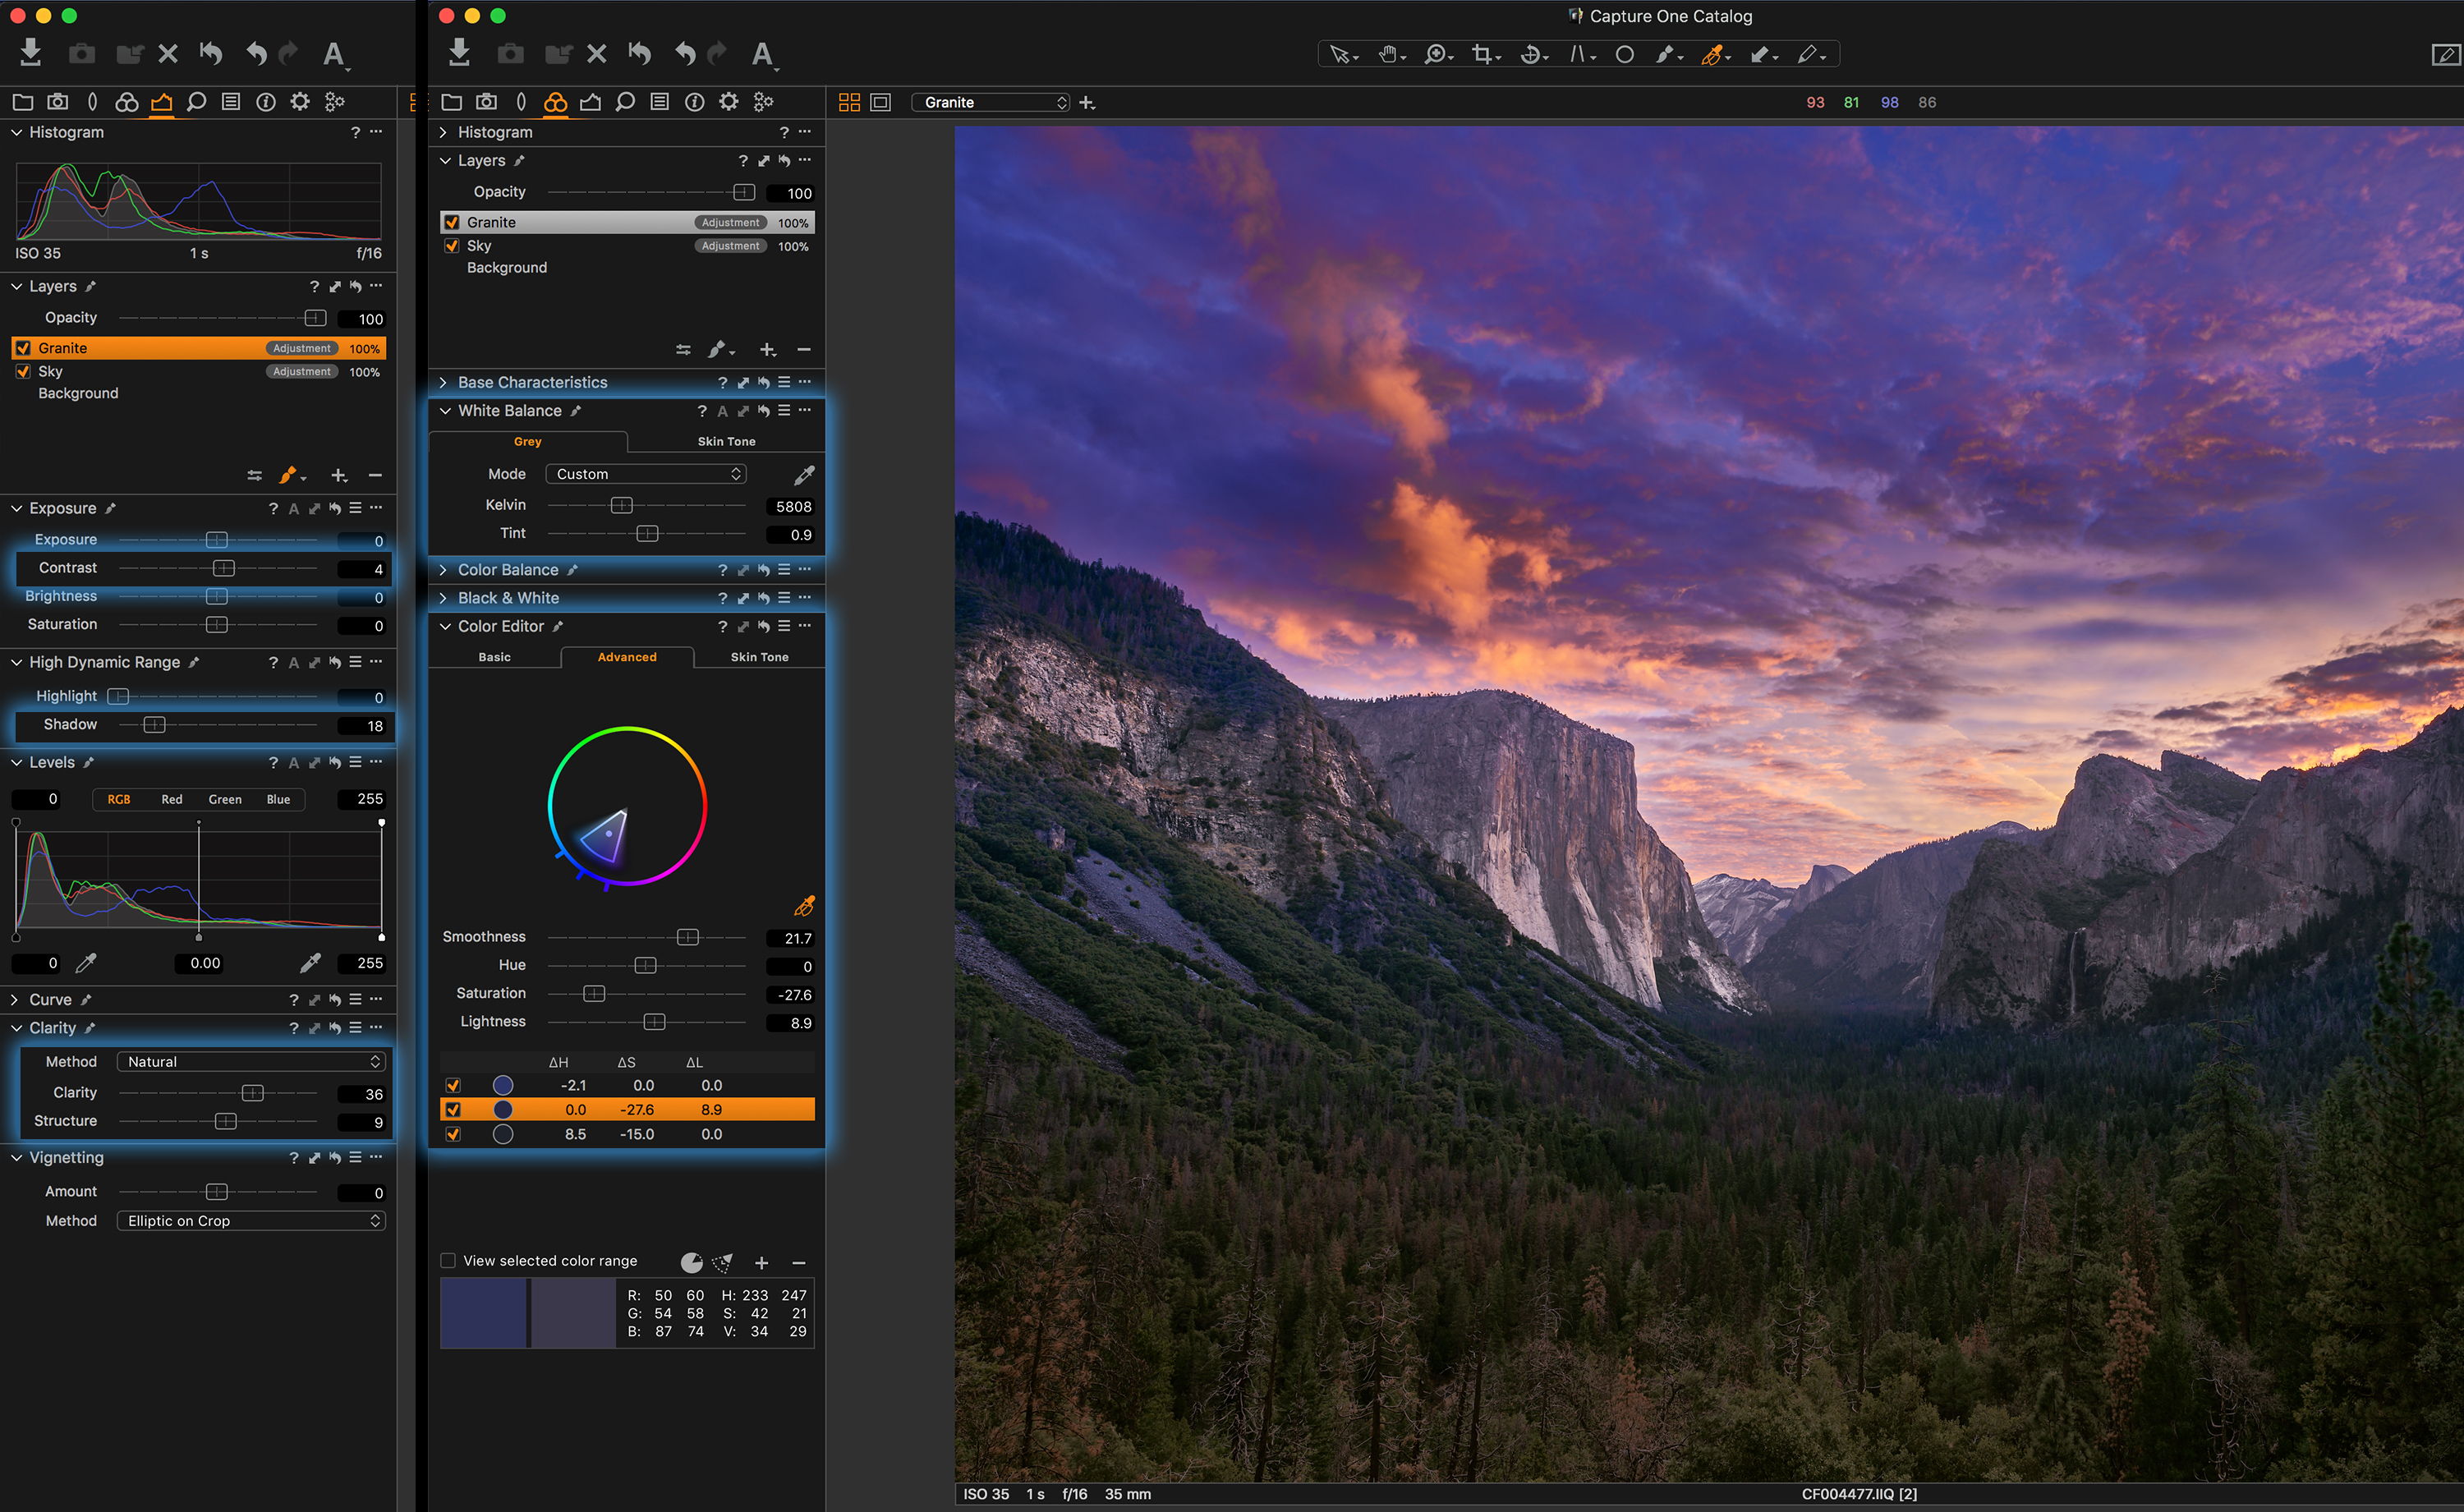
Thanks to these tools, we can color grade on both a targeted color and targeted luminosity basis. And now that’s taken even further with the added ability of using them within layers and combine masks.

For more details on how I work with these tools, see my article on Retouching Workflow in the Capture One Blog.

Conclusion

While most of the enhancements within Capture One 11 focus around Layers, it would be naive to dismiss these changes as minor. The move towards a layer-centric workflow is a huge step forward both in efficiency and usability. With its latest release, Capture One has finally become the product we’ve always wanted it to be and I’m excited to see what we can do with it now, and where it can go in the future.

Sign up for the webinar

Capture One Brand Ambassador Q&A – Part II

Get to know the Capture One Brand Ambassadors. Following up on the Q&A Part I the other half of the Brand Ambassadors will answer questions giving an insight into their Capture One experiences.

Our Brand Ambassadors cover all disciplines, so no matter what your preferences are there’s sure to be something for you!

If you don’t already have Capture One, you can download a free 30-day trial.

John Schell

What was the reason for you switching to Capture One?

A few years after I got into photography, I began to learn how to shoot in-studio. As things go, the more I researched it online, the more I’d keep seeing references to a program called Capture One which, among other things, was said the only program you wanted to use when you tethered. Up until that time, I’d tried several other options, none of which would give a tethering solution that didn’t crash and burn after a few minutes.

As time went on, my workflow began to switch from Capture One in the studio, to Capture One for my outdoor, lifestyle shoots for color toning, color grading. Once I started shooting professionally and working on commercial shoots with digital technicians, it became obvious to me that I not only needed to be using Capture One, but that I needed to become fluent in it.

What was your experience in getting started with Capture One?

To be honest, it was really slow at first. Because of the comfort that I felt in Lightroom, I spent a lot of time switching back and forth between the two programs. For me, in the beginning, Capture One was hard to crack. I would make some progress learning how to use it, learning how to get the colors and the toning I wanted and then I’d fall back into the comfort of Lightroom.

What is your best advice for new users?

Stick with it. The learning curve can seem somewhat steep, but if you stick through it and take advantage of the resources available via the Capture One Blog, you’ll never look back. I am both a firm believer and a great example that once you discover the power that Capture One holds, it’s like a whole new world opening up for how you edit your images.

Best tip?

Leave the presets at home and learn how to develop your own look and style. One of the selling points of Capture One is that you don’t need to rely on any of the pre-packaged presets that are currently out there. Because it’s not as ubiquitous as some other programs (yet), Capture One forces you, in a sense, to learn how to start at the very beginning of color grading and color toning and build up your own personal style. To me, all the draw of using Capture One is knowing that whatever I’m working on is specific to me – not something prepackaged and sold by the thousands.

What means you will never look back?

This is an interesting question. On one hand, not looking back means you are constantly moving forward which in most cases is most definitely a good thing to be doing. However, if you’re continually moving forward, I find it’s important to look back to see where you came from and, more importantly, how far you’ve come. Our jobs as freelance creators can often be thankless, tireless, seven-days-a-week endeavors and I think, at least from a personal standpoint, it’s important to know that even in what may seem like stagnancy, we’re still moving forward.

Want to learn more about John and see more of his work? Visit John Schell’s profile here

Quentin DéCaillet

What was the reason for you switching to Capture One?

I first started using Capture One because of its tethered shooting features – it’s well above anything the competition has to offer. Then, I moved my whole workflow – weddings included – to Capture One, because of the customization possibilities and the refined color editing tools. It allows me to spend less time in front of the screen and get better image quality.

What was your experience in getting started with Capture One?

It was quite easy to switch over to Capture One, because the session based workflow made more sense to me. Also, thanks to the highly customizable interface, I could make the software match my workflow perfectly.

What is your best advice for new users?

Customize the software as much as possible! Create your own keyboard shortcuts and design a different workspace for each workflow you have. Capture One is critical to obtain the best image quality possible, but it’s crucial that it becomes second nature to use and not an obstacle to your creativity.

Best tip?

Once you have the customization part down to a T, be sure to learn everything there is about batch processing and automation features. It’s how you are going to save time while retaining high standard image quality.

What means you will never look back?

I don’t see myself using any other raw processing software anytime soon. Capture One is so important to me and my work, that I wouldn’t even consider buying a camera that it doesn’t support.

Want to learn more about Quentin and see more of his work? Visit Quentin Décaillet’s profile here

Paul Reiffer

What was the reason for you switching to Capture One?

Initially, it was in line with my switch from 35mm DSLR to the Phase One 645DF+ and iQ280 system. Lightroom just couldn’t handle the files at all, so it kind of forced my hand.

That said, it became obvious early-on that this was a different beast when it came to image editing – the workflow was more intuitive, the color rendition was far superior and the flexibility of the interface made it really easy to mold the application around the way I wanted to work, not the other way around.

I had thought, initially, that I’d keep Lightroom for my DSLR editing and Capture One purely for my medium format shots – but that soon got scrapped as I became so much more comfortable and productive processing every shot I took, regardless of platform, in Capture One instead.

It was also at the same time that Adobe were switching to a subscription model that I wasn’t comfortable with (I don’t like the idea that my files are being held hostage subject to a monthly fee being paid!) – so it made the decision to completely switch really easy.

What was your experience in getting started with Capture One?

To be honest, it was a lot easier than I expected. I had this vision in my mind that this was going to be a painful process – having used (and taught) Lightroom for so long. The basics are there like-for-like, but the extra features that are in Capture One become so embedded in your workflow in a short period of time that the prospect of switching back seems unthinkable within weeks.

The way that Catalogs and Sessions work was a bit of a learning curve (and I know many new users find the same) but once you’re in the Capture One mindset, everything just becomes so intuitive that you can learn what feels like the entire system within a few editing sessions.

I guess my only concern up-front was about media and asset management, which other platforms seemed to do well, but that’s since been addressed with Media Pro SE so the Phase One system now really does tick all the boxes.

What is your best advice for new users?

Get to know the basics first.

Capture One is full of surprises, amazing features and advanced editing tools – but it’s the basics that make the picture “work” in the first place.

There’s a huge amount of free video tutorials and learning resources available on the Phase One website – with 5-minute editing guides for different situations, workflow introductions, as well as interactive webinars which are regularly broadcast for free – so I’d always recommend people make use of as much of them as possible when they’re getting started.

Also, don’t try to “make Capture One match your old software” (I’ve taught a few people who’ve struggled as a result of this). It really is a tool built by people who know image editing inside out – and while it’s one of the most flexible platforms around, I’d start from the recommended workflow and “tweak” from there, instead of forcing it to match 100% what you’ve previously been used to.  There’s often a reason why something’s been done that way, and the online learning tools can help explain before making too many changes.

Best tip?

Once you’re comfortable, build the workspace around the style of photography that you produce.

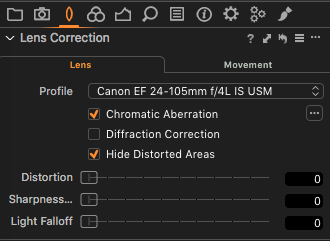
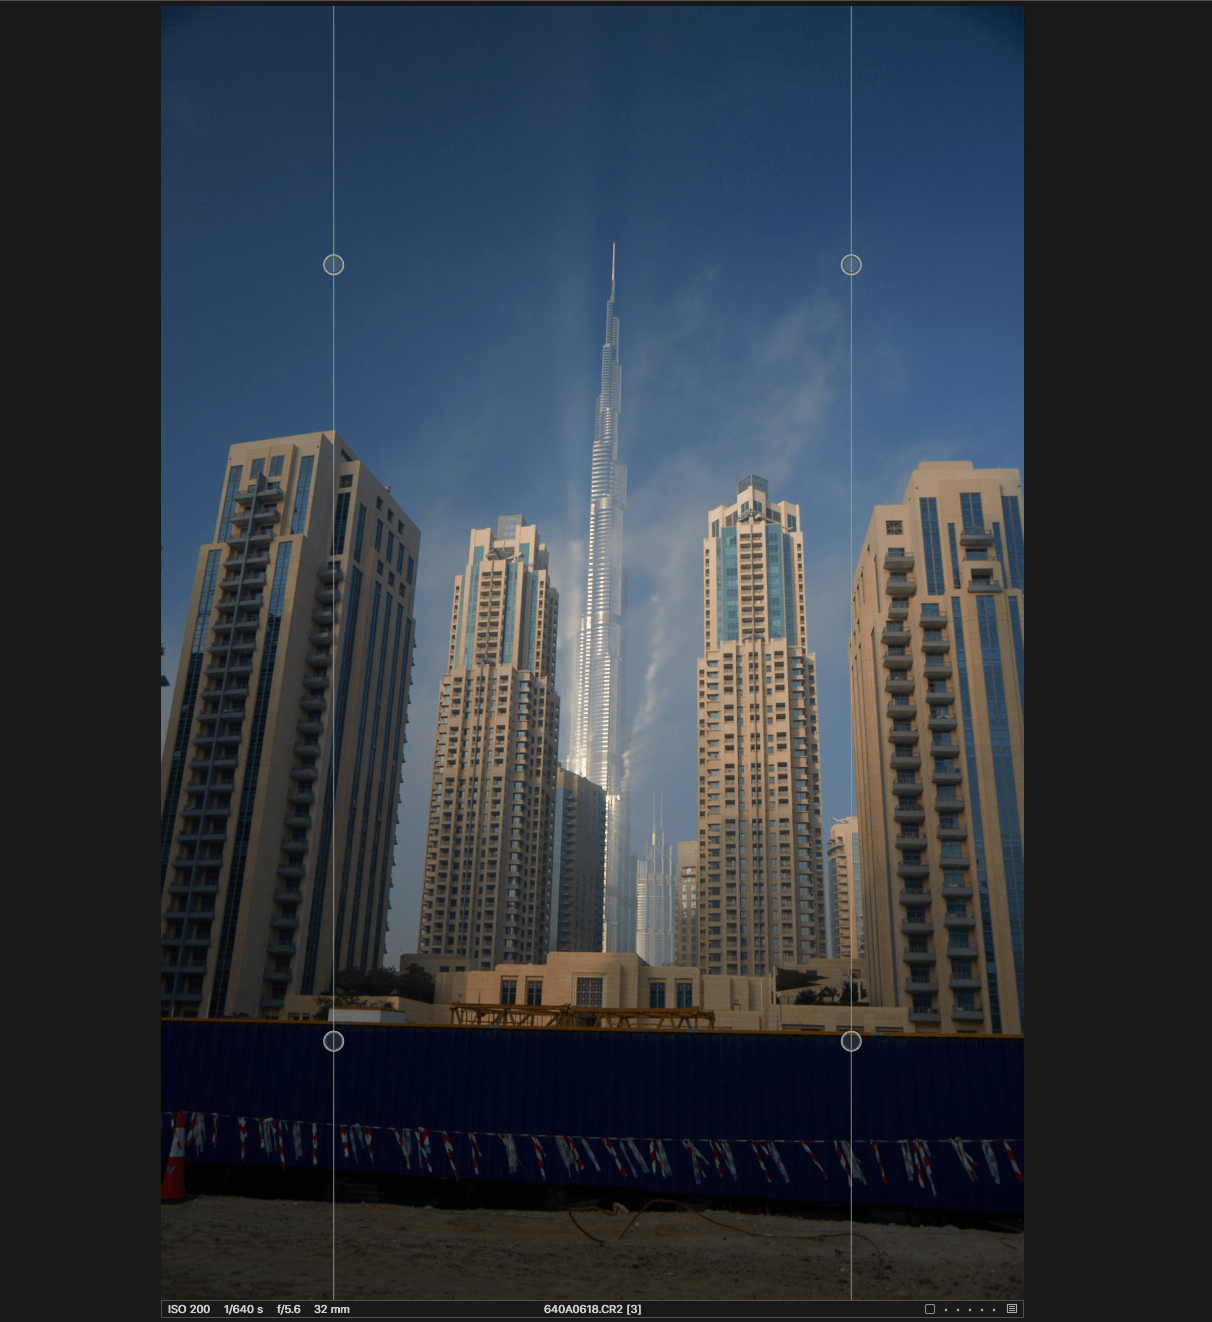
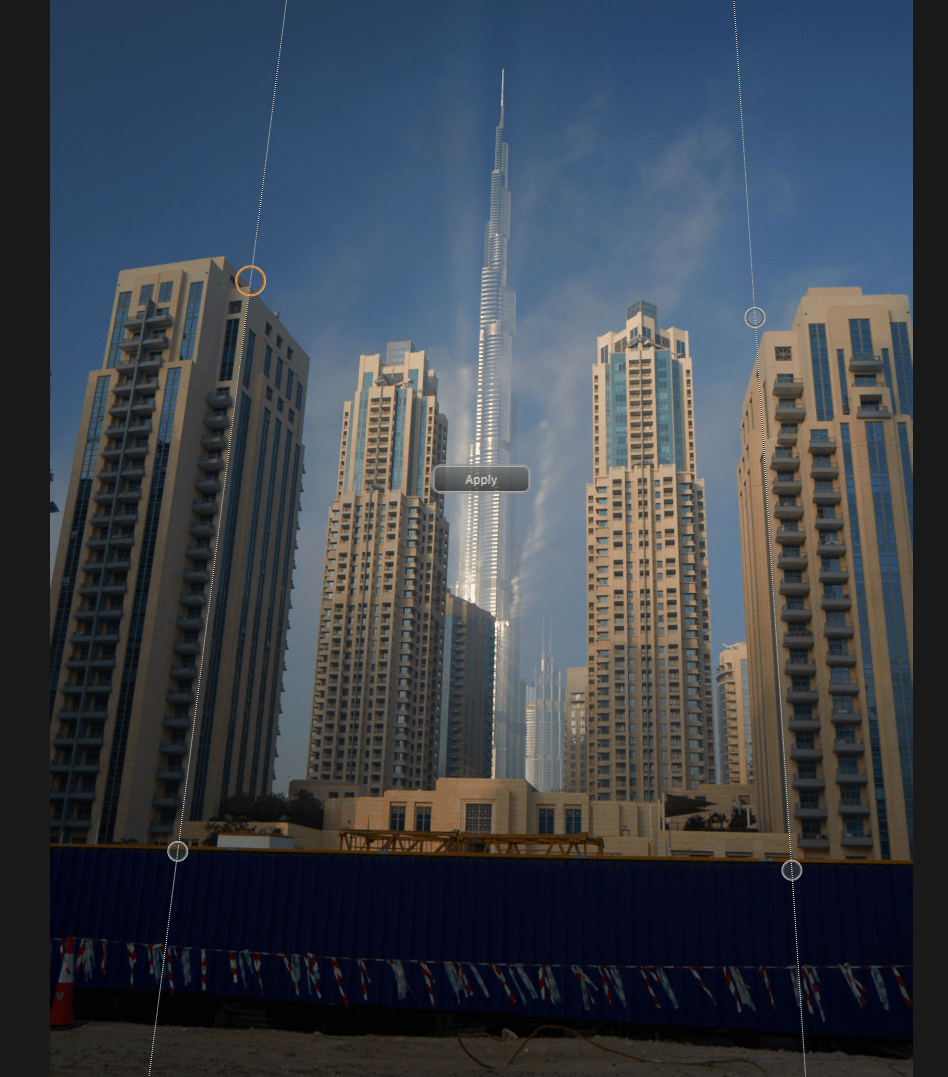
If you’re shooting architecture, then keystone tools will be important along with lens distortion upfront – for fashion/beauty, maybe the intricate color balance features are key to your processing. Whatever style of photography you produce, the workspace and workflow in Capture One can be shaped around your way of working once you’ve got comfortable with the basics. Make use of that ability to create a post-processing system that works perfectly for you and your images.

What means you will never look back?

I now have a tool which produces the highest quality output from my camera while offering the best workflow for my style of processing – in comparison to all the tools I’ve found available on the market, both new and old.

To me, there is simply no reason to ever consider switching back to another platform as a result.

Want to learn more about Paul and see more of his work? Visit Paul Reiffer’s profile here

Martin Bailey

What was the reason for you switching to Capture One?

Capture One had been on my radar for many years, but not knowing any better, I stayed with the software I was used to until I had some time to sit down and explore Capture One. I downloaded the demo version, grabbed a selection of my favorite images and imported them into Capture One, and it blew me away.

I saw detail in my photographs that I had never seen before! It was thrilling to find new potential in my work, but at the same time, I felt sad that I’d spent ten years using software that didn’t bring out the full potential of my images. I kicked myself for not making time to try Capture One much, much sooner.

What was your experience in getting started with Capture One?

I rely on performing tasks as early as I can in my workflow, as this always saves time later. It is essential for me to be able to organize my images in a year/month/day folder structure. I also like to rename my files on import, and add copyright information, etc. so I initially ensured that I could perform these tasks during import using Capture One.

I do a lot of black and white work so I was elated to find that I could create stunning black and white images right there in Capture One Pro. Not to mention having complete control of the color in my color work. I was able to stop using third-party plugins and remove the necessity to save my photographs as TIFFs. I much prefer keeping my images in their original raw format whenever possible, as this enables me to continue to benefit from updates in the processing engine.

I’m also an avid printer, and I was delighted to find that Capture One has robust printing features and media templates, so I can print from within the software, rather than jumping into third-party tools.

Following an afternoon of testing to ensure that I could do what I needed to in Capture One, there was no going back. In fact, I was hooked the moment I saw my first image with all that detail that I never knew existed. The rest of the afternoon was just confirming that there were no show-stopping issues that would prevent me from unleashing the full potential of my work.

What is your best advice for new users?

Capture One is likely very different to the software you’ve used before. It’s designed to mold to your requirements and can be customized to create your specific workflow, rather than providing one rigid path. Everything is there to get you started, but stay flexible and open to the possibilities available to you. Try not to assume that you can’t do something just because it’s not in the same place as your old software.

Since I saw my first image in Capture One, my goal was to find ways to do my work, not to find reasons to abandon it. I now work almost exclusively in Capture One, with less than two to three percent of my images requiring a round trip to Photoshop, if that. I no longer use any third-party plugins and even do all of my fine art printing from Capture One. I have never been happier with my digital workflow than I am now.

If you haven’t already switched, stop thinking about trying Capture One, and do it. Your photography will thank you for it.

Best tip?

Spend some time to learn the existing keyboard shortcuts and define some of your own. One of my biggest time savers is using CMD + SHIFT + C to copy all of the adjustments I’ve made to an image and apply them to the next with CMD + SHIFT + V. I will tweak and recopy my settings as I move through my set, but this feature saves a lot of time.

I used to finish my photography tours with many days of images still to process. Since switching to Capture One, I now come home with most of my editing done, even for wildlife tours on which I sometimes shoot thousands of images each day.

What means you will never look back?

I spent too many years unnecessarily limiting my photography and my workflow with my chosen software. Now that I use Capture One, I trust that Phase One will continue to innovate and provide the best raw processing and digital workflow software on the market, so I’m here to stay.

Want to learn more about Martin and see more of his work? Visit Martin Bailey’s profile here

Marie Bärsch

What was the reason for you switching to Capture One?

Before I switched to Capture One, I was completely embedded in the Adobe Ecosystem, and before I knew about Capture One’s superior color handling abilities, what intrigued me the most was the fact that I can work with sessions and everything is a lot faster and easier. I’m working with different computers all the time, and my shoots are scattered across several external HDDs. So, the biggest selling point to begin with was knowing that every shoot is connected with its selections and adjustments, and that I can easily transfer all that.

What was your experience in getting started with Capture One?

In the beginning, working with sessions instead of big slow catalogues was a huge time-saver and so much more effective. After I played around with it for a while, I realized that I can get my pictures where I wanted them to be before I sent them to retouching, and much faster too. I feel like with Capture One there are fewer processing steps involved to get the picture right. 

What is your best advice for new users?

Basically, do what I did: download the 30-day trial and start to play with it for a while. So, you can see for yourself. ????

Best tip?

I love to use the color wheels above all other tools for color grading an image. You just have so many possibilities to alter an image dramatically or just do these subtle changes to make an image stand out.

And my retoucher is madly in love with the grain simulations if you are into that kind of thing.

What means you will never look back?

After three months of using Capture One I had to edit an image in Lightroom. It was a raw file that I did initially in Capture One, and I realized that I just couldn’t get the same results. Since that day I never looked back.

Want to learn more about Marie and see more of her work? Visit Marie Bärsch’s profile here

Baber Afzal

What was the reason for you switching to Capture One?

Capture One has a really amazing clarity slider which does not hurt the blacks unlike other platforms, plus it allows me to colour grade my images with precision in advance too instead of doing it in Photoshop. I also love the focus peaking feature which allows me to determine which area of my images are the sharpest especially when it comes to focus stacking.

What was your experience in getting started with Capture One?

Initially, it did appear to look tricky but then after giving it a week, I got used to it. Getting to learn how to use catalogues and sessions really did help me in organizing my photos better.

What is your best advice for new users?

Don’t be intimidated by the look of it. It may look complicated, but when you realize why everything is placed the way it is, it enhances your workflow.

Best tip?

Bring out as much information as possible from the image you are working on by bringing out the darkest parts of the image. Use the clarity slider to your advantage too!

What means you will never look back?

Its color grading ability and to be able to have various options in the clarity slider will allow me to never look back.

Want to learn more about Baber and see more of his work? Visit Baber Afzal’s profile here


Do you have any questions to the Brand Ambassadors? Feel free to post it in the comment field below.

Check out each of their galleries and profiles here: www.phaseone.com/brand-ambassadors

Follow us on Instagram and Facebook to get more inspiration and keep an eye out for them in future blog posts!

Sign up for the webinar