Latest Posts

The never-ending quest for authentic color

How do you accurately capture real-life color in a 2D photo? We open up the doors to our development lab and let you in on the secret of Capture One’s hand-calibrated camera profiles.

Want to create your best possible photo? It takes more than powerful editing tools to make an amazing image come to life. Like an artist needs a beautiful blank canvas, it’s also important to have the best possible starting point for your editing.

That’s where our camera profiles and true-to-life color processing come in. When we say your camera is supported in Capture One, we don’t just mean that you can edit files from that camera in our photo editing software.

We mean that we’ve calibrated the colors from your camera by hand, so that when your photo is imported into Capture One, your colors and details look as authentic as possible, just like when you captured it. That’s when you’re free to unleash your creativity and keep your photo true-to-life – or go crazy with our tools to create something totally new.

As brands continue to release cutting-edge cameras, like the Sony Alpha 1 or Fujifilm GFX 100, it becomes even more important to act fast and make sure that our color processing can match the power and precision of your hardware.
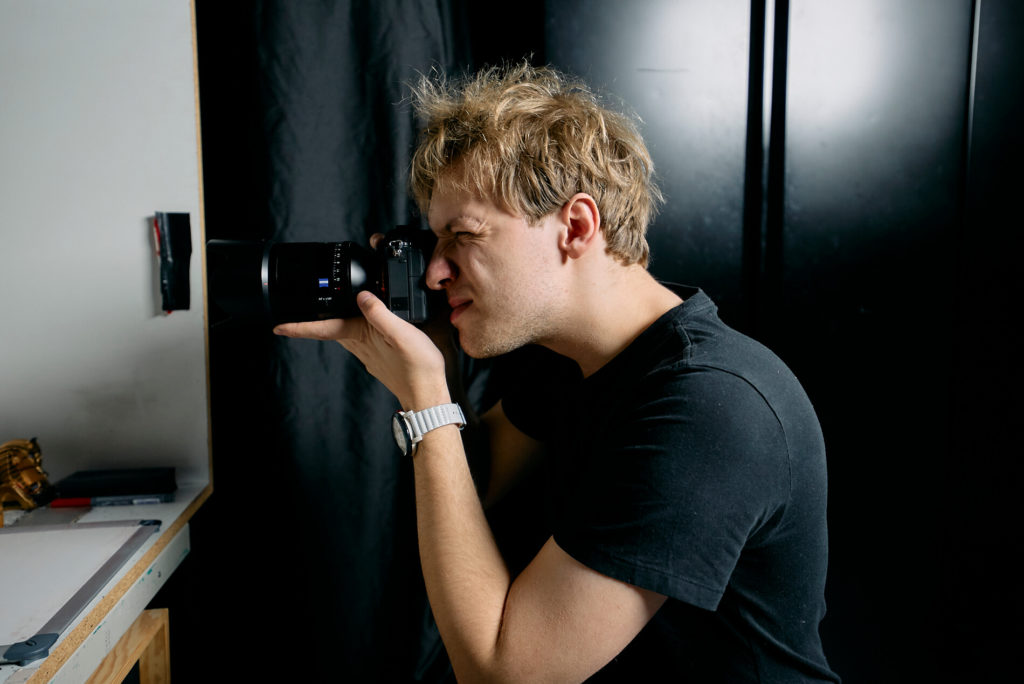
 

But what goes into creating a camera profile – and how can you replicate real-life color in a 2D photo? In this blog, we’ll let you into our development lab and introduce you to our very own color professor, Niels Knudsen, who plays a big role in developing Capture One’s unique camera profiles.

Can a camera truly capture color?

“There’s often a misunderstanding that it is very simple to profile a camera,” says the Color Professor, “You simply take a picture of a color chart, analyze it with some technology and voila – the colors show up accurately in your software just like they did in real life.”

But this wouldn’t account for the fact that a camera lens has limited capabilities compared to the color that the human eye can see.

Knudsen encourages you to think about the shadows and light constantly shifting around you – and how it changes your perception of colour. Your eye can see the highlights and shadows simultaneously – but a camera lens has to compress what it sees.

As technology advances, cameras have gotten better and better at capturing the variety and gradients of real-life colors – but there are still limitations.
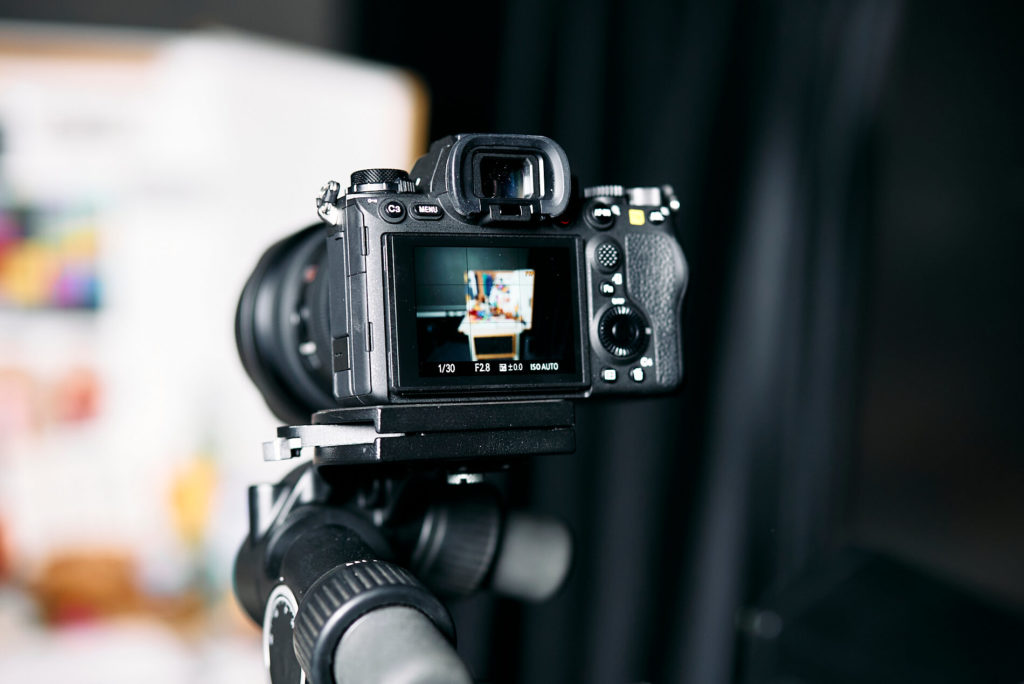
 

For one, different cameras capture and render colors in different ways – so rather than take a one-size-fits-all-approach, Capture One creates tailored profiles for each model and brand.

“Different sensors see colors differently, so simply relying on automation to tune those colors would not live up to our sky-high demands for the best color quality.” says Knudsen.

Another limitation is the way that compressing color into a 2D image will affect the quality of the photo. To achieve the highest-quality image processing, colors and the dynamic range of a photo must be compressed in a way that convinces the human eye.
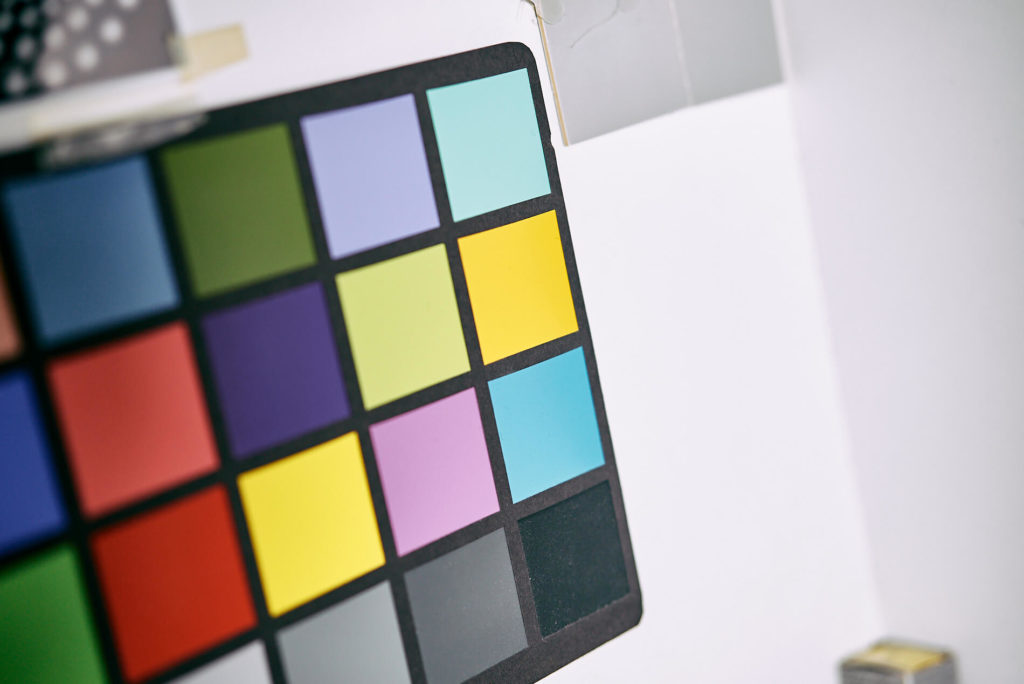
Calibrating colors by hand

That’s where the human eye comes in to the development process – what we at Capture One call “hand-calibration.”

“That’s why we need manual tuning – calibrating the colors by hand using the human eye – to ensure that our software accounts for each camera’s unique sensor and achieves a faithful color reproduction that looks as pleasing as possible.” says Knudsen.

“It’s a balance between what a computer can do for you and what the human touch can do for you,” adds Christian Grüner, who works in the development team. “It’s about having human eyes and a human interpretation of our images, rather than a machine capturing a machine.”

For Grüner and his team, this approach allows them to inspect all the different facets of a particular camera and the kinds of images it can render, to make every nuance of color as accurate as possible. When it comes to developing the camera profiles, the development team is constantly striving for an elegant compromise between what is accurate and what is beautiful to the human eye.

This precise, manual process is especially crucial when it comes to skin tones – which are not one single color, but made up of different pigments. Humans have evolved to be sensitive to even the slightest shifts in skin tone – a faint green or flush helped us identify if a member of the group is ill. That’s why it’s critical to get tones exactly right by manually calibrating the colors involved, to ensure that subjects look their best and most realistic.
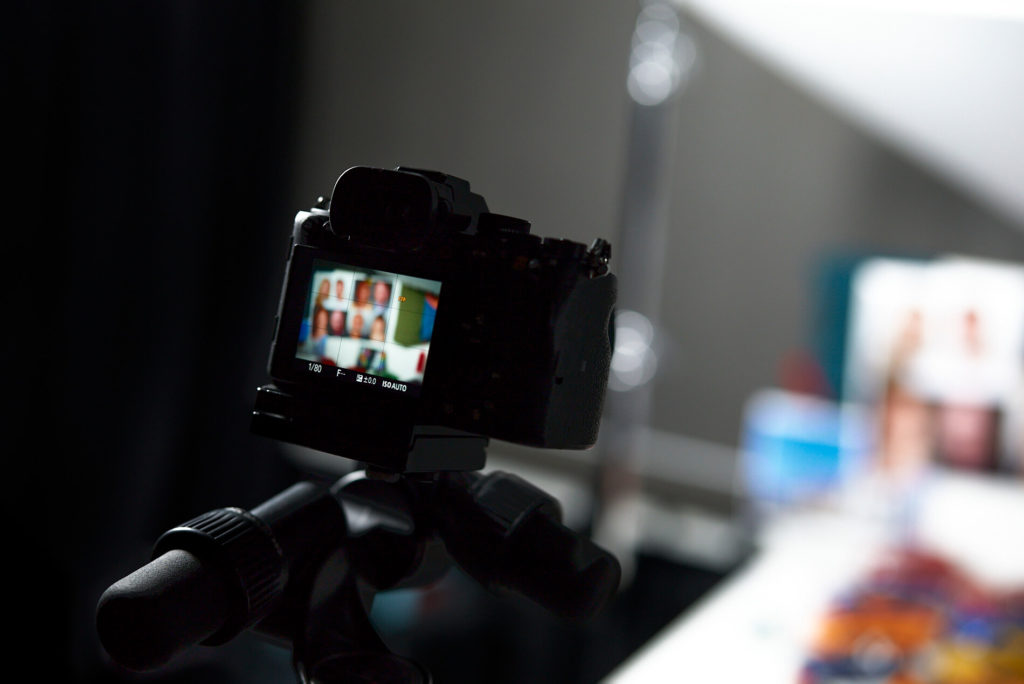
Always innovating color

In 2020, Capture One introduced a new generation of hand-calibrated camera profiles for the newest cameras on the market – the ProStandard Profile. These contain “hue-preserving” technology to ensure even the faintest hues and skin tones are rendered faithfully and protected from changes caused by contrast that appears on the image.

It’s the next step in Capture One’s legacy of calibrating accurate camera profiles by hand, a 25-year process that is continually being perfected.

Sign up for the webinar

capture one webinar editing portraits

Editing your Portraits

Photo by Joe McNally

Discover new techniques for editing your portraits. Join us for our live webinar as we take you through portrait edits from our community, and teach you how to utilize all the necessary tools to perfect your portrait style.

We’ll cover everything from color grading with layers to mastering specific skin tone edits , and teach you how to save time on your next edit. Perfect for anyone who shoots headshots, lifestyle, fashion, beauty or just wants to learn some new tricks in Capture One.

Learn about:

  • Considerations for editing different types of portraits
  • Perfecting skin tones
  • Using layers

Download a 30-day trial of Capture One.

Sign up for the webinar

Joe McNally on the new tools in the Spring update

NOTE: This article discusses an older version of Capture One Pro. To learn more about our latest version, click here.

Award-winning photographer Joe McNally takes you through the new and upcoming tools for Capture One 21 and how they’ve elevated his editing workflow.

Capture One just got faster, and better with its upcoming update in March. So happy that during this time at home, I’ve had a chance to learn (still lots to go and do there) and grow with the program. I generally am not shy about cranking lots of frames on location, as assistants and crew who have pulled and hauled with me in the field will tell you, so speed of edit, post-shoot, is paramount.

New stuff!
Capture One 21 (14.1) – the new update to Capture One 21 which will be released in March. In this new update, the viewer tab now lets you enlarge and inspect the image big, full size, prior to import. All the images present with check marks, so you can import all, as per usual, with one button push, but you can also uncheck all and flip on the viewer tab and fly through full size pictures, really judging critically for sharpness, stray stuff in backgrounds, and the like. No need to import all the thumbnails and then enlarge and pass judgement. Do it on the fly, from the card, and selectively import. Huge time saver, and conserves space on the hard drive.

Shortcut keys are now available for import. S for pick, A for unpick. Or just hit the space bar in turn.

More and more camera profiles have also been added, and a whole array of Style Brushes are also coming in this update. Style Brushes allow you to bypass creating a layer and selectively brush-in all manner of adjustments, from color and exposure, to specific enhancements such as deepening a sky, or whitening teeth. These new tools are simple, fast, and to the point.

Plus, I loved these great tools that came with Capture One 21 back in December…

Speed Edit
Turbocharge your edit by hitting the A key and slide for highlights, and the 1 key to slide for Kelvin. Shortcut keys for these “always using them” adjustments again, shaves time off the edit process.

Dehaze
This is Super. I use it for the landscapes I shoot (not too many) but also, because I’m more of an urban, people photog, I use it for scenes. It just snaps the image to attention, and you can customize it to find the shadow tones of your preference. You can go negative, too, and increase haze.

Before imageAfter image

Before and After tool
This has been around for a bit, but the Before and After tool rocks. I’ve been plumbing my archive, updating lots of years of shooting, looking at scans of wildly varying quality, and via Capture One before/after, I can tell very dramatically, and immediately, where the image has come from, and shed the staleness of an older scan. I’ve been pumping some life and vigor into images from long ago. It’s been super helpful as I prepare a new book for the fall.

Simply put, the Capture One software now is a seamless highway from tether, to select, to edit, to final. I’m still over the moon about the Process Recipes tool. I created an embarrassment of different Recipes, for the book, for the blog, and for social postings. It takes at least some of the time commitment of social media posts out of the equation. The file is done and lives in a folder called “Blog,” ready to post. Those labeled subfolders of processed imagery can be designated to live in the same folder of raw originals, so the organization is done for you. RAW, finished, and sized files all live within one folder on your hard drives. One-stop shopping.

There are many, many photographers out there who do wondrous post-processing on an intricate and highly sophisticated level. The look of their pictures, from the shutter push to final, incorporates and anticipates layers and layers of image work. The images are astounding, but that’s not me. Most of the time, I shoot in a very straightforward way, solving problems on location, at the camera. I’ve always wanted a post processing program to dovetail intuitively with the way I photograph, and present itself with language, an interface, and educational support that’s understandable. Capture One is it.

Before imageMcNally - Winter

Sign up for the webinar