Sometimes it is helpful to have more than one person access a Catalog for collaborative sharing. This sharing process is very easily achieved within Capture One Pro 7.
A simple feature exists within Capture One Pro 7 to keep the Catalog structure safe and to avoid the need for duplicating the Catalog itself or the images within.
Capture One Pro 7 Catalogs can either be in a Locked or Unlocked state. In the Locked state, multiple people can open and view the Catalog, but not make changes. In the Unlocked state the Catalog can only be open by one user at a time. That “admin” user will be able to make full changes and edits to the Catalog.
Sharing Catalogs in Capture One Pro 7
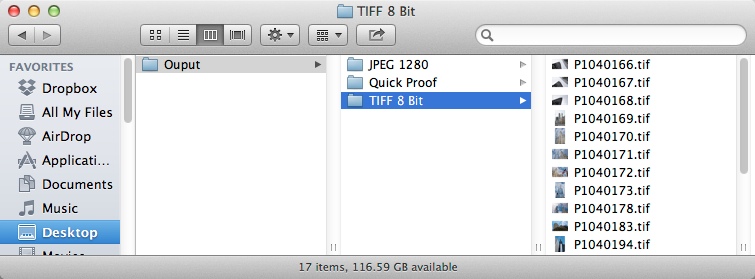
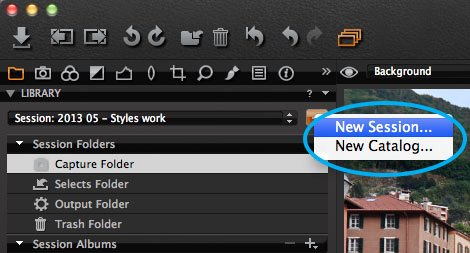
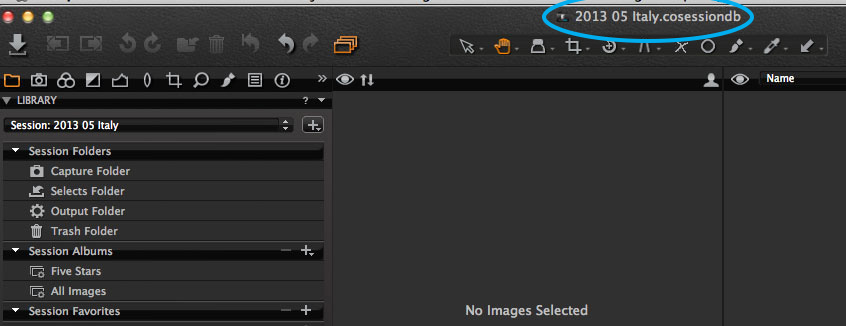
When you create a Catalog in Capture One 7, a .cocatalog file bearing the name you specified is created and on an Apple system it looks like this in the Finder.
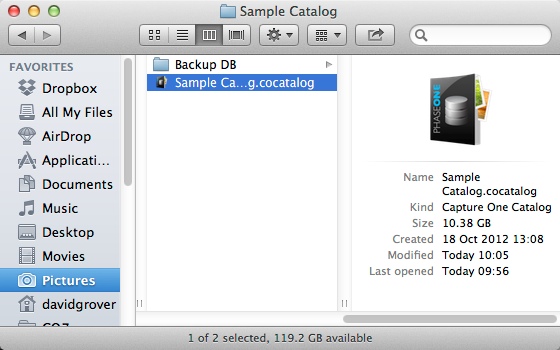
This is the one Catalog file that contains everything Capture One 7 needs to open and display your images with the Catalog information. Double-clicking the .cocatalog file opens it in Capture One 7 on your computer.
The Catalog structure is a little different in Windows. A folder is created with the name of your Catalog and contains a few items that Capture One 7 needs to open and display the images with the Catalog information. The file circled in orange (below) is the equivalent to a .cocatalog file as seen above on the Mac platform.
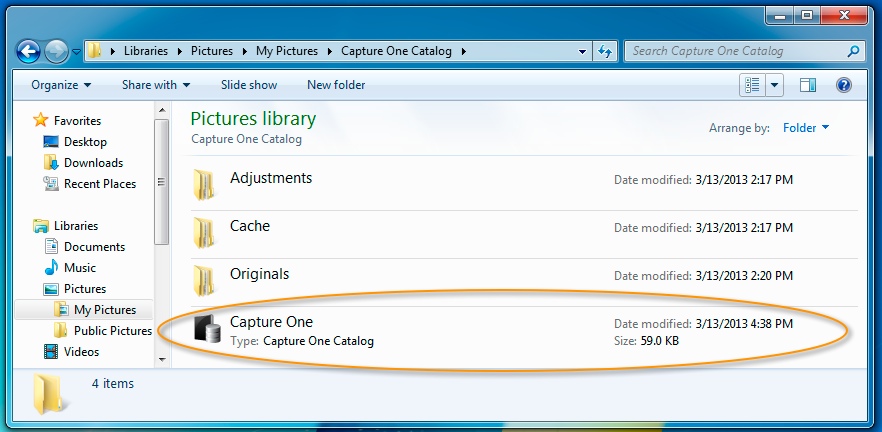 You need to double-click this file to open the Catalog in Capture One 7 on your computer. You can of course also access Catalog files via the File>Open command (on Mac or Windows) within Capture One 7 and browse to the Catalog location. Catalogs are compatible between Mac and Windows, so you are not limited to one platform.
Locking and Unlocking Catalogs
When a user has a Catalog open in Capture One 7 it is by default locked and unable to access for other users.
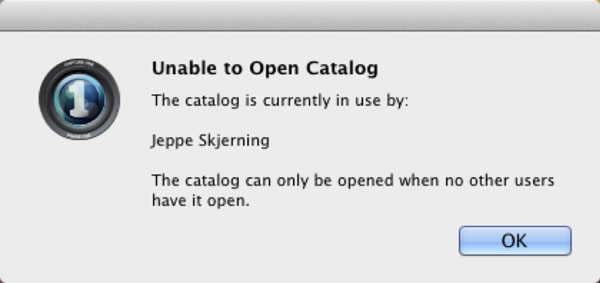 If you try to open an already open Catalog you will see a warning message like the one above.
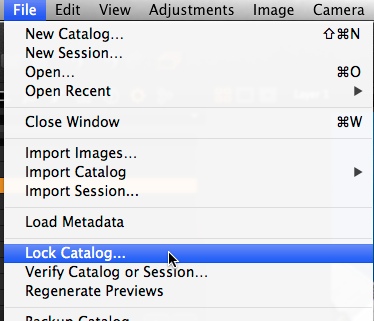
This behaviour prevents two or more people editing a Catalog at the same time. In order to edit the contents of a Catalog one user must first close it before another user can open it. If you wish for multiple people to open a Catalog at the same time it must first be Locked. To lock a Catalog go to File>Lock Catalog in Capture One.
When locking a Catalog, the following warning appears.
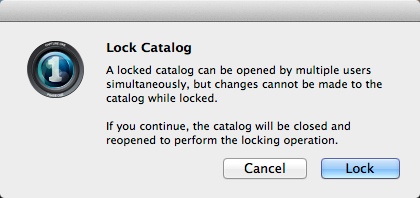
After clicking Lock, the Catalog will reload in a locked state. Multiple users can now access the ‘Read Only’ Catalog. To return it to its unlocked state, simply choose File>Unlock Catalog.
Please note, that if sharing a Catalog on a network, network speed may affect the performance of browsing and editing the Catalog. Optimize your network to have the best experience sharing Capture One Catalogs. Use the fastest network speed possible and store your images on high speed hard drives.
All the best,
Niels