I’m often asked at events why a customer should choose Capture One as their application of choice for working with their images. In this blog post I will give you the major reasons.
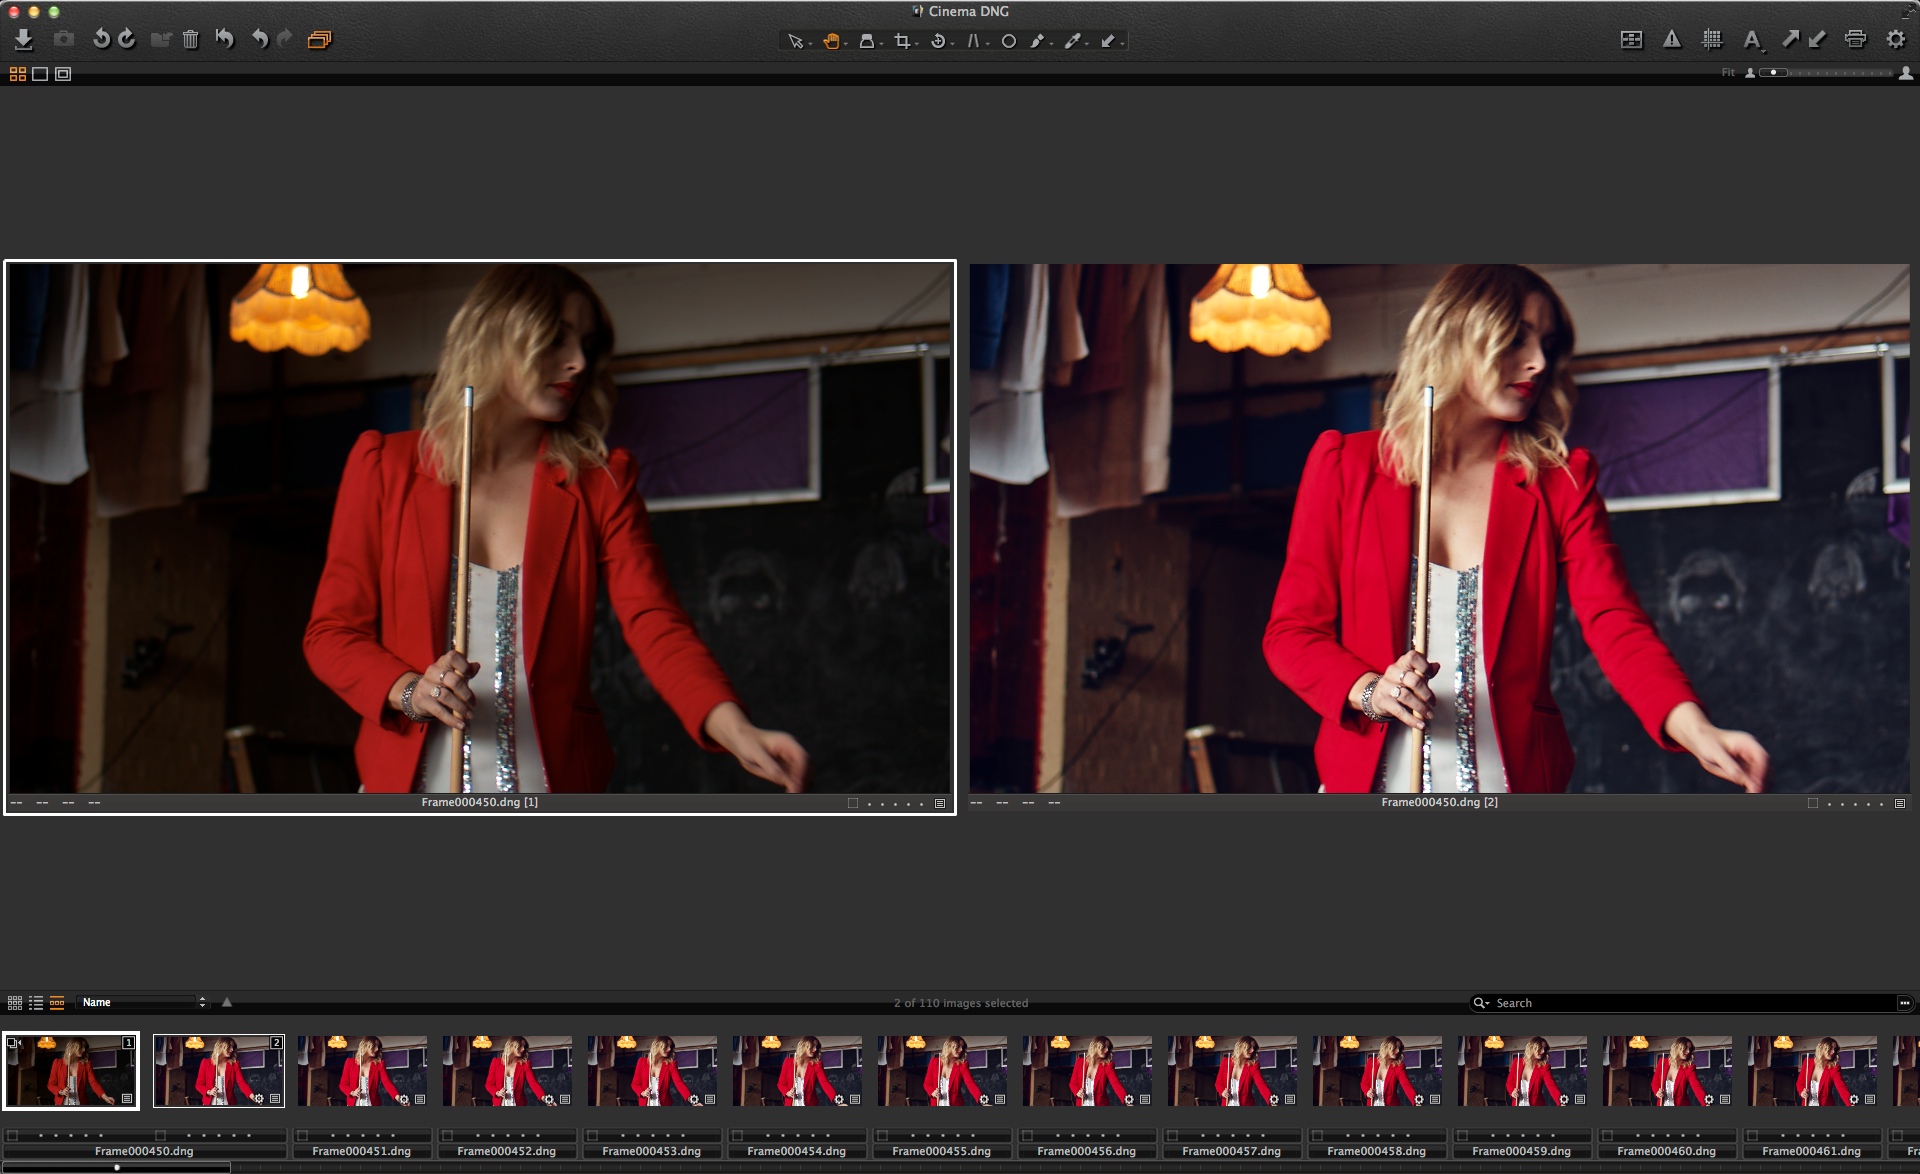
Traditionally, our customers have chosen to use Capture One due to the quality of RAW conversion. Capture One 7 can deliver great out-of-the-box results in terms of pleasing natural looking colours, fine detail and low noise. Since the introduction of version 7, Capture One has taken a quantum leap in this aspect and even more features have been added allowing you to achieve even better results from you RAW files.
Capture One 7 also offer a wealth of professional tools to enable you to capture tethered, use Live View as you are used to on your DSLR, all in a completely customizable interface.
I was inspired to write this post by Doug Peterson from one of our US Partners,
Digital Transitions, as he had posted something similar on a photographic forum.
Capture One RAW conversion
You may have read in earlier blog posts about the new conversion engine in Capture One 7. Even before version 7 was released, customers chose to use Capture One, as they knew it would deliver the best image quality from their RAW files. To stay ahead of the competition the processing engine was completely revised and still delivers what our customers need: Ultimate image quality out-of-the-box.
The question of “Good Color” can often be subjective, but we believe that enough of our customers are convinced to be able to state this confidently. Especially when it comes to skin tones and saturated colors and highlight transitions.

Noise Reduction
Currently Capture One supports over 300 different camera models. Each camera supported has had a specific ICC profile built for it and is also carefully tested to determine the best noise reduction parameters for the full range of ISO settings. Even though the settings in the Noise Reduction Tool are set to 50 and 50 for all cameras, the ‘under-the-hood’ reduction differs for each camera and ISO setting.
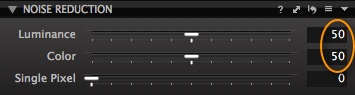
At the respective settings of 50, we have made the best compromise between preserving detail and reducing noise. If you prefer a different look you can adjust accordingly.
We also try to remove as much noise as possible and not just ‘shape’ the noise. If you prefer a natural film grain look then you can add this in the Noise Reduction Advanced Tool (Capture One Pro only).

Professional Tools
A lot of our customers only use Capture One for tethering – i.e. capturing directly to Capture One. Capture One 7 has a number of tethering features that make it an obvious choice.
- Plug and Play. Simply connect your DSLR and start capturing.
- Live View. If your discipline is capturing still life and advertising shots, then being able to compose with Live View is a real time saver. The quality is extremely high with a fast frame rate. Additionally you can adjust the focus of the lens electronically with three degrees of coarseness. This aids composition and really ensures the focus point is exactly where you want it.
- The Overlay function allows you to impose another image on top of the Viewer window. This could be a layout to ensure you are fitting within the requirements of the shoot, for example a magazine cover.
- Capture Pilot is our iOS application that allows you to view and rate images, plus remote control your camera from your Apple iDevice. If you don’t have access to an Apple product you can also use any web enabled device, but with slighty less functionality.
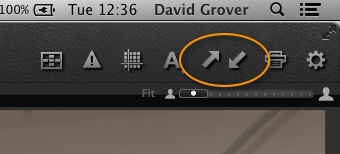
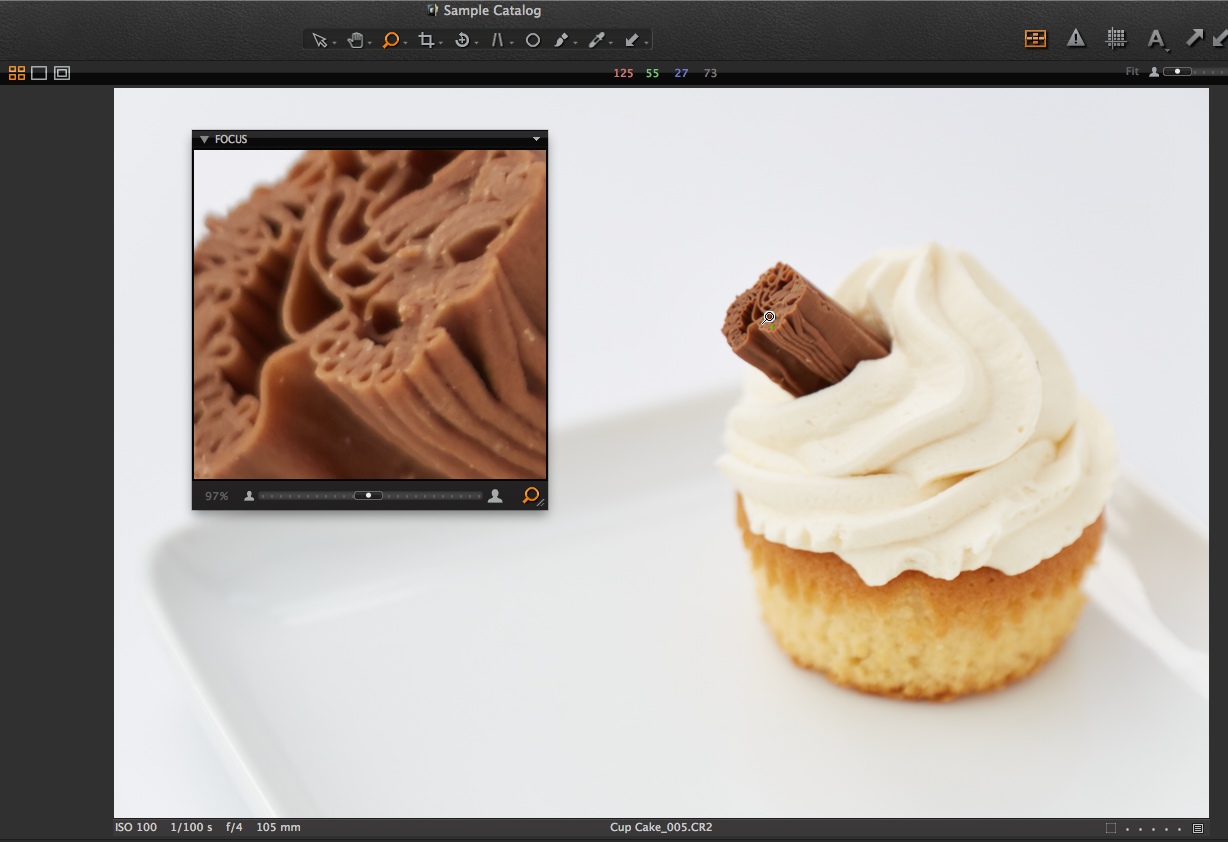
Other professional tools include the Focus Mask, which reduces time on initial edits. If you are used to focus peaking on video cameras then the result is similar. The mask shows on the Viewer and Thumbnails indicating the sharpest areas of the image.
To check focus in general, use the fixed focus window to keep an eye on sharpness. This is especially useful in Portrait and high volume product photography. Read more on tethered photography here
Adjustment Tools
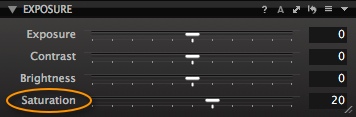
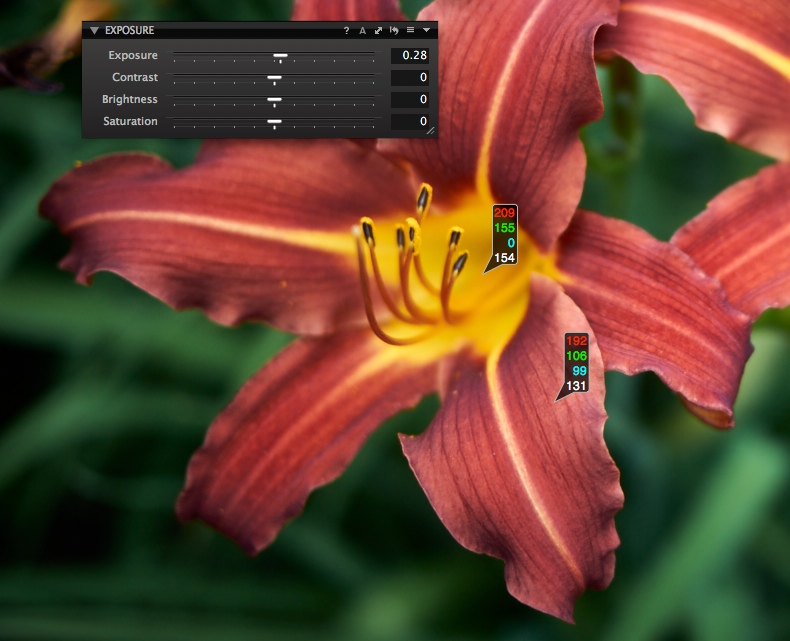
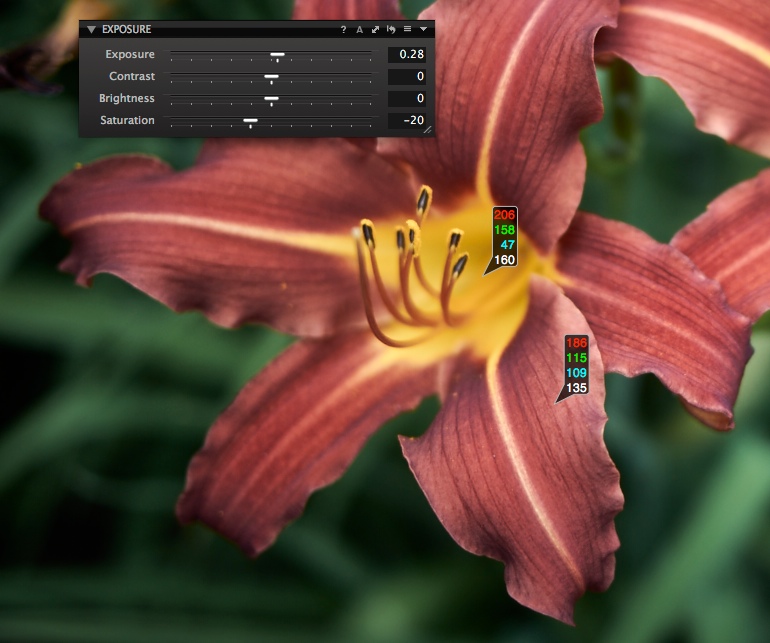
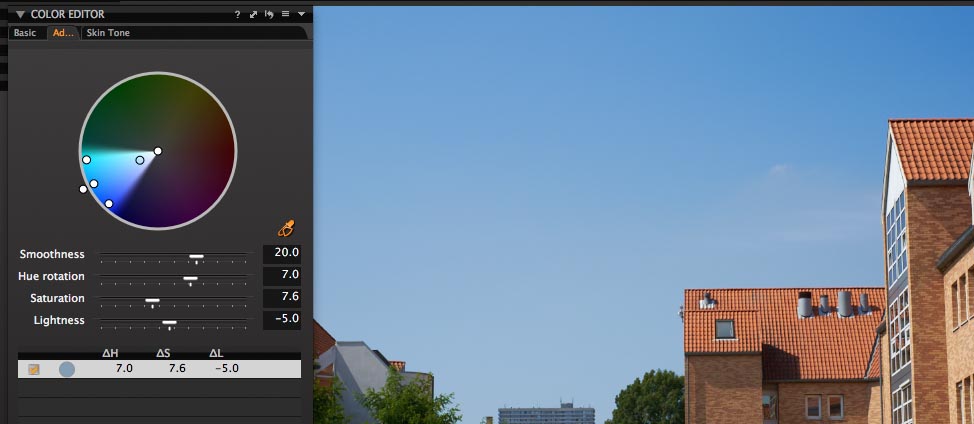
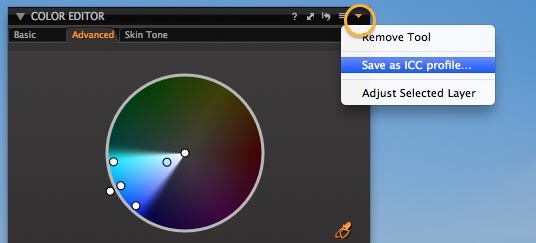
Capture One 7 has a number of feature rich adjustment tools to give you the creative look you desire. There are too many to mention in a simple blog post! I will use the Color Editor Tool as an example.
This tool allows you to really nail down particular colors (even down to the saturation of that color) and make finite adjustments. There is the possibility to make up to thirty different corrections and also save these as an ICC profile or Preset for future use.
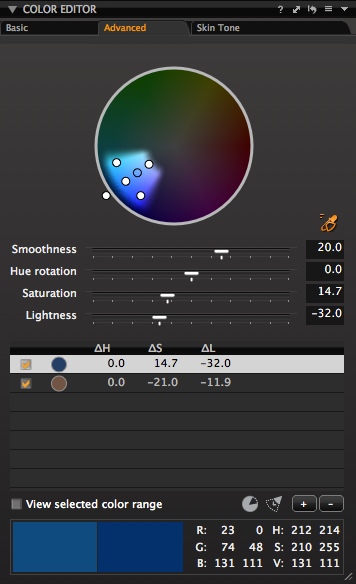
It is our opinion that far more precise color edits can be made with this method of first selecting a color and then applying changes to that color, represented with a color circle, as opposed to using arbitrary sliders used in other applications.
Tools for Production
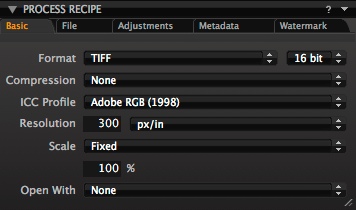
We understand that outputting final images to a number of different formats and sizing is often necessary. For example, a high resolution TIFF and a lower resolution JPEG for web/email. In Capture One 7 you can setup a number of “Recipes”, which can be enabled with a single click and then “start a process action”. This prevents you from having to enter an output dialog box multiple times to produce multiple file formats. Actions can also be set for MetaData, Adjustments and Water Marking.

Asset Management
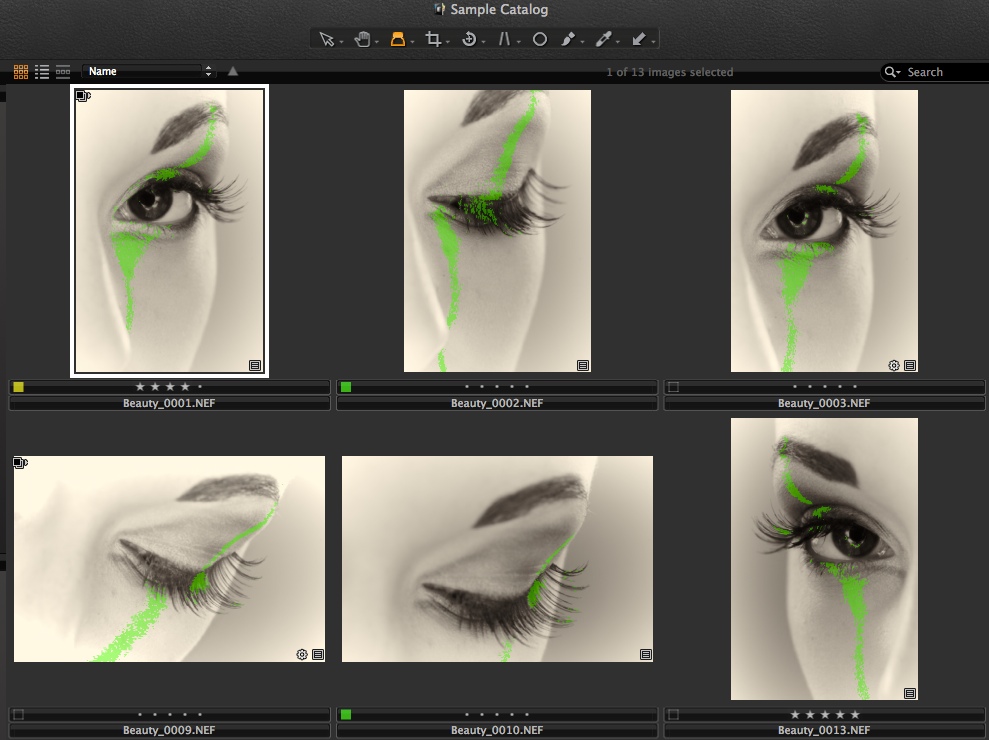
Capture One 7 introduced Asset Management for the first time. While the concept of Catalogs is not new, we wanted to create a catalog system that had broad appeal and removed some of the limitations of other solutions available. For example, you can work with multiple Catalogs and more than one at the same time. Therefore you can choose to store your work in one or several Catalogs with no limitations.
With Catalogs we introduced the world to the concept of adjustable previews, enabling users to edit and work with their images, without having direct access to their raw files. This has proved to be an extremely valuable feature, making it possible to edit on the go while leaving the raw files on the hard drive or NAS in the studio.
We used our experience with Media Pro to make search and filtering fast and efficient with a simple interface, while implementing several organisational tools to make your Catalog efficient and well structured for easy cataloguing and retrieval. We can also import your catalogs from other applications to help you get started with Capture One.
Customization
Capture One 7 comes with a number of default workspaces, which you can choose as your starting point. Moving on from here you can change the location of the Tools and Thumbnails, decide what tools appear in which tool tab, create floating tools and more. You really can design an interface that works for you.
Also, think about designing workspaces for specific tasks to help increase production.
As well as customizing the interface, all of the shortcut key actions can be changed to your own preferences, helping you optimize your workflow.
Support
Finally, we have a number of ways to support and help you with Capture One, including an support department staffed with highly proficient technicians and photographers with years of experience between them, normally answering within hours and not days.
help.phaseone.com is a complete searchable manual for Capture One complemented by our YouTube channel (PhaseOneDK) which has over thirty videos on working with Capture One.
Our interactive Webinar program covers many aspects of working with Capture One.
Find out new dates here
Also, don’t forget this blog!
If you have yet to take Capture One Pro 7 for a spin, then download the 60 days free trial today