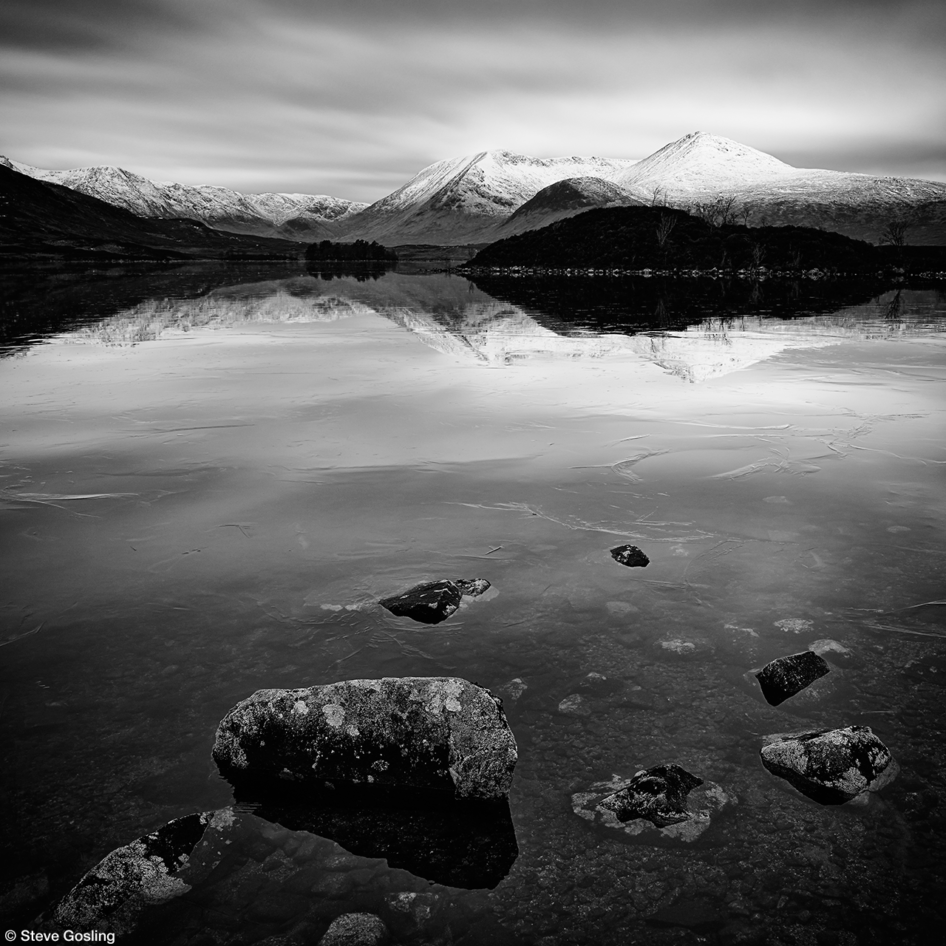
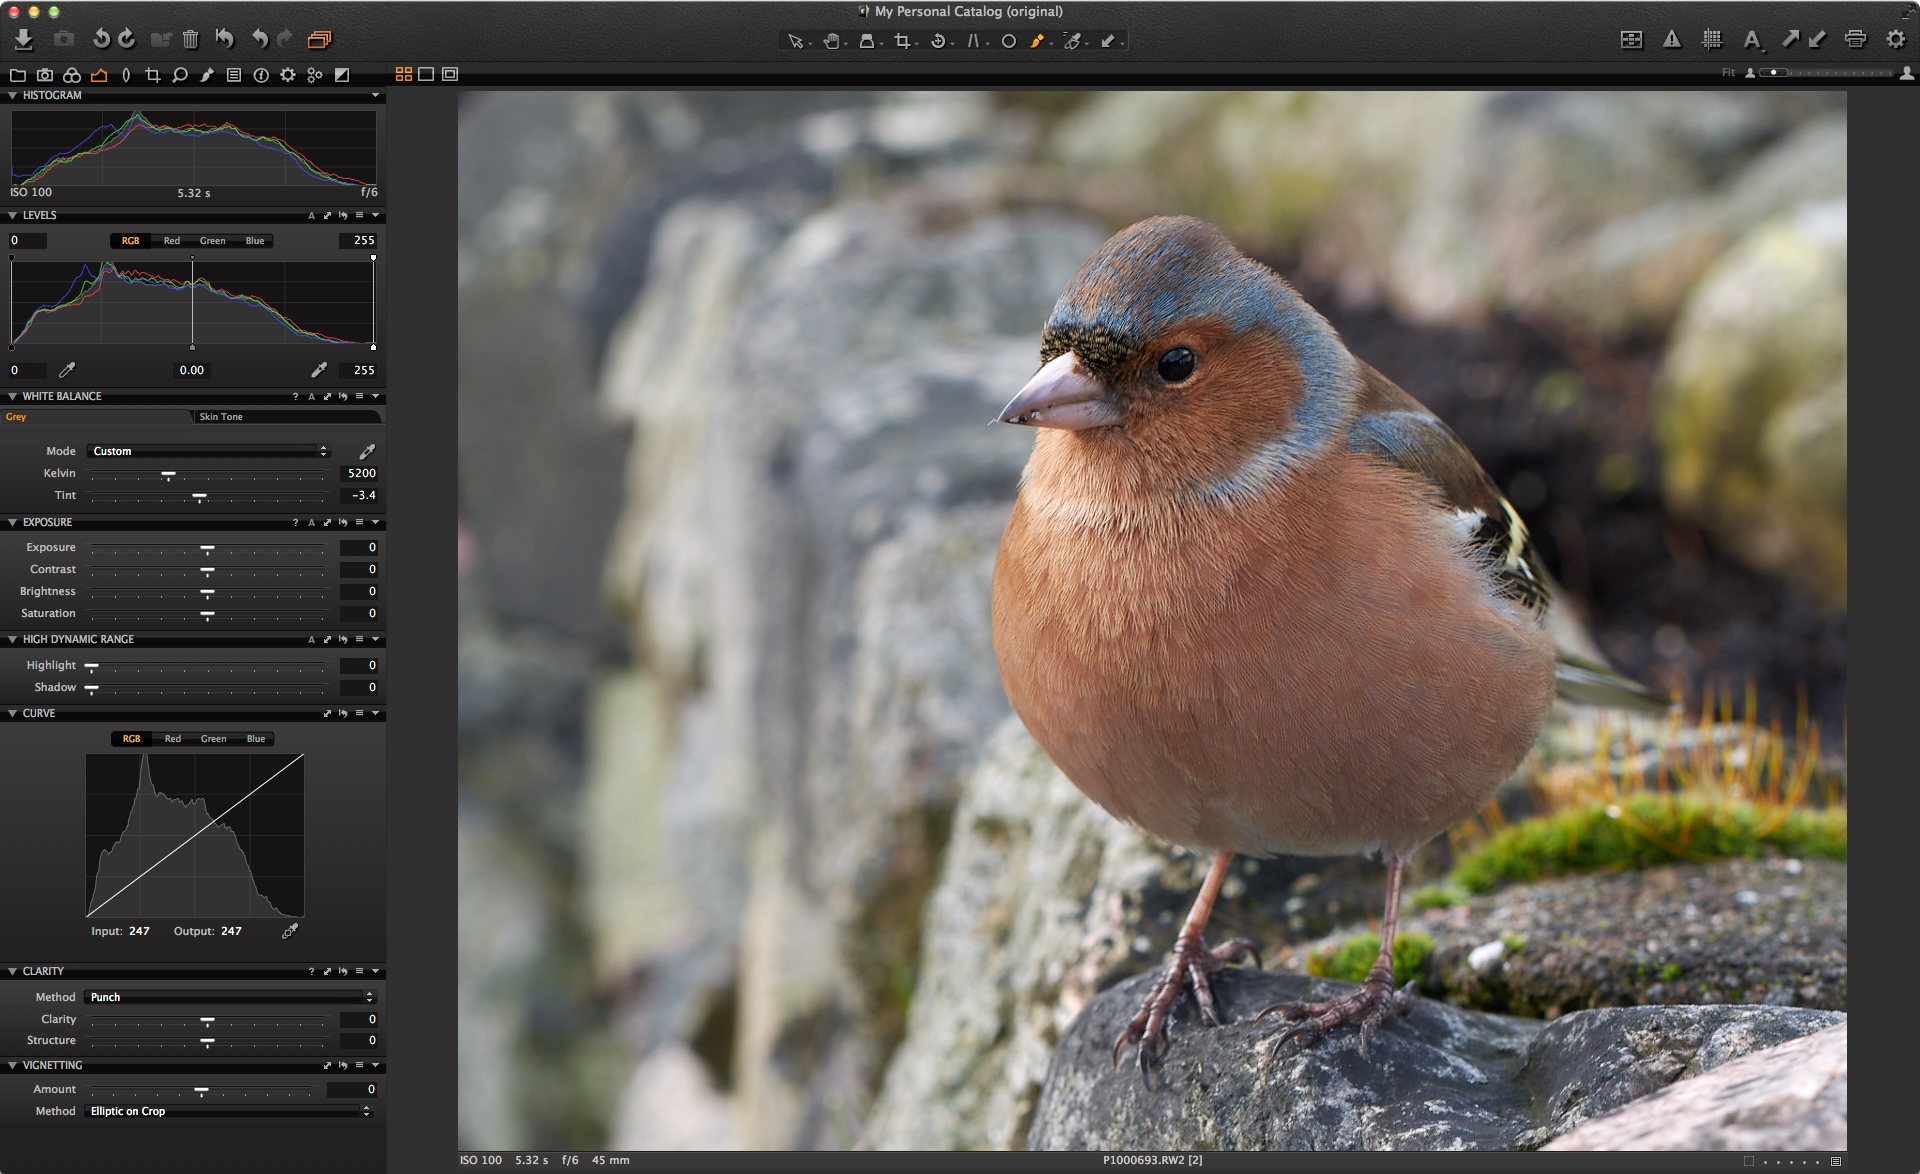
Explaining structure is a hard task and better demonstrated with the right image. I have tried to explain it before in earlier blog posts but I believe this image is perfect for showing the enhancement that a structure adjustment can give.
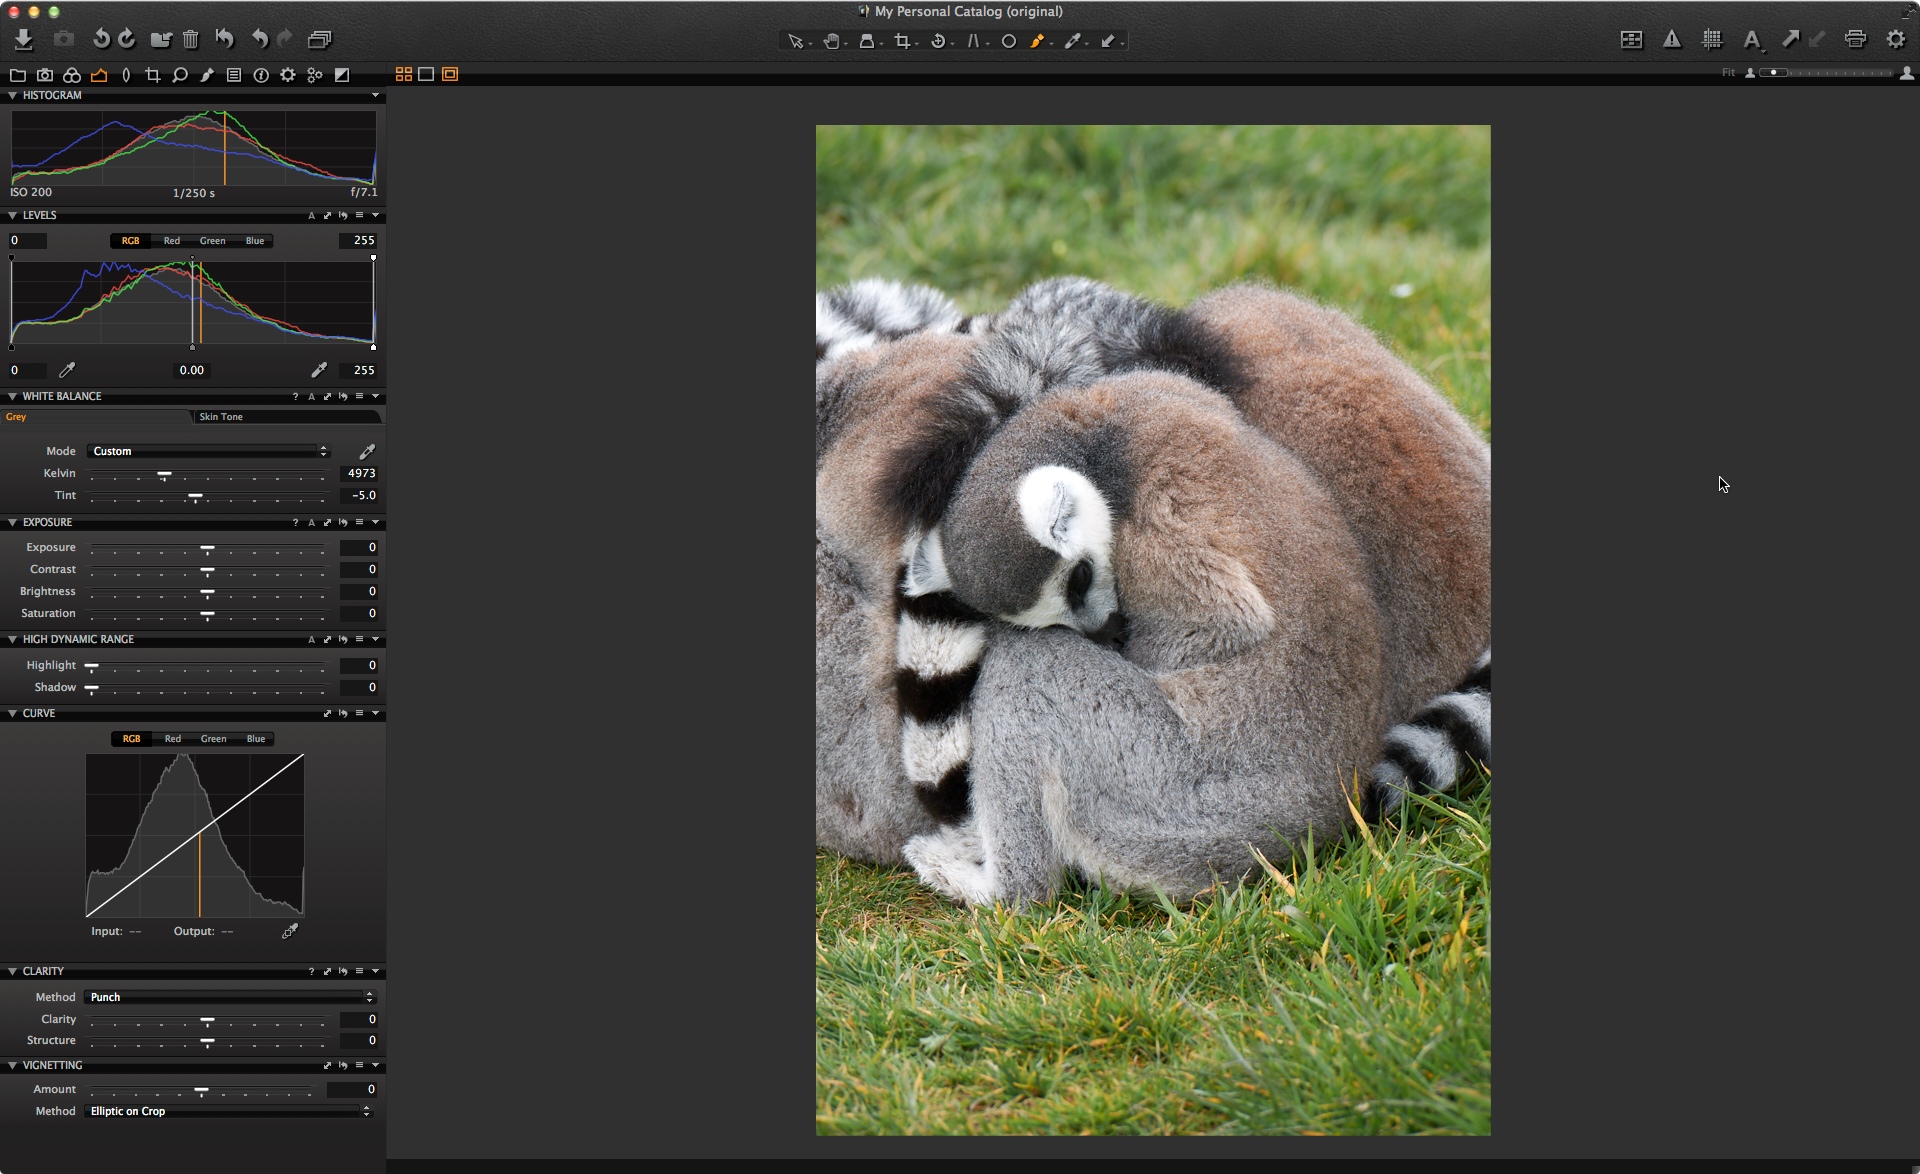
This is a lemur, right?
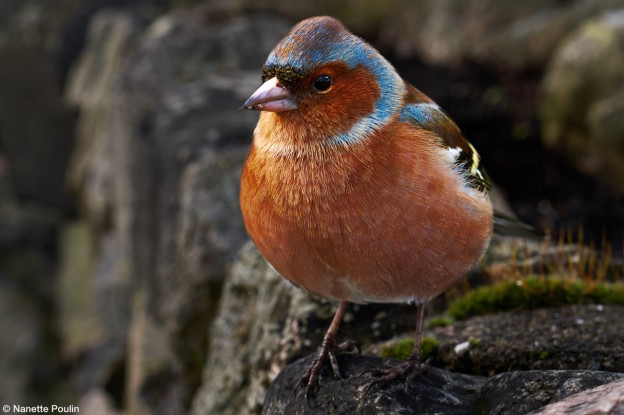
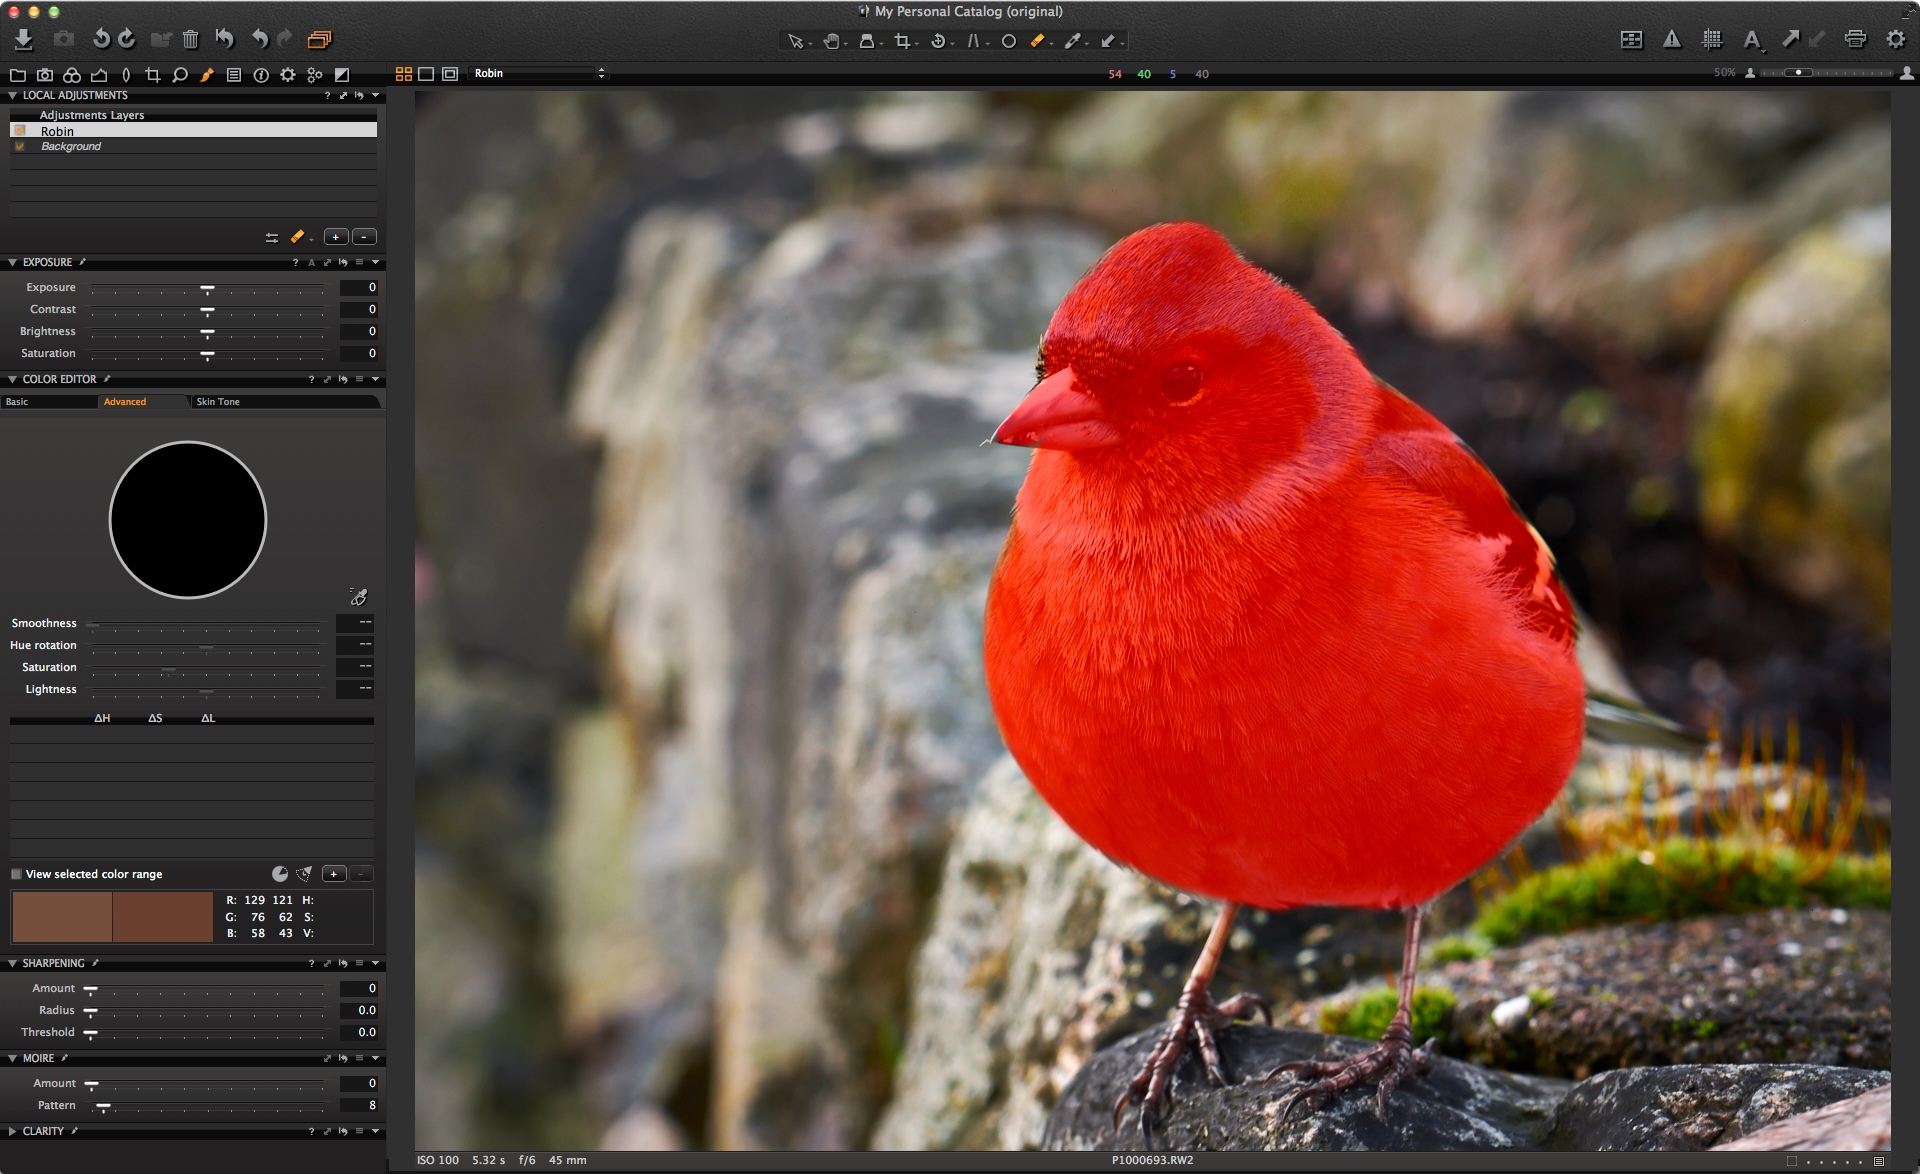
Due to my recent faux pas with the robin and chaffinch mix-up, I am using an animal, which I can confidently identify! Therefore I hope I am right when I say this is a lemur?
As well as using Structure to really define the fur and make it stand out, I used quite a few Local Adjustment layers along with an obvious Black and White conversion
The unadjusted file was nearly passed over, but I am glad I spent the time to produce the final image.
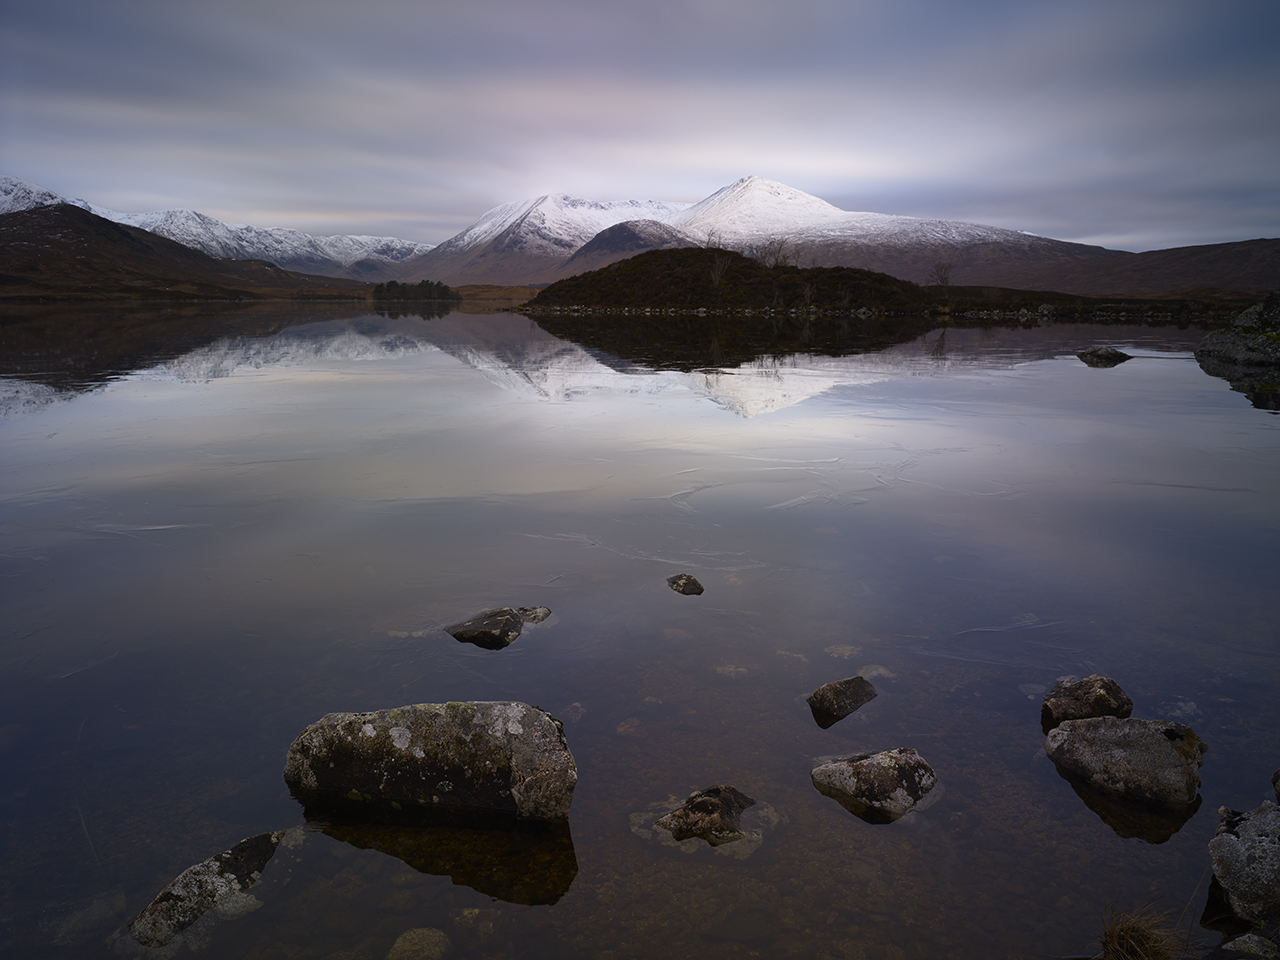
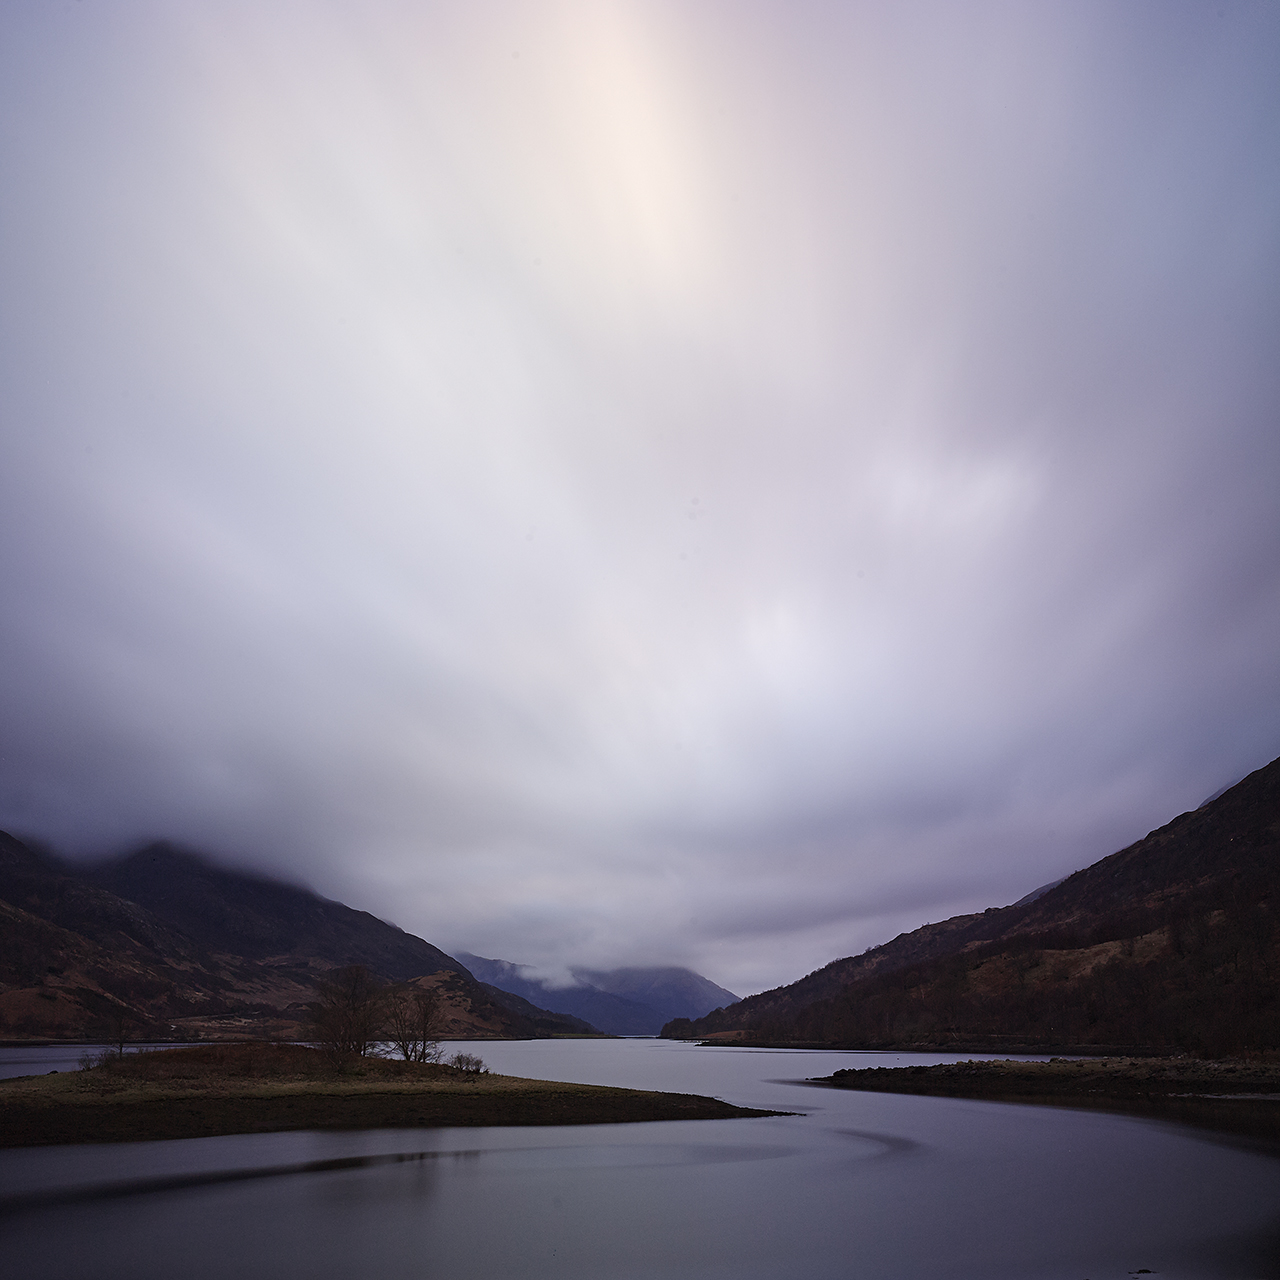
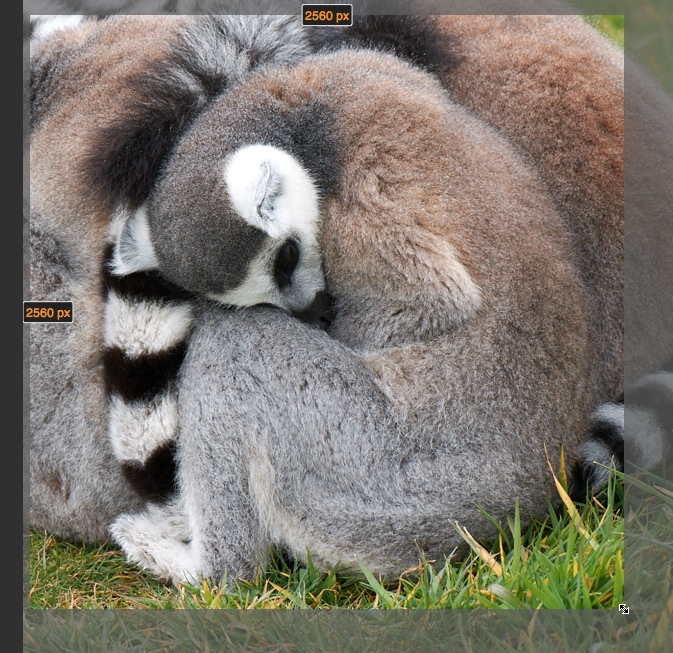
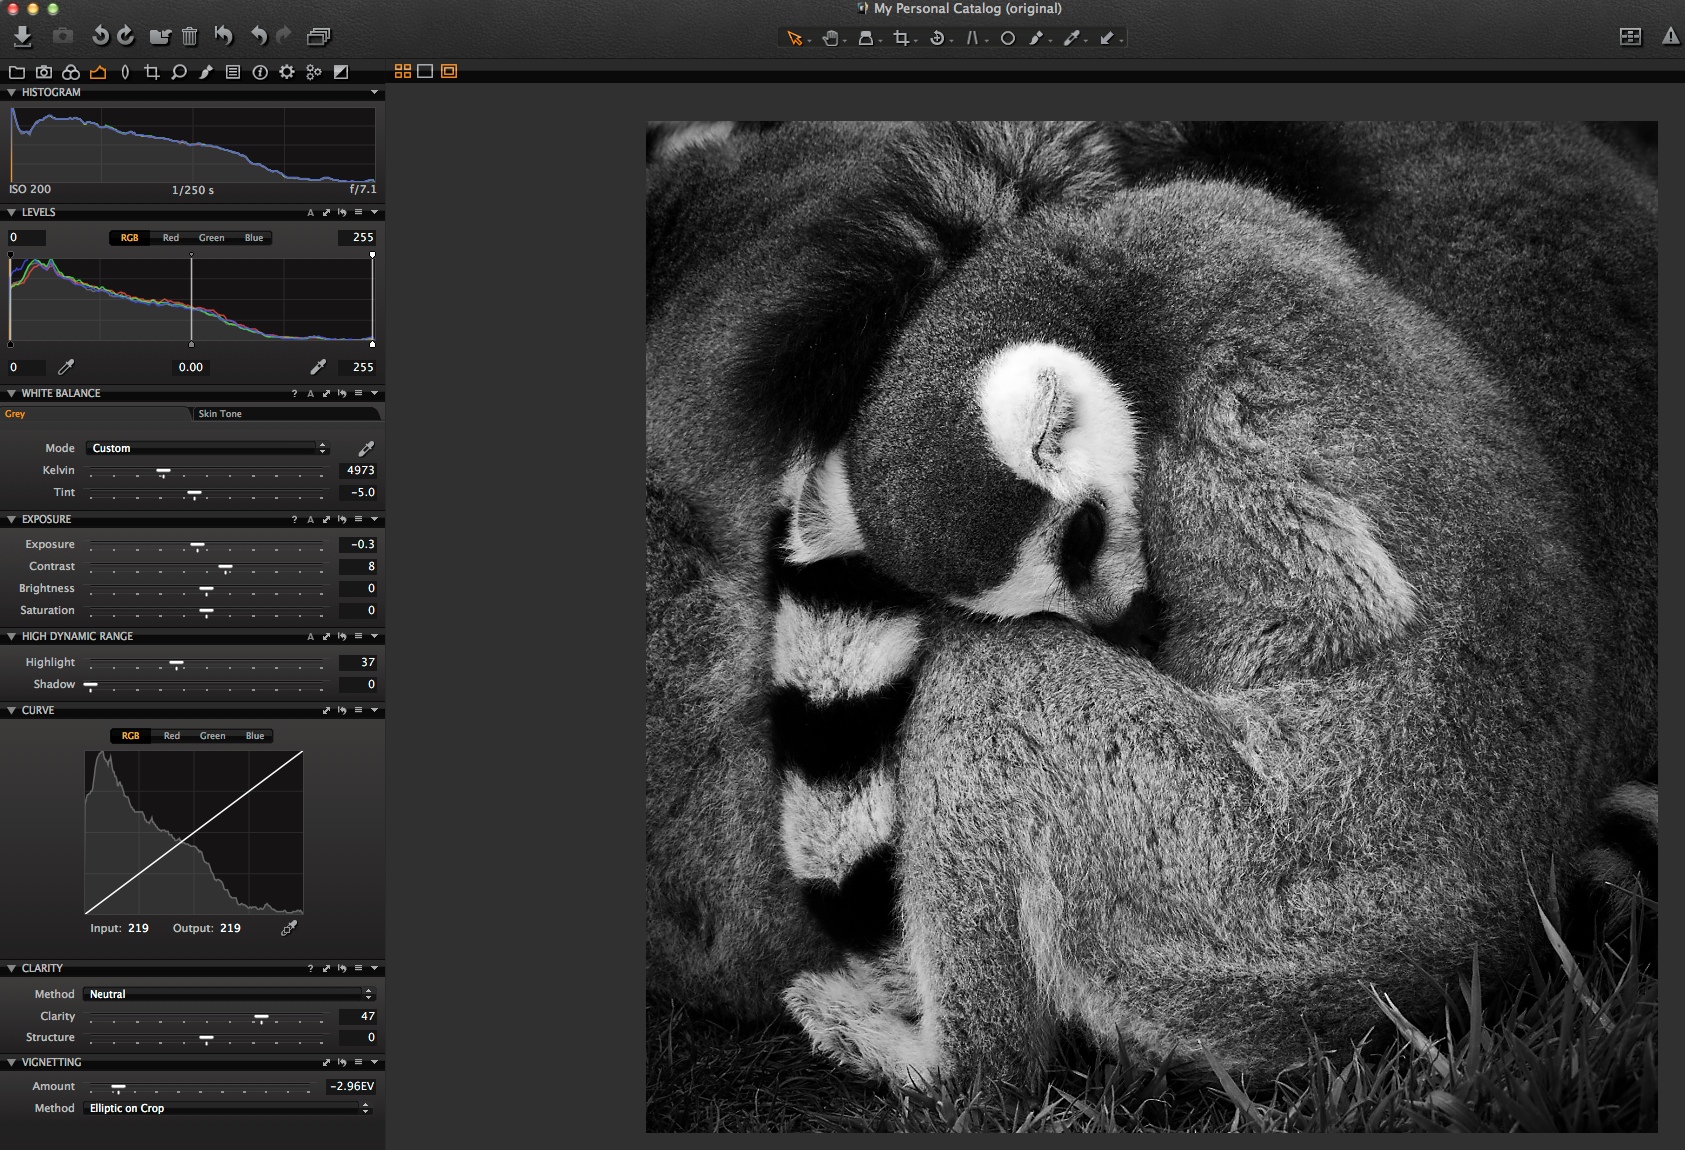
The Original
As I said, I nearly missed the original image. The crop is not particularly interesting and the lemur is not standing out so well from his other friends in the huddle. I think when I took the shot I somehow expected this to be the case.
 Before making any adjustments I tried to see if a better crop could improve things. I felt that a square crop could work in this case, so I chose the Crop Tool and defined a 1×1 Aspect Ratio by clicking and holding on the crop cursor icon.
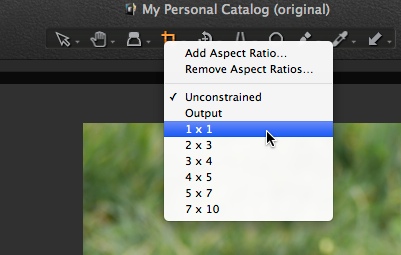 This makes it very straightforward to get a square crop.
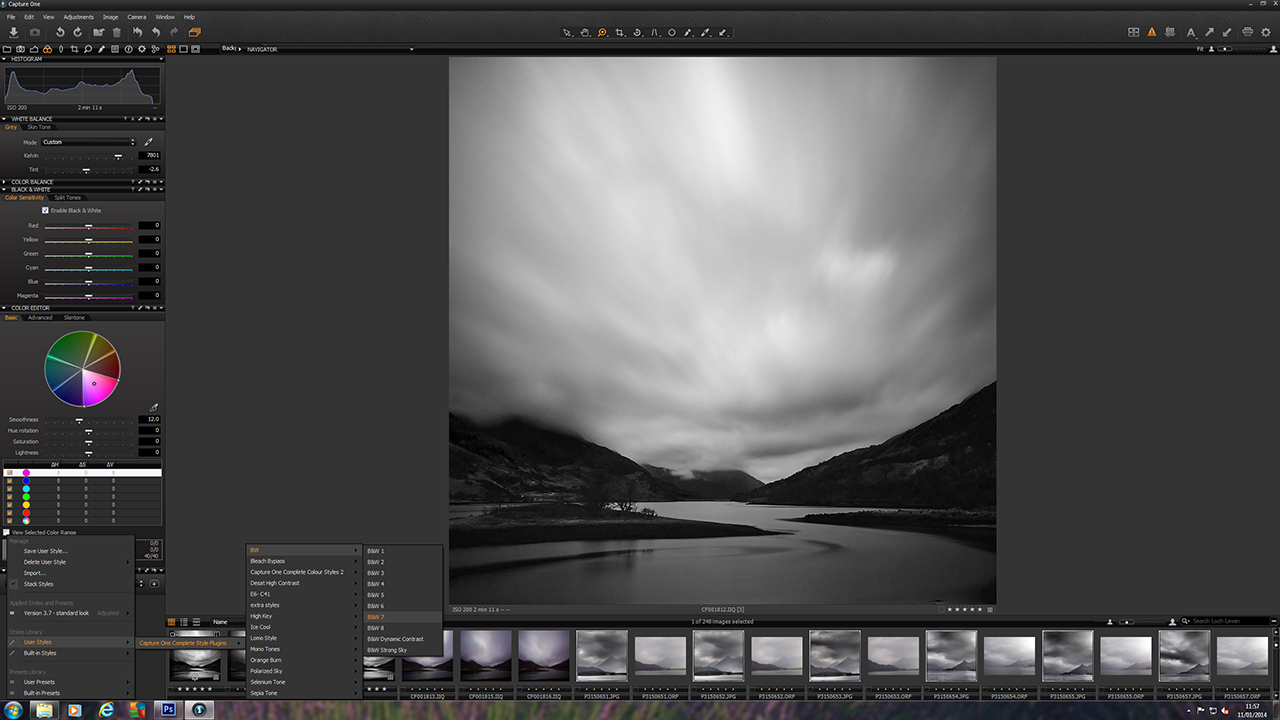
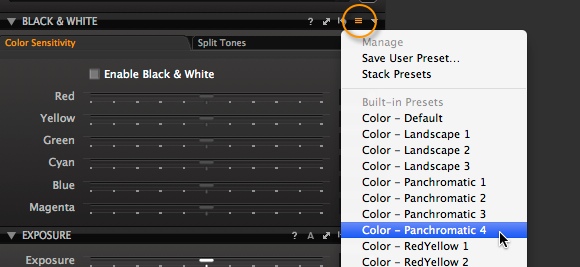
 I figured that the crop helped the composition quite a bit, so decided to move on with some adjustments. I immediately thought that a Black & White image would work nicely, so I used the excellent Black and White Tool in Capture One Pro 7 to do the job. I normally start with one of our factory Presets and settled on the ‘Panchromatic 4’ Style.
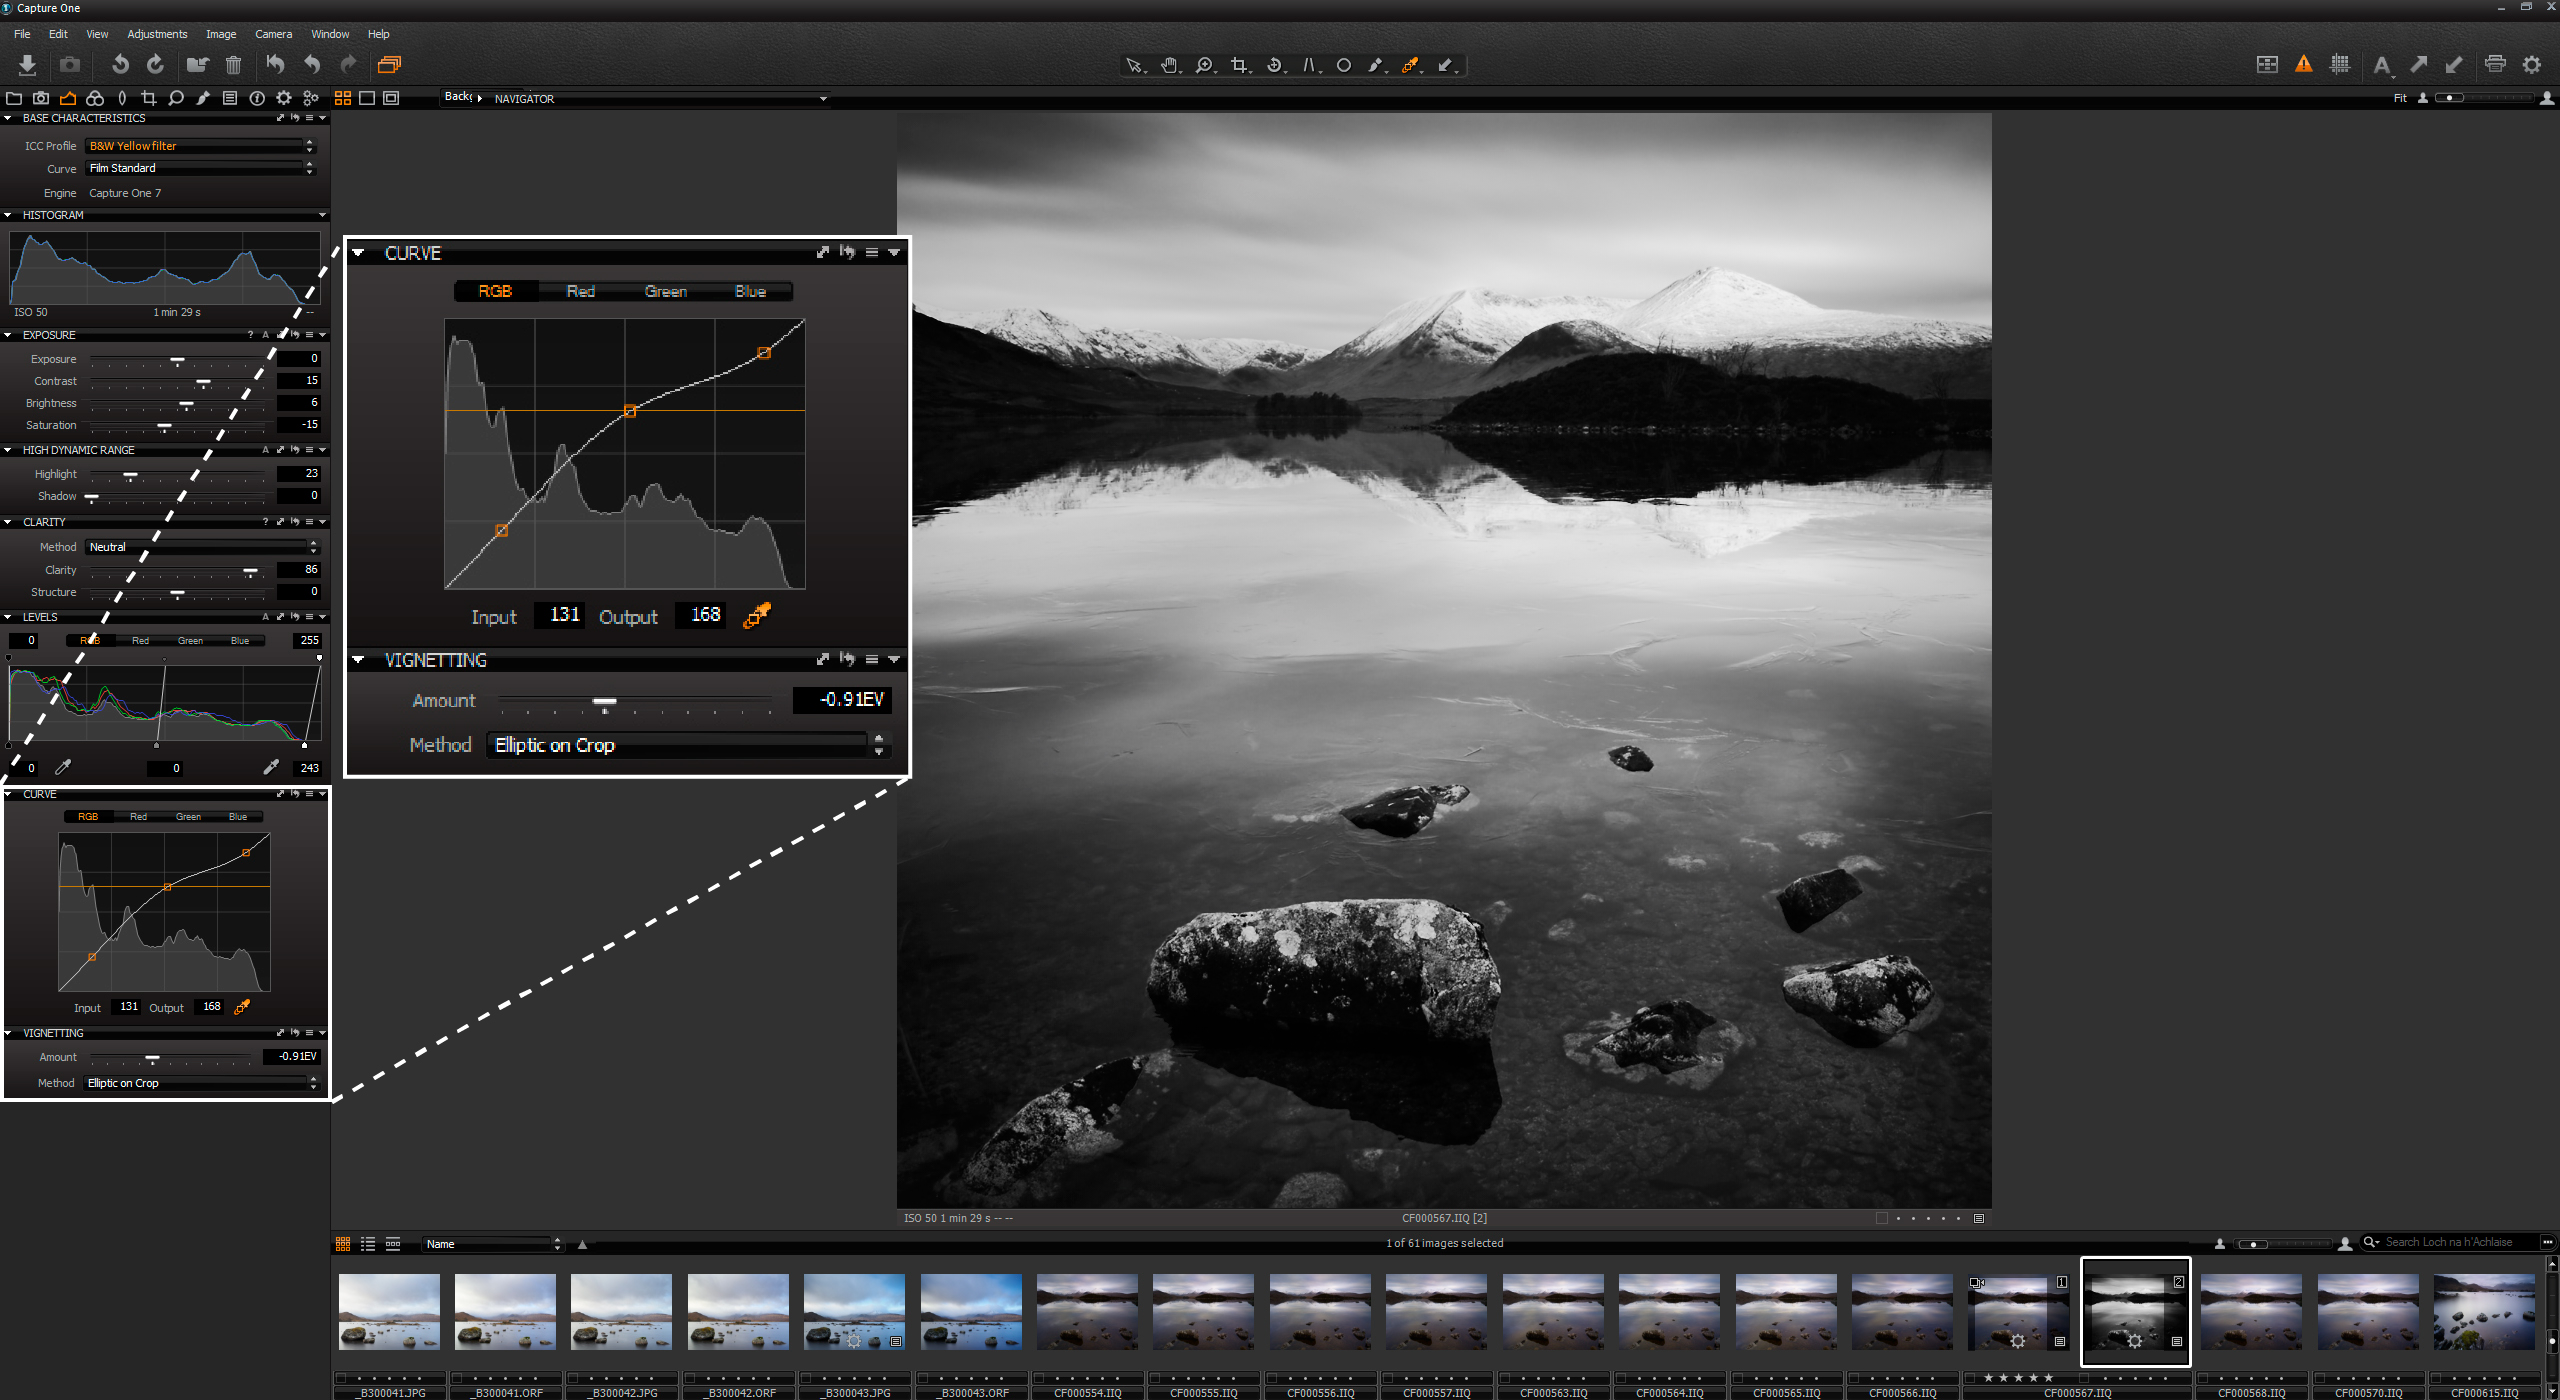
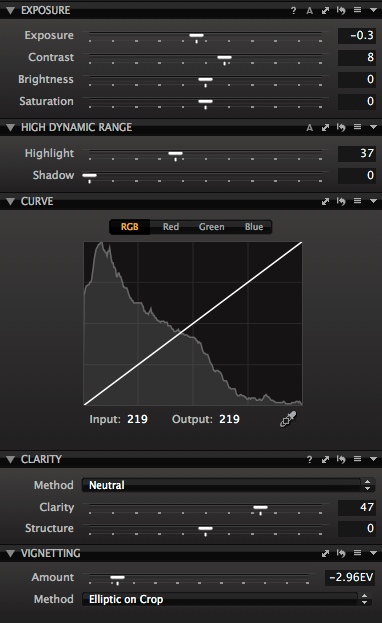
 I treat this as a starting point for further adjustment. Next I made some adjustments to the basic tools in the Exposure tab as you can see here.
 It’s getting closer but there are some brighter areas which I think are a little distracting. For example, the white fur around the ear and the left leg. Even though I have a pretty strong Vignette on, I still think the top part of the image could come down a little. And of course, we still haven’t exercised Structure to bring out the full potential of image detail.
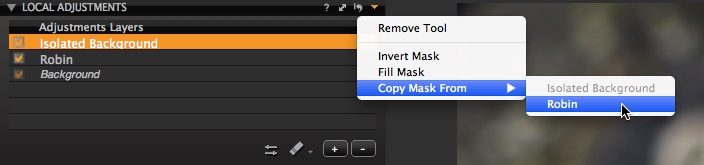
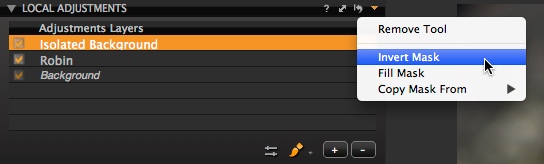
 Therefore, this is a great opportunity to use some Local adjustments.
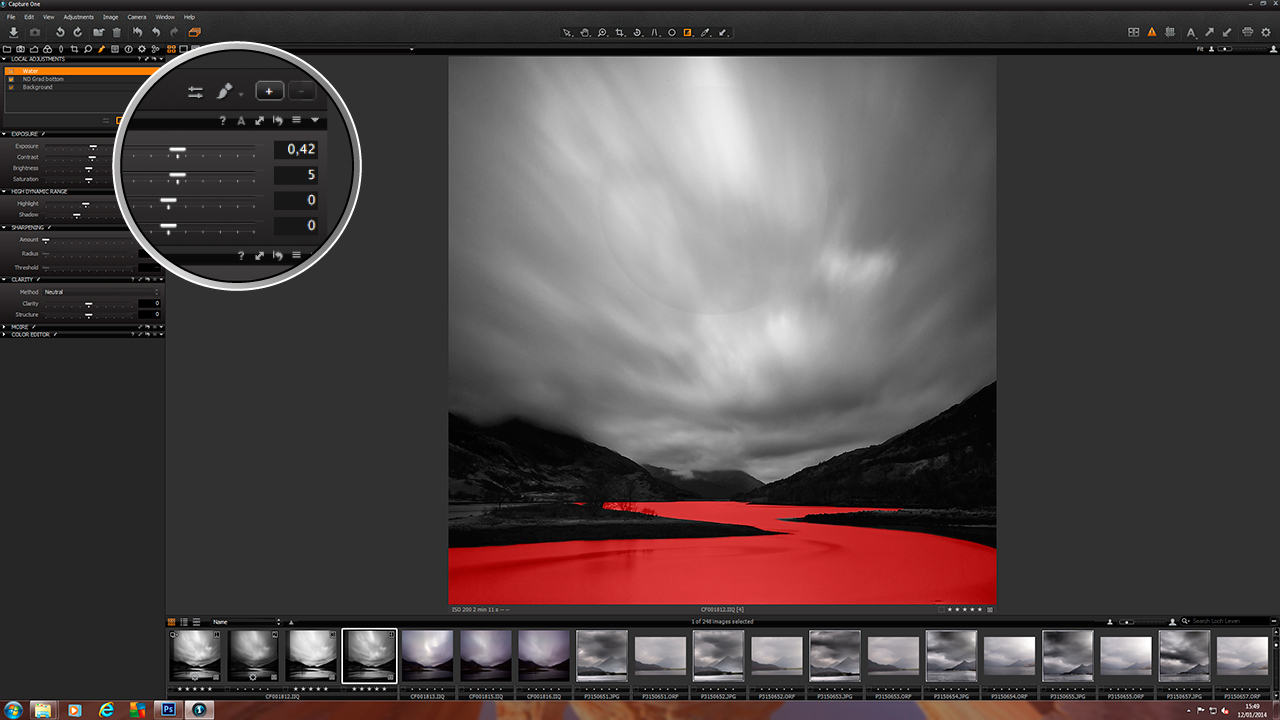
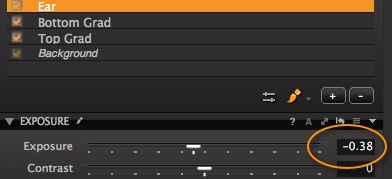
To tackle the brightness of the top part of the image, I’ll use a simple Gradient Mask (The Gradient Mask Brush is circled on the left) and draw from the top of the image down.
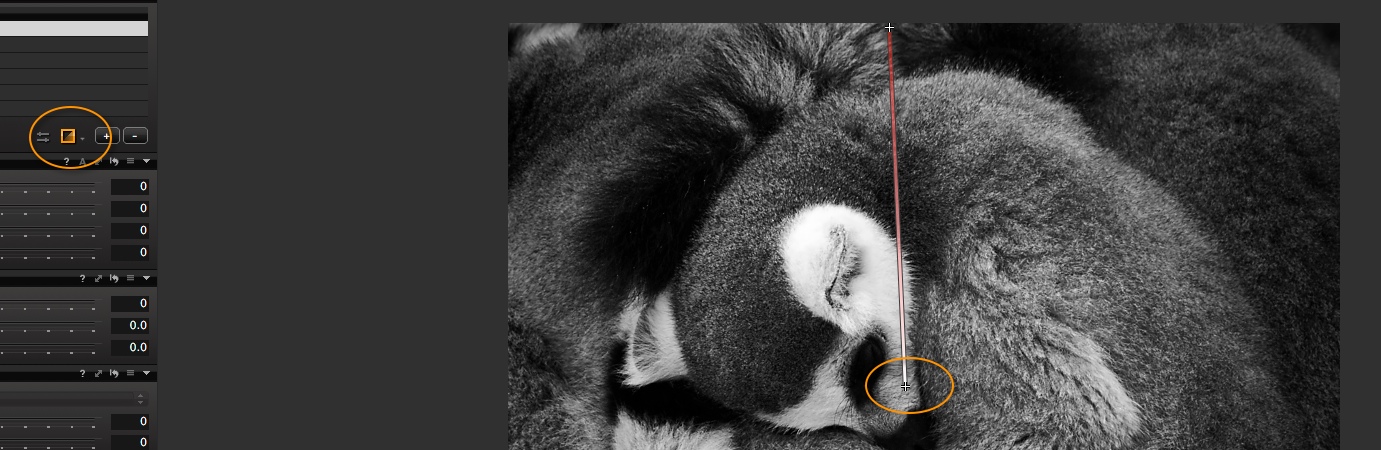 This gives the perfect mask for bringing down the exposure in just the top of the image.
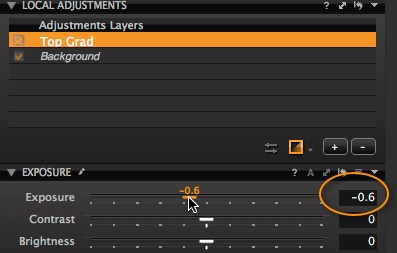 I find it helpful to rename the Adjustment Layers in case I want to return to them to adjust later. Just click on the name to edit it.
I also added another gradient mask at the bottom of the image to bring the exposure of the grass down a little more. (not shown here)
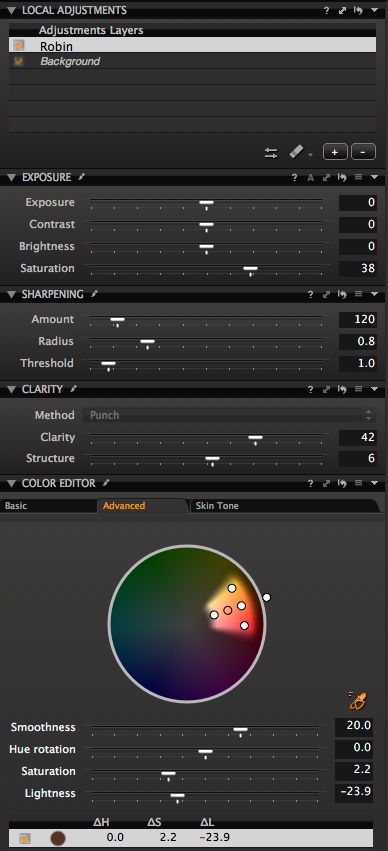
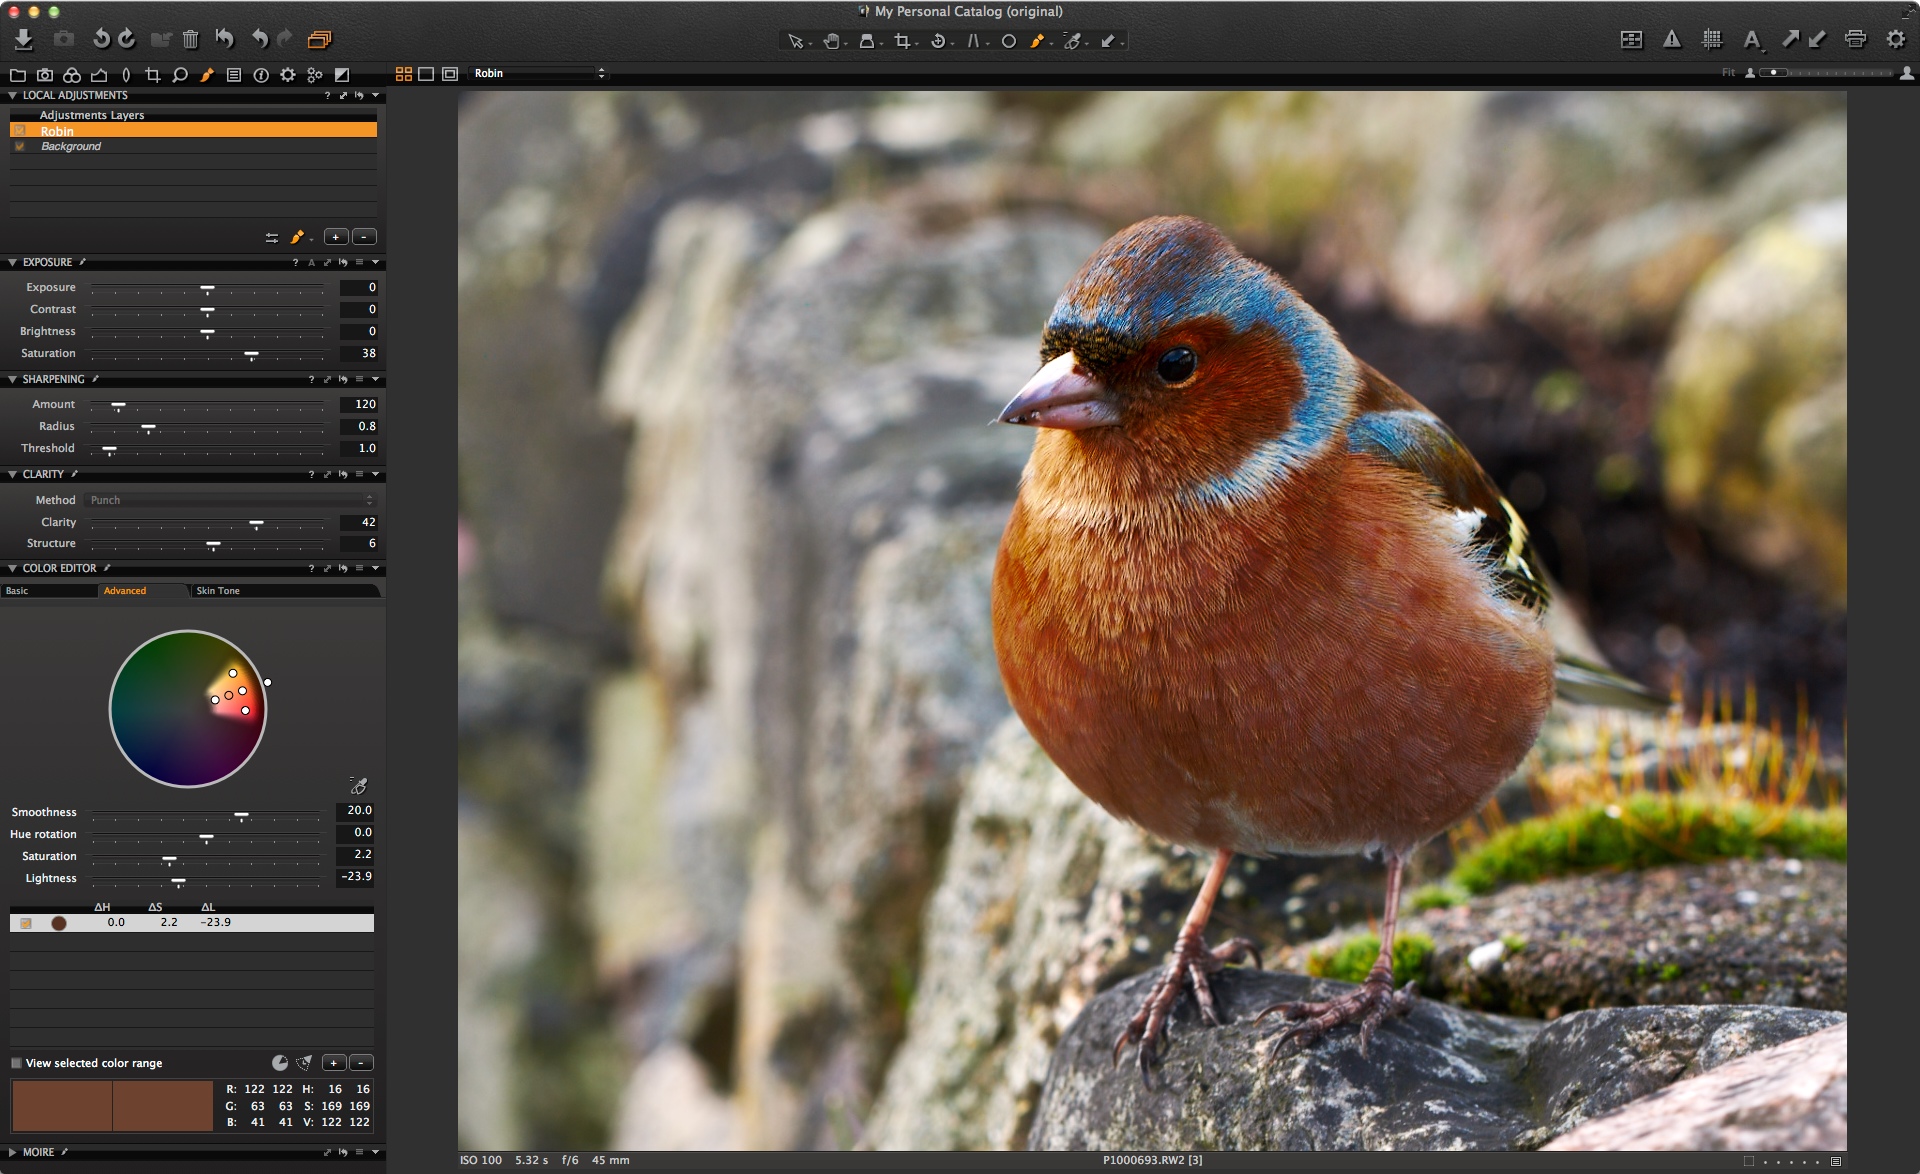
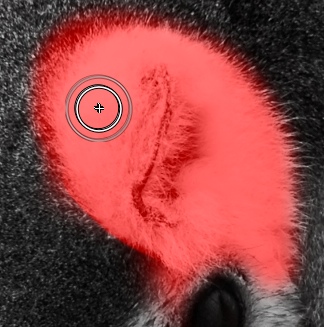
Most importantly, I felt the ear fur was a little too bright, so a quick dab of the Draw Mask brush and a reduction in exposure fixed that.
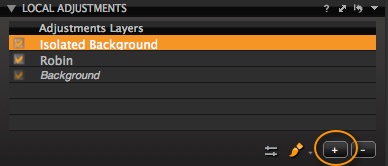
I added a final Local Adjustment to the eye, just to brighten it up a little. My Adjustment Layers palette ended up looking like this.
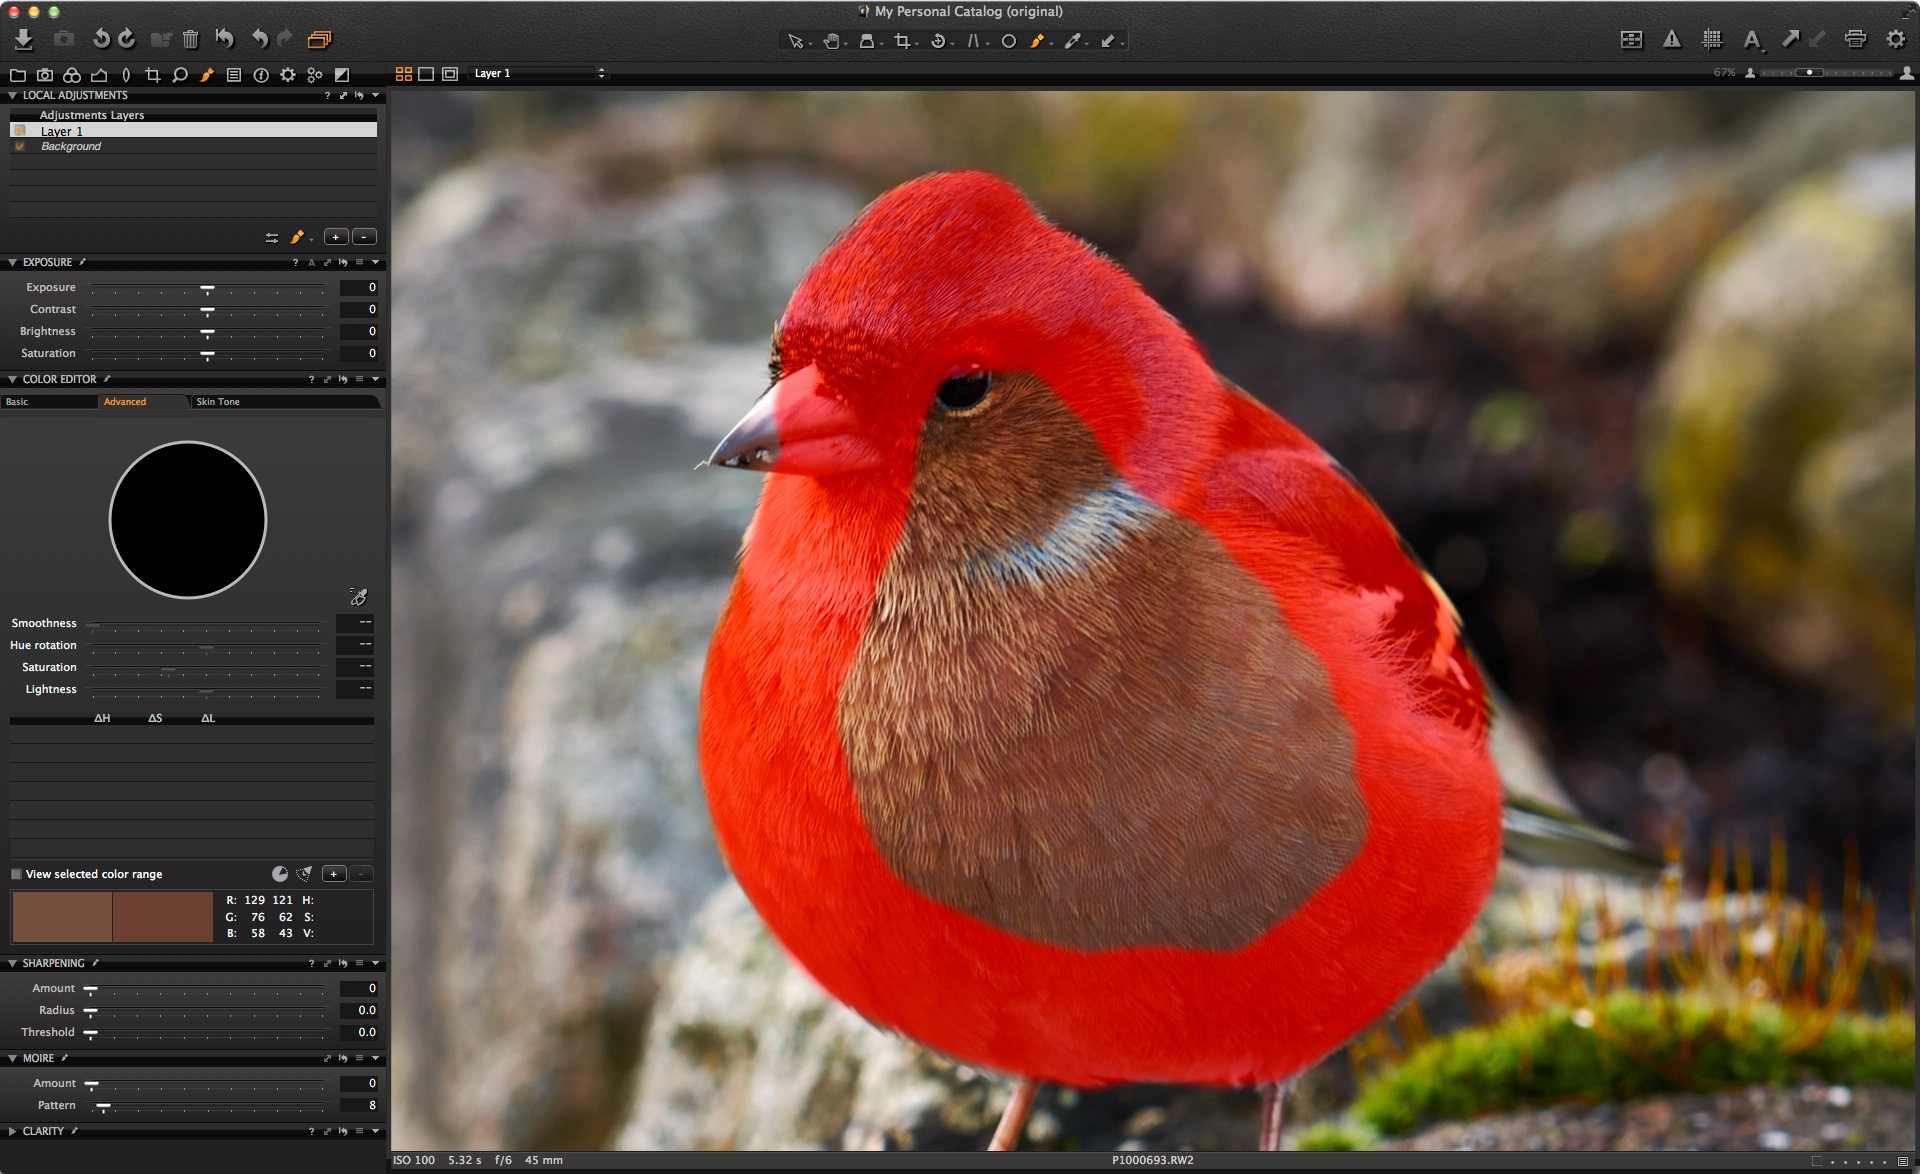
 Now we get to the all important Structure Tool, which I will add to the Background layer.
To try to explain Structure, think about this analogy. Consider an image of a tree and you have the option of using Clarity, Structure and Sharpening.
Clarity will enhance the tree trunk and the large branches
Structure will enhance the smaller branches and leaves.
Sharpening will enhance the structures on a leaf itself.
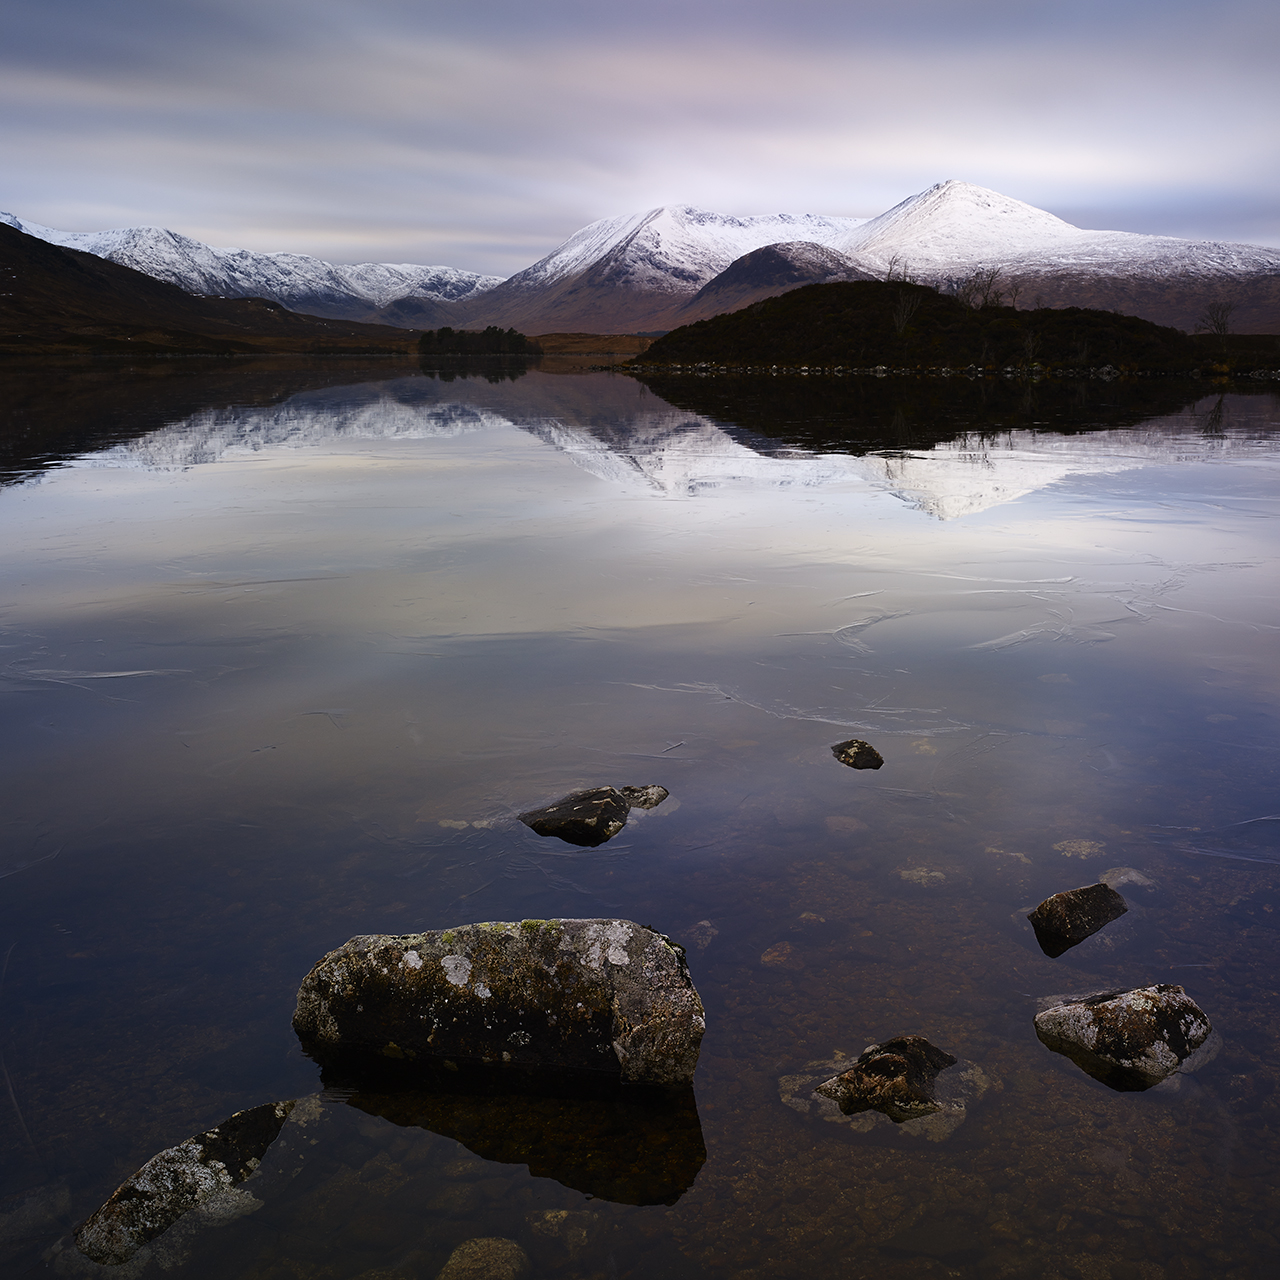
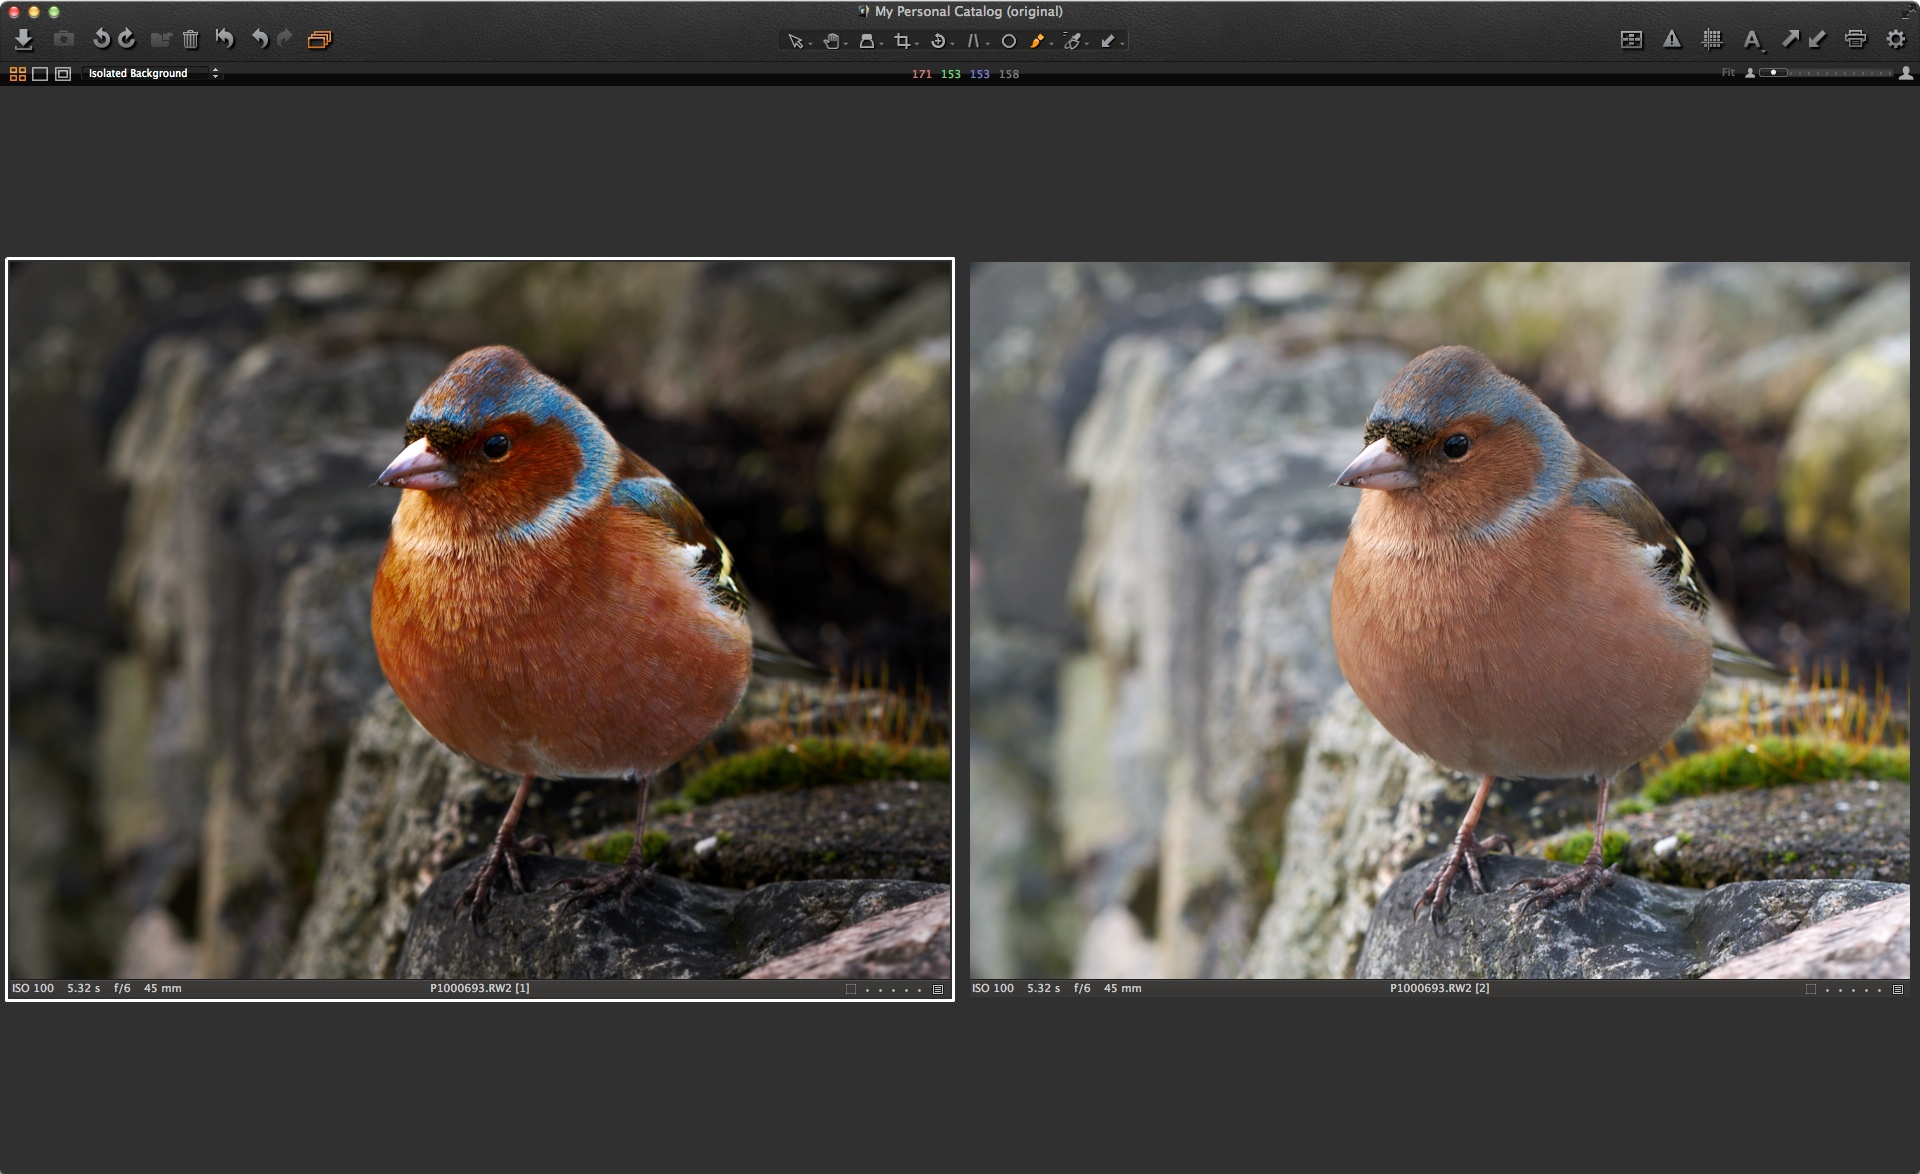
Hopefully the analogy will help you to think about what Structure can do for your images. If we compare the lemur on the left (Structure set to 40) with the one to the right (Structure set to zero) you can quite clearly see what Structure is doing in this case.
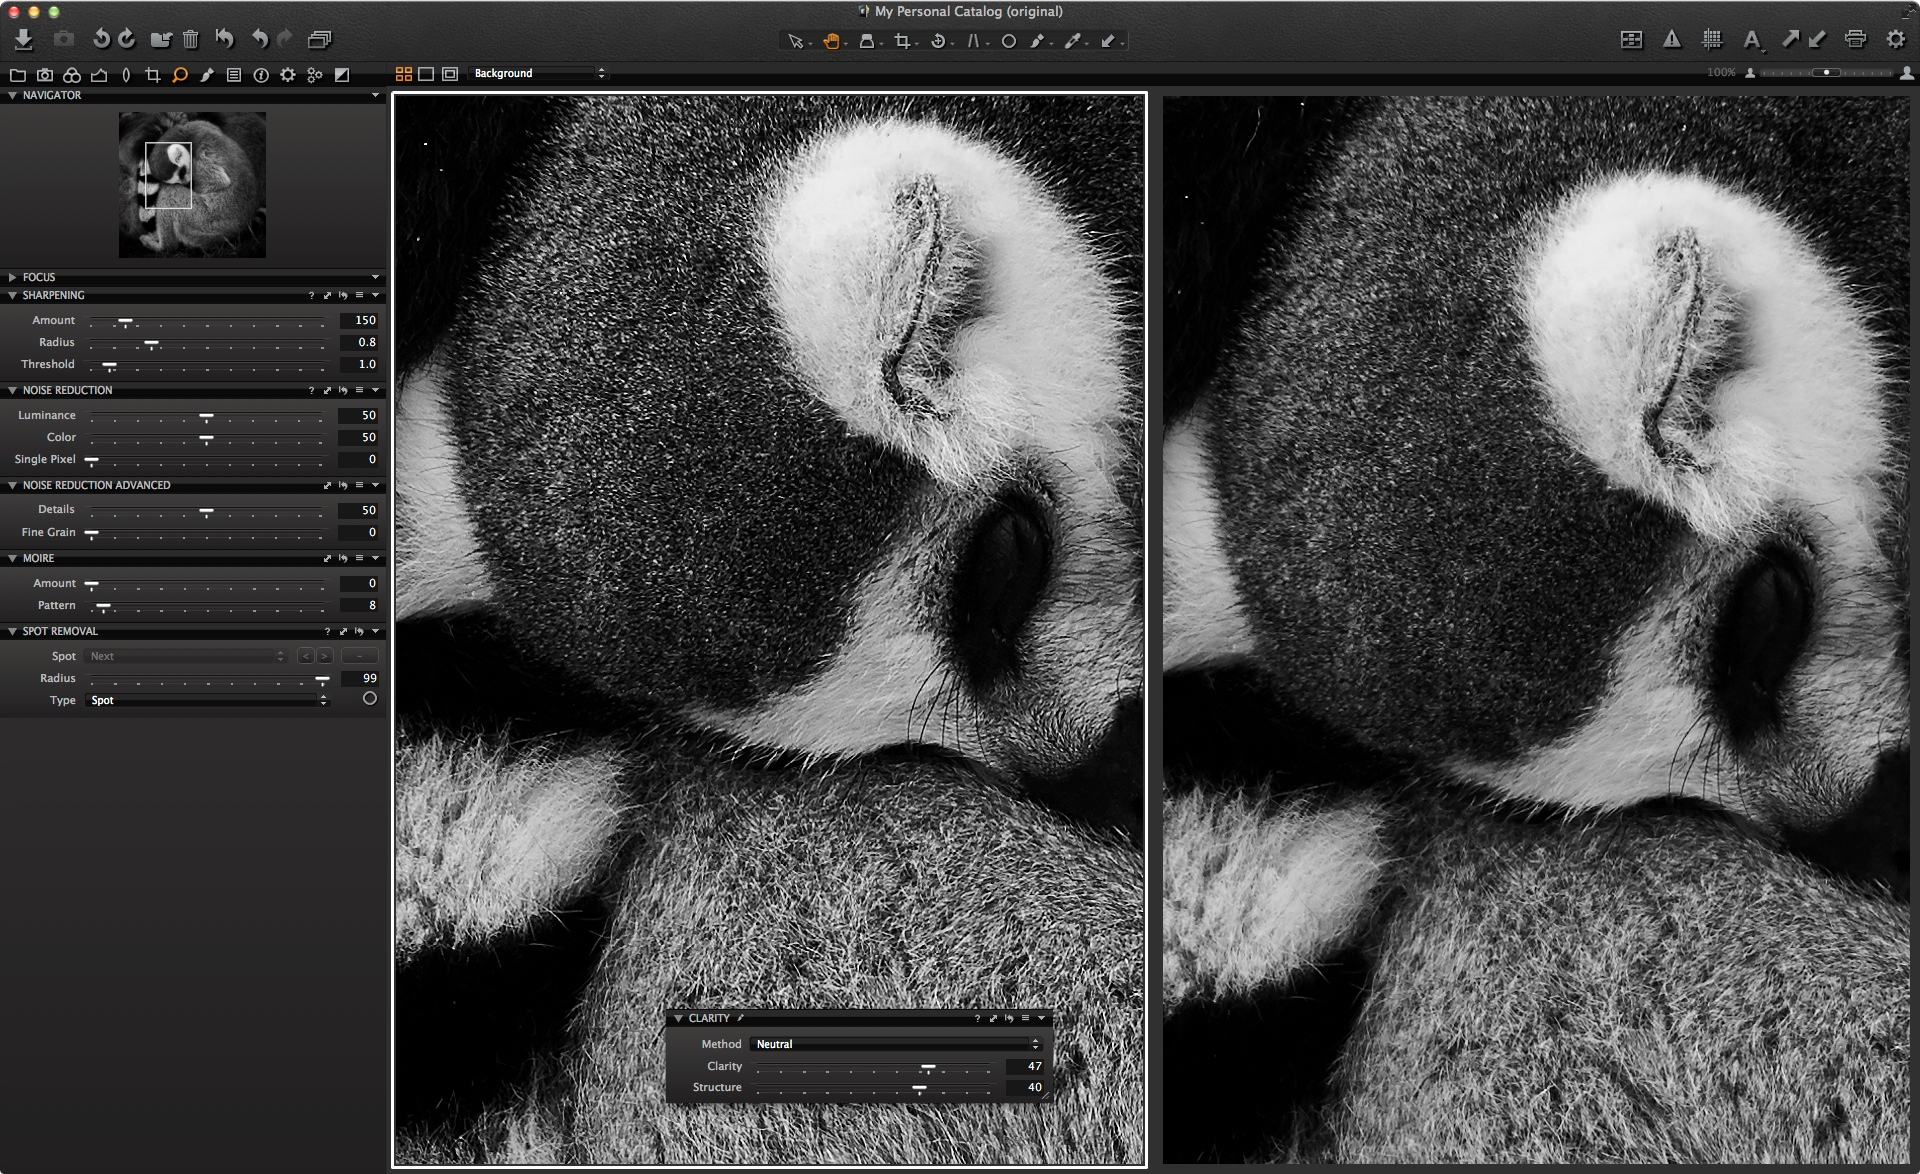 Structure really helps to bring out the details of the fur in a way that applying extra sharpening might not. If I was going to print this image out I could probably push it a little more. It’s worth experimenting with the level of Structure you can apply for your own needs, whether it’s for screen or print.
Here is the image also in color. What do you think works best? 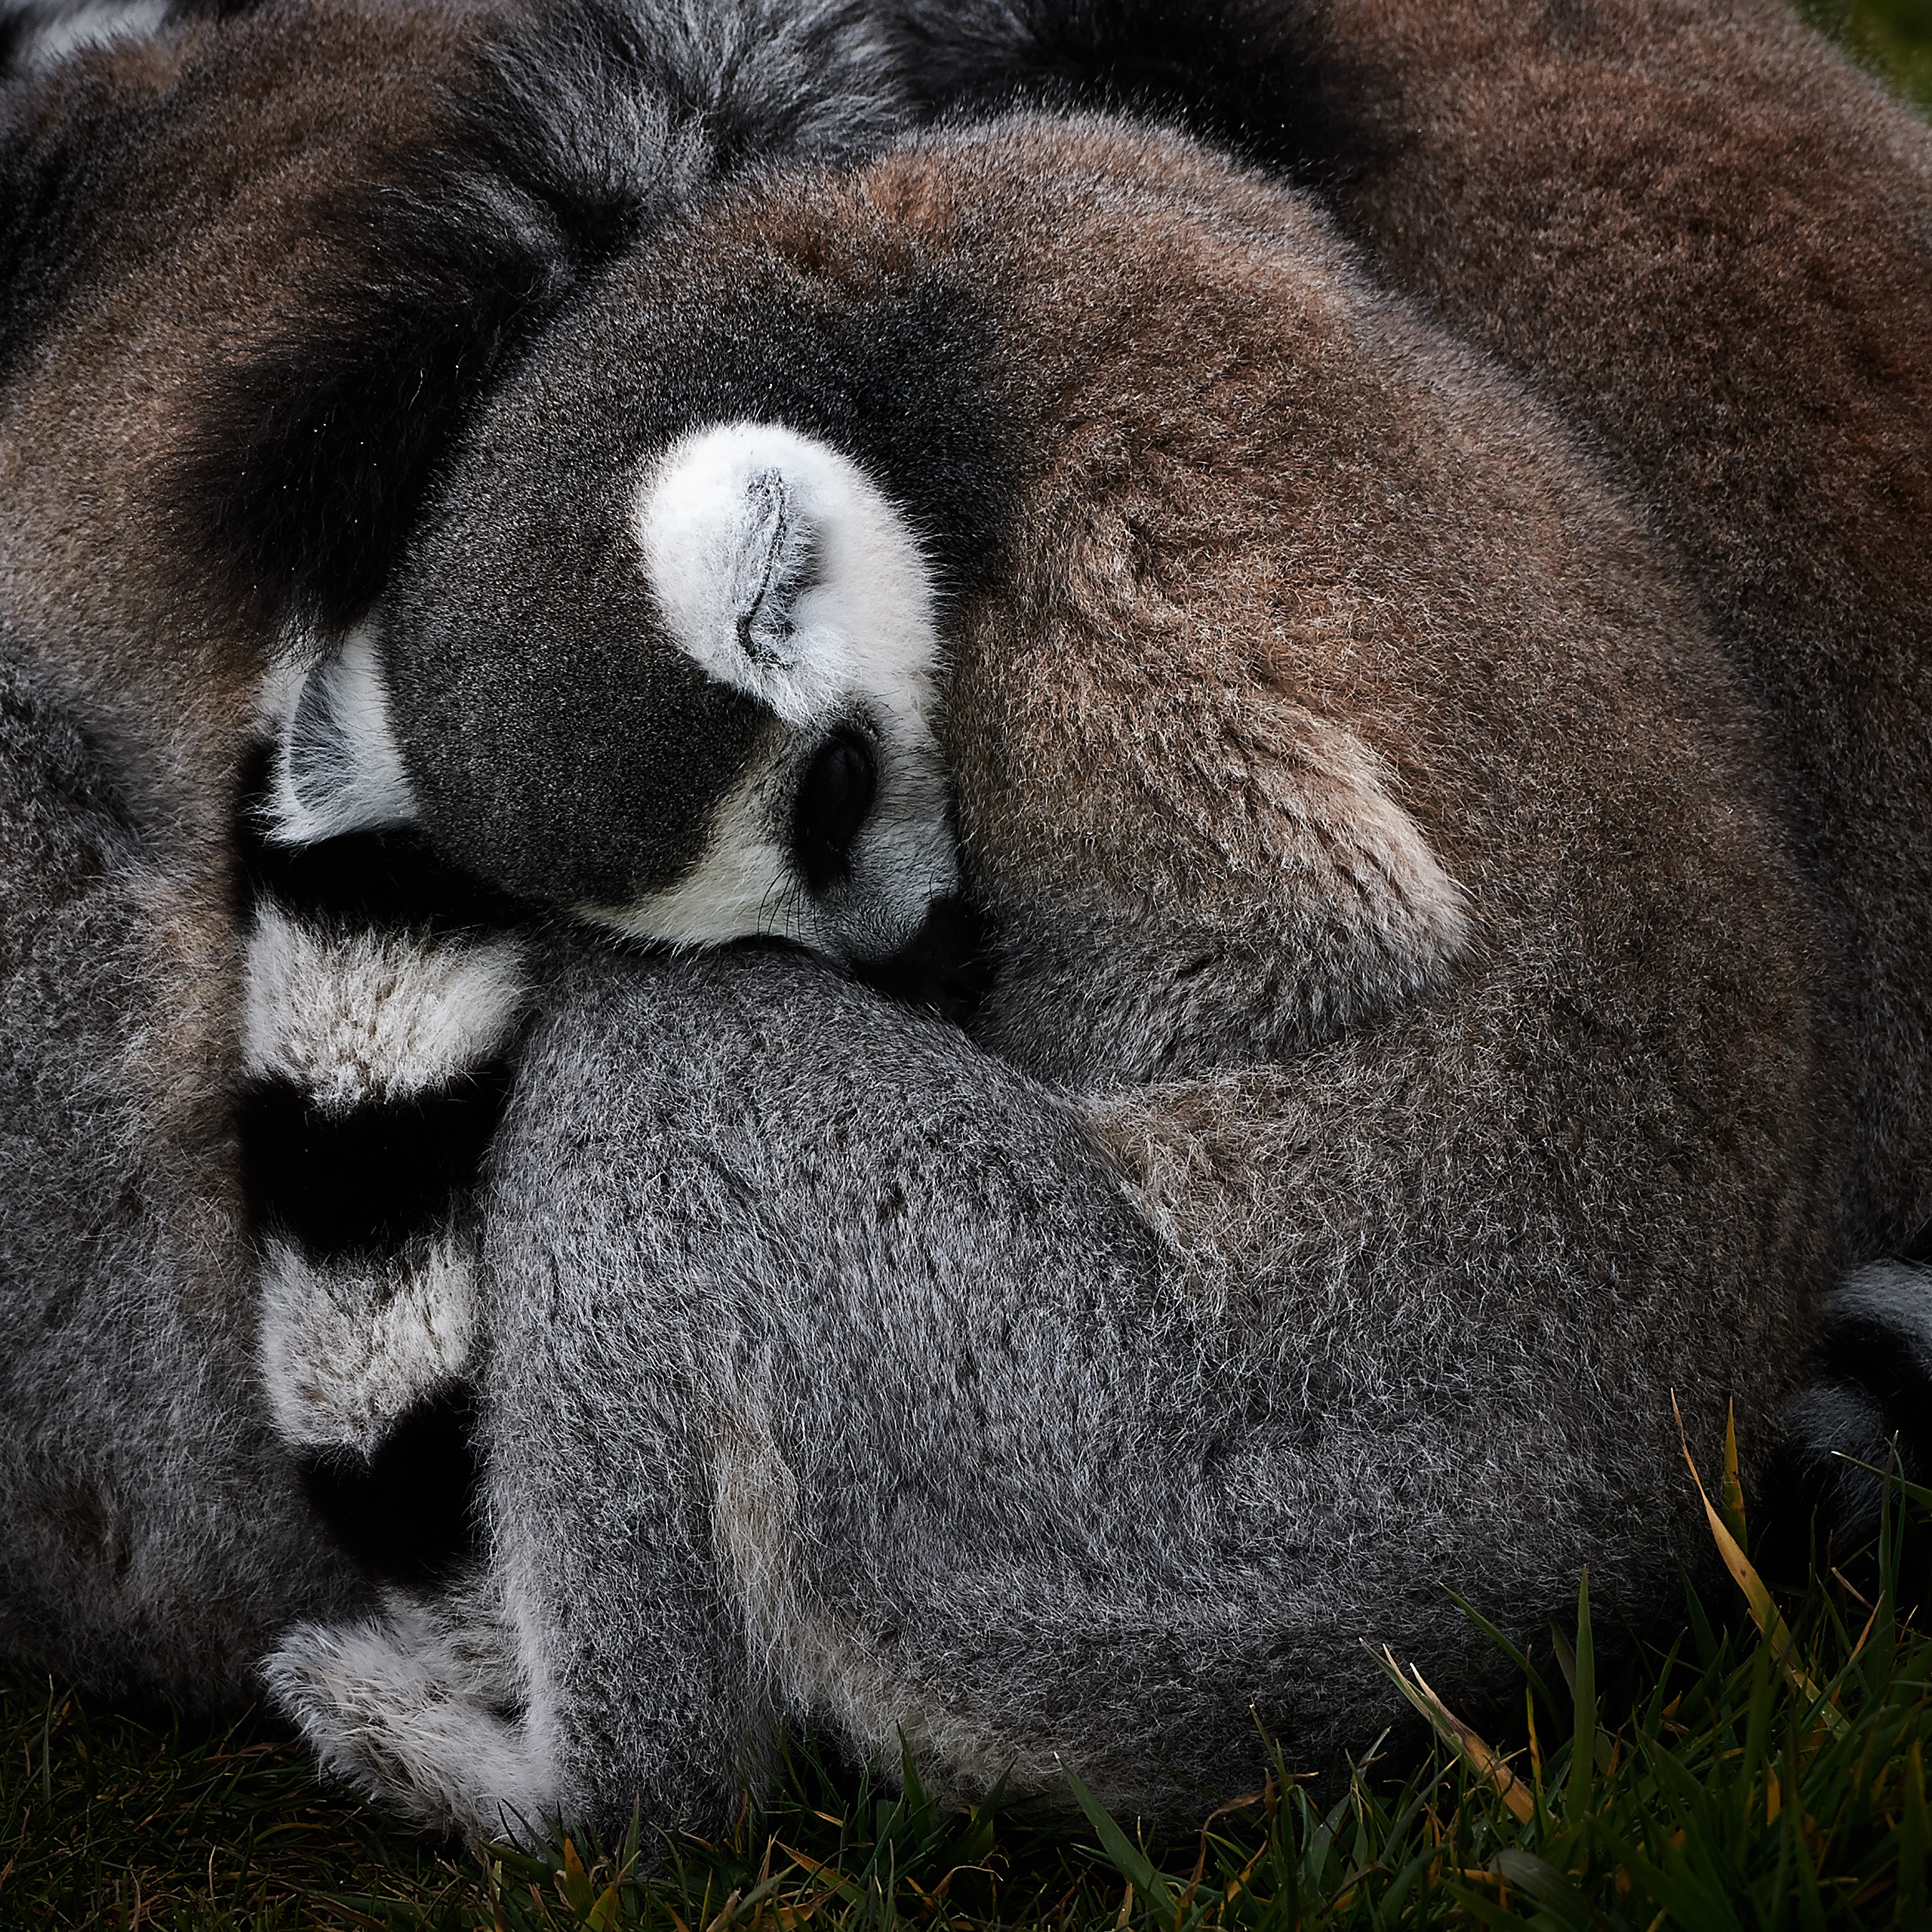
Best regards,
David