I thought in this week’s post I would write less about technique and more about improving the environment you are working in!
Now, I can’t do much personally about your office or studio space, but hopefully by now you will have discovered that the Capture One interface is extremely adaptable for the way you or I might like to interact with it best.
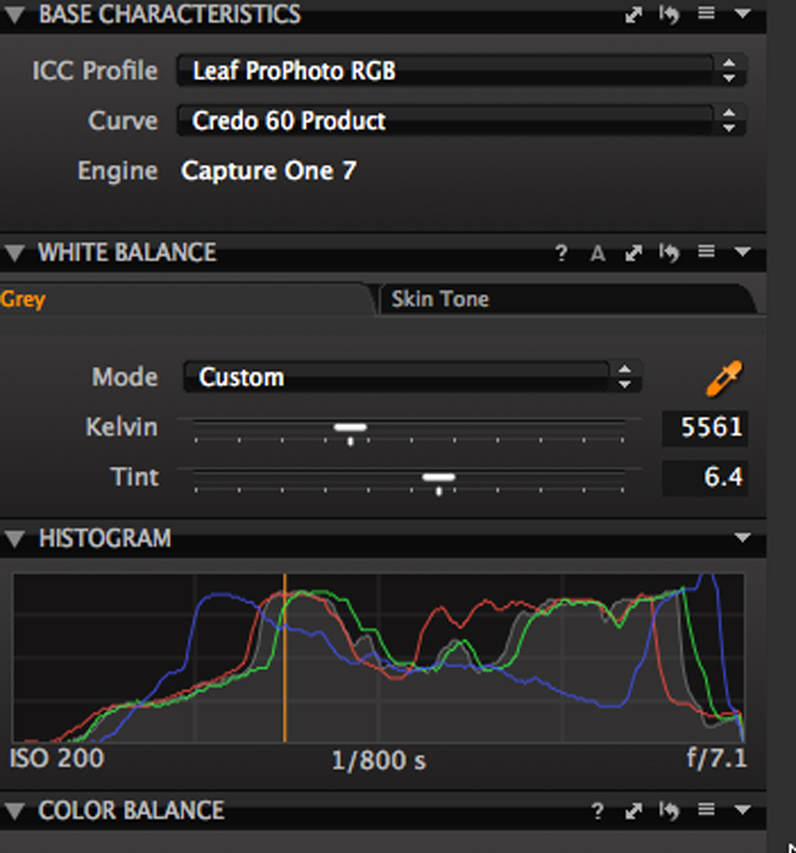
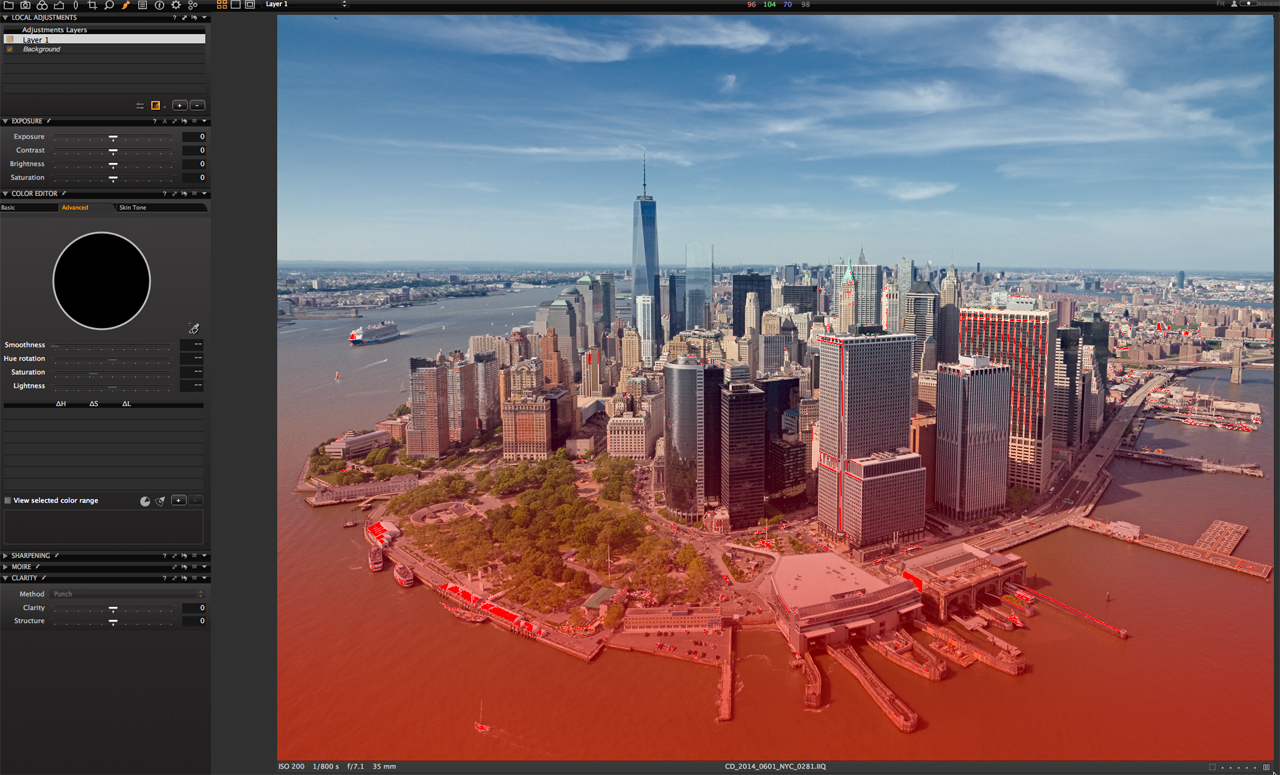
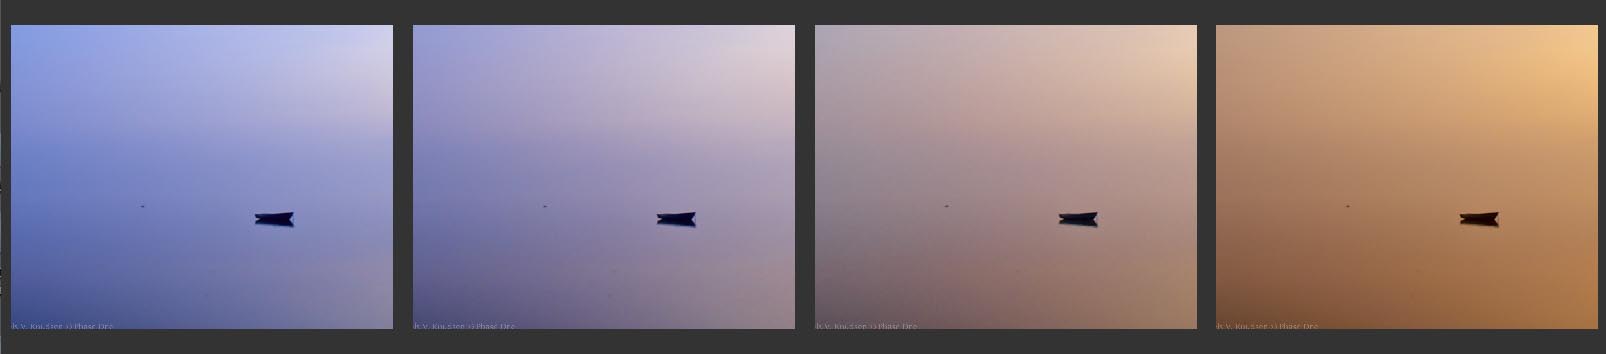
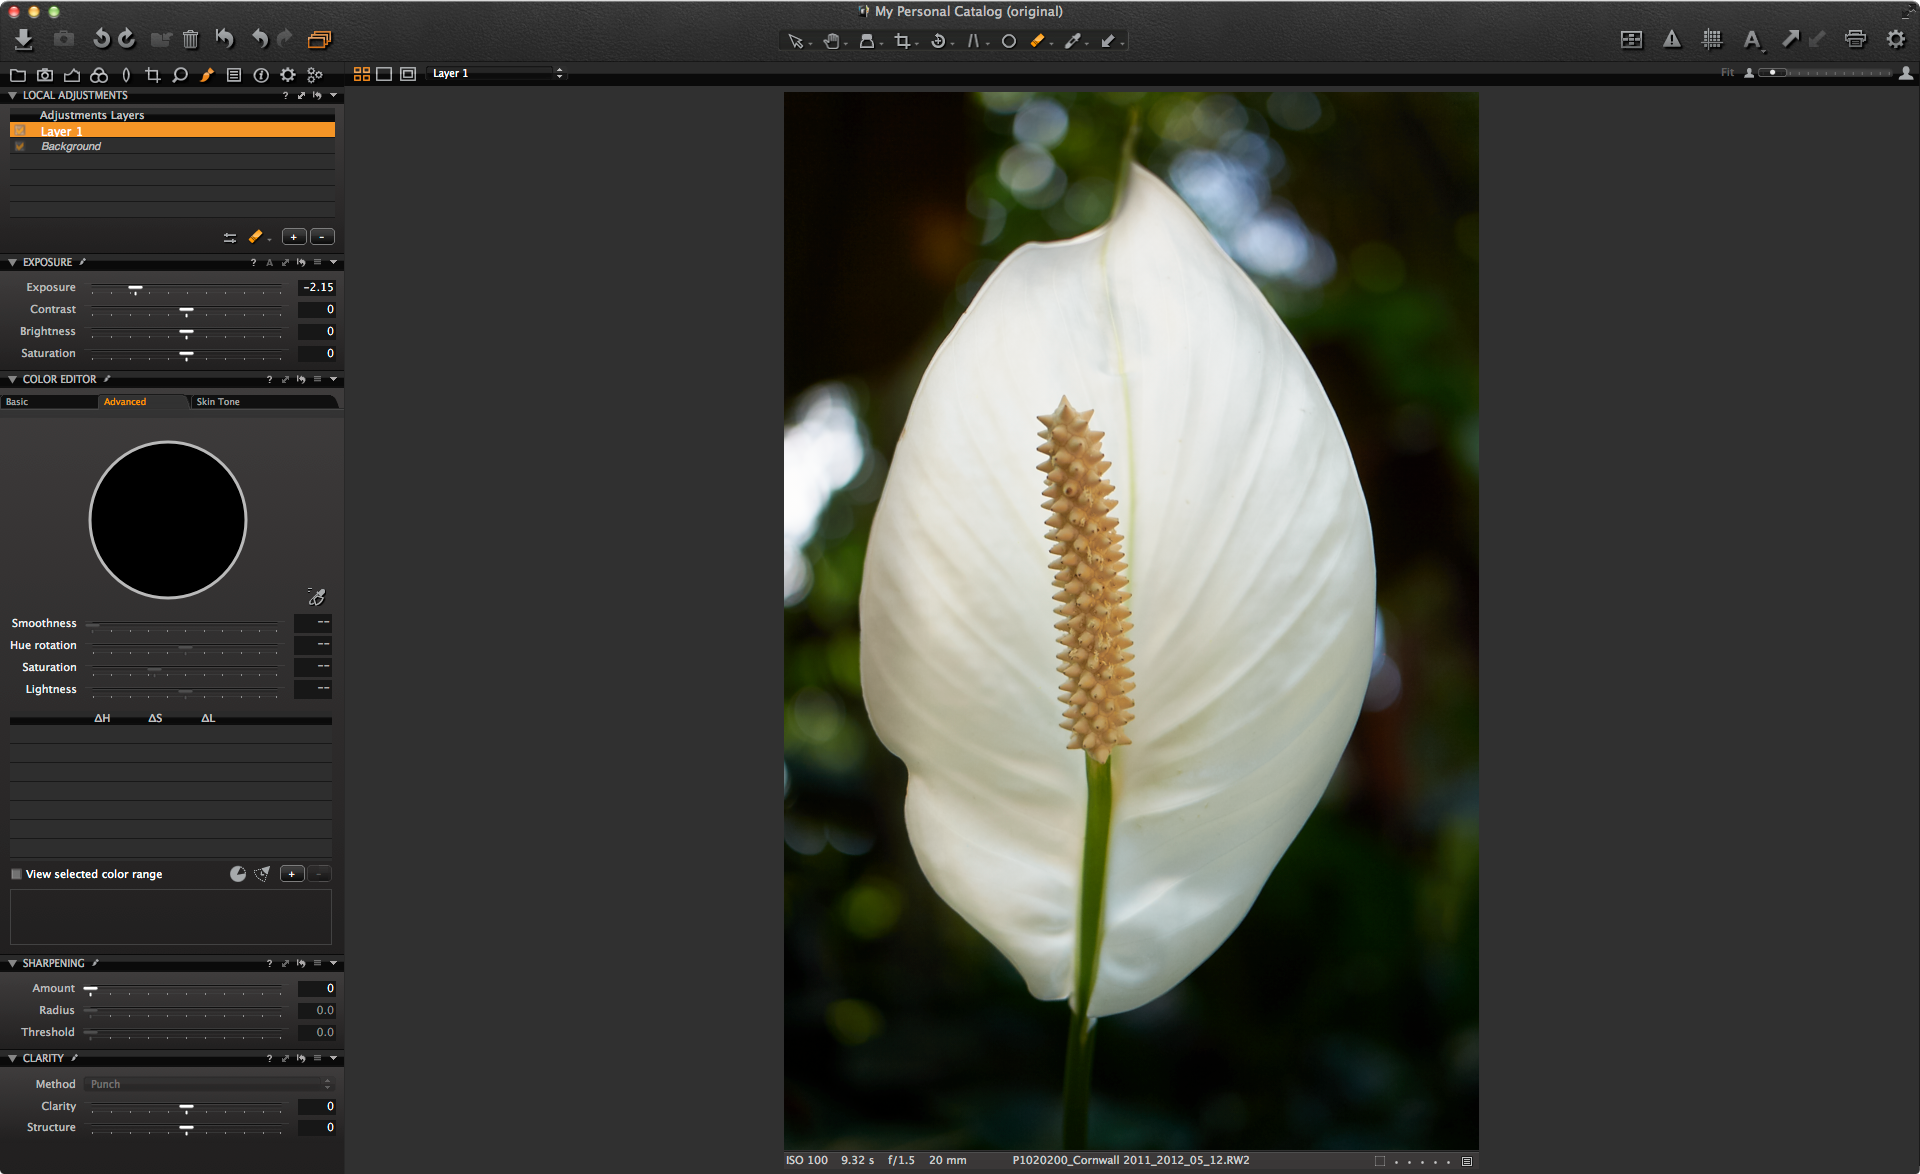
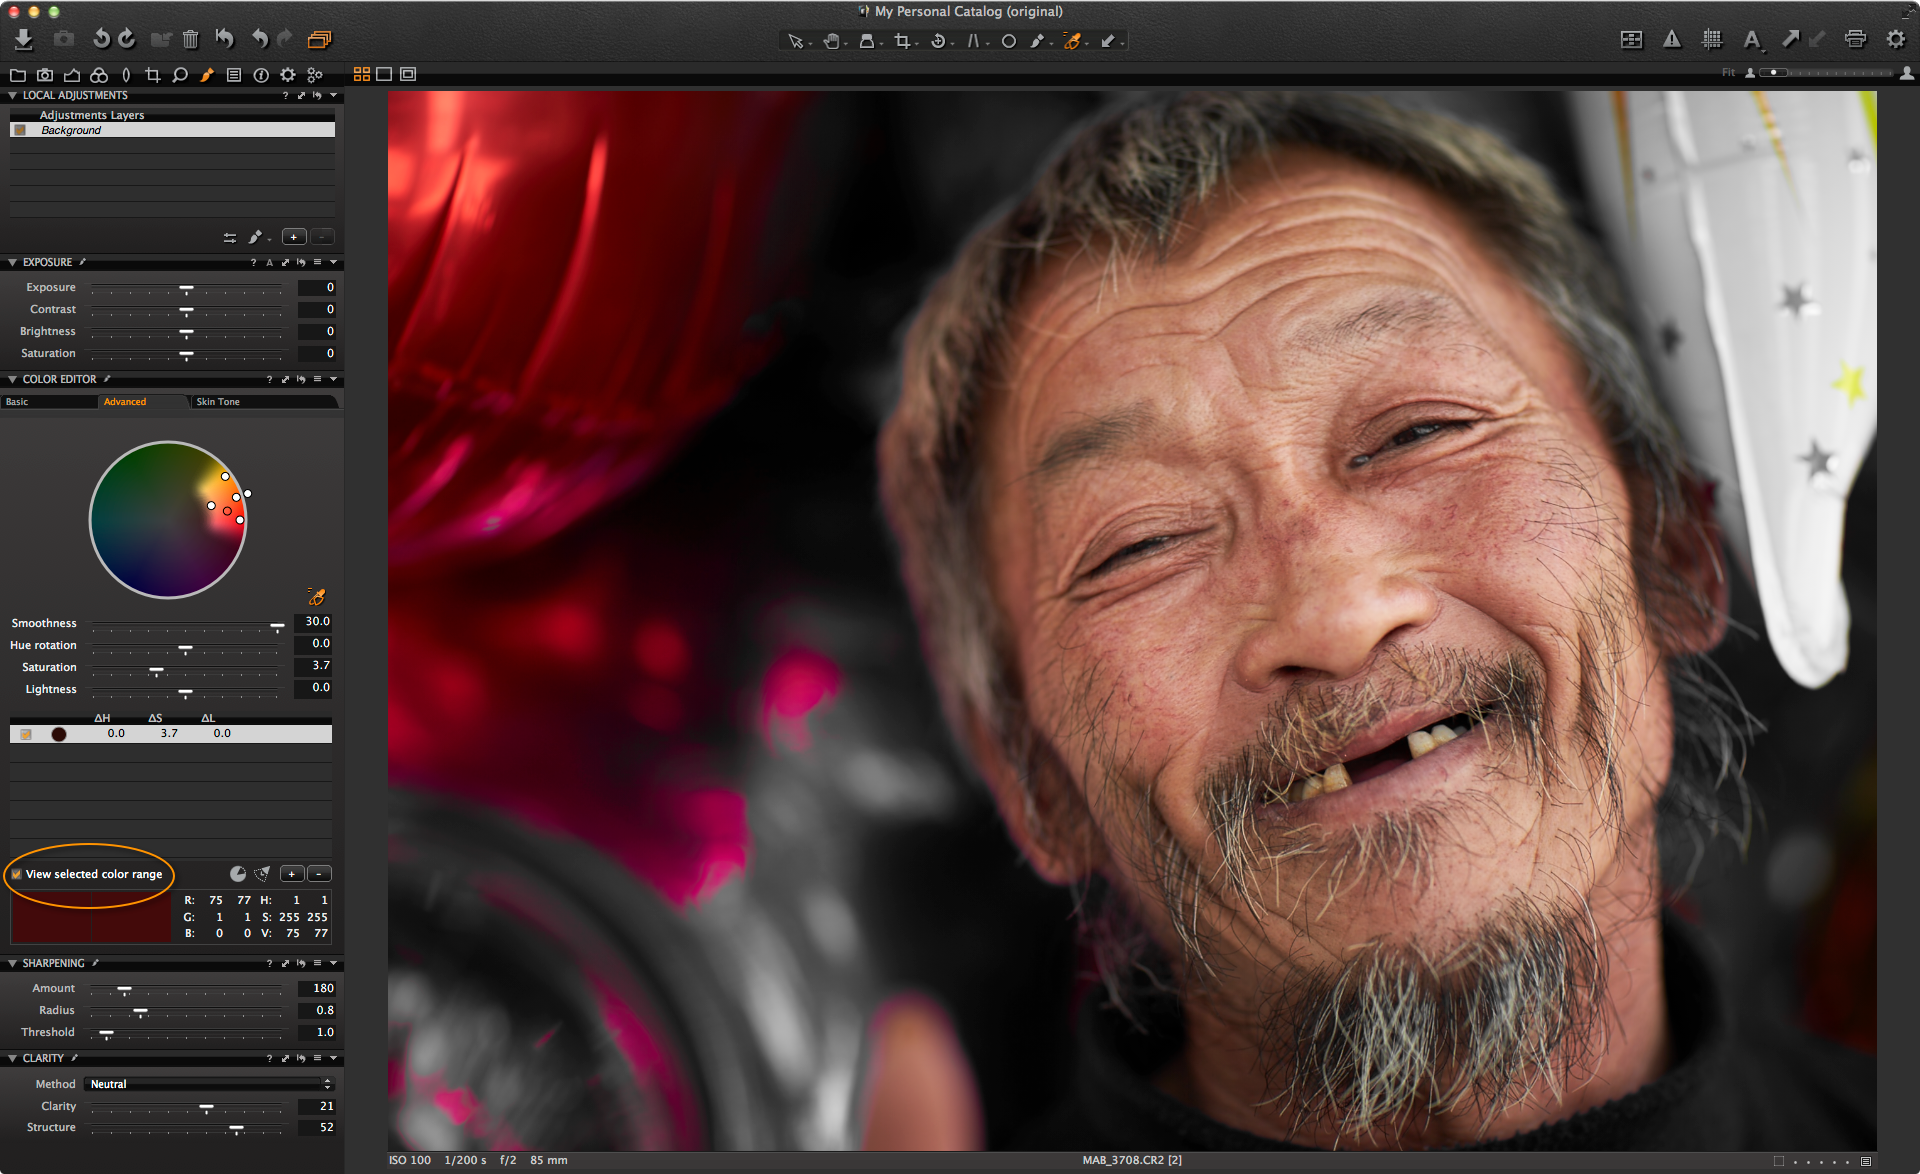
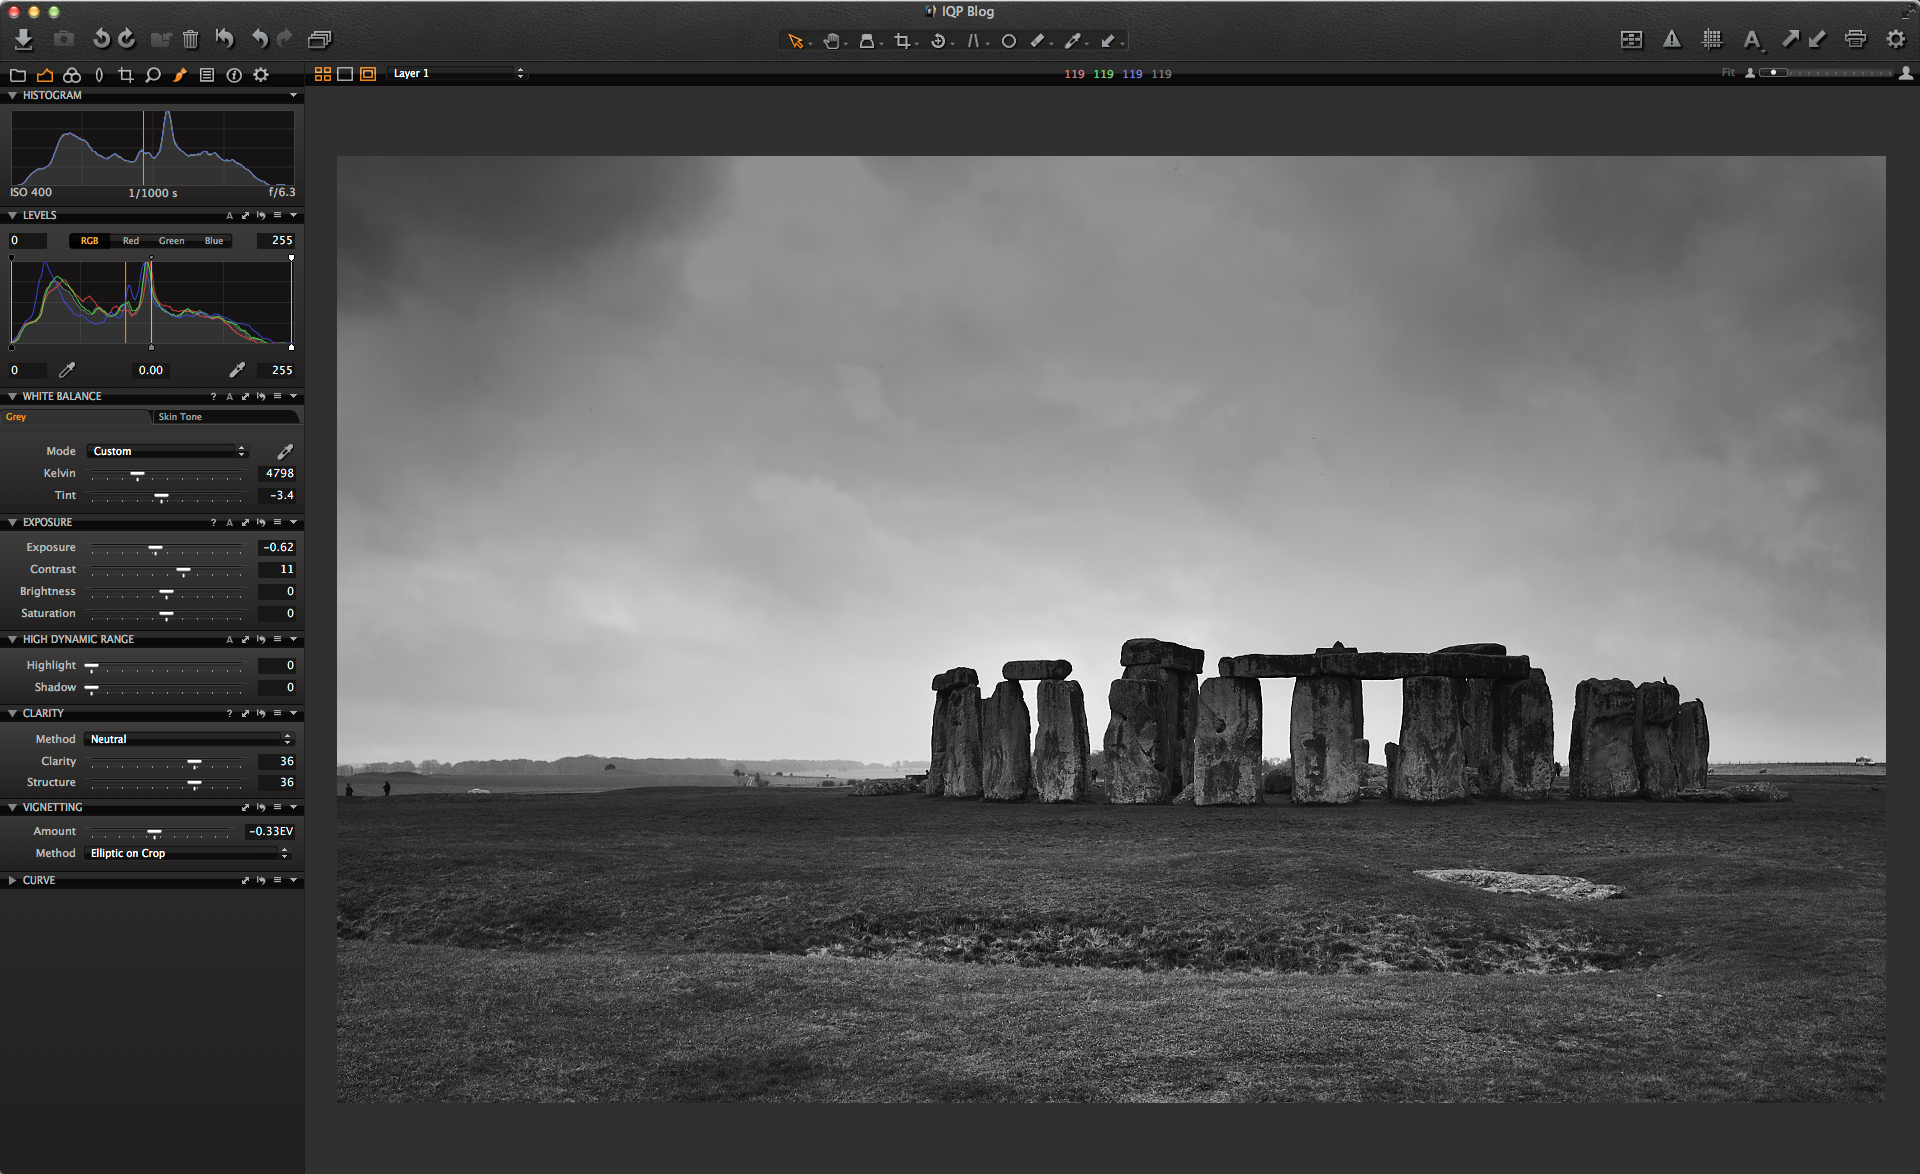
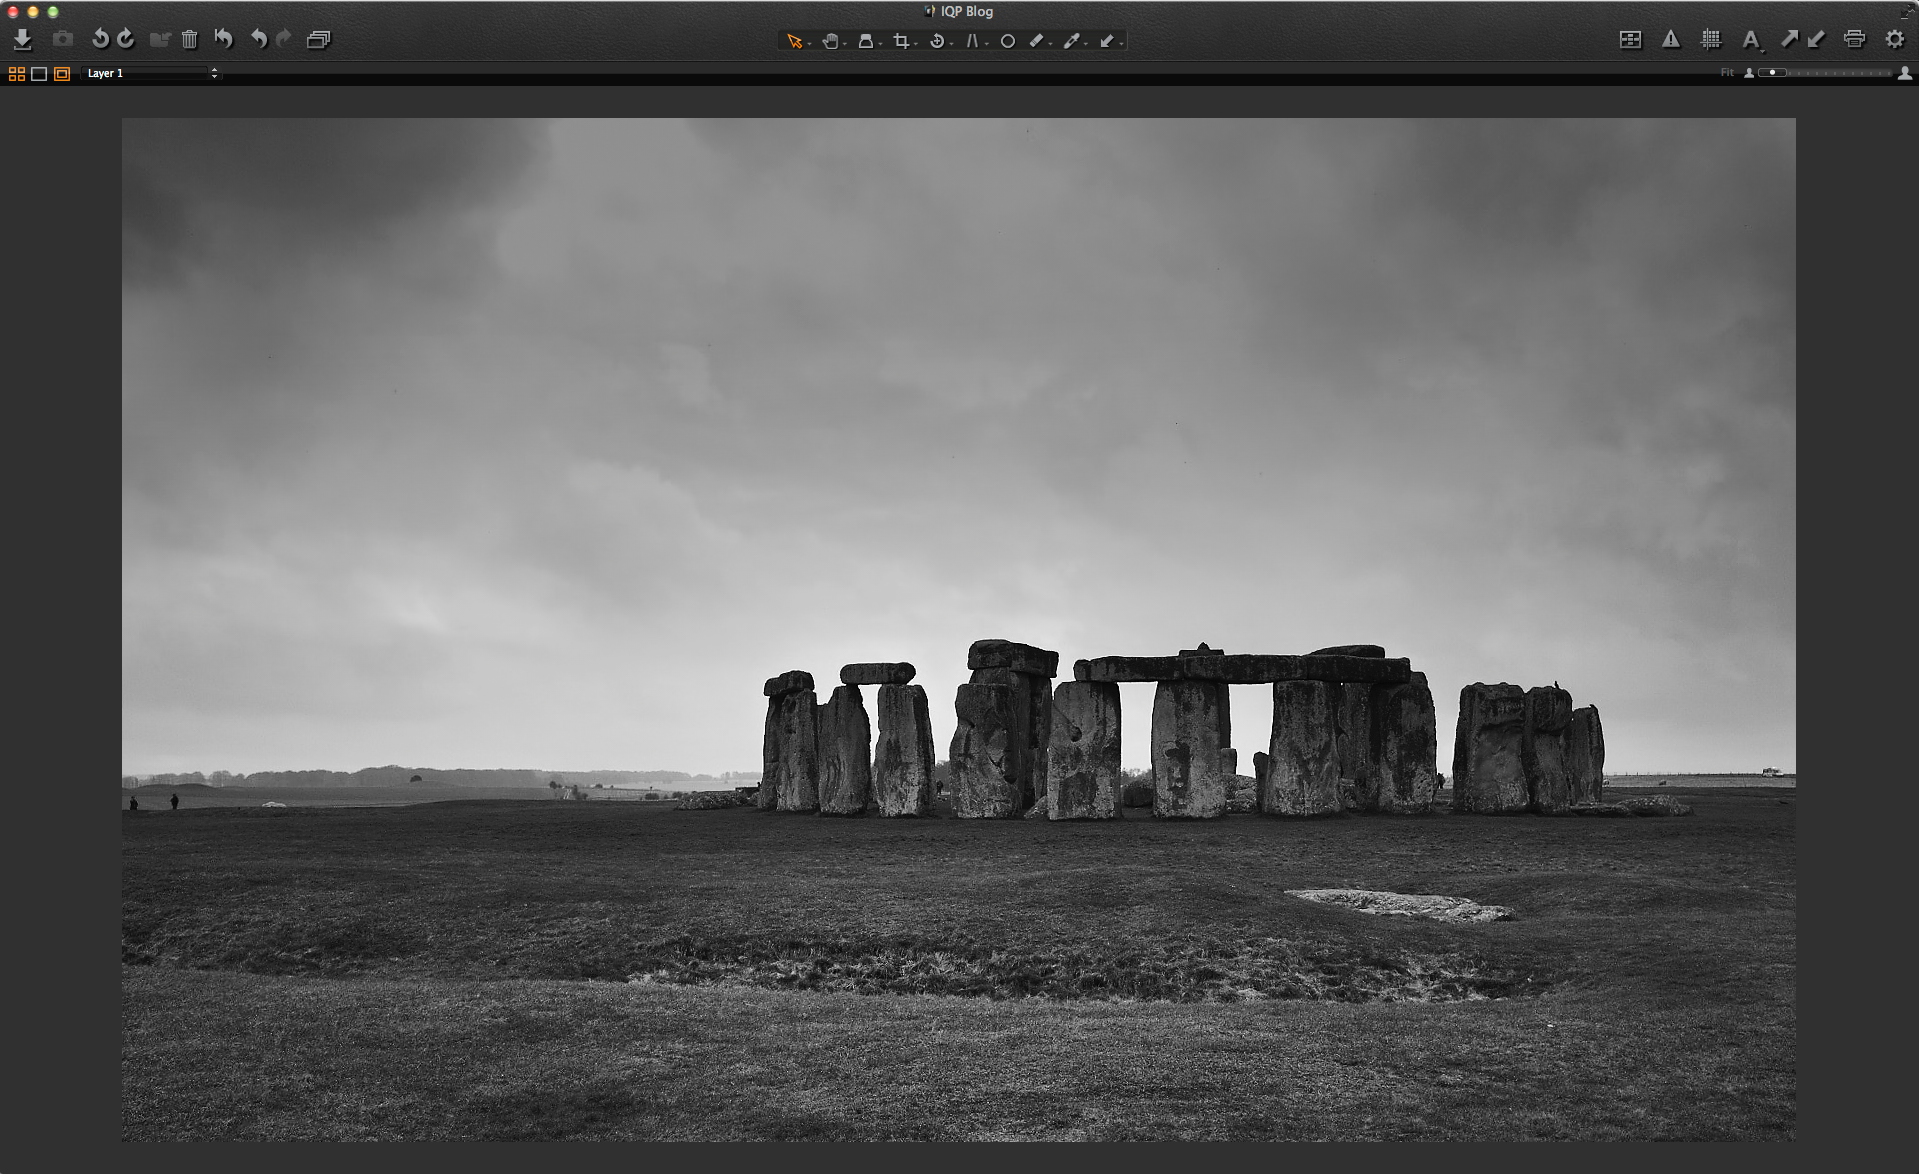
If we look at the default workspace with the lead image in place, it looks like this:
 Nothing wrong as such, but there are a lot of options that might distract from the image at hand. And secondly, if we are not blessed with the latest massive monitor then we want to get as much image real estate as possible to make it easy on the eye and not waste space with tools and other elements that we don’t need in the adjustment phase.
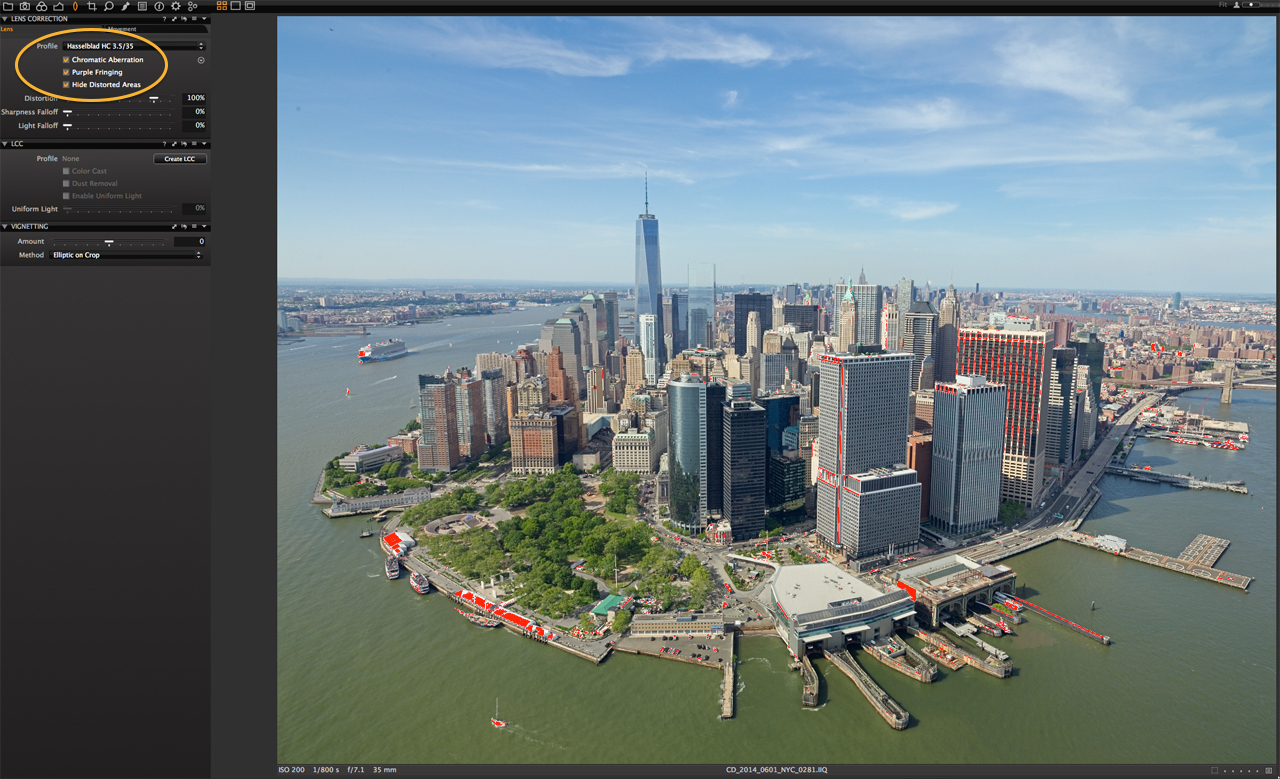
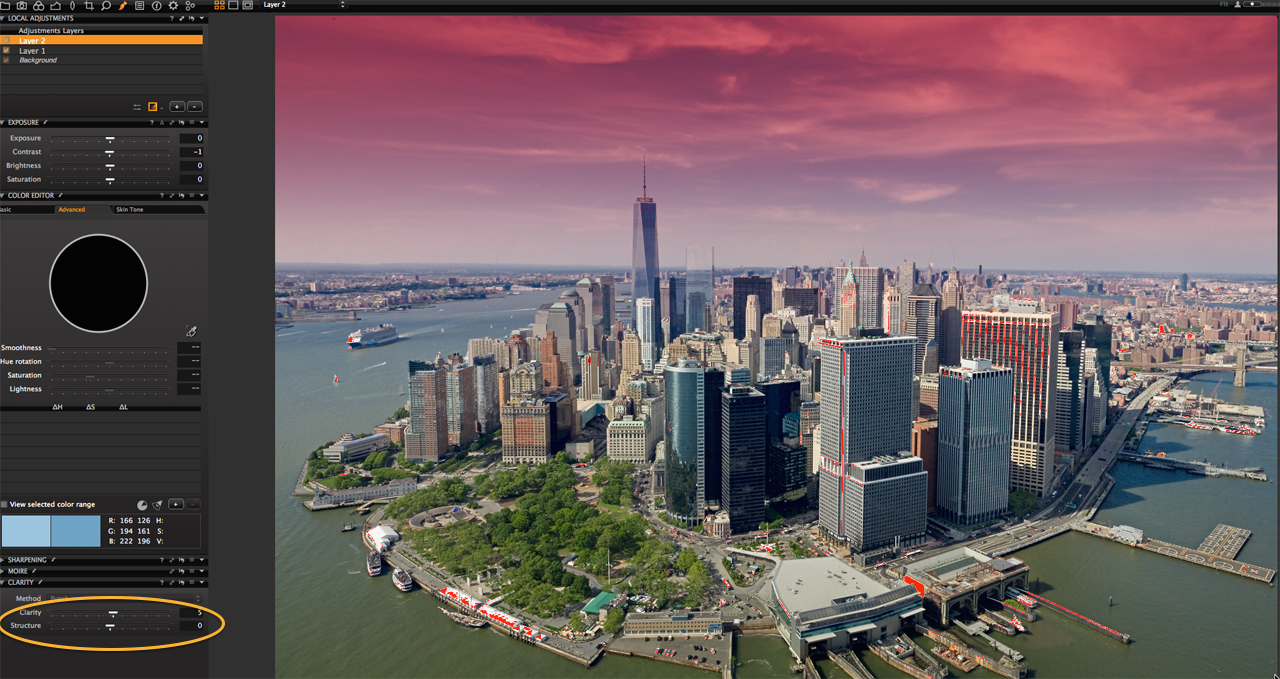
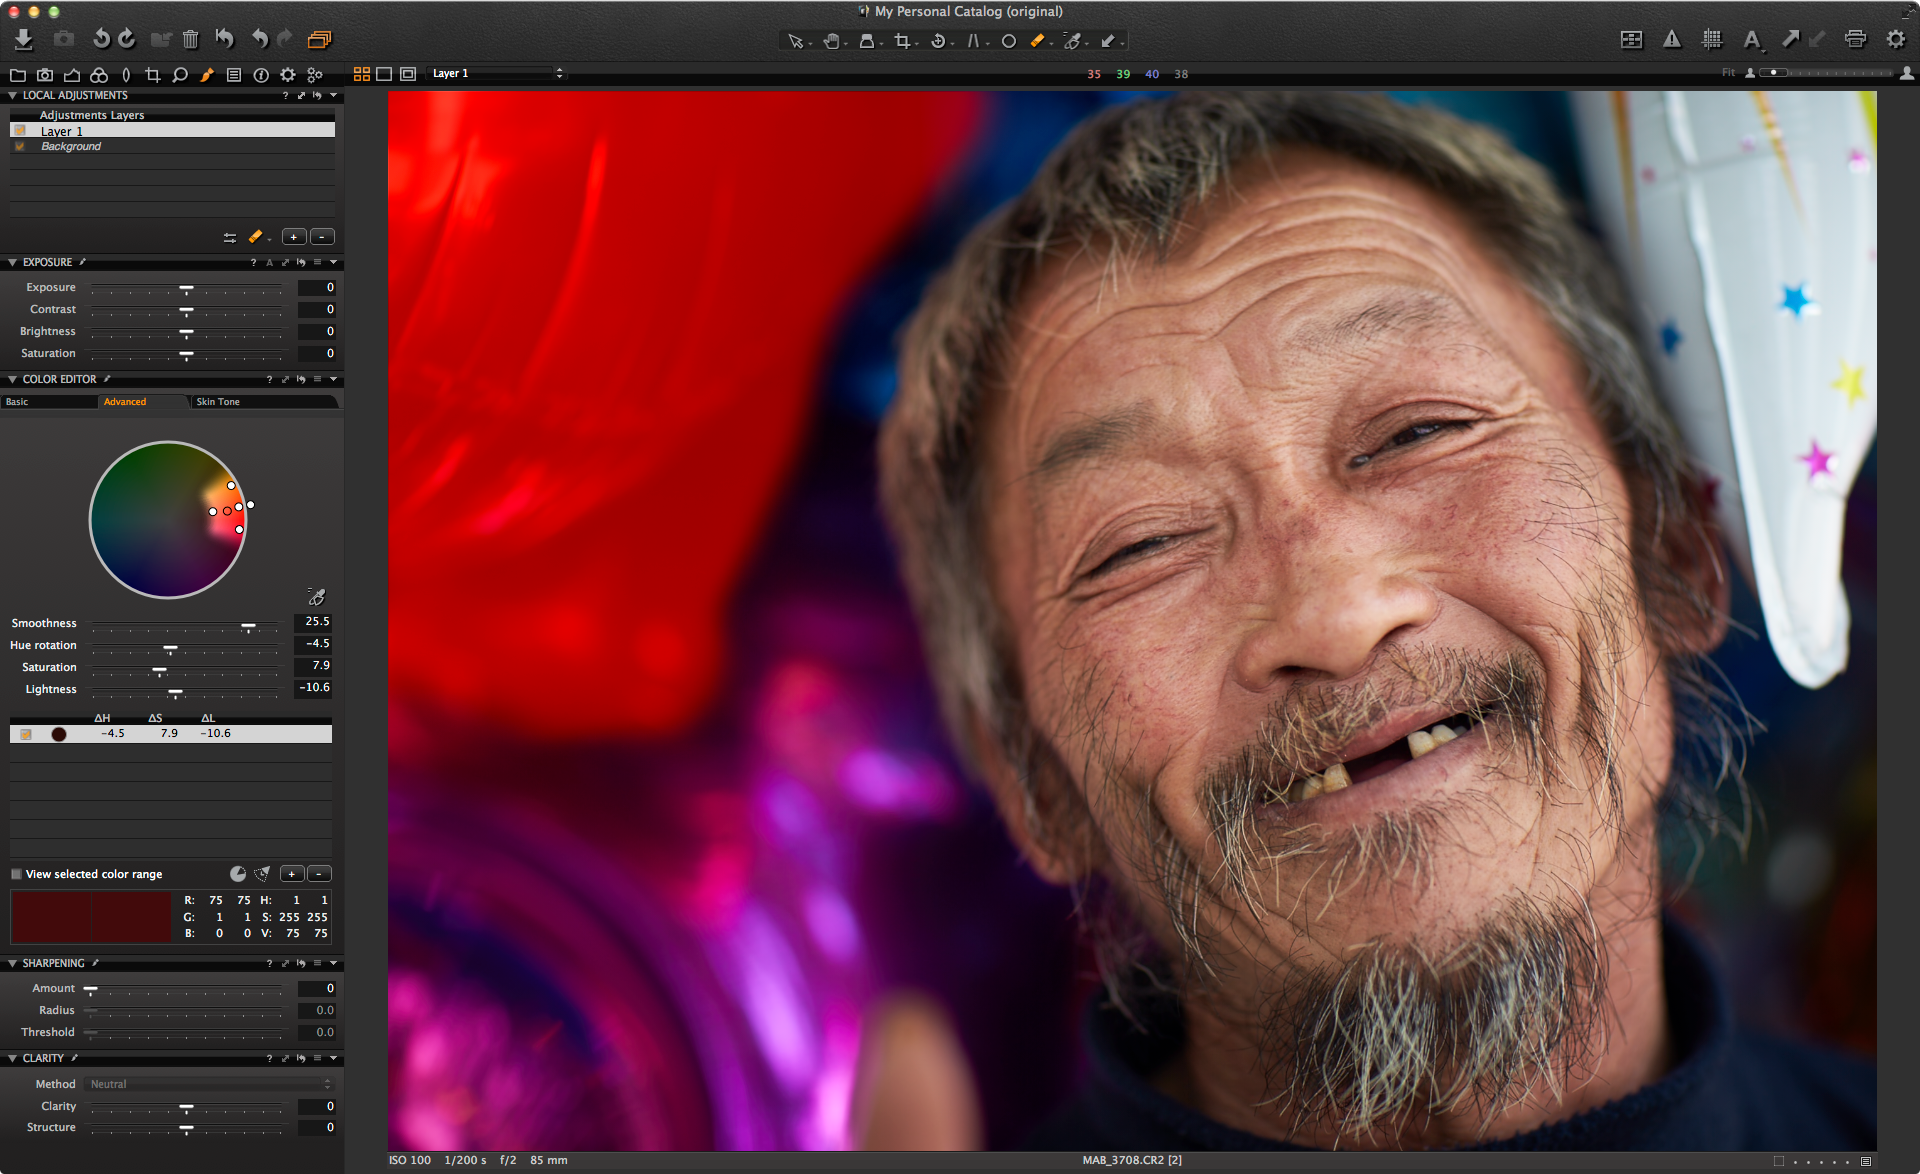
So here is what I prefer to work with during adjustment:
 A little but easier on the eye, no?
Basically it is just some subtle changes, but nice to work with. I have consolidated some tools into certain Tools Tabs to make that area as narrow as possible, removed the browser and also removed the Viewer labels.
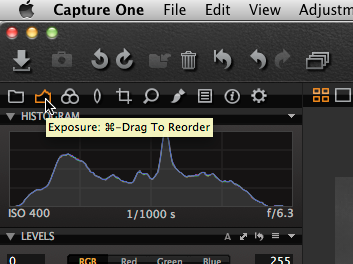
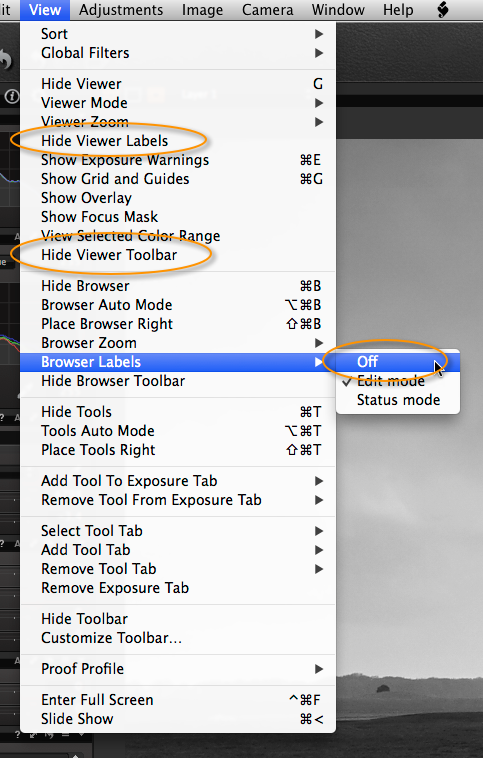
Where do I find Viewer Labels?
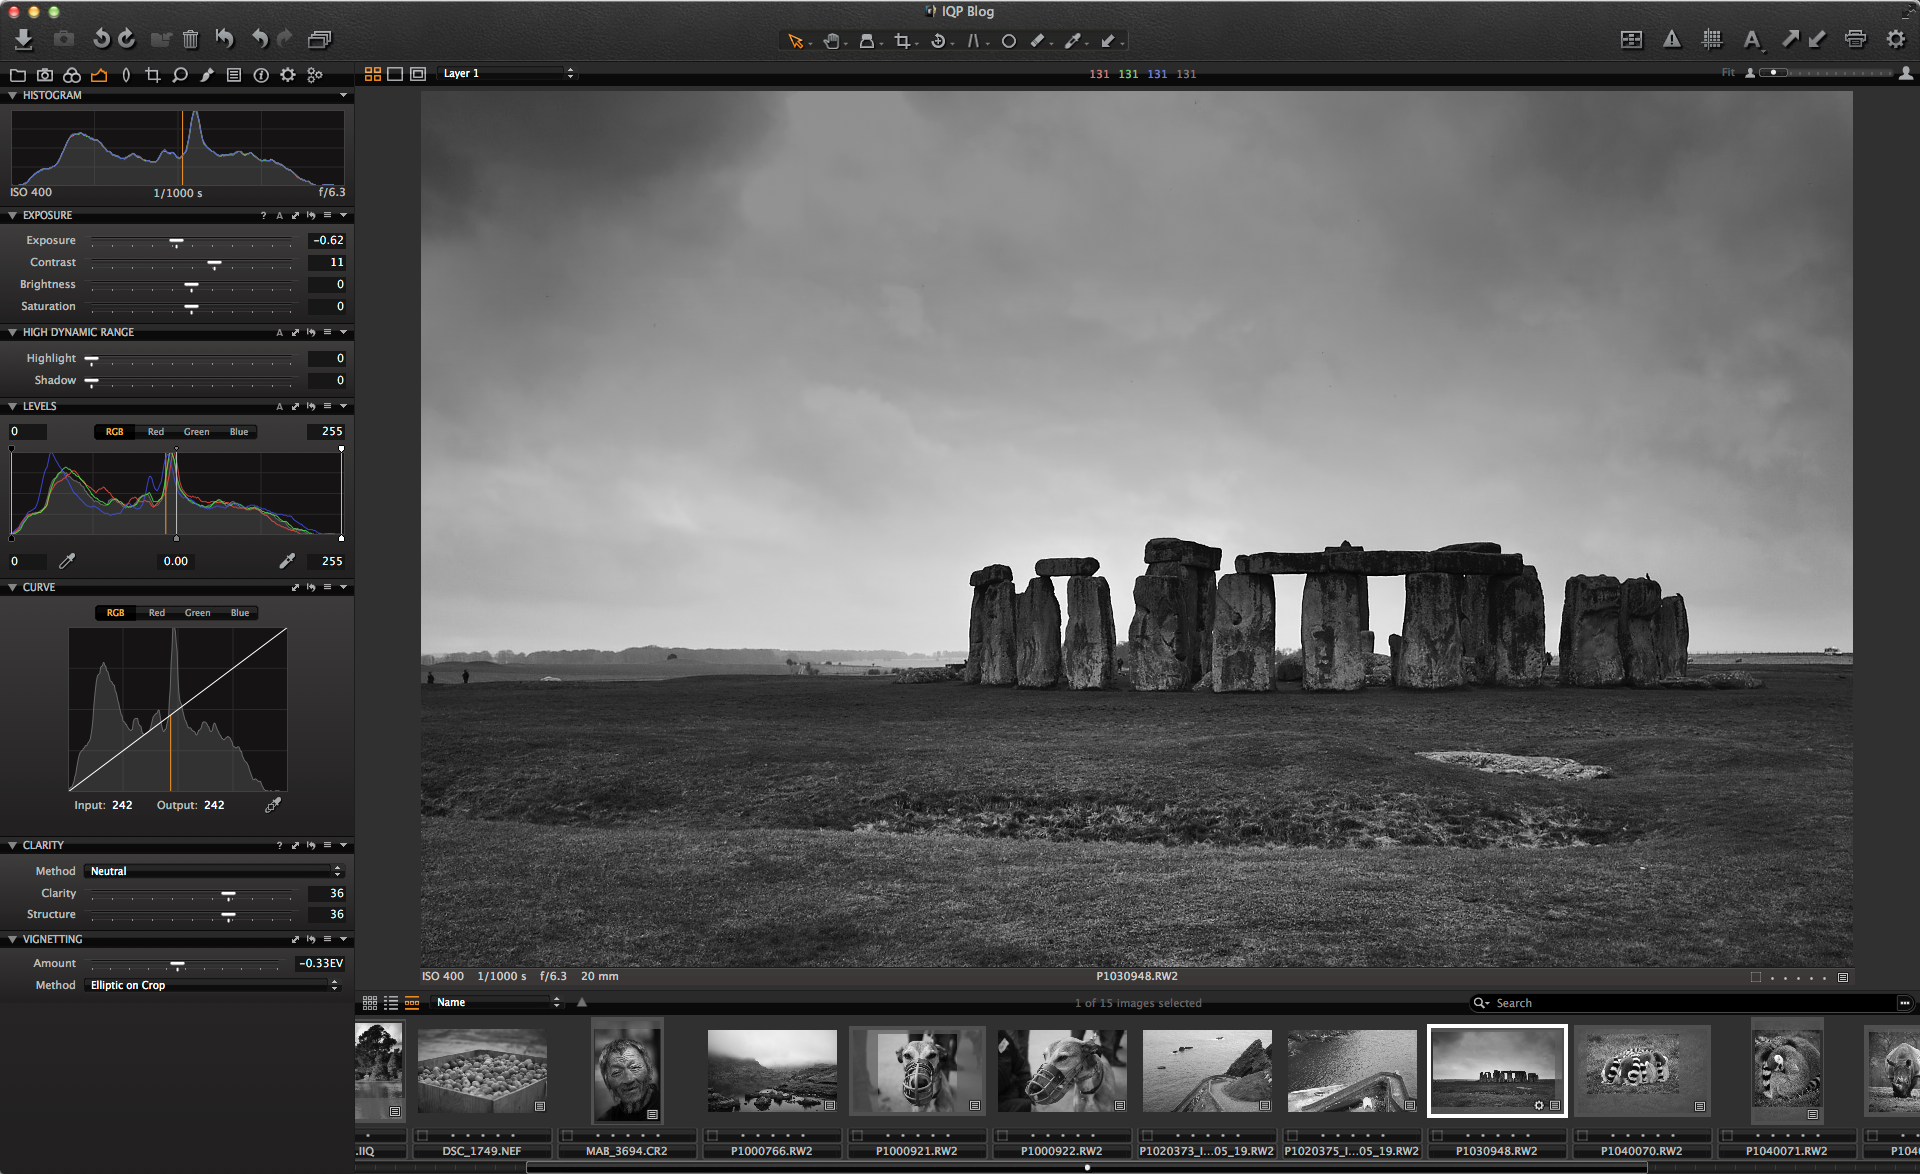
If you look at the first image, it’s the bar under the image with the basic metadata like shutter speed, ISO etc. I really don’t have a use for that, once the image is being edited.
If I need to bring back the browser, I just press CMD-B (Mac) or Ctrl-B (PC) on the keyboard. Even that is simplified too.
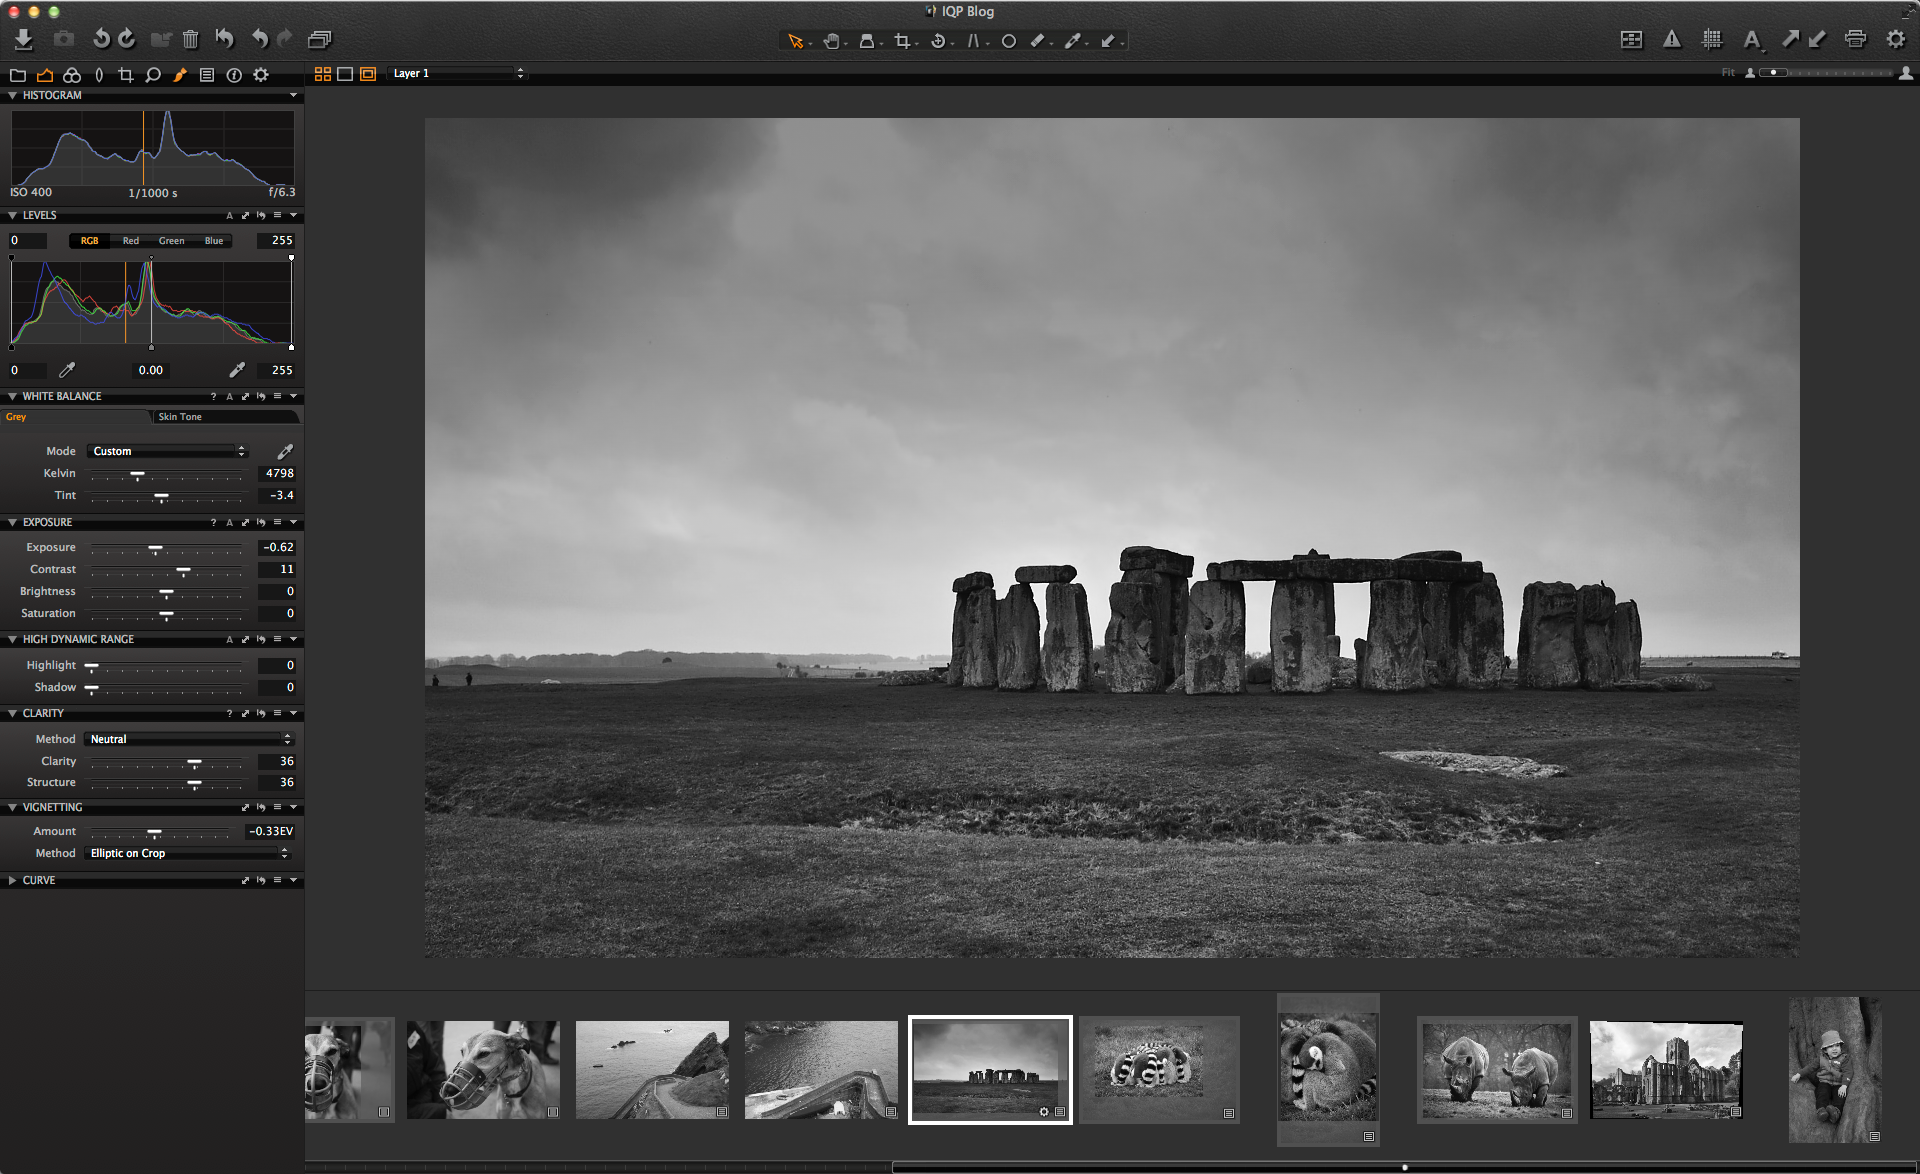
I should add by this point that I have already gone through a process of rating and selecting. I do this with no Viewer at all and just simply the browser with the usual thumbnail information intact.
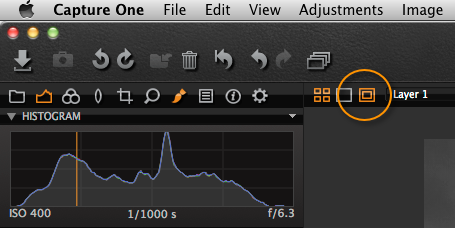
The final feature that helps me is the Proof Margin toggle button. You’ll find it in the top left hand corner of the viewer and you might not even have noticed it.
 What this simply does, is to give you a bit more ‘air’ around the image, so it is not so close to the borders of the viewer. I personally find it much easier to judge composition in this way. You can actually set the size of this margin in the Preferences.
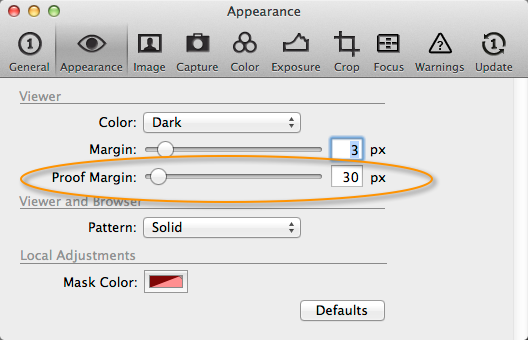 In theory you could just set the standard Margin to something broader, but I do like to be able to have a choice as well.
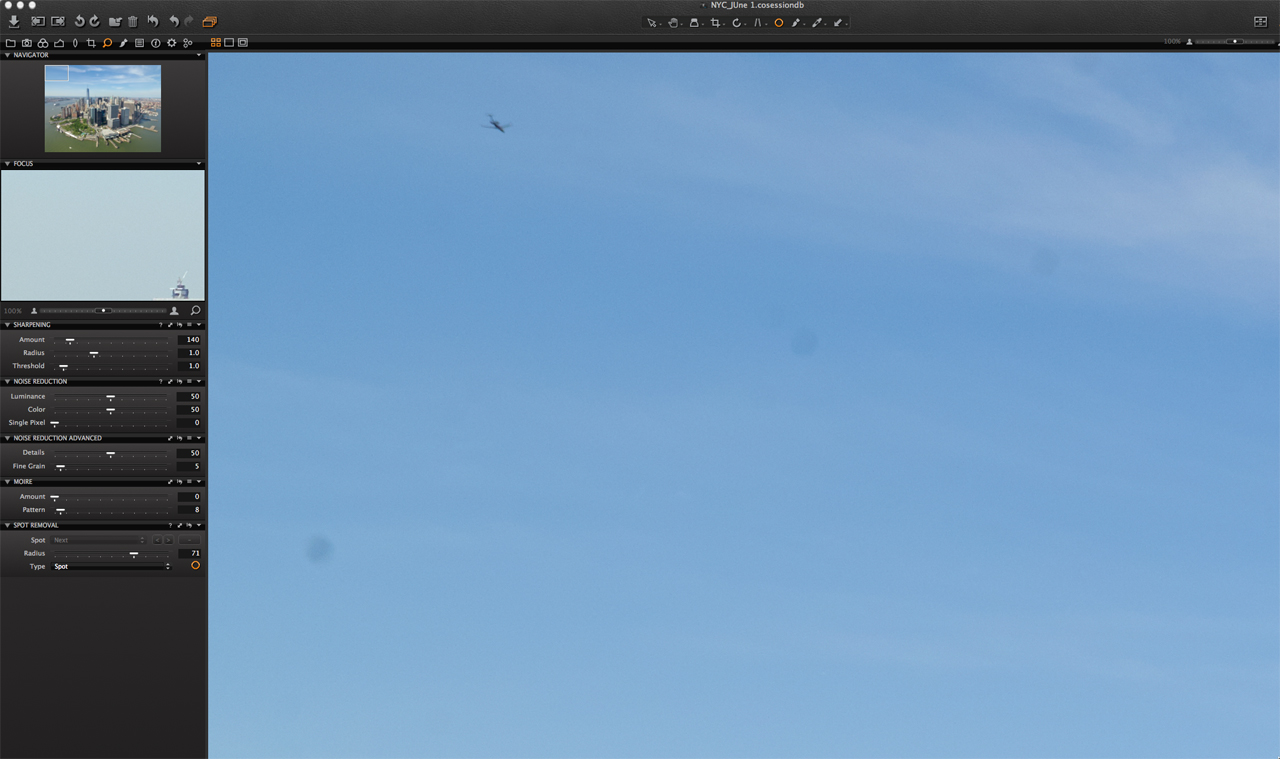
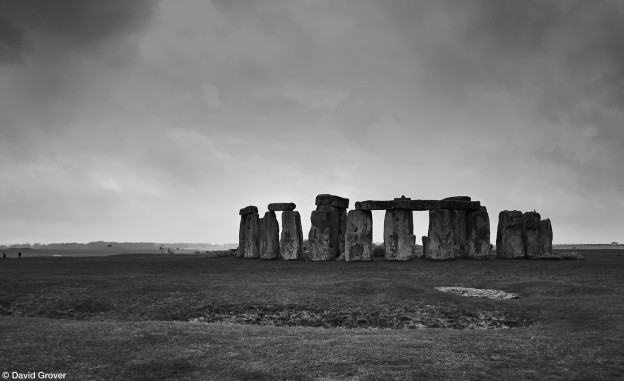
To have a final look at the image it is a simple case of CMD-T (Mac) or Ctrl-T (PC) to hide the tools giving us almost nothing but the image.
 We do have a full screen option, which you might prefer (View > Enter Full Screen), but I find my way faster.
So here is a quick summary on how to adjust those workspace elements:
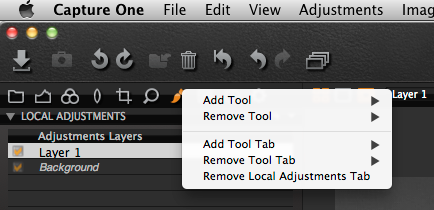
To add or remove a single tool from a Tool Tab, or even an entire Tool Tab:
Right-click on any of the Tool Tabs and choose from the menu.
 To change the order of Tool Tabs:
CMD (Mac) or Ctrl (PC) drag:
 To resize the different areas:
Drag the divider lines:
 Hide various elements in the Viewer and Browser
 There are other options you could explore too, for example Auto Mode for both the Browser and Tool Area. This means that they will hide until you mouse close to either edge. But I prefer to use the shortcut keys to show and hide, but you may be different!
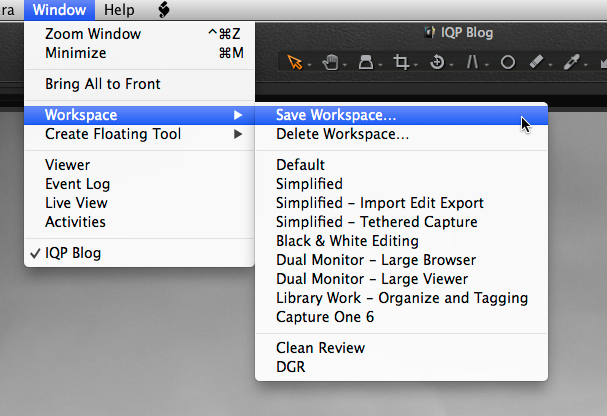
To save your workspaces, do so in the Window menu. You can have as many as you like.
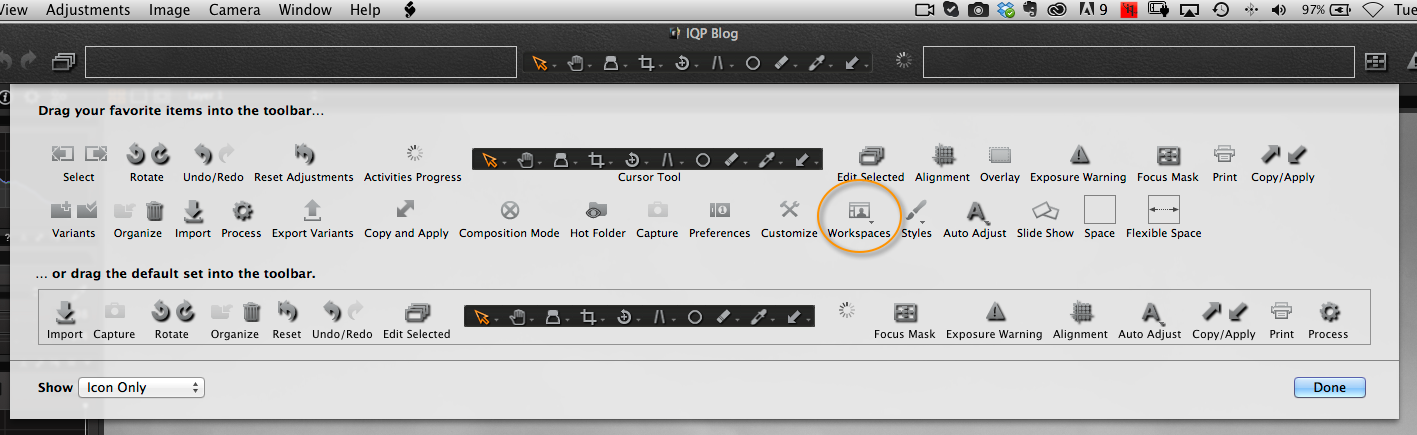
 If you want to switch quickly between your different workspaces then right-click on the toolbar, choosing Customize, and add the following icon:
 All workspaces are then available from there:
 If my choices don’t seem right for you, then that’s OK of course, we all have our preferred way of working.
That’s the beauty of a customizable interface.
Best regards,
David Grover