We made this little insight during our trip to Doha back in June. It was shot alongside a TV commercial for the event. As the world cup recently finished all the assets have been released for me to use on my blog etc.
I was commissioned via my agent ShootGroup by Filmworks in Dubai, to work alongside the creative team at Leo Burnett in Doha to produce a set of background images for a composite, a set of athlete shots produced in a makeshift studio in the handball stadium and a set of location images to show some of the great travel locations around Doha.
Location Doha
We were in Doha for a week and everyday started well before sunrise, which was 4.15am so we could use the best light. It’s worth pointing out that during the day the temperatures reached 50+ degrees, which was hot to say the least.
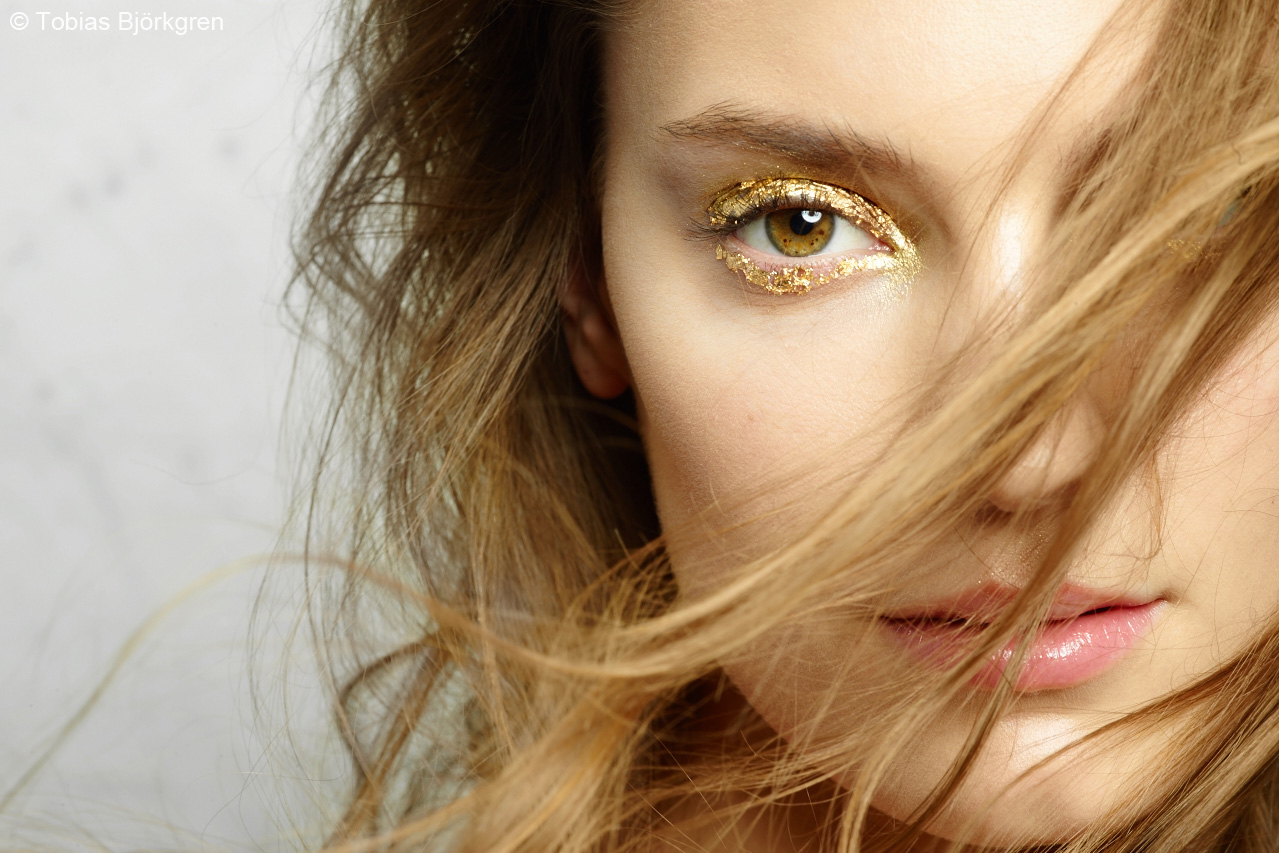
My choice for this commission was to shoot it high-res on the Phase One 645DF+ with a IQ260 back. Steve at Teamwork in London once again supplied the camera system. I was always confident of what we could do with the athletes as by lighting them in our studio setup where I had complete control, but knowing the power of processing the IQ260 files in Capture One Pro 8 gives me so much control out in the field where I had everything, from cityscape at night, sand dunes at dawn, boats on water and a desert fort, as well as lots of white buildings in bright sunlight. I know that I can control the file perfectly with Capture One Pro 8. In the studio we would shoot directly into Capture One Pro 8 tethered, out in the 50 degrees heat we would shoot to card and download. It was an unbelievable heat, you would drink 300ml bottles of water constantly and it just came straight back out your pores, and worryingly the camera seemed to be constantly too hot to handle. My producer even went off to buy the only umbrella in Doha to keep the sun off the camera at all times. Even though the camera felt like it was so hot it must explode it kept working just fine, and produced the amazing images that we required.

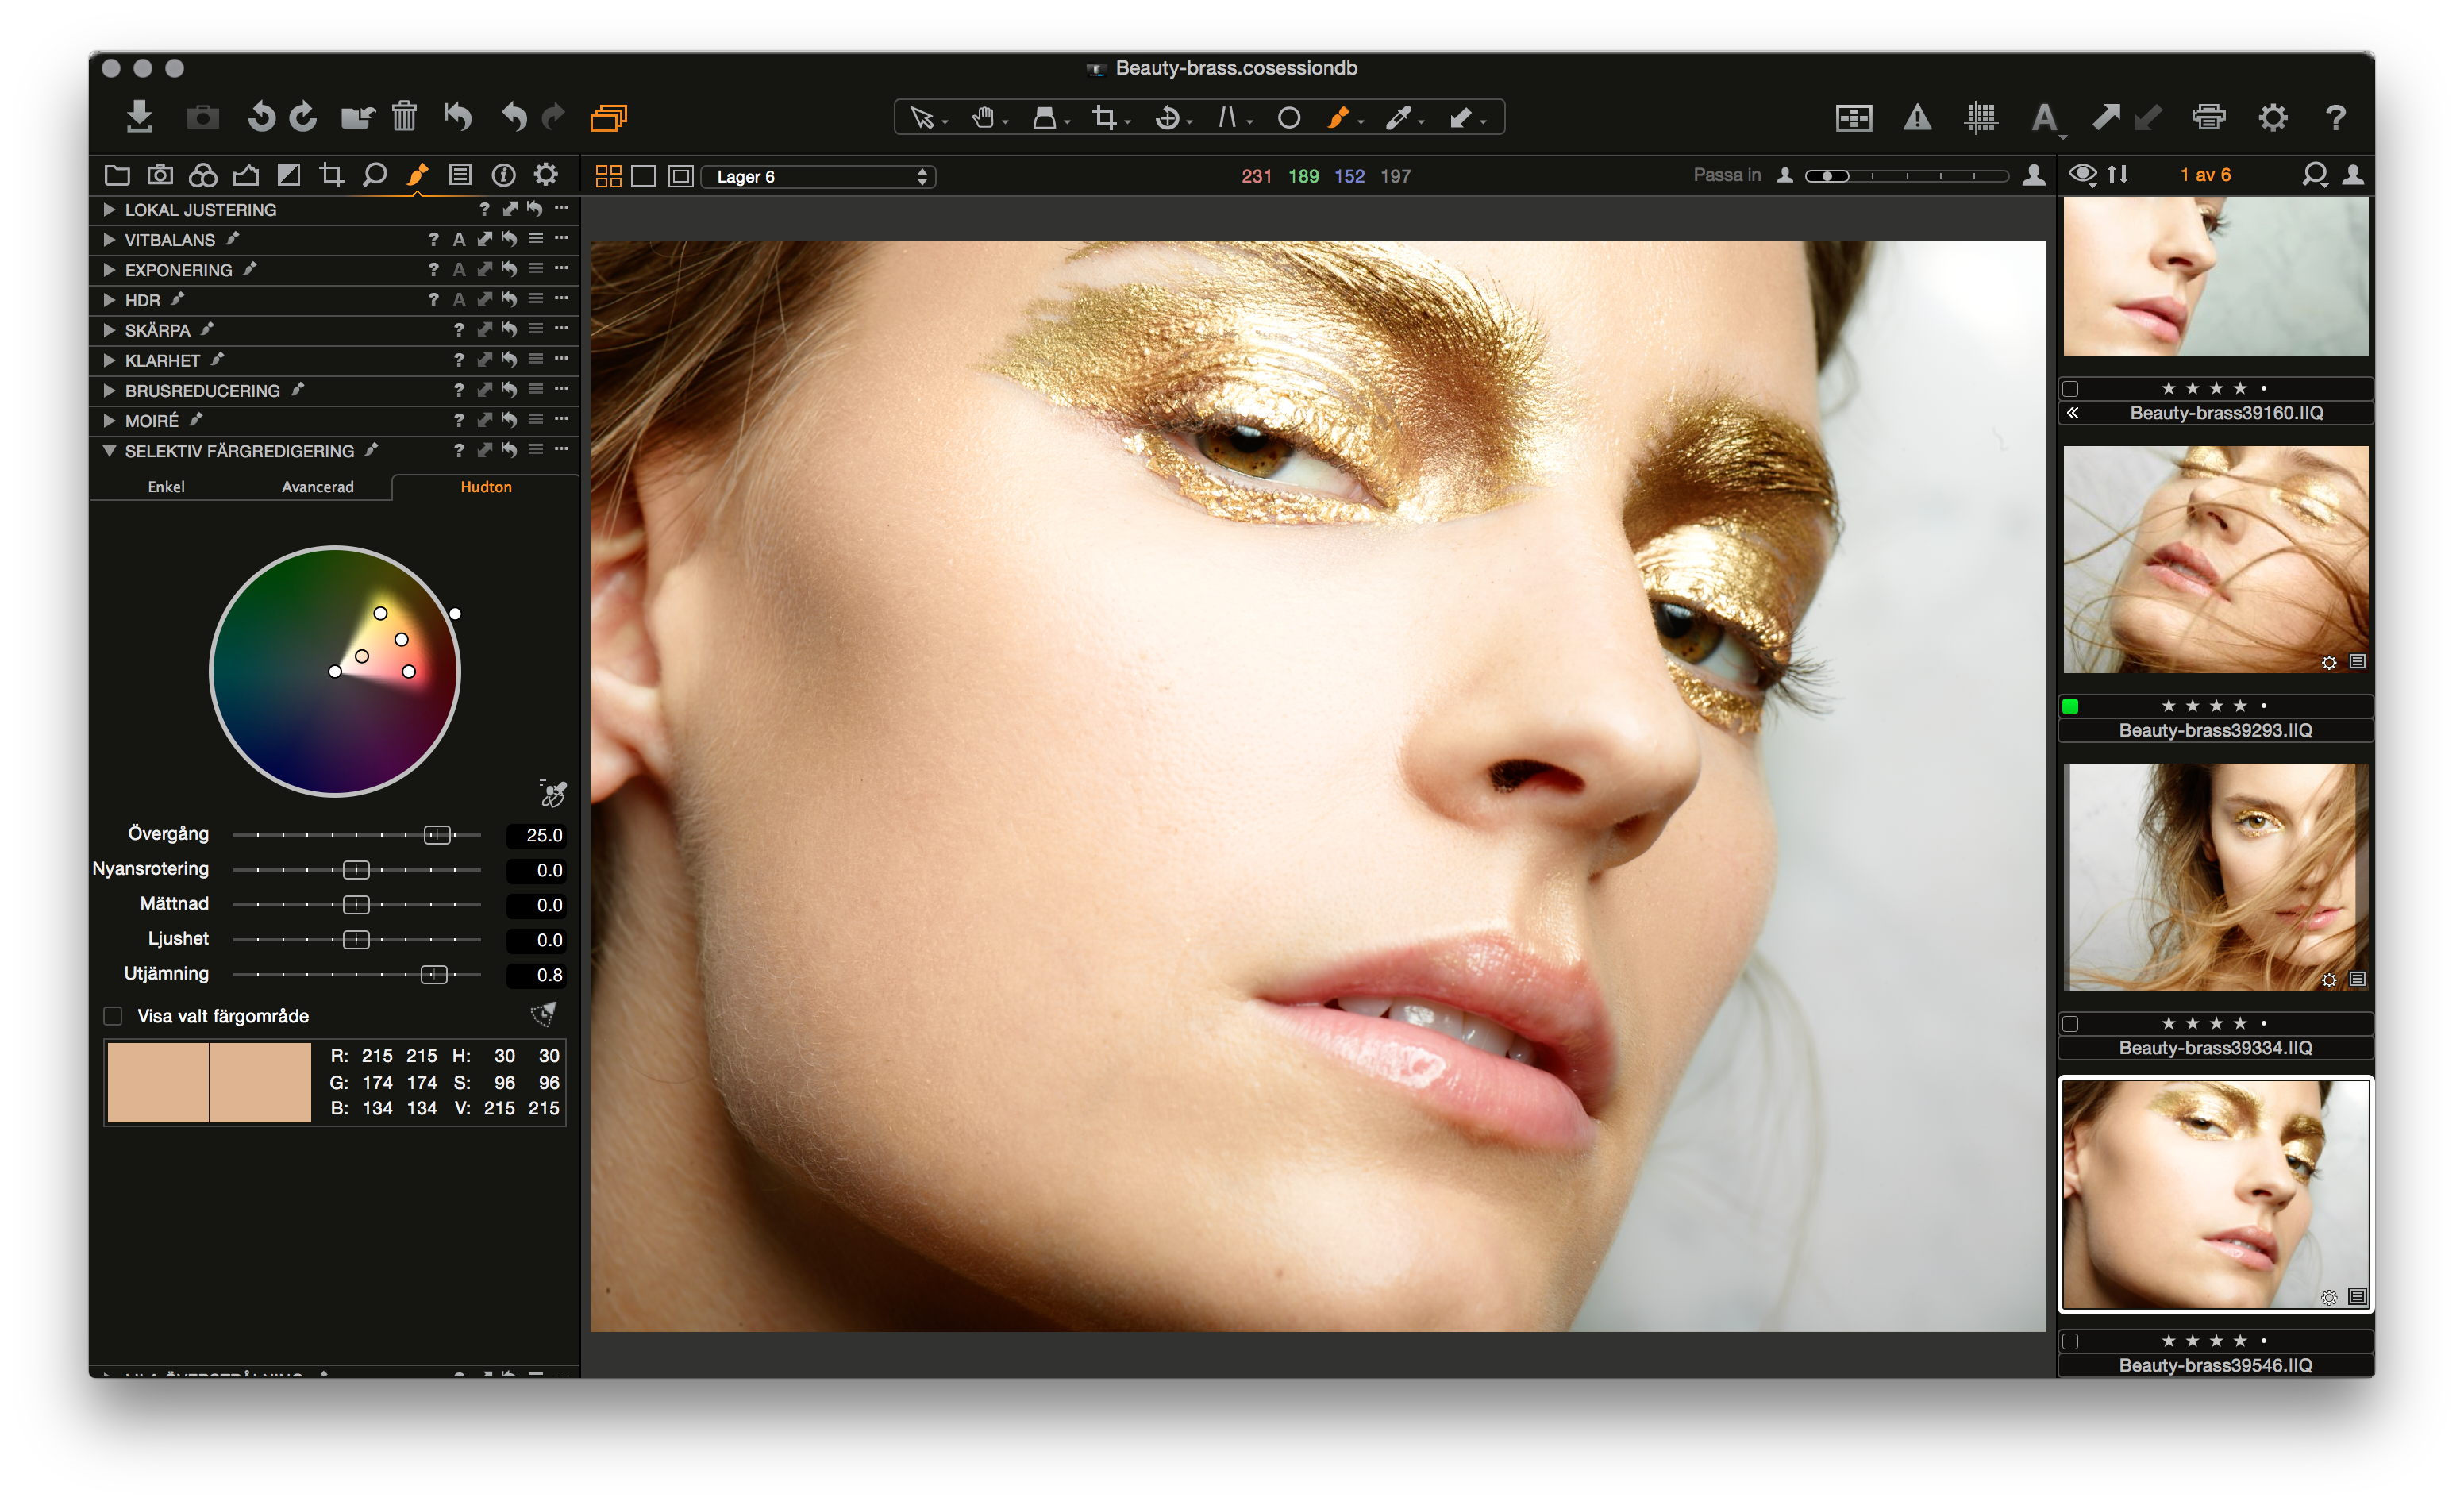
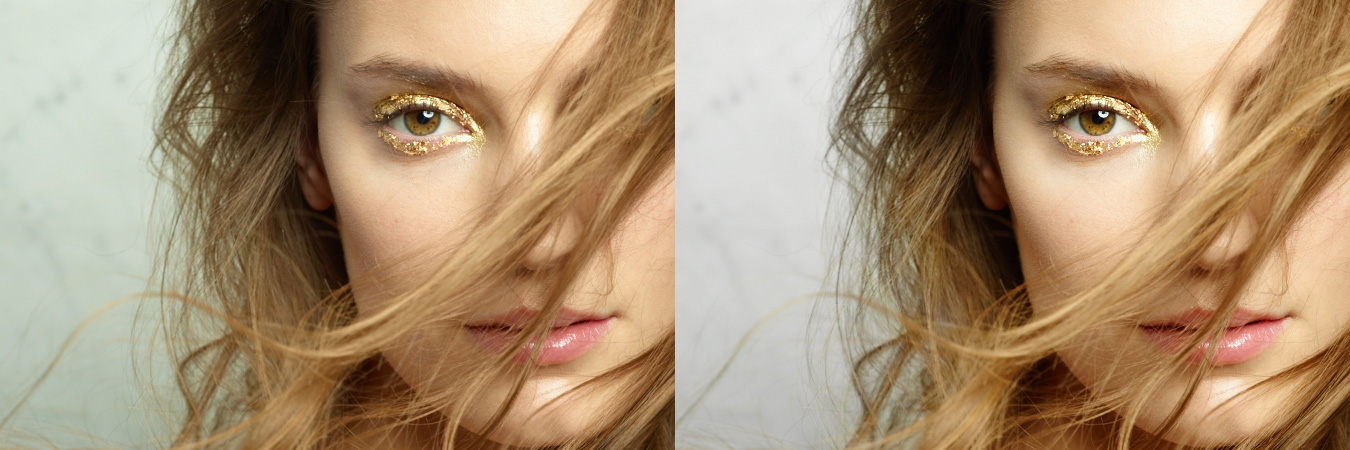
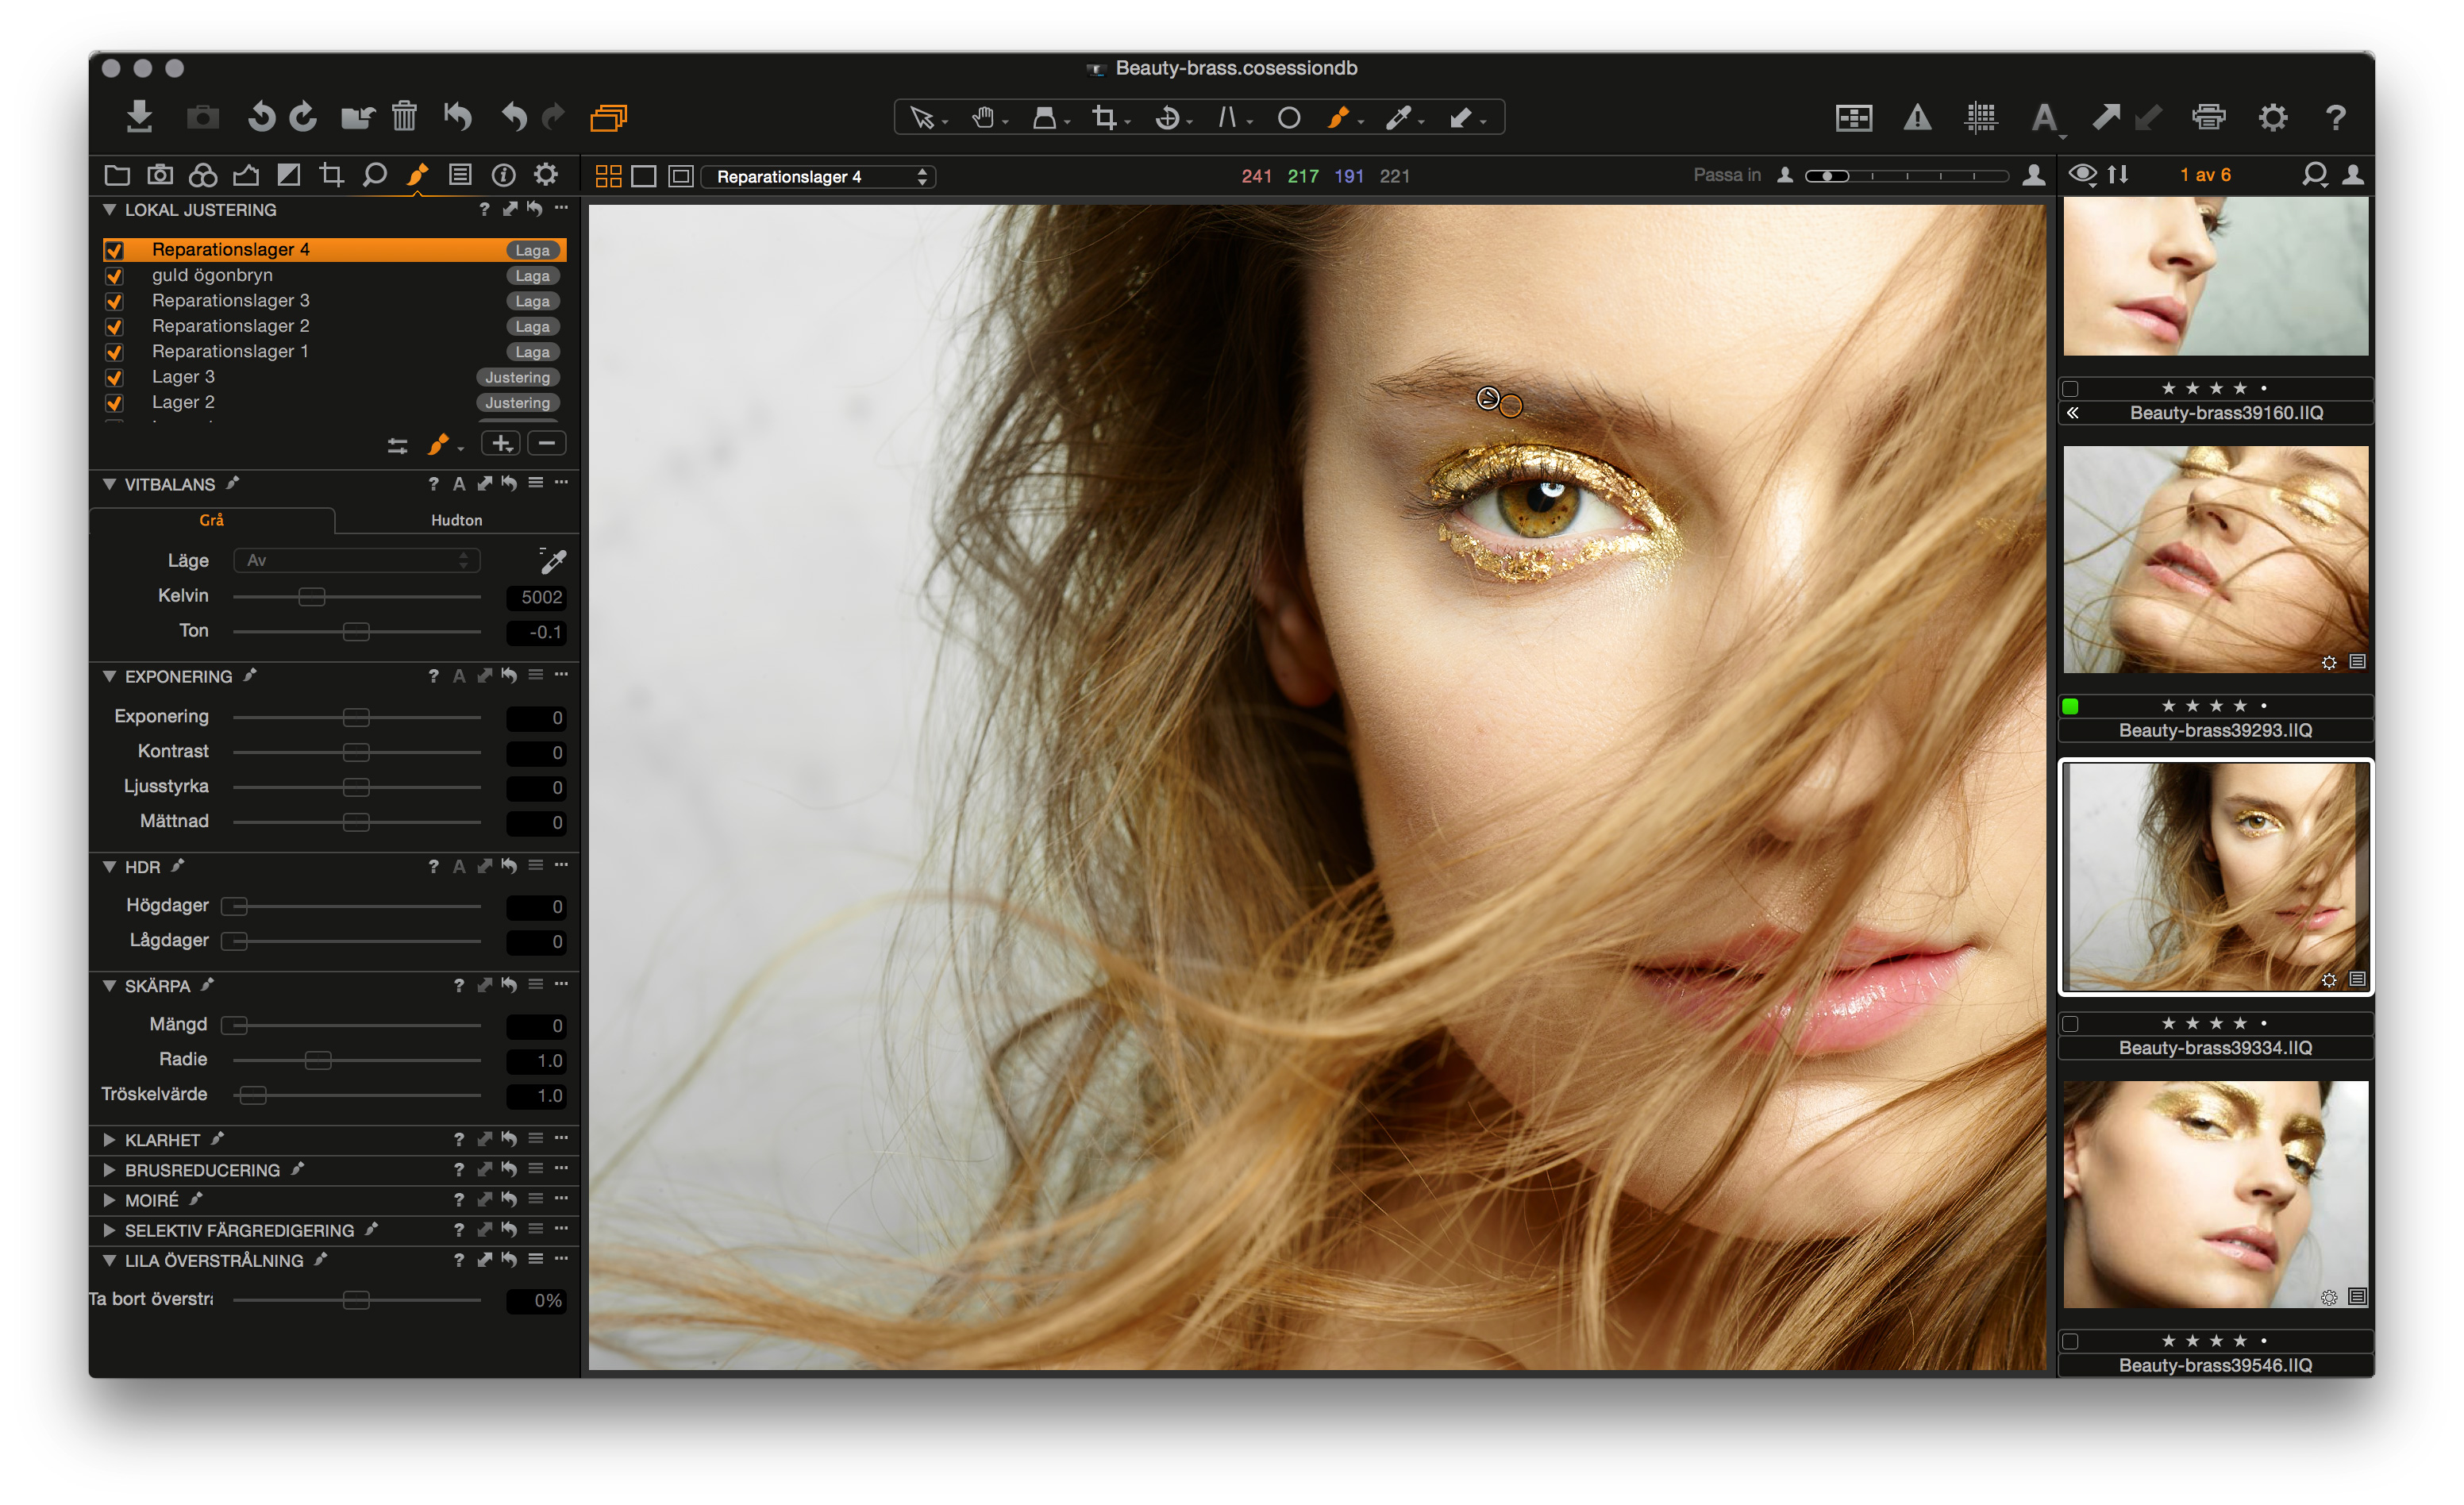
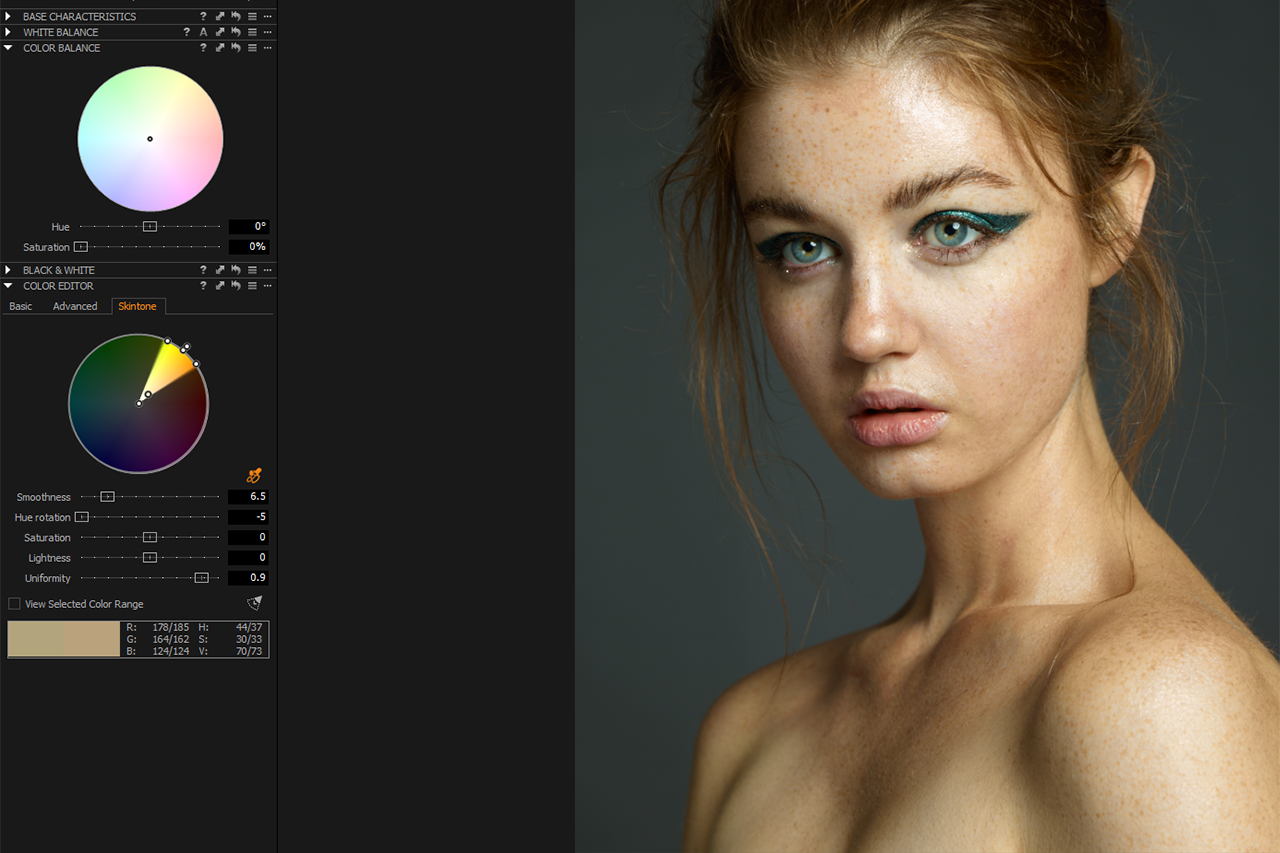
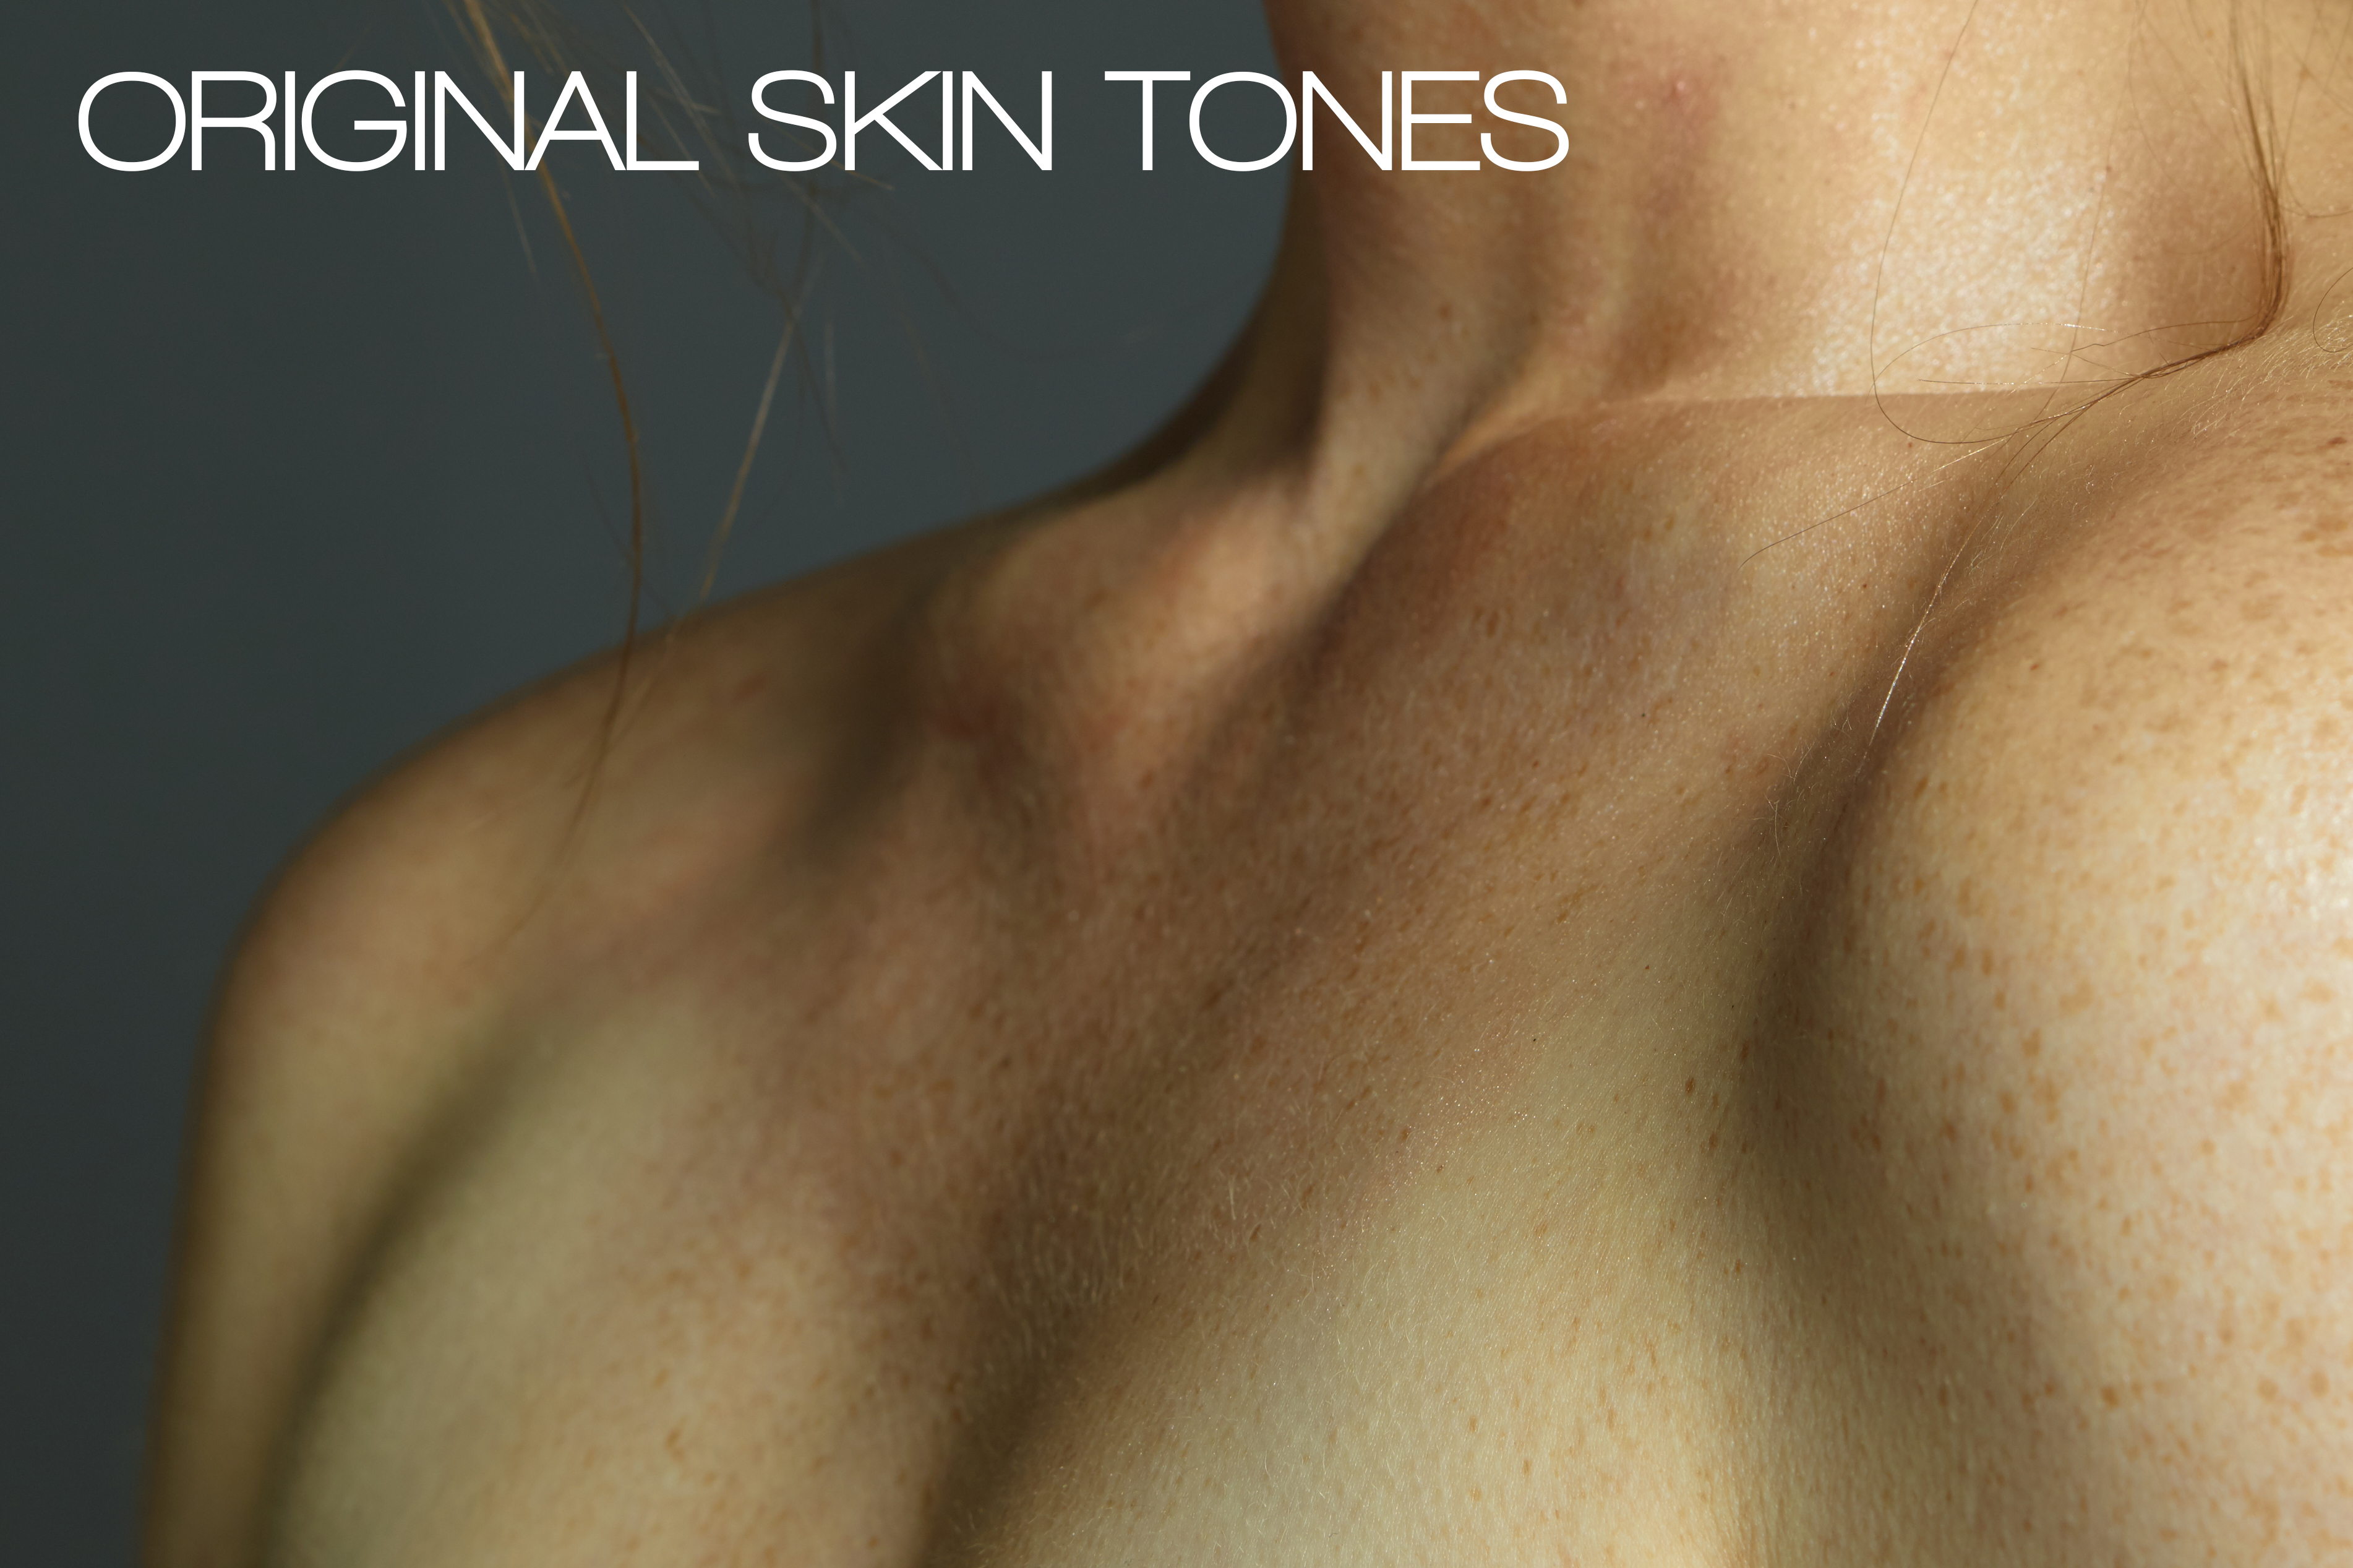
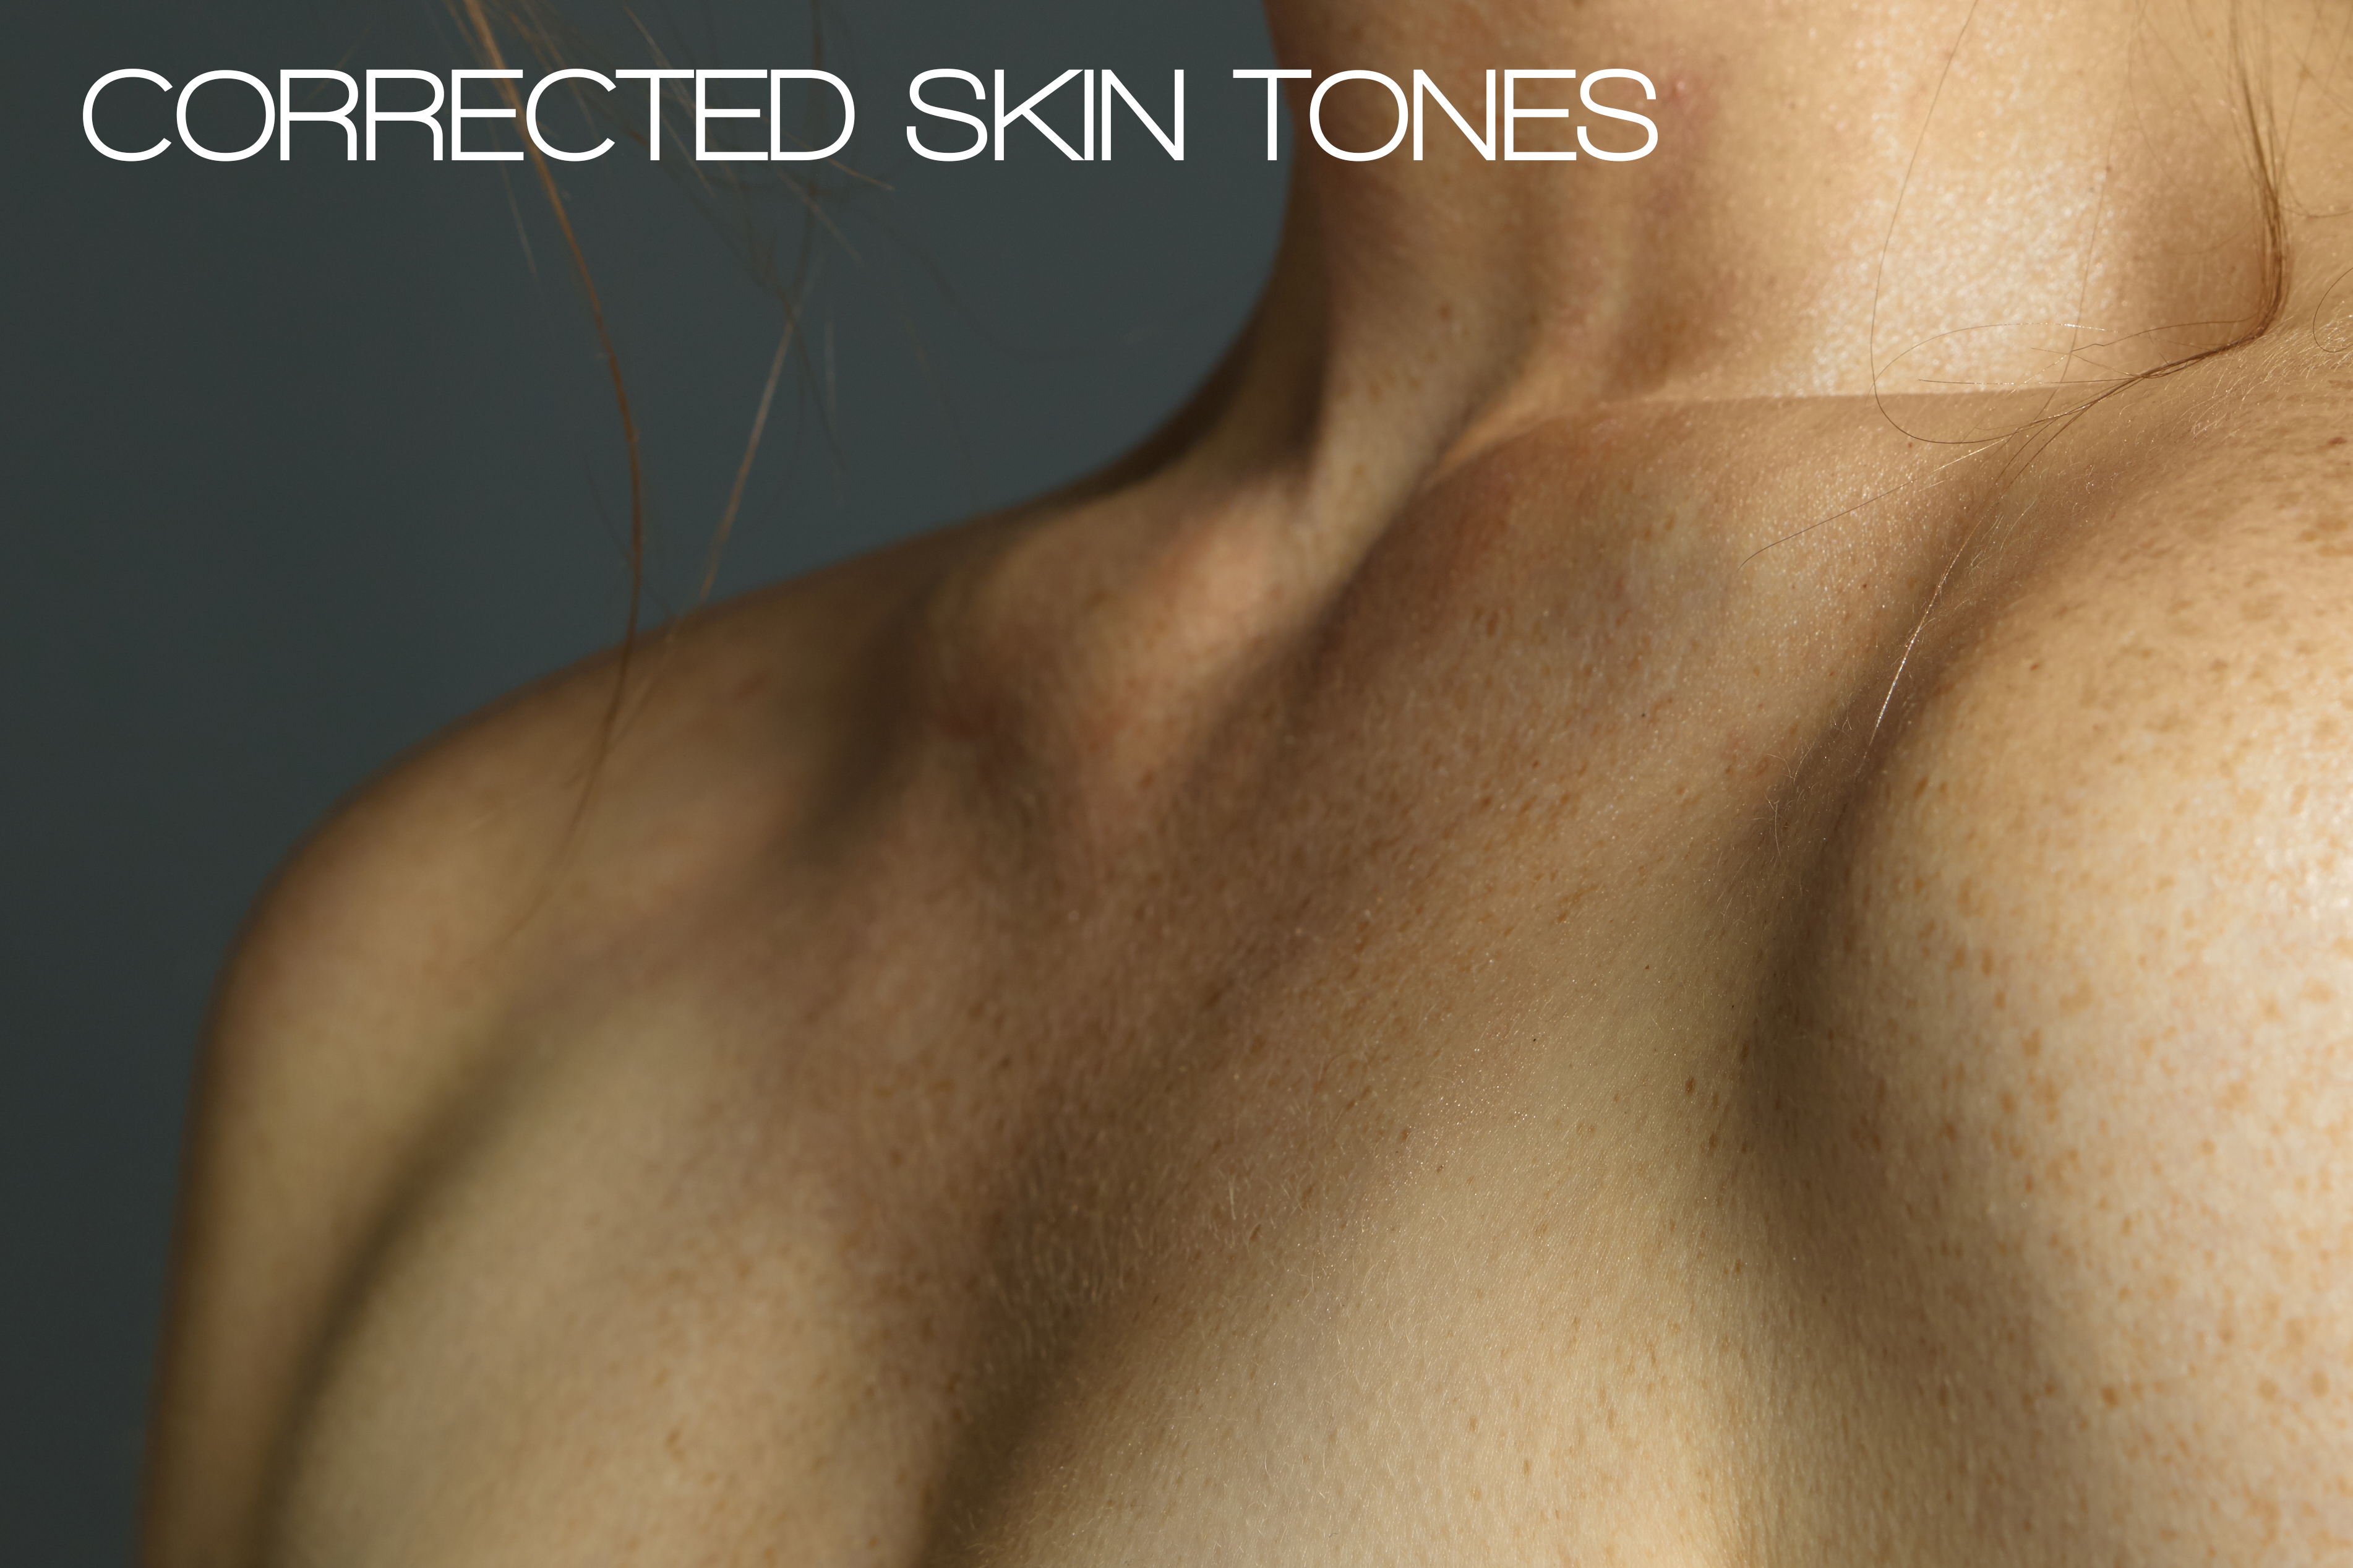
Processing
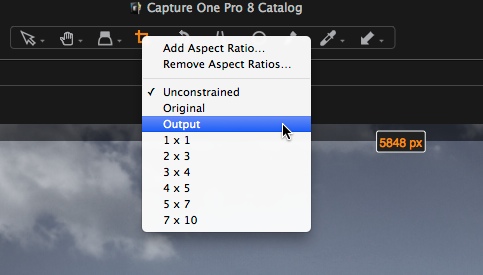
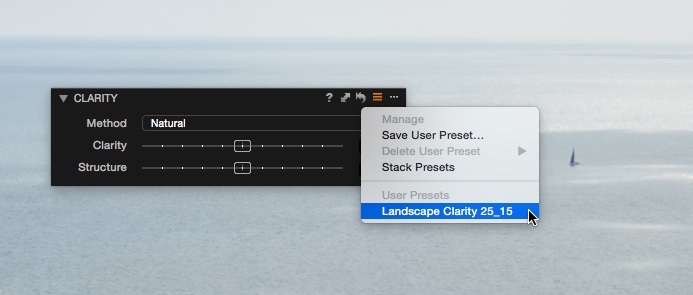
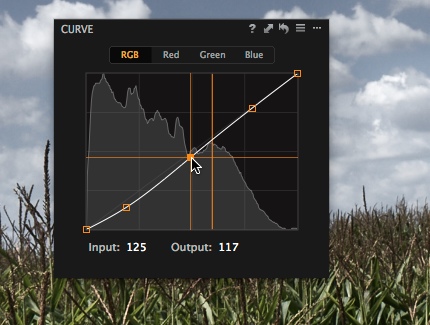
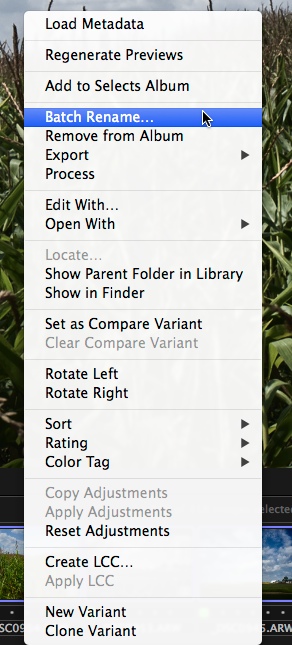
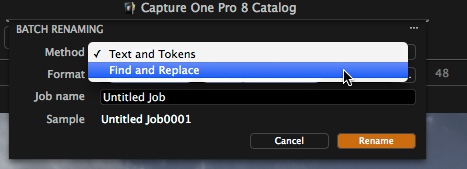
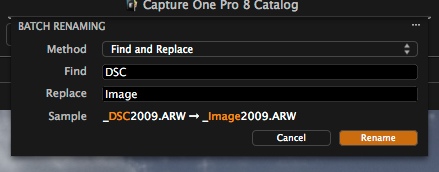
The files we shot were needed by the retouchers pretty much as we shot them, so as soon as we had shot the images the Process Recipe for low-res JPEG’s was run to output the shot images for selection and then normally by the time we got back to the hotel the selects were in and we would deliver a high-res version ready for the retouchers to start mocking up for approval. The workflow in Capture One Pro 8 and the quality of the processed file meant we had no worries at all and as you can see they were able to produce a great set of composite images.
Lighting, Elinchrom ELC Pro HD1000
The lighting gear was a bit of a mixture of lighting modifiers we could get in Doha and a set of Elinchrom ELC Pro HD1000 from the Flash Centre in London, which maxed us out on gear we were allowed to take in to Doha.
1/2000 sec flash duration
We used these lights to obtain the short flash duration to free the subject. You can see the flash duration on the led screen as you change the power settings. This is very handy to control this aspect of the lighting.
Regards
Pete