Often, one of the first tasks to do after importing images into Capture One Pro 7 is to delete those images that you don’t want to keep. Doing so early in the workflow makes it easy to focus on the good images.
Capture One has always offered an easy and convenient trash concept when organizing images in a Session. When you delete an image from a Session, the image will be moved to the Session Trash folder. You can always look in the Trash folder and move files back if you regret your deletion. You only delete the files for good if you use the option “Empty Session Trash”.
When organizing your images in a Catalog, Capture One Pro 7 has a similar concept for deleting images but it works a little different and is dependent on whether the original files are stored inside the Catalog or on an external location.
Deletion of images stored inside the Catalog
When working with images stored inside the Catalog, Capture One Pro 7 also provides an easy method of handling trashed images. When you delete an image, it will be removed from the Catalog and added to the Trash Collection.

As with a Session, you can look in the trash collection and move the files back into any other user collection or into the All Images Collection, if you regret your deletion. If you want to delete the images permanently from the Trash Collection, you can right click on the Catalog Trash and select the “Empty Catalog Trash”.
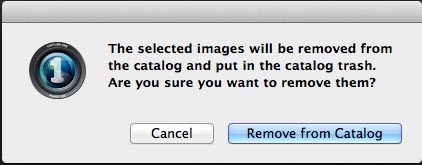
When you delete an image, for instance from your Recent Imports Collection, you will get a warning telling you that the image will be removed from the Catalog and put into the Catalog Trash (as shown above).
Deletion of images stored outside the Catalog
When your original files are stored outside the Catalog, you will typically have organized the files into a structured folders system – e.g. by using year, month and event name in the folder names. One of the benefits of using images stored outside the Catalog is that you don’t need to have access to your images in order to work and search within the Catalog (check out this previous post to learn more about storing your images outside the Catalog) This allows you to bring a smaller Catalog with you on the road more easily. Another benefit of using images stored externally, is that you can have different Catalogs referring to the same original file, while you have total freedom to adjust the image in different ways in different Catalogs. For instance, you could create a Black and White Catalog, as well as a Catalog for Color versions of the same raw files.
When deleting an image that’s stored outside the Catalog, Capture One Pro 7 does not use the Catalog Trash but gives you 2 options. You can either remove the image from the Catalog but leave it at its location or you can remove it from the Catalog and into the OS System Trash. The first option makes sense if you have another Catalog that uses the same image folder.
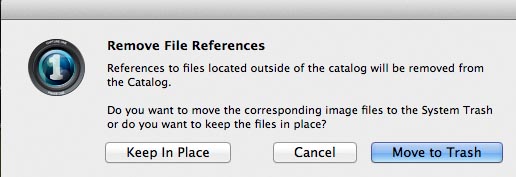 Warning dialog when deleting a file where the raw image is stored outside of the Catalog
Deleting multiple images
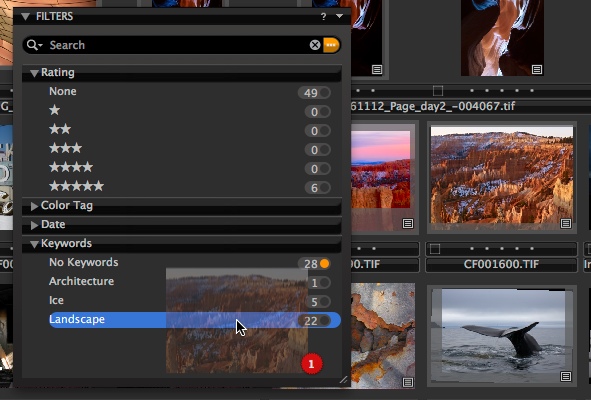
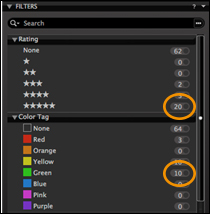
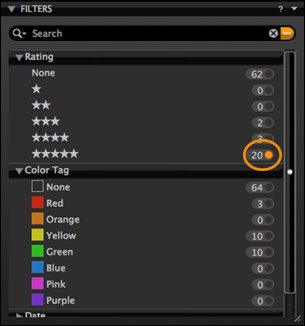
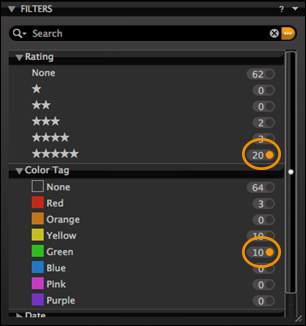
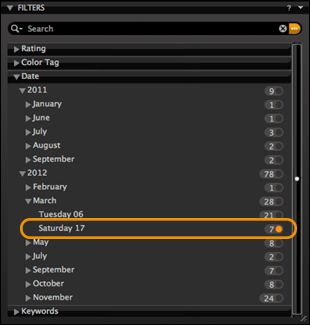
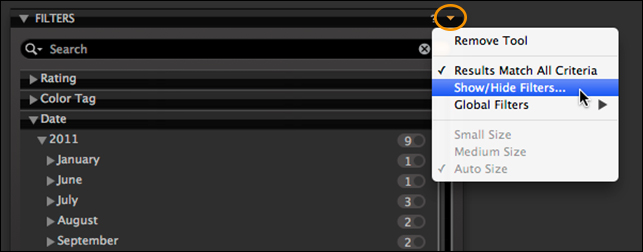
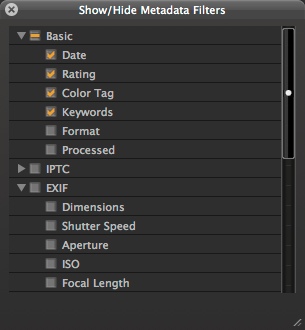
Right after import, I typically browse through the Recent Import folder and delete all those images, I for sure don’t want to keep. If I delete the files as I browse through them, I need to choose the deletion option for each image. To avoid this, I simply use the shortcut for tagging the images I don’t like with the Red color Tag (short cut “-“). After sorting, I use the filter to show only the Red Tagged images. I quickly double-check that all the Red tagged images should be deleted before I select and delete them at once.
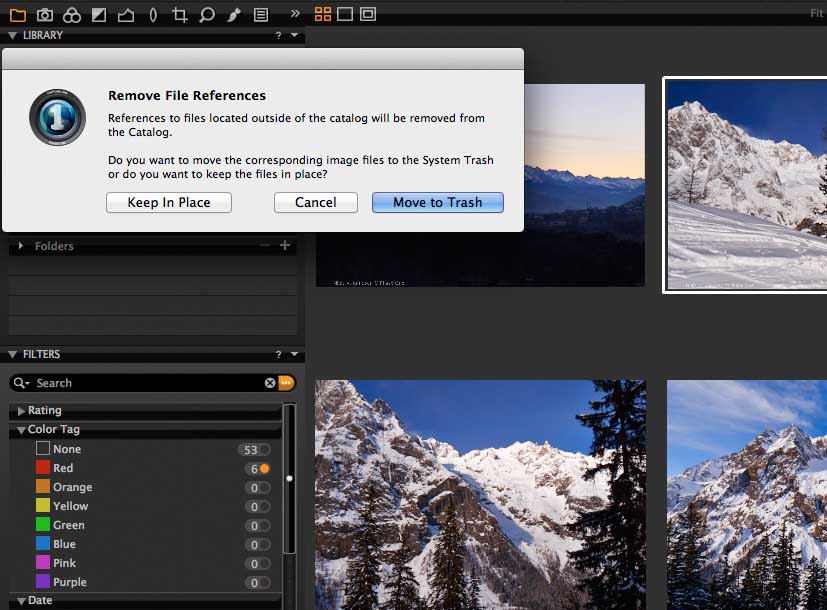 Red color tag has been used to tag images for deletion. The Filter tool is used to show the images with a red tag.
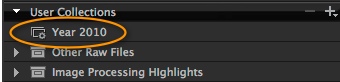
Removing from a Catalog Album
If you have organized your images into albums, and you decide that a specific image should not be part of that album later, you can remove the image. When doing so, you do not remove it from the Catalog but just from the selected album. The file is still part of the Catalog and you won’t get a warning.
If you want to remove the file totally from the Catalog, you need to locate the file in the “All Images” Collection and delete it from there.
All the best,
Niels