It is in the Base Characteristics Tool that you set the Tone Curve and the ICC Color Profile for the file. Together these settings give the camera its overall look.
What does the curve do?
The curve describes the basic tone mapping of all pixels. By default the curve “Film Standard” is used. This curve is designed to give a similar tone mapping as when using transparency film. The curve has a slight S shape in order to achieve deep blacks while still maintaining details in the highlight, giving a gentle transition into overexposed areas.
The default ICC Color Profile is designed to work well together with the default curve “Film Standard” and should be used for classic photographic tasks like portrait, product or landscape photography.
For special photographic tasks or tricky images you can select other film curves like the “Film Extra Shadow”, “High Contrast” or “Linear”.
 No Correction Hand tweaked tone curve
The image to the left is straight out of the camera. The image to the right reflects correction of the image in Capture One Pro 7. This is achieved by taking full control of the tone mapping by first using the Linear Curve, in the Base Characteristic Tool, and then applying a “hand tweaked” curve in the Curve Tool. When performing this adjustment I can add much more contrast in the highlight to really show the circular ice crystal “rainbow” cloud.
The effect of 4 different Tone Curves
In the example below I have made 4 variants of the same image and have applied different Tone Curves from the Base Characteristics Tool to show their effect. The image has a wide dynamic range, retaining details in highlights, mid-tones and the shadows. In the reflection on the light pole data is clipped to 255. Underneath the cars in the shadow we have really deep black.
The Base Characteristics Tool is, by default, placed in the Color Tool tab. In order to show the effect on the image’s different variants, however, I have added the tool as a floating tool.
 A- Film standard B-Film Extra shadow
 C- Film Extra Contrast D-Linear Curve
Image A: Using “Film Standard” shows a good compromise between highlight details, bright mid-tones and deep black shadows.
Image B: Using “Film Extra Shadow” has almost the same Tone Curve as the Film Standard but is more open in the shadows.
Image C: Using “Film High Contrast” has slightly deeper shadows and brighter highlights.
Image D: Using “Linear” looks underexposed and lacks contrast. Regardless the image has a full dynamic range and still shows clipped highlights on the light pole.
Why have the Linear Curve?
It is obvious that the Linear Curve makes the image look really dull so why do we have this option at all? There are two main reasons for having the Linear Curve:
- Scientific photography: You can achieve a perfect linear reproduction of your scene. Scientific flat-art reproduction is also an area where it can be of advantage in combination with specially made color profiles. For true flat art you don’t have the large dynamic range of the 3D world.
- Tricky images where you want to emphasize certain parts of the tone scale. By starting with a straight linear curve, it can be easier to take full manual control of the tone mapping in the Curves Tool. If you have the skills you may be able to achieve something you wouldn’t have been able to using the default curve.

The image on the left is using the default curve “Film Standard” in the Base Characteristics Tool and you don’t need to do anything to make the image look quite good. This normally gives you a very good starting point for further editing the image. The image to the right is using the curve “Linear” in the Base Characteristics tool. I have additionally made a curve in the Curve Tool to achieve almost the same effect as if I were using the “Film Standard” in the Base Characteristics tool. We can see the “S” shape of the curve, giving more solid blacks and a gentle transition into clipped data.
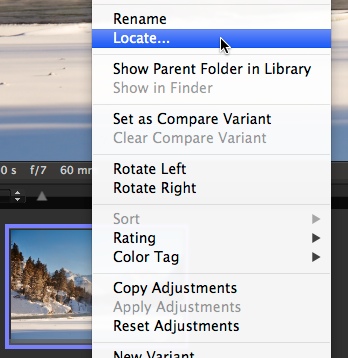
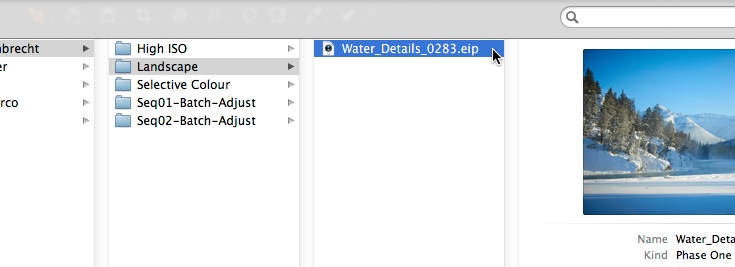
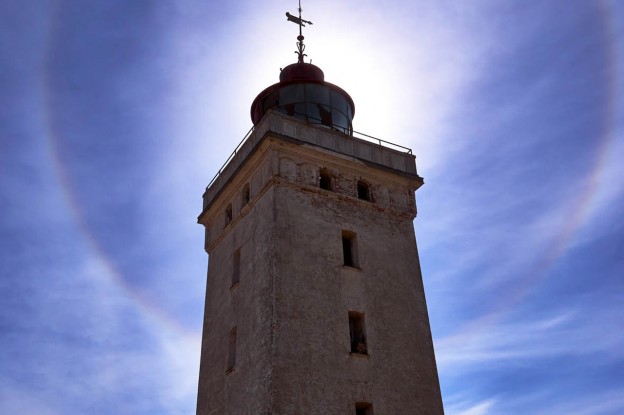
Let’s go back and look at the image of the old light house and select the Linear Curve in the Base Characteristics tool. We can then start playing with the Curve Tool from the Exposure Tool tab.

The left image is using the default curve “Film Standard” but the right image is using the Linear Curve. Already by simply loading the Linear Curve we get much better definition in the sky but it still needs work in the Curves Tool to get a useful image. If we look at the histogram we see 2 peak areas. The brightest are the tones in the sky; the darkest are the tones of the lighthouse and sand dunes. Because we have such a clear separation of tones, it will be possible to do quite a significant correction and still achieve an image that looks natural.

I start by increasing contrast to the sky. I do this by adding two curve points, done by simply clicking on the curve exactly over the histogram peak from the sky. To get contrast I need to make the curve steeper through this tone area. I simply drag the upper point until a get the desired amount of contrast.

Finally, I brighten the Lighthouse and the sand dunes. To do this I add a third point on the curve in the middle of the histogram peak associated with the lighthouse. By dragging this point up I brighten these tones.
I now have an image with much better balance between the “ring” sky and the details in the lighthouse.
All the best,
Niels