NOTE: This article discusses an outdated version of Capture One. To learn more about our latest version, click here.
A Style is simply a collection of different adjustments stored as one selectable function. So a Style could contain one, two or several different adjustments that are available in Capture One Pro 7.
A Preset simply saves the setting in a particular tool. Like a certain curve shape or sharpening value.
Both Presets and Styles have their uses and I will look at both of them in this blog post.
Most importantly, good use of both of these features will save you time and introduce you to another of the many great features Capture One Pro 7 has.
First we will look at the basics of creating a Style and a Preset.
Creating a Style
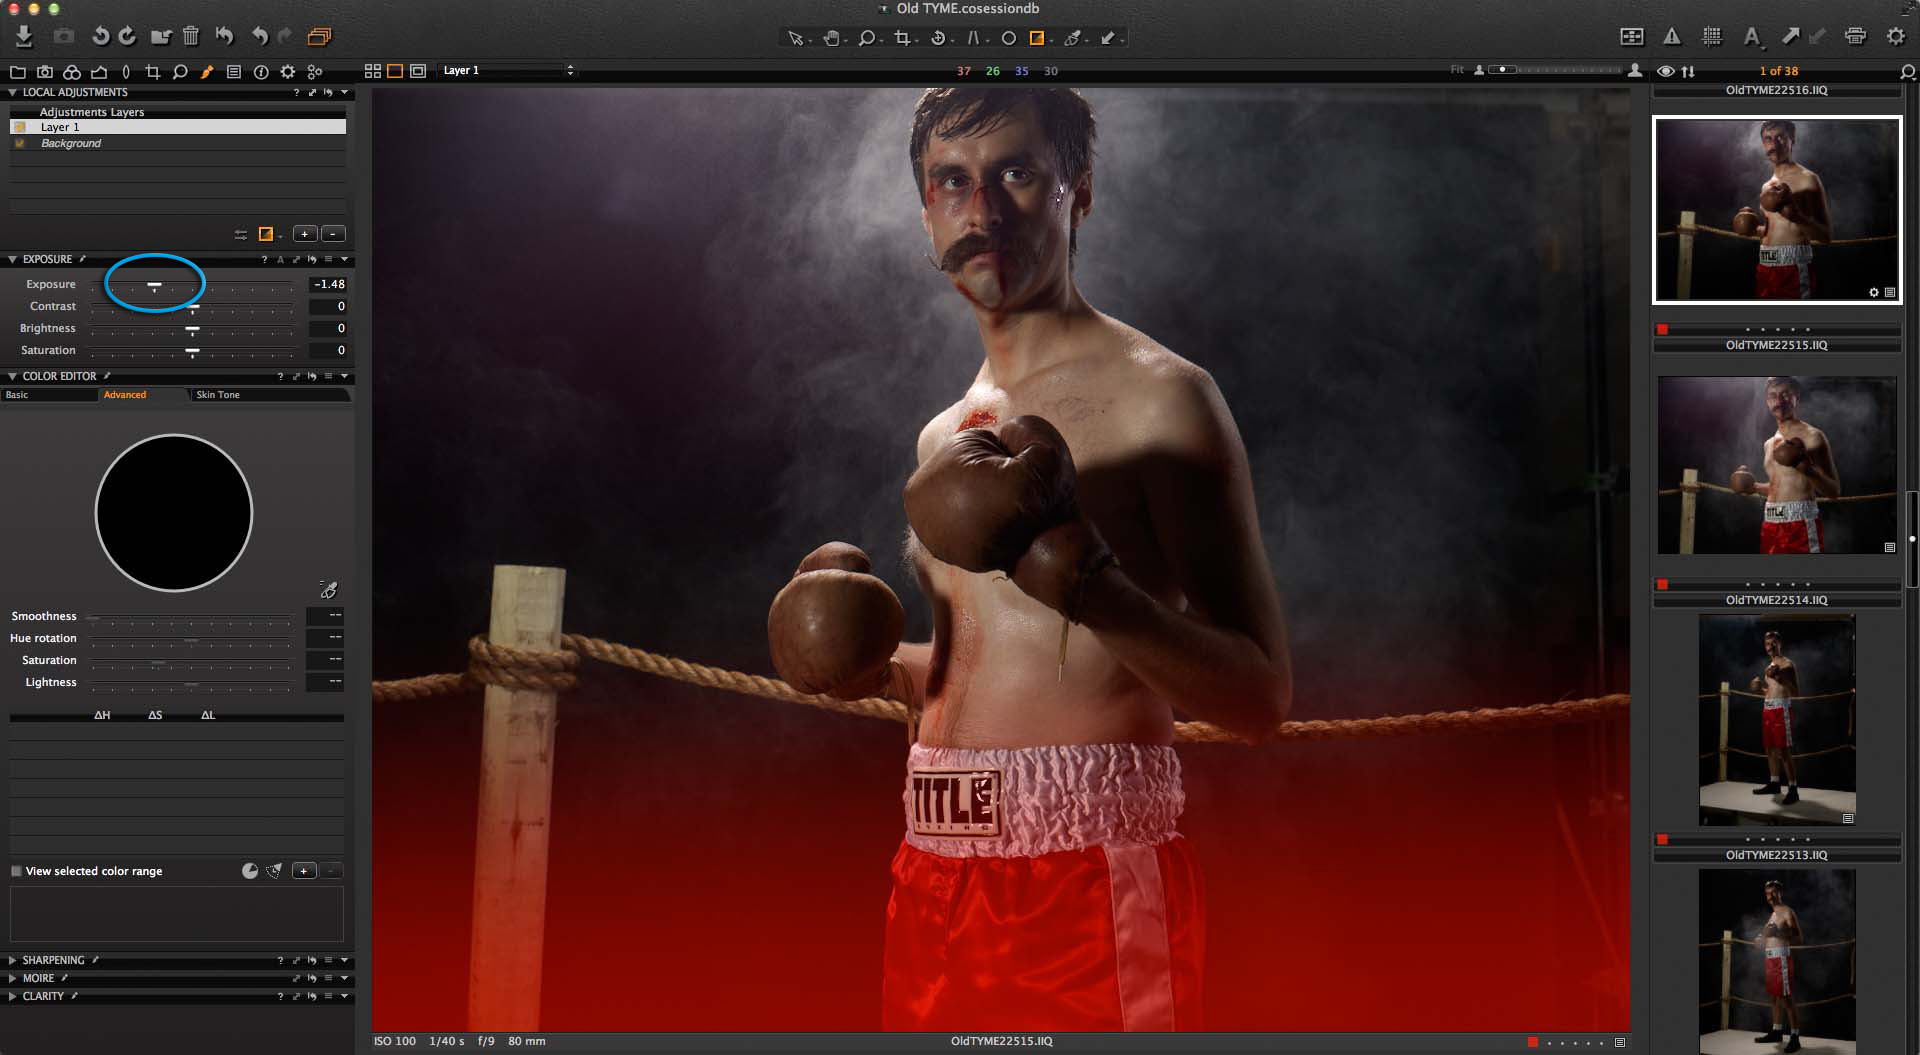
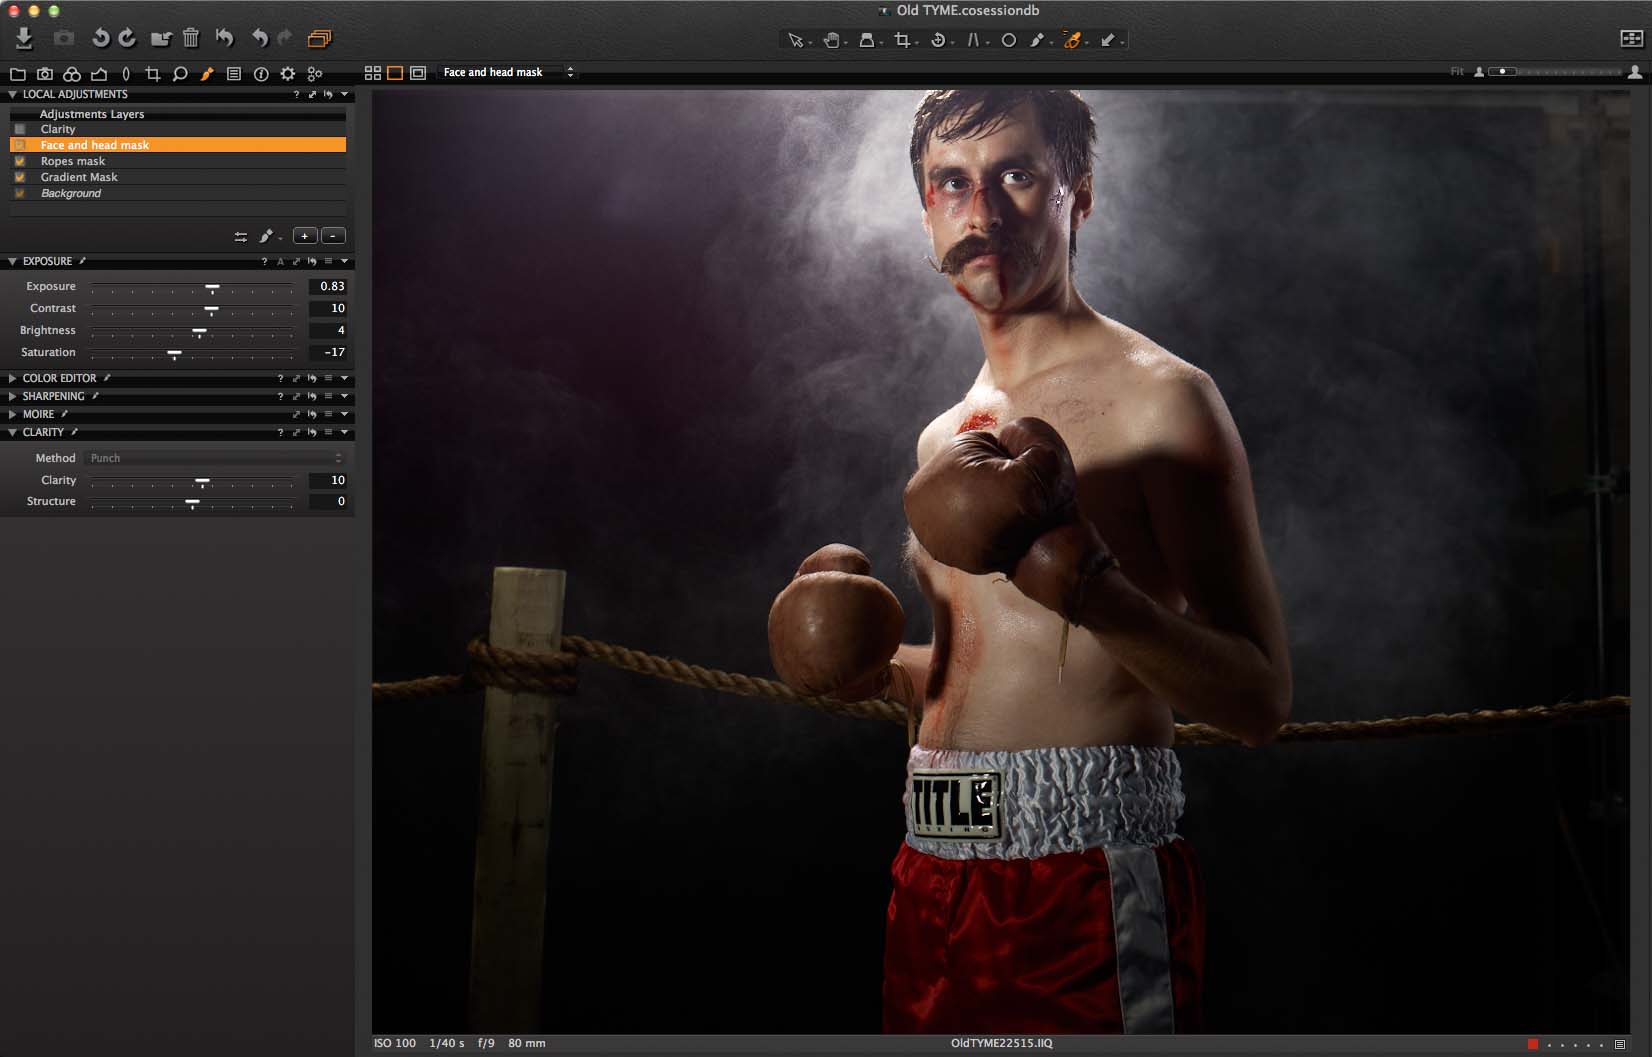
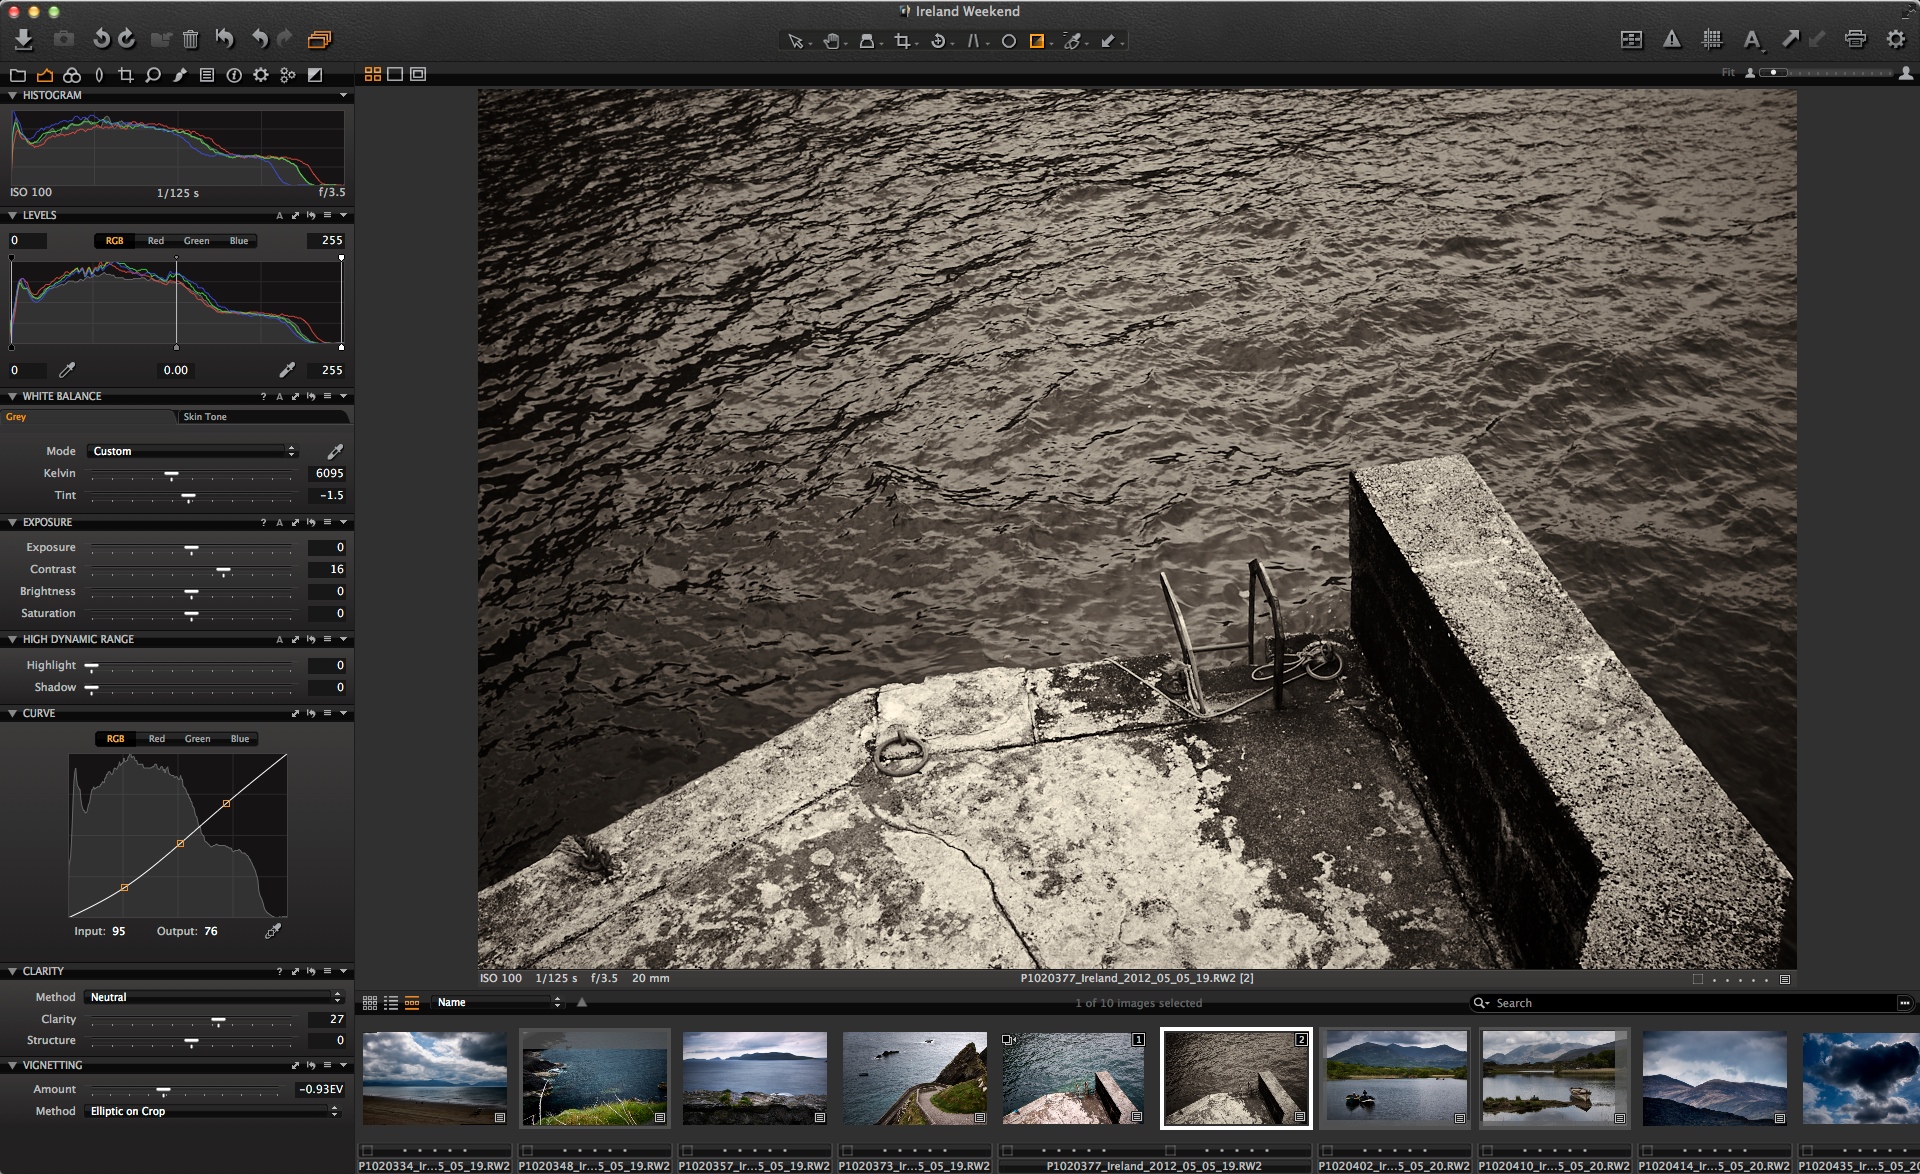
It’s very simple to create a Style. First choose an image on which you wish to create a basic style. I’ll use the lead image in this blog post. Here it is, as a colour version.
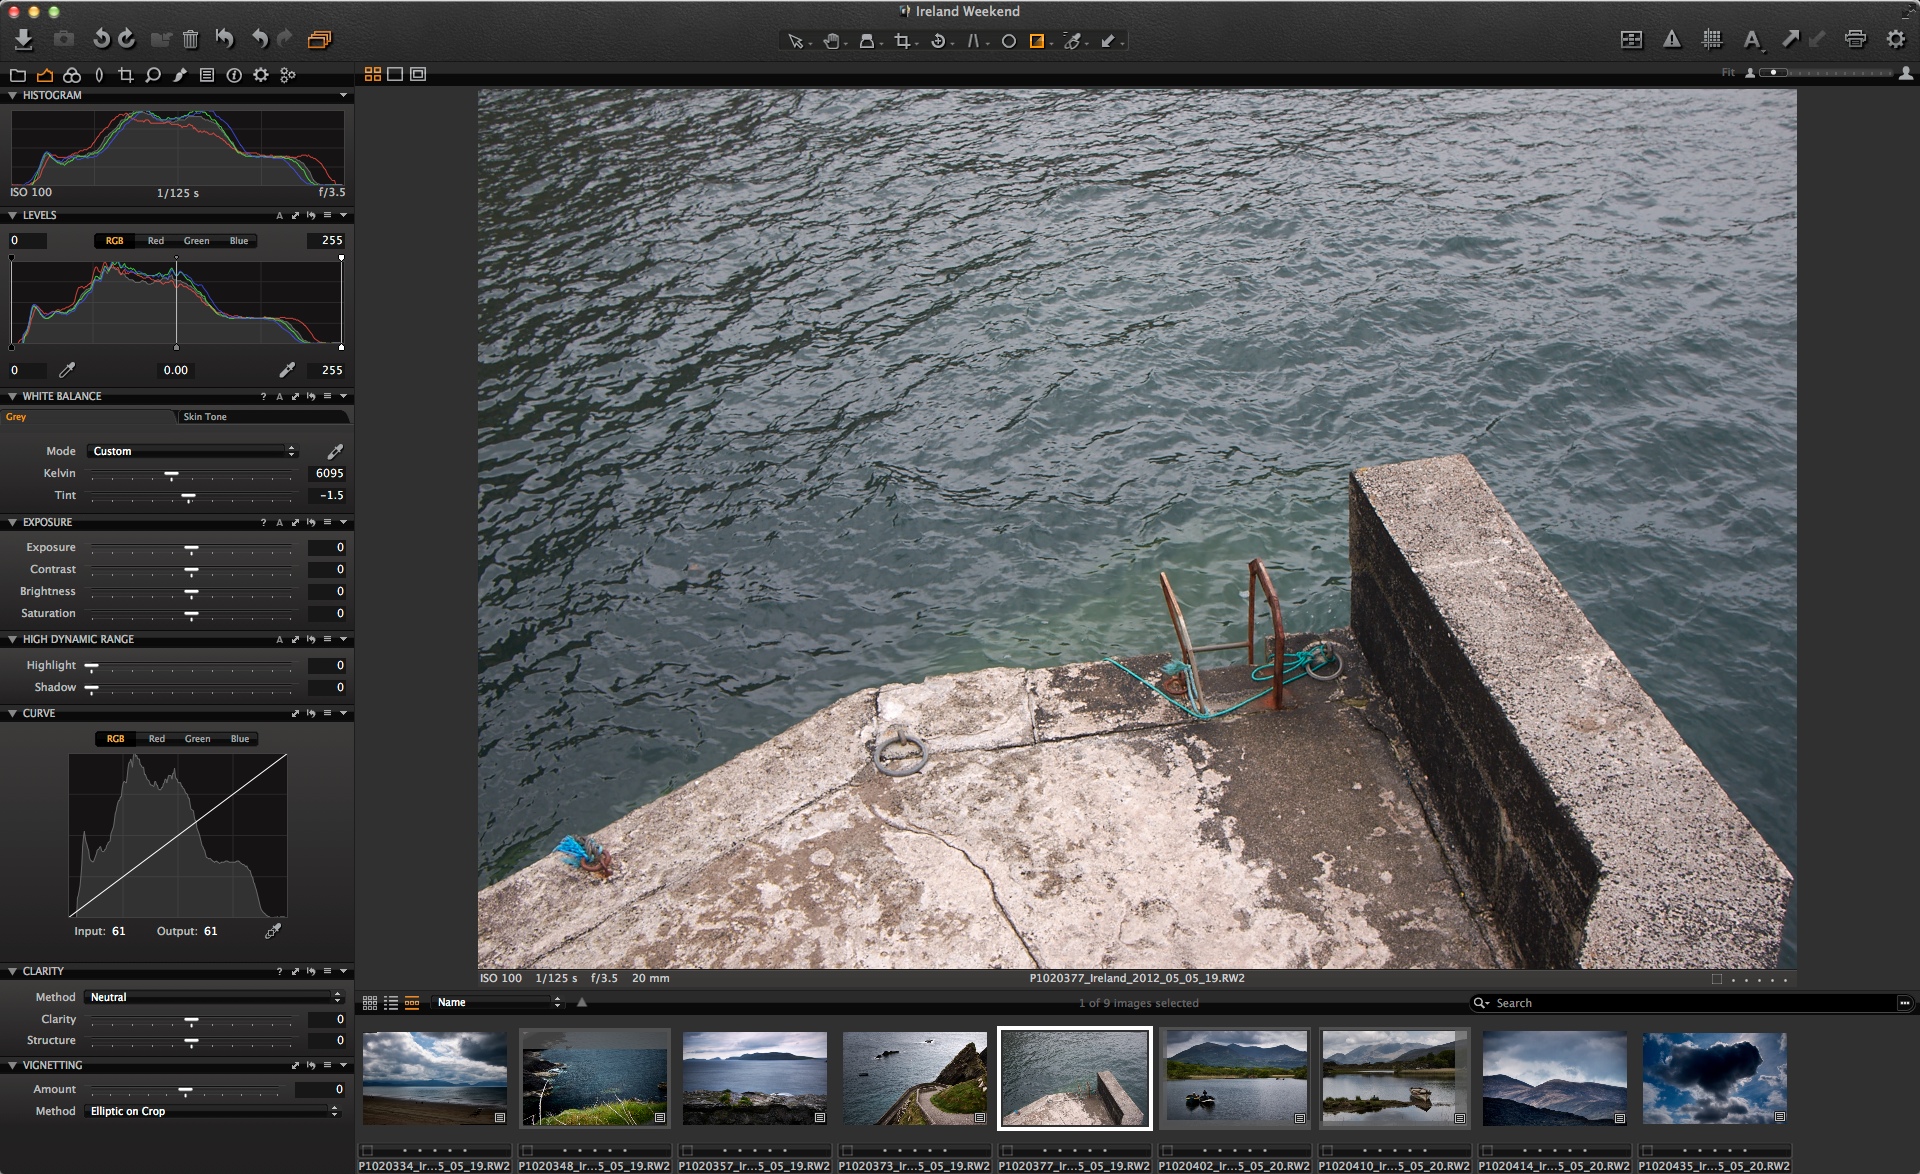
I want to try to make a default Black & White look that I can use with all my images. Basically, a good starting point from which I can explore further.
Before I start, I make sure I create a Variant, by choosing ‘Image > New Variant’ so that I have a virtual copy of the image to play with, without disturbing the adjustments I have already made on the colour version of the image. Read more about Variants here.
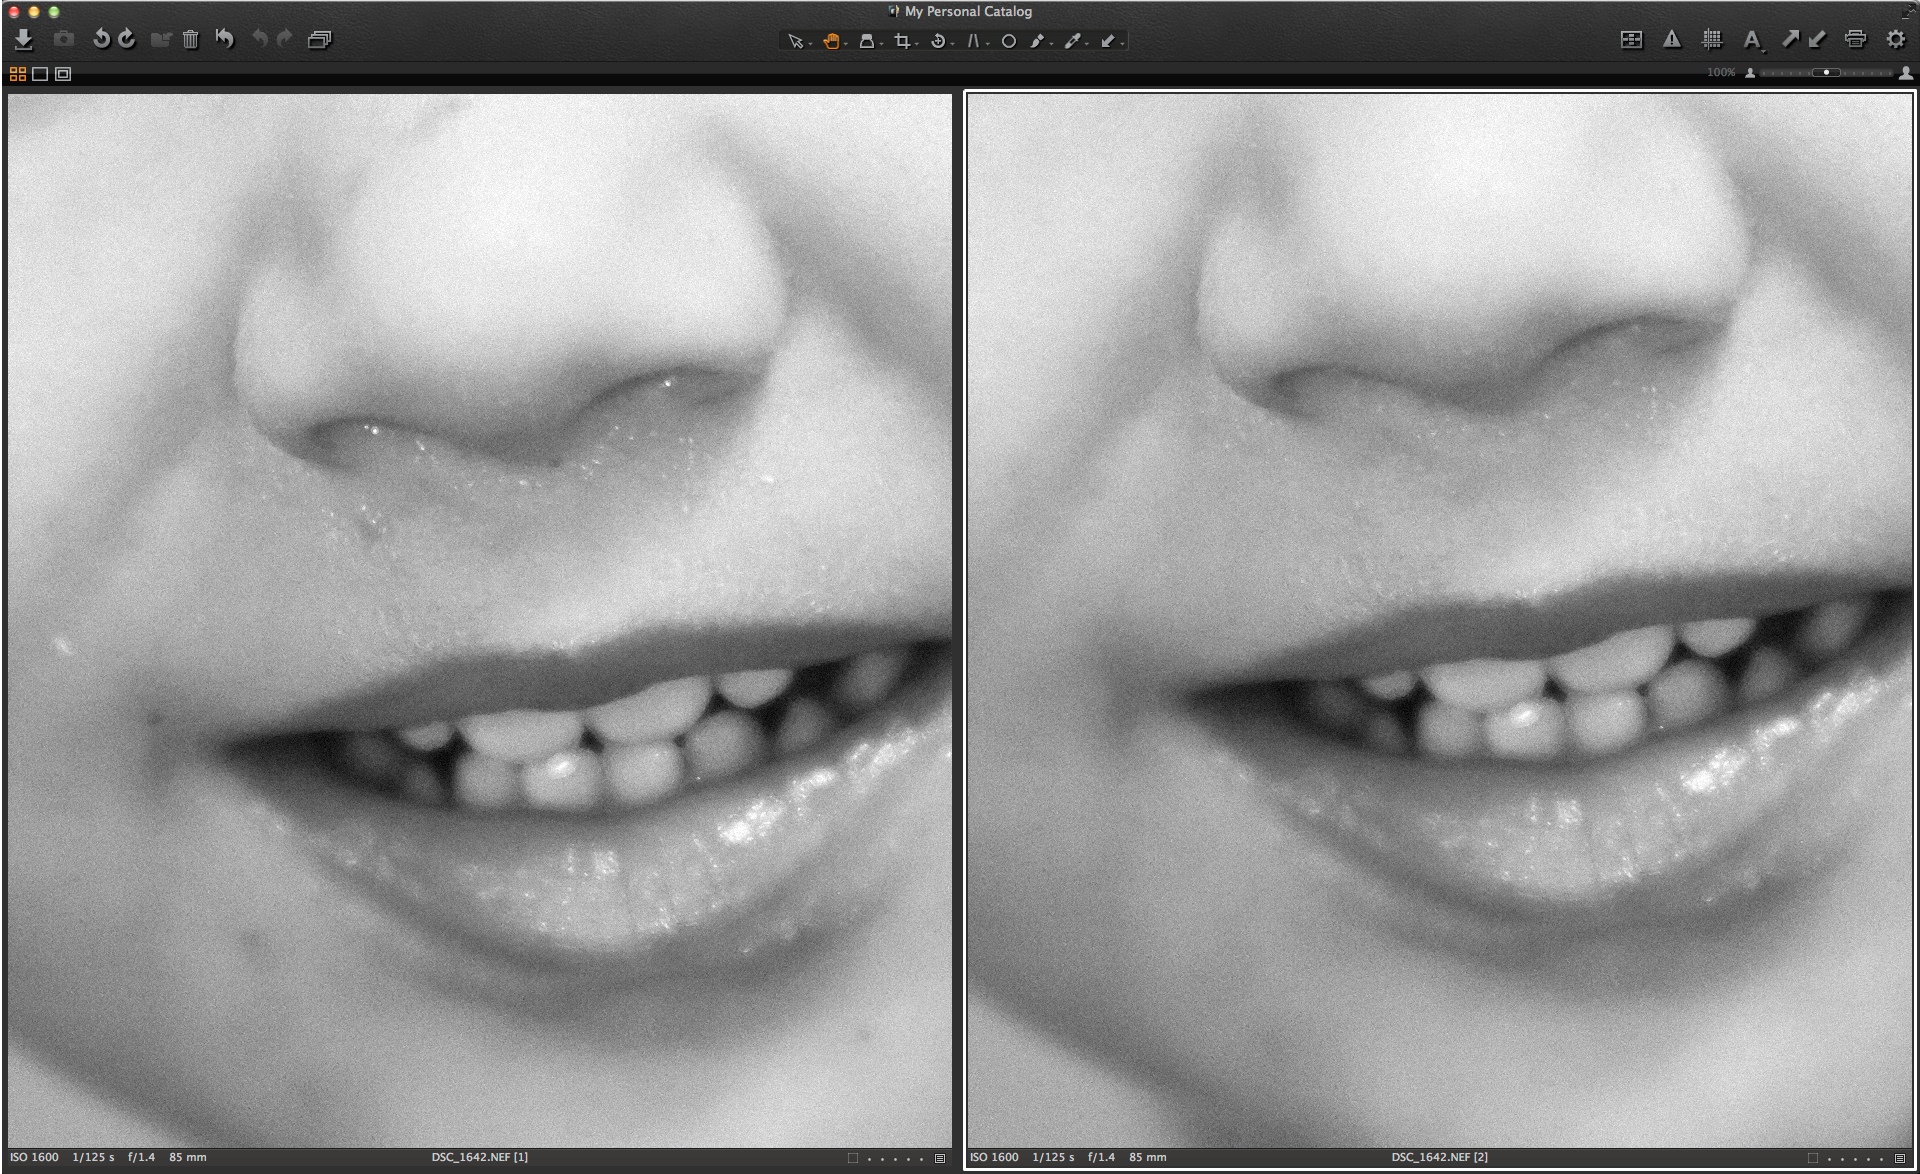
So after converting to Black & White and adjusting the Contrast, Curve, Clarity and Vignetting I arrive at this result.
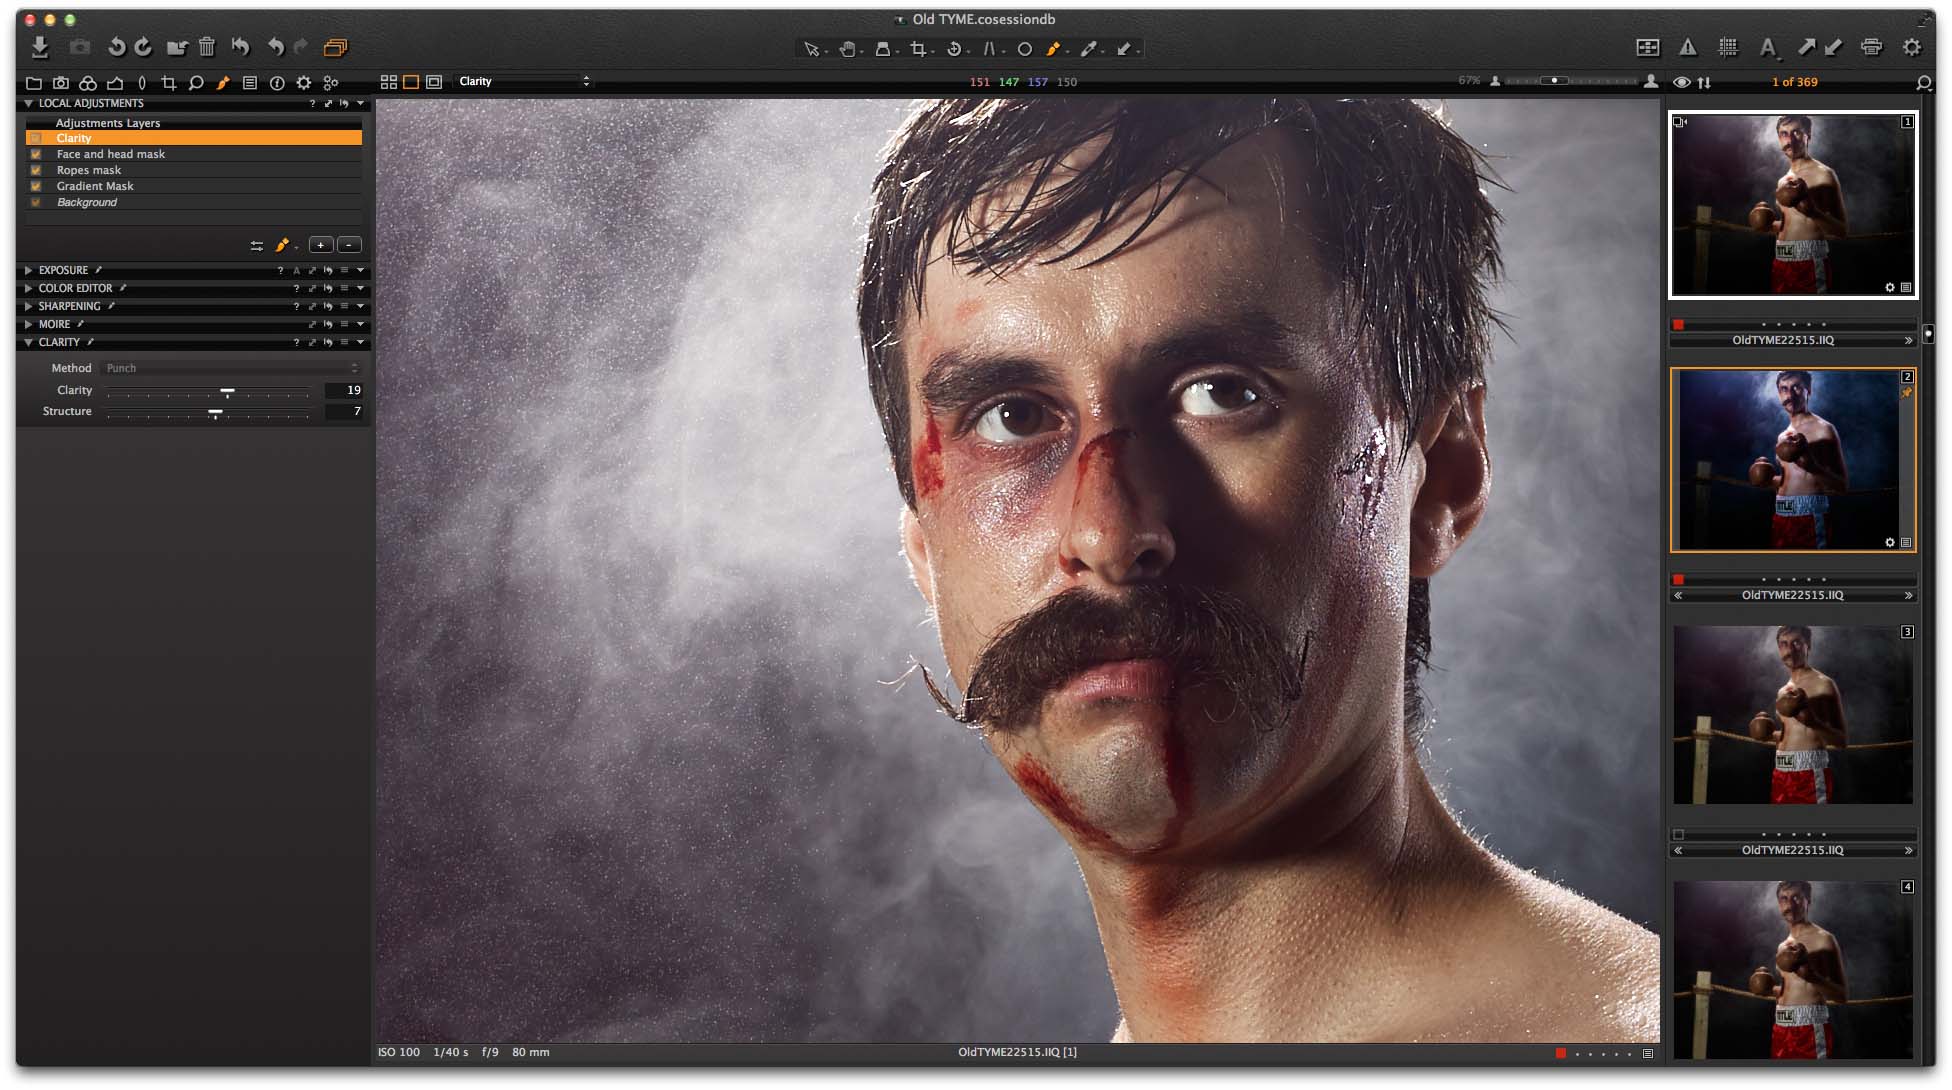
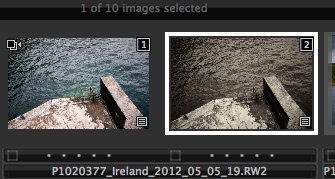
Also with two Variants displayed like so in the Browser.
 For my Black & White conversion I was careful not to adjust Exposure, for example, as this will be unique to individual images. It will be just a starting point to speed up the initial conversion of an image to a Style, before making individual corrections to each image.
To save a Style, browse to the Adjustments Tool tab, indicated by the orange circle.
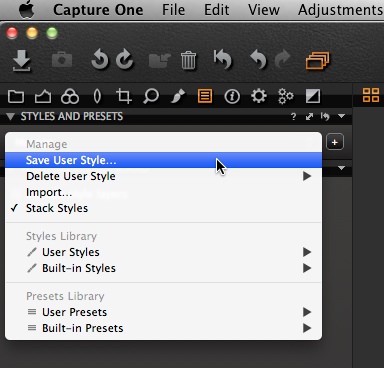
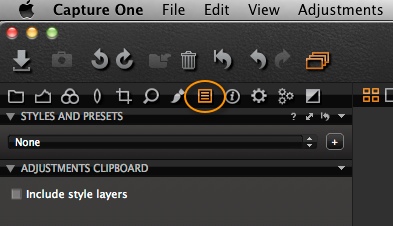 By default, Styles and Presets are the first tool, in this tool tab. Click on the drop down menu and choose ‘Save User Style’.
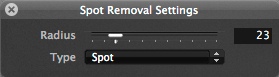
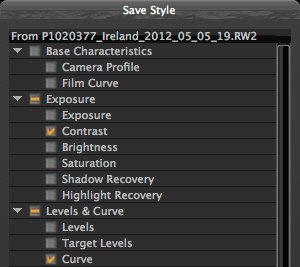
 The ‘Save Style’ dialog will open and indicate what adjustments are part of your style. To leave any of those saved adjustments out of the Style, simply deselect it. For example, in the window below, we could simply deselect ‘Contrast’, if we did not want that as part of the Style.
 Click ‘Save’ at the bottom of that dialog and then choose a name for your style.

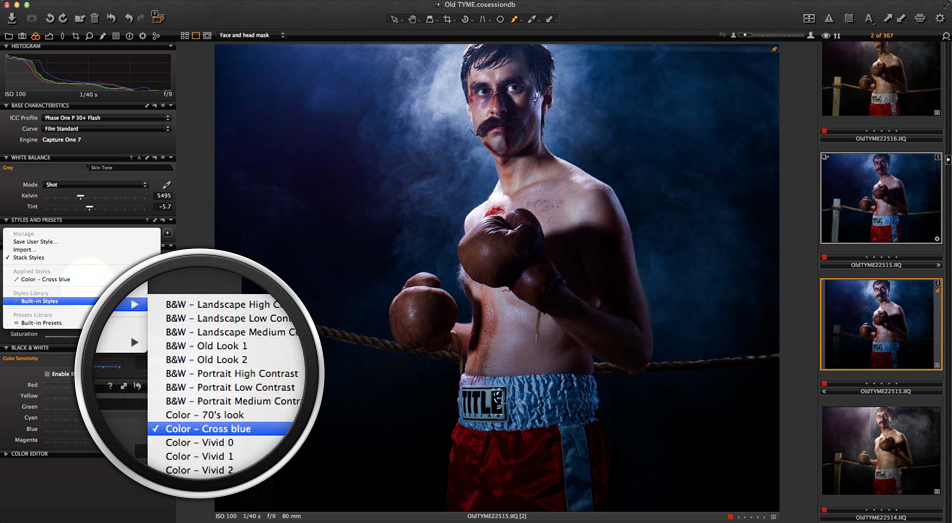
Your saved Style will then appear in the drop down menu in the Styles Library section. Simply click on it, to apply that style to the current image.

You will also see in the Styles Library that there are a number of built-in styles. You might like to experiment with those too, or use them as a starting point to move on from.
Creating a Preset
Most tools in Capture One Pro 7 allow you to save a predefined adjustment, which you can recall at any time, much like a Style, but just for an individual tool.
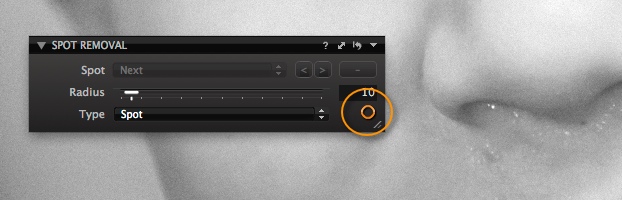
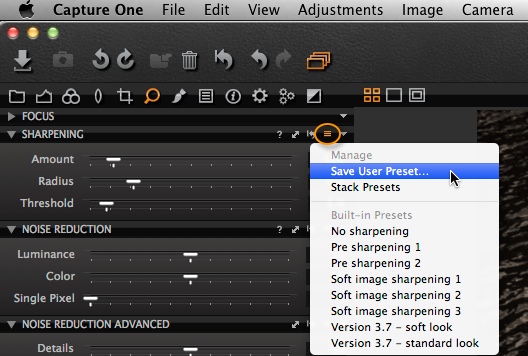
For example, if we wanted to save our current sharpening parameters as a Preset, I just need to click on the Manage Presets icon (indicated by the orange circle) and choose ‘Save User Preset’.
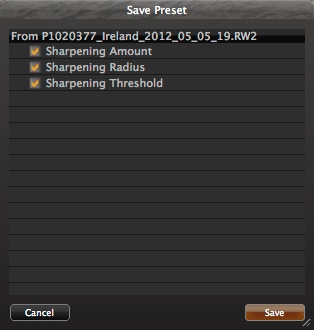
Again, you can choose if you want to include all or some of the parameters of a particular tool.
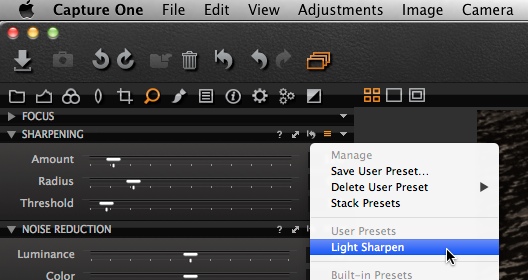
 Finally, choose a name for your Preset and click Save in the next dialog. Now, you can select and apply your Preset to the current image, from the same pull down menu.
Using Styles to Improve Workflow
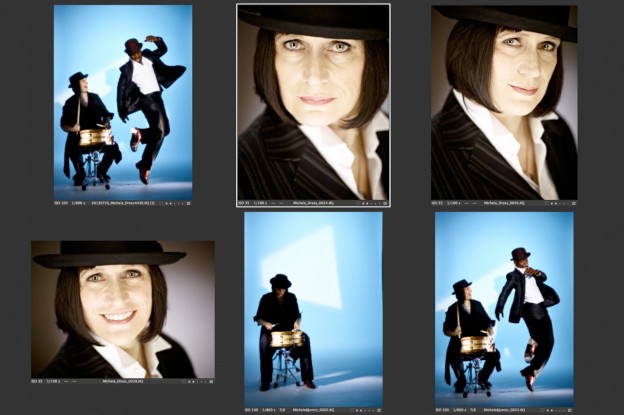
Let’s go back to my original selection of images.
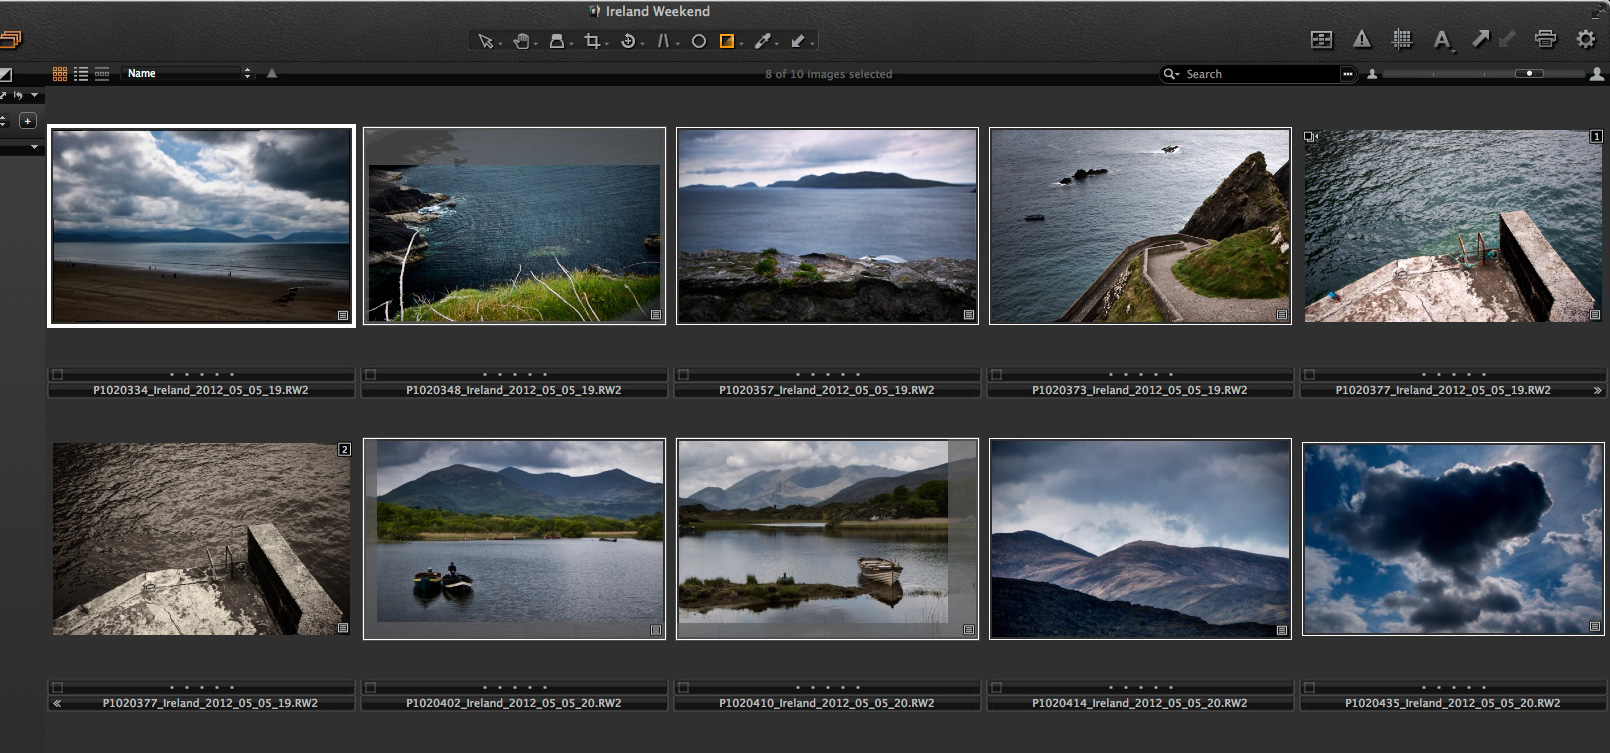
I have selected all of them, except for the lead image, which I created the Style with. Again, I want to keep the original colour conversion, so I’ll create a new variant again in the same way as I did before, by choosing ‘Image > New Variant’. I will now end up with this.
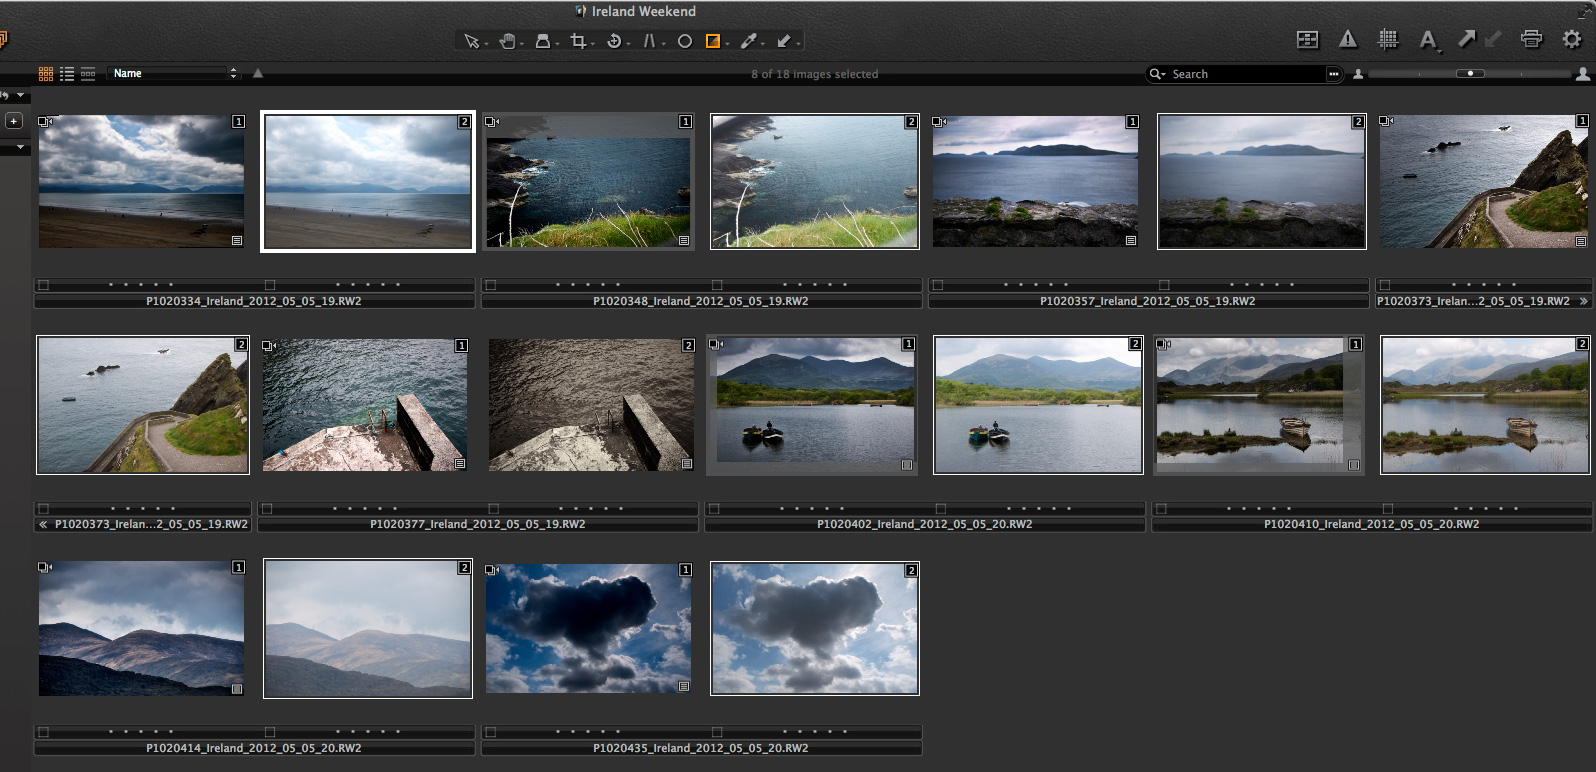
There is a second Variant for every single image in my collection. Capture One Pro 7 has also kept them selected, so now it is very easy to apply my Black & White style, by choosing it from the Styles and Presets Tool.
Notice that simply by hovering on any Style will give an instant preview to the thumbnails in the browser.
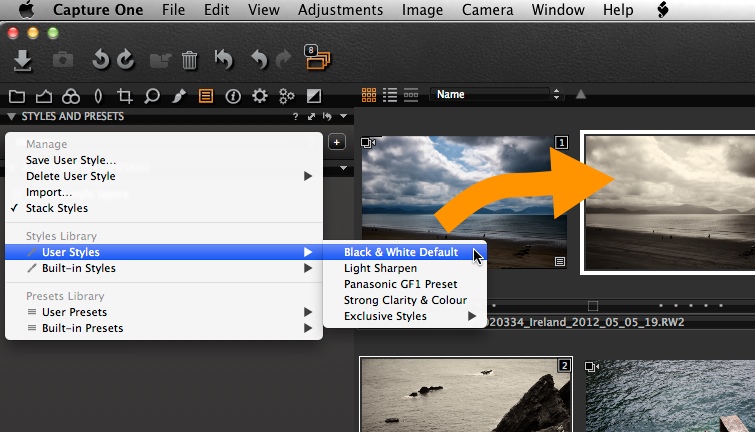
This is great for a quick look at several different styles to choose the most suitable one.
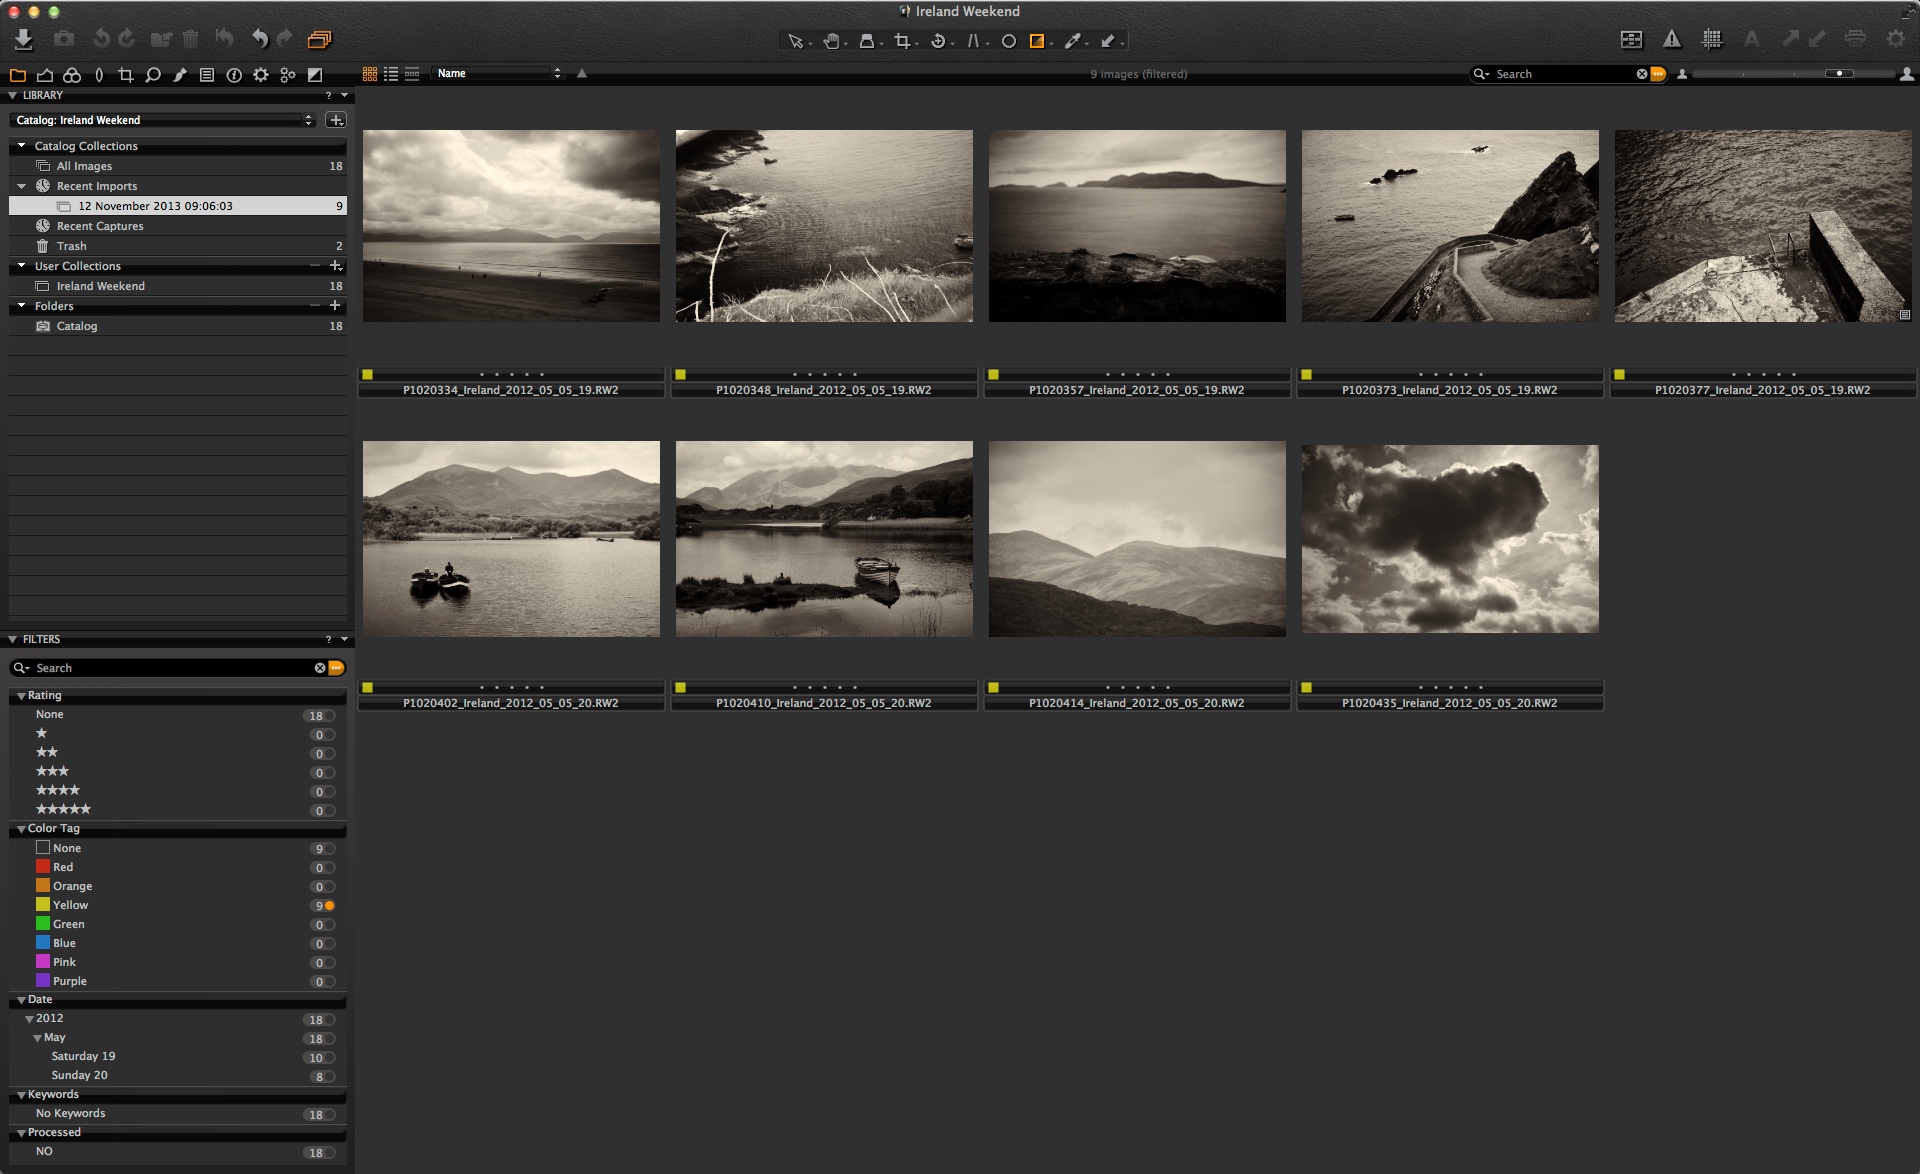
So now all of my second Variants have the Black & White Default Style applied. One more smart action I can do, is to hit the star key (*) on my keypad, which will colour tag them all as Yellow. I tend to use this tag to indicate a Black & White image, but you could use a different colour tag or perhaps even a keyword.
Then I can filter the collection in the Filters Tool, to just show me the Yellow tagged images, thus the Black & White images only.
Now, I have a great starting point to continue working with in Capture One Pro 7. To use a Preset, it is very similar to before. I have selected all of my images and chosen the Preset I made earlier.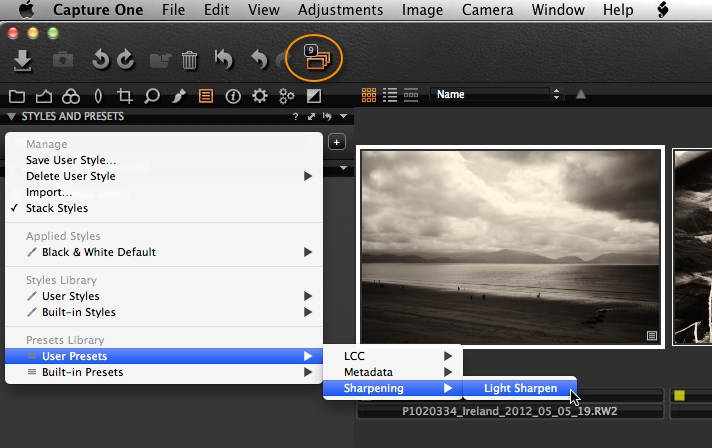
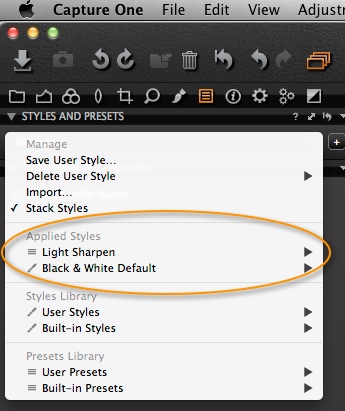
If we check the pull down menu once more, we can see that we have one Style and one Preset applied to each image.
Other Uses for Styles and Presets
Styles and Presets can also be applied on Import and also during tethered capture. In the Import window, look for the option in the ‘Adjustments’ section.
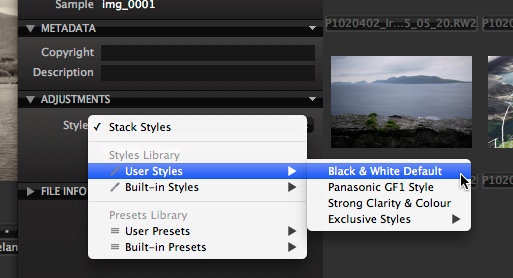
Here we can apply any Style or Preset as we import the images. This can be a huge time saver as I often use a Style to add some default corrections I like for specific cameras (notice the Panasonic GF1 Style in the above screen grab), and a Preset to add some basic Metadata.
This saves having to apply those parameters when the import has completed, saving you time in post production.
If you are capturing tethered, first choose ‘Defaults with Styles’ from the ‘All Other’ drop down menu in the ‘Next Capture Adjustments’ Tool. Then select a Style, Preset or both from the ‘Styles’ drop down menu.
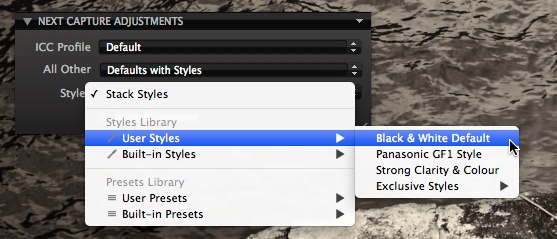
This way you can instantly show your preferred style to your client as the images are loaded into Capture One Pro 7.
Best regards,
David