
Capture One Pro 9 forms the backbone of my images, especially when it comes to creating fine art images. The workflow presented below will give you an understanding of why I prefer this RAW converter compared to the rest. Let us start from the very bottom.
Step 1: Creating Sessions & Importing image
No matter which image I am about to work on, my first step is to create a new session on Capture One Pro. The reason why, is that it creates a new folder with the files I am about to work on. Hence, I do not have to worry about file misplacements and have them offline in case I misplaced them, which is usually the case with Lightroom’s Catalog sessions.
So, I set the path to where I want Capture One Pro to create the session. Once you click ‘OK’, it opens a new interface with a blank canvas. From here, you can import the images that you would like to work on.
Once this is done, your images will be ready to be fine-tuned:

Step 2: Setting Global Adjustments
We will primarily be working on two images in this example: One normally exposed image and one underexposed image. By doing so, we can blend them later when we take them into Photoshop.
The first thing I do is to make Global Adjustments so I can set the right mood and feeling. Since we are working in RAW format, this is the best time to capitalise on this aspect. Whatever adjustments we make on one image, we will duplicate those on the other image to maintain consistency.
We start by making Global Adjustments in the colour panel of Capture One Pro. Here, we make changes to the 3-way colour panel tool, as pictured below.
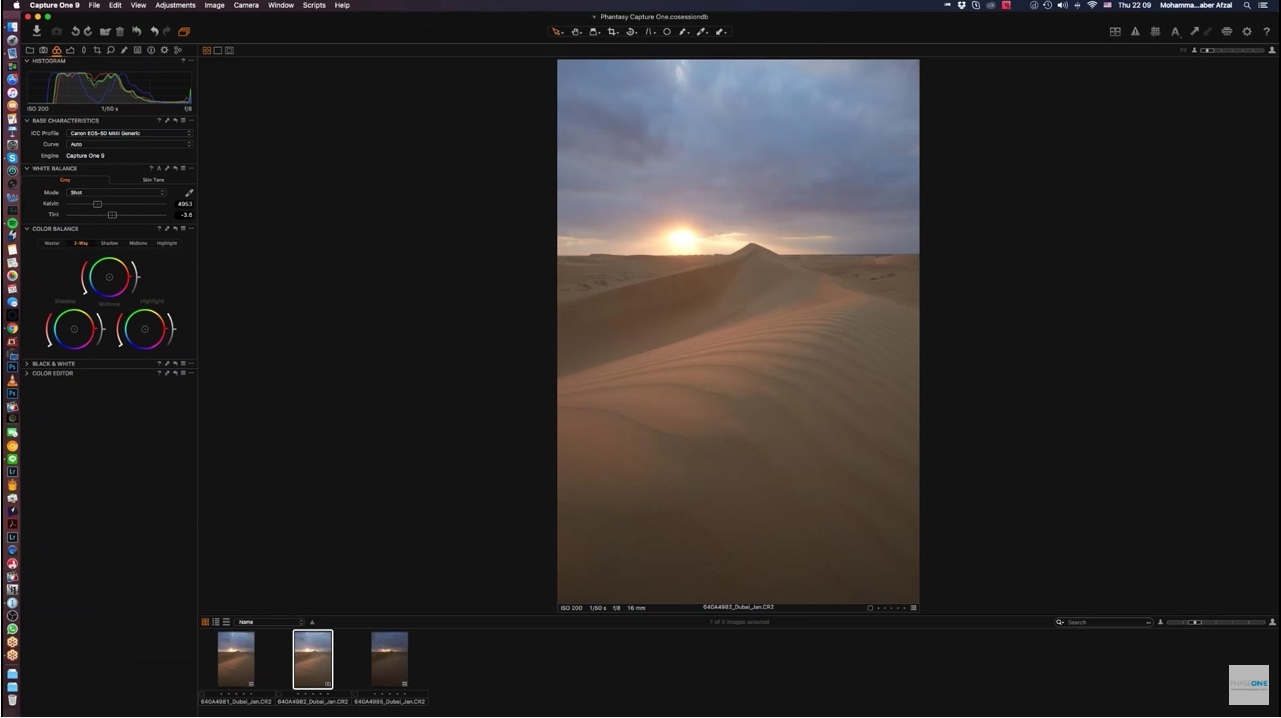
In this image we make adjustments to the midtone slider and bring down the luminosity to add a mood. Then we adjust the colour slider of the midtones and shift it towards the yellow/orangish range, since we are shooting in the desert. That way it add a bit more warmth to the image.
The next step is to adjust the colour wheel of the shadows. We will bring down the lightness slider first to darken the shadows a bit. Thereafter, we shift the colour wheel to Blue and bring up the saturation slider. By doing so, we limit the colour spill of the sand to the bright portions of the image only, in this case the highlights.
Now we come to the Highlight colour wheel. Here we will mimic the colour wheel of the midtones in order to add more warmth to the highlights. Below is an example of how the final colour balance wheels look like.
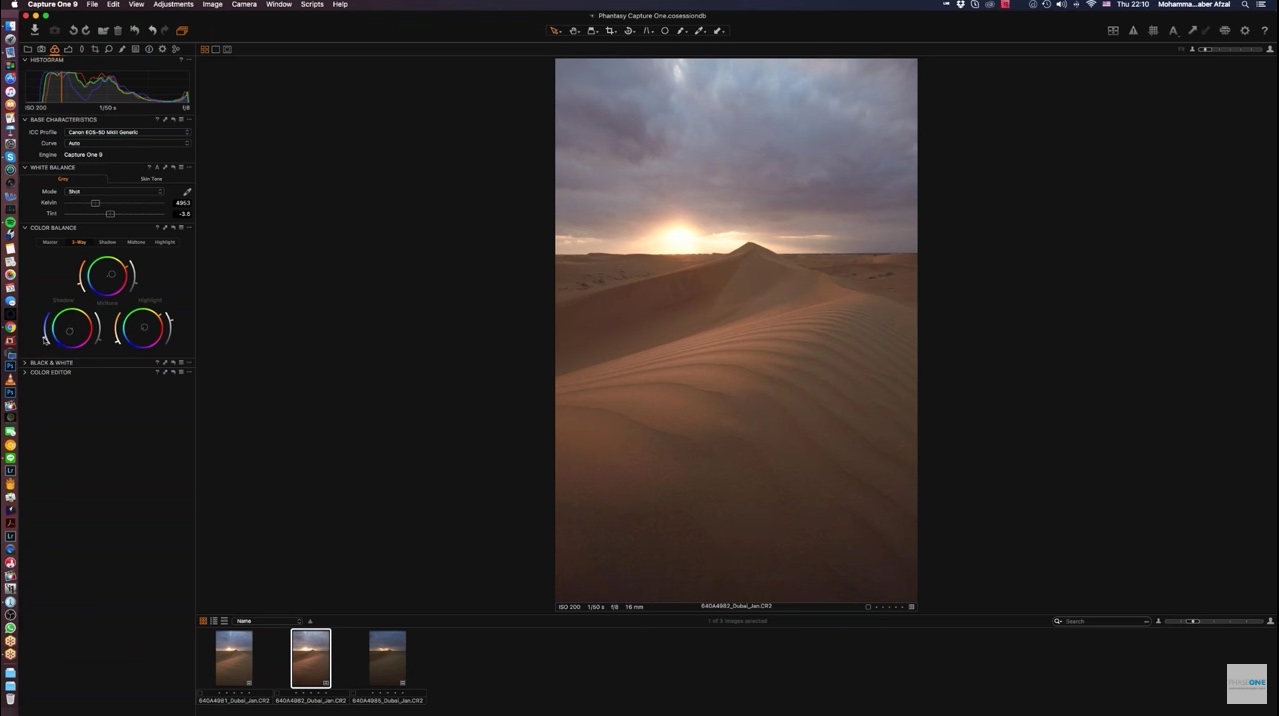
So, just by using the colour balance tool alone we have created quite a mood in the image. Below is a quick example of a before and after, which is shown by holding down the ‘alt’ key on my mac and left-clicking on the circular arrow above the colour wheel:
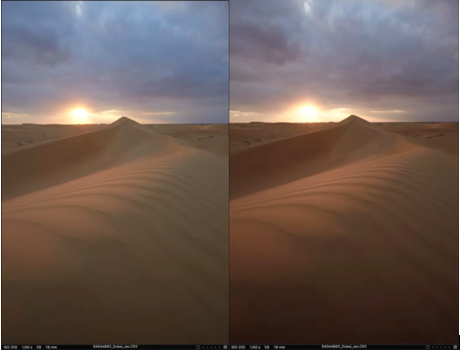
Before and after color adjustments
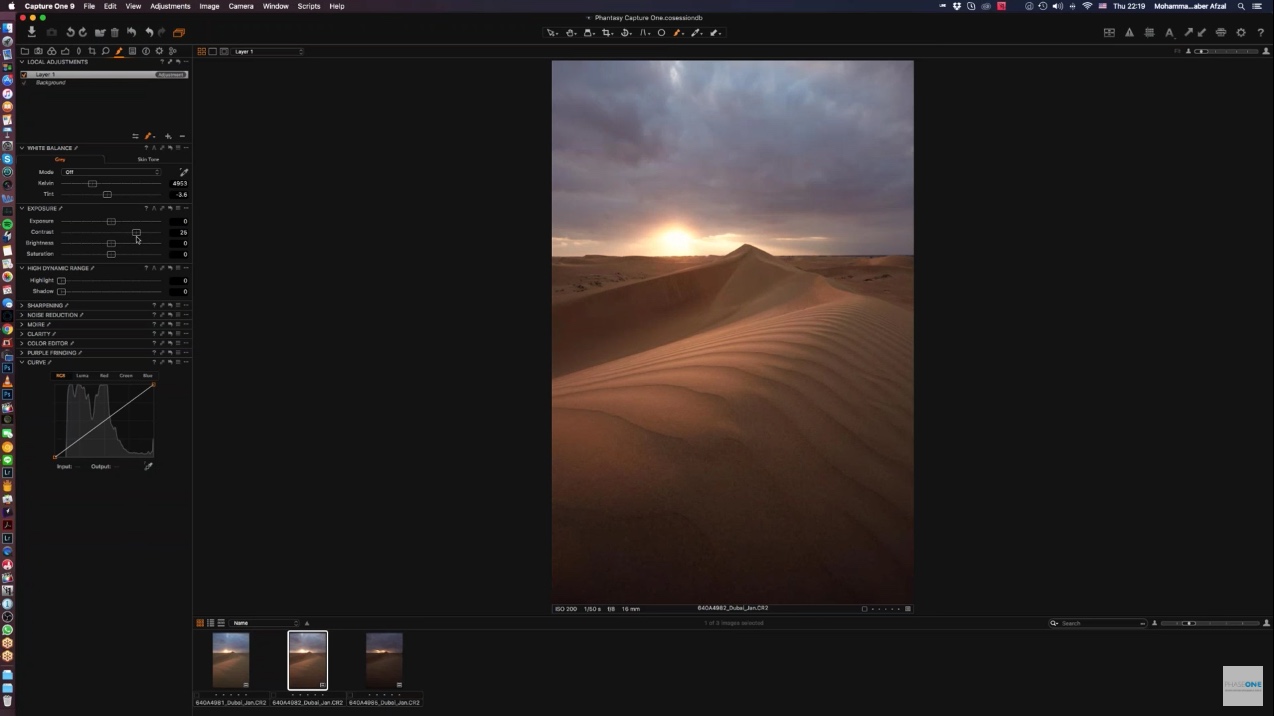
The next move is to go to our Exposure tab and make some Global Adjustments.
In this case, I make minor adjustments by bringing down the exposure slider to -0.2 and the brightness slider up by +2. Then I open my shadows just a bit by bringing up the slider to 6. The reason I do so is to make sure not to kill any information in the image before exporting it. I want all the information available to play with later as well.
Usually, I adjust the clarity slider as well but I will not do so in the exposure tab. You will find out why soon. Another beauty about Capture One Pro is that it takes care of the chromatic aberration and lens distortion by default, unlike Lightroom. That is visible under the lens correction tab.
Below are the final results after making the above adjustments.
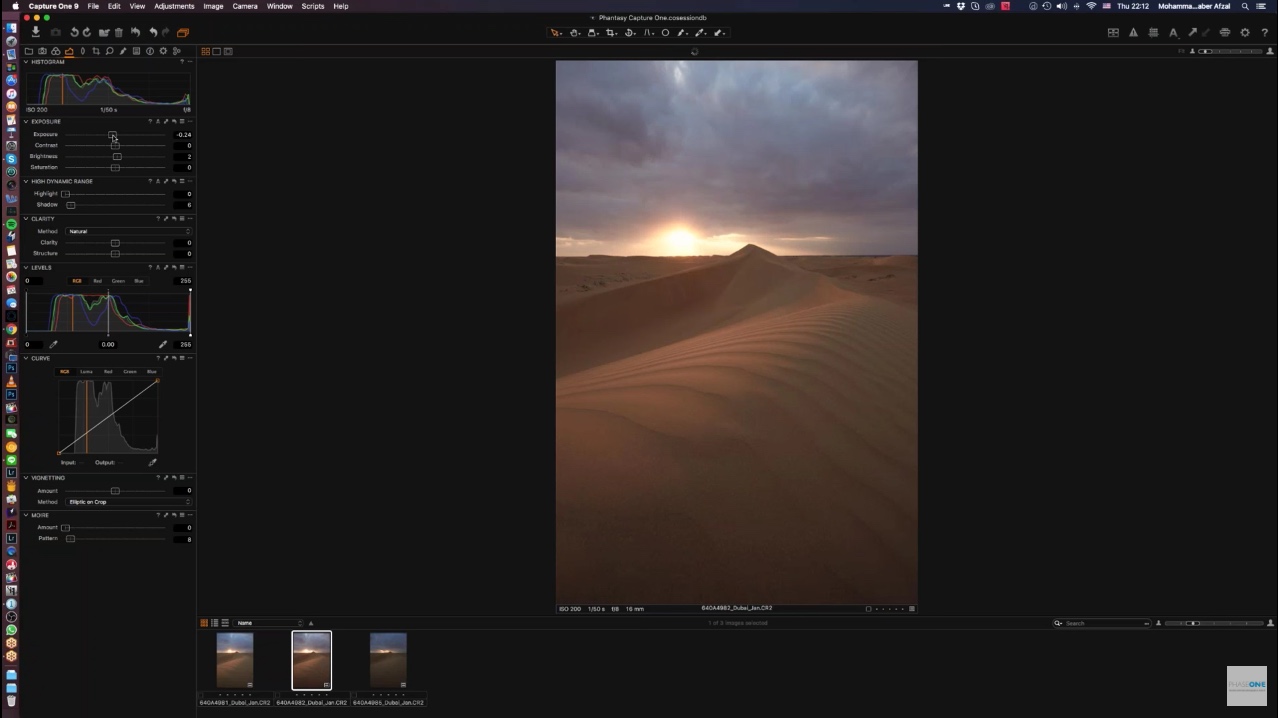
Final result after Global Adjustments
Now, we duplicate these adjustments onto the underexposed image, so we can maintain consistency when we merge both images. We simply right-click on the selected image and choose ‘Copy Adjustments’:
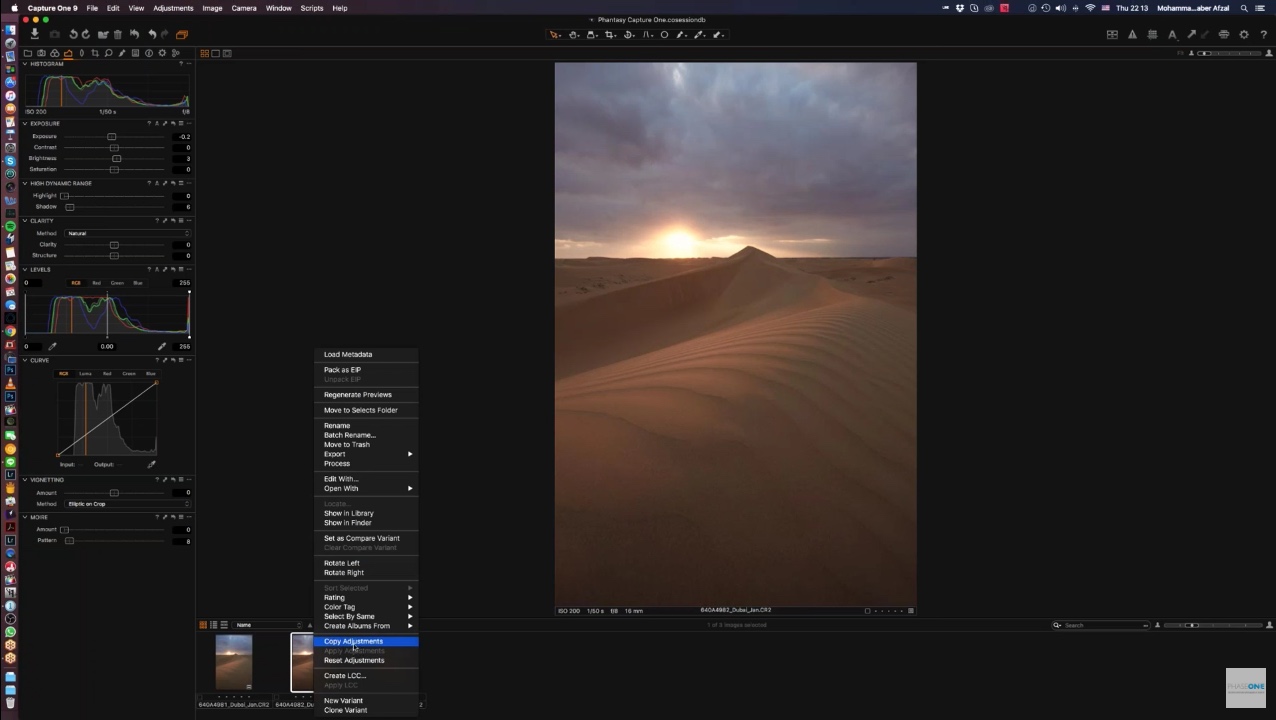
After copying those adjustments, we select the next image and simply right-click on it and hit on ‘Paste adjustments’.
Now both images share the same adjustments that we made earlier.
Step 3: Local Adjustment Slider/Masking
This is the part where we will play with our clarity sliders in the local adjustments tab. The reason we do so is because we can choose which clarity option to apply on both the ground and the sky after masking them.
How to apply the clarity to the foreground? We simply do that by masking it.
First we select the Brush Tool from the console, which is placed just below the tab. Once you have selected the brush, take your mouse towards the image and right click it to make sure that Auto Mask is selected.
The Auto ask functionality will allow us to seamlessly mask the ground and not the sky. That is the beauty about using this brush tool. We gradually mask the ground by brushing through the horizon with a small brush all the way to the foreground. Please see image below as example:

When you apply the Brush Tool, it automatically creates a new layer in the panel which is highlighted on the upper left hand side. Now that we have fully selected our foreground with the brush tool, it’s time to make some custom adjustments to it.
First, we bring up the contrast slider almost half way. The beauty about the contrast slider in Capture One Pro is that it only affects the luminosity value of the pixels and not its colour unlike Lightroom’s contrast slider.
You can see from the image below how the contrast slider brings out a nice punch to the foreground.
Result of Masking
The next step we take is to play with the clarity slider. A crucial advantage about Capture One Pro is that, unlike Lightroom, you can choose from up to four different clarity sliders, as shown in the image below. The algorithms used in all four are different and hence your mid tone contrasts vary from one clarity slider to another.
In this case, I prefer to use the Natural clarity slider since it does not kill/hurt the blacks unlike the clarity slider in Lightroom when pushed to the extremes. However, in this case, we will make subtle changes to the slider here, since we already added contrast to the sand.
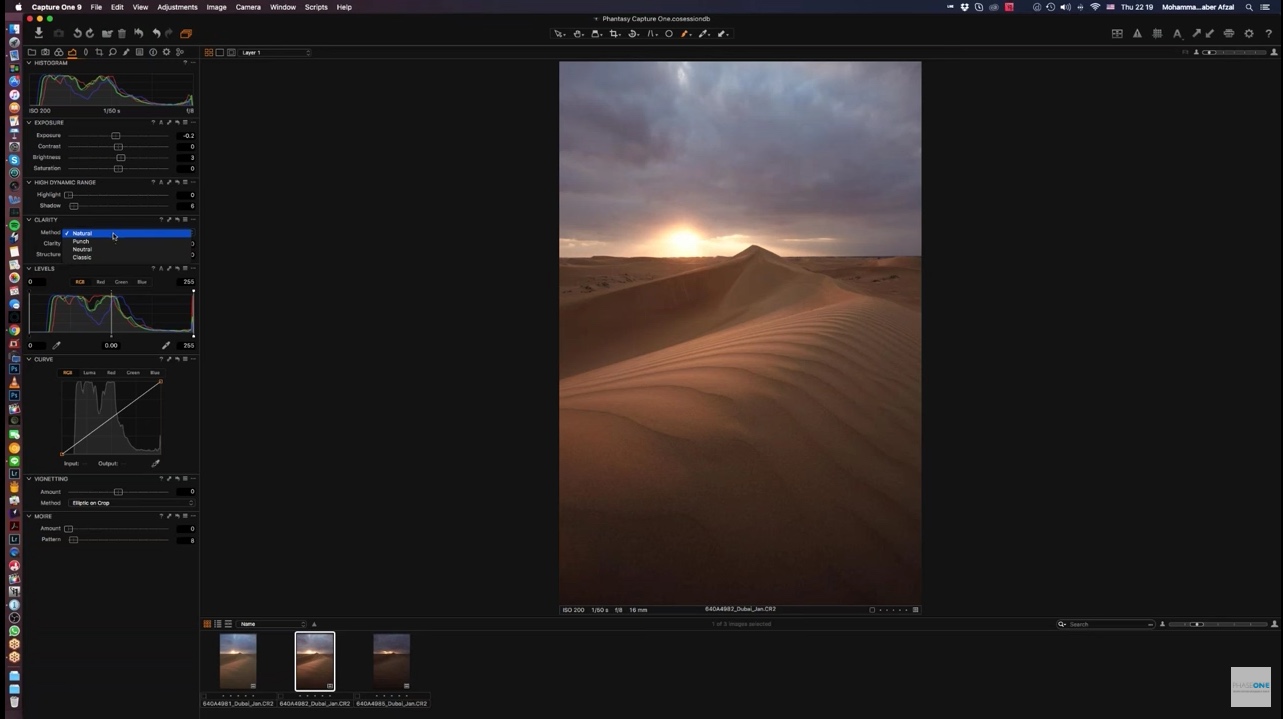
The other reason for making the subtle changes is because I do not want to lose any information in this image that can be used later in Photoshop, when we will mask the sky layer and finalise the mood of the image.
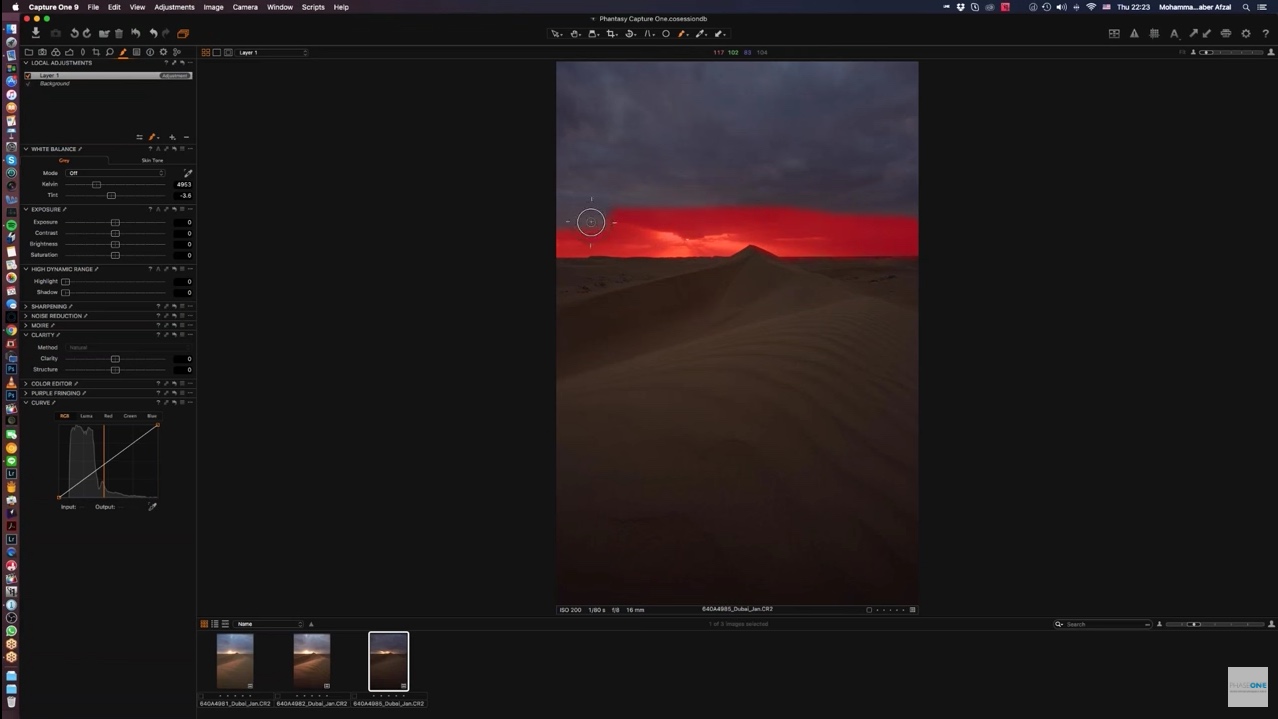
Step 4: Masking the sky layer
The next step is now to mask the sky layer in the underexposed image:
This is the part where we can capitalise on the clarity slider by moving it from Natural to Punch, as shown in the picture below. The reason for doing so is because Punch adds a bit more pop to the image and adds a bit of colour as well. Hence, this is the reason why I do not do any global adjustments to clarity.
As a final adjustment I bring up the saturation just a notch and bring up the temperature a bit too.
Step 5: Exporting the images
With the necessary adjustments made, we select both images by hitting Cmd/CTRL and left clicking the unselected image. In this step, we export the images from Capture One Pro, so we go to the recipe section for this:

As illustrated above, I export these images as 16-Bit TIFFs in prophoto RGB colour space. The reason for me to choose such a colour space is because, compared to sRGB and Adobe RGB, it has the widest colour gamut, hence you have more colour variations to play with.
The final result of my picture, including some further editing in Photoshop, ended up like this:

If you would like to also see some advance photoshop video tutorials, feel free to check out my website. You will find over 35+ episodes on how I edit my images from start to finish. Please feel free to also visit me on my Facebook account.
Hope you enjoyed this walkthrough,
Baber Afzal

Baber Afzal
Baber Afzal is an award-winning fine art photographer and filmmaker based in the Middle East specializing in landscape and architecture. His unique style and talent have allowed him to be represented by some of the best photography brands too, such as Phase One, DJI, Polar Pro and Formatt Hitech Filters. He is also currently being represented by one of the most respected galleries in the Middle East, The Empty Quarter Gallery based in DIFC.


Stunning work, techniques, camera. Very well put together. Amazing shot.
Just to show that one doesn’t need to take good pictures anymore… but simply know how to manipulate any picture and using digital post production software to make it something it was never meant to be… a piece of art, rather than a photograph….. Yes, the colors a pleasant for the eyes… but it was never the image the photographer saw when he snapped the picture.
This has been true since the beginning of photography, Ansel Adams once said you don’t take a photograph you make a photograph. And really for the good or bad, digital photography has changed so many rules
Quite so. I’m not going to burn all my original Bill Brandt prints because he indulged in a little (well a lot really) of darkroom trickery.
The reason I don’t use Capture One (and I have tried to like it) is that it is so non-intuitive. How on earth do I create a New Session? It’s not in any menu that I can find.
On Mac it is Cmd-N or File New, same as any other Mac program
On PC I’d be surprised if it were not File New
I can’t see how to export in Prophoto RGB from Capture One – there are lots of profiles in the list – but none for that. Do I need to download it separately?
Hi David!
I created the export recipe myself, its not available by default.
To do so, you can watch this clip below:
https://www.youtube.com/watch?v=ntoUTjfp3iw
The export process begins from 53 minutes onwards.
Hope this helps.
Thanks Baber
Not quite… What I’m looking for is the ProPhoto.icc (or whatever it’s called) profile. It’s not on my system. There is one available from a rather unofficial-looking website- but is there a trusted source? (I don’t use any Adobe software – perhaps that’s why I don’t have it.
cheers d.
Hi David!
I am surprised that profile doesn’t exist in C1 but it does in mine. It should be available by default. Bizarre. =/
Hi, You can get the ProPhoto.icc at this safe google link.
https://sites.google.com/site/chromasoft/icmprofiles
You can install it here:
C:\Program Files\Phase One\Capture One 9\Color Profiles\Common
or with your other color profiles in another folder, then you will need to right click ProPhoto.icc and click Install.
Many thanks – d.
When I bought Capture 1 Sony Pro my mentors from Cambridge in Colour noted an improvement in my shots. Since I started putting the techniques found in this blog into my workflow my mentors are on occasion asking for my advice.
Thanks,
Brian
Good to hear Brian!
Thank you so much Brian for such kind words! I am glad you have found my blog post useful! 🙂