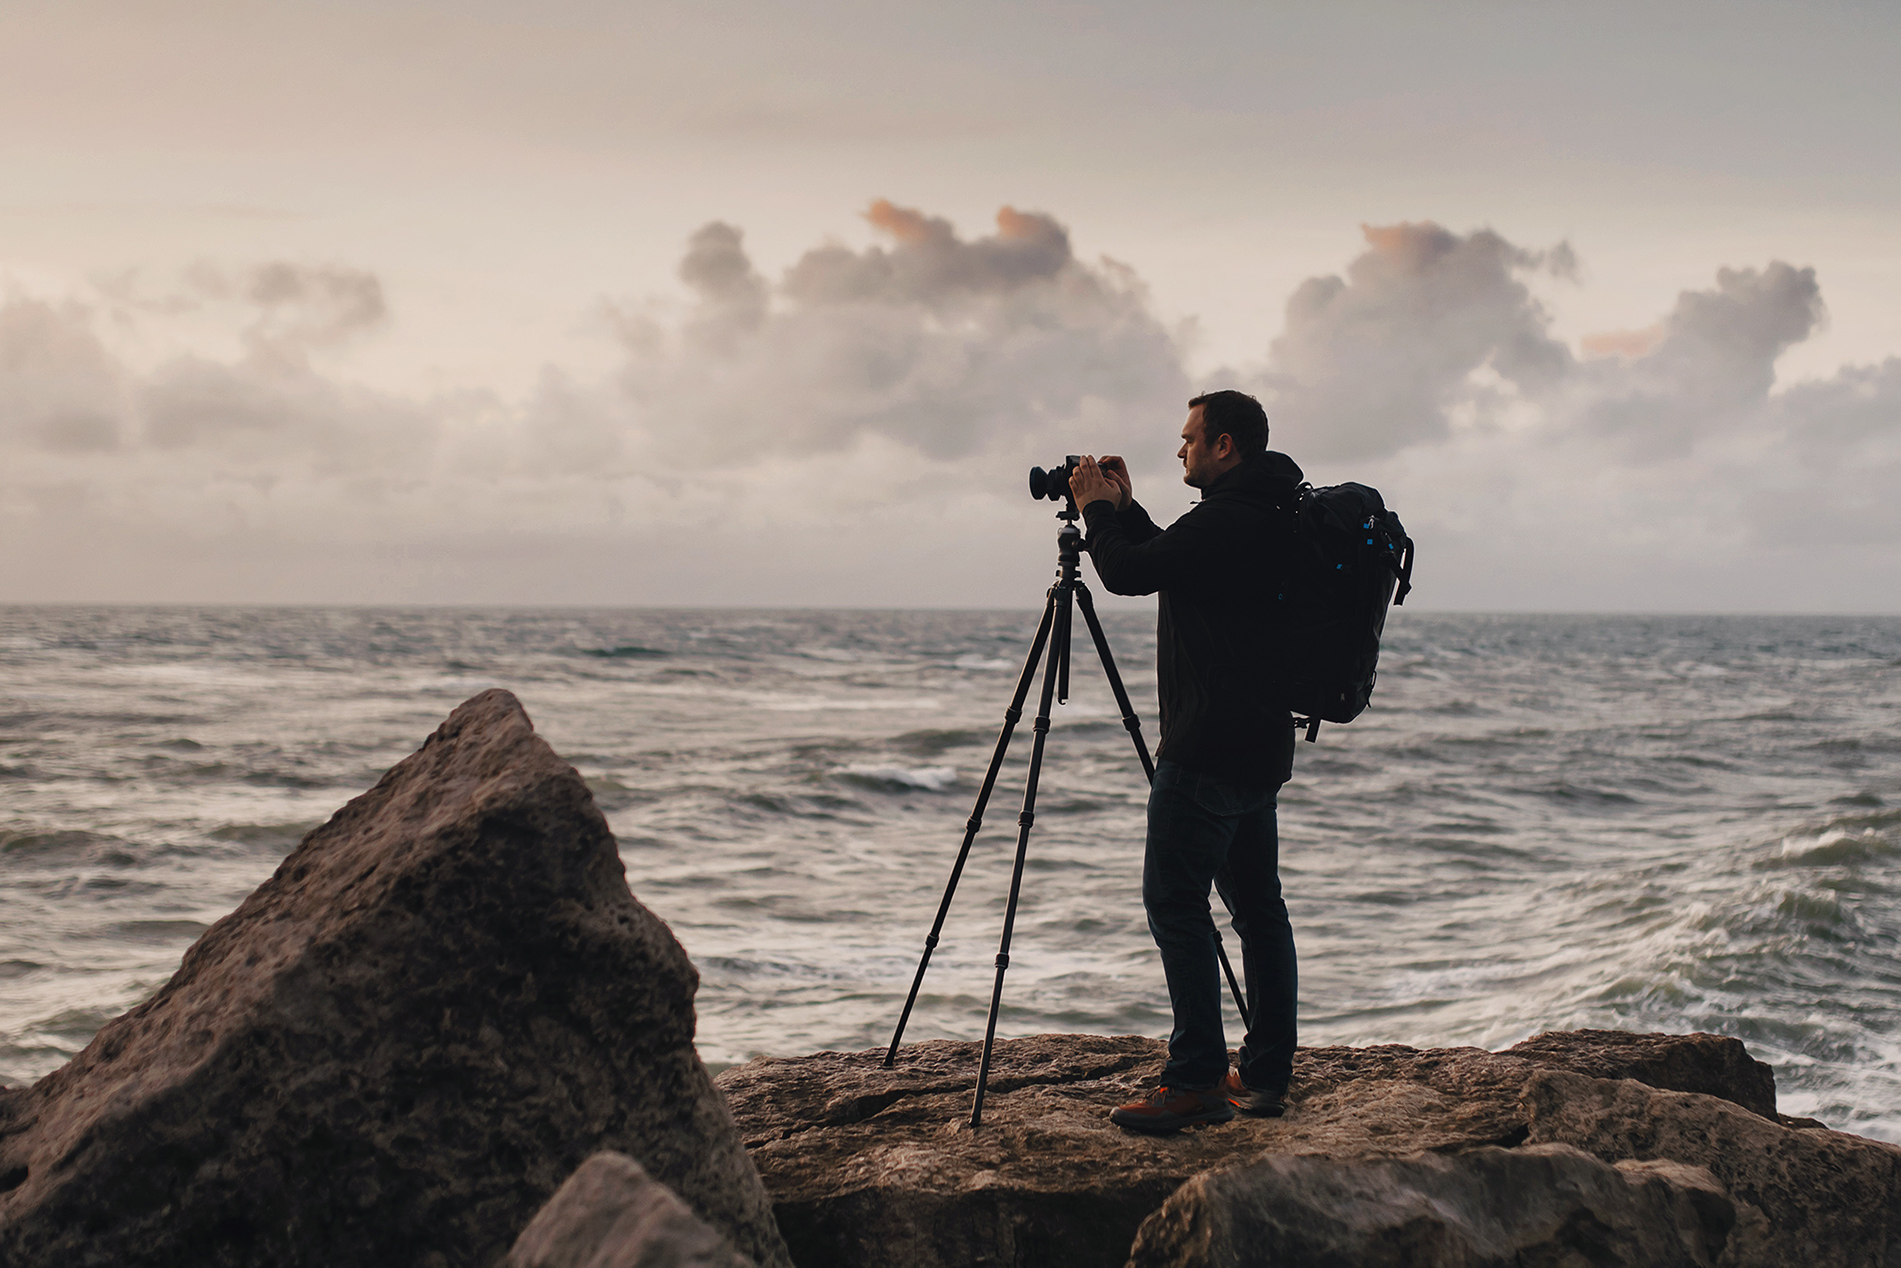
Explore Capture One 21 with Paul Reiffer
Photographer Paul Reiffer walks us through 4 key updates in the newest Capture One 21 release, and how they’ve elevated his workflow.
Photographer Paul Reiffer walks us through 4 key updates in the newest Capture One 21 release, and how they’ve elevated his workflow.
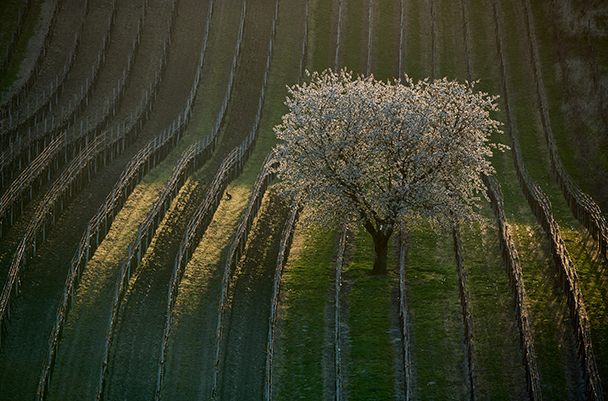
In this tutorial, see how to adjust the contrast in hazy, foggy or misty parts of your photo with the Dehaze tool.
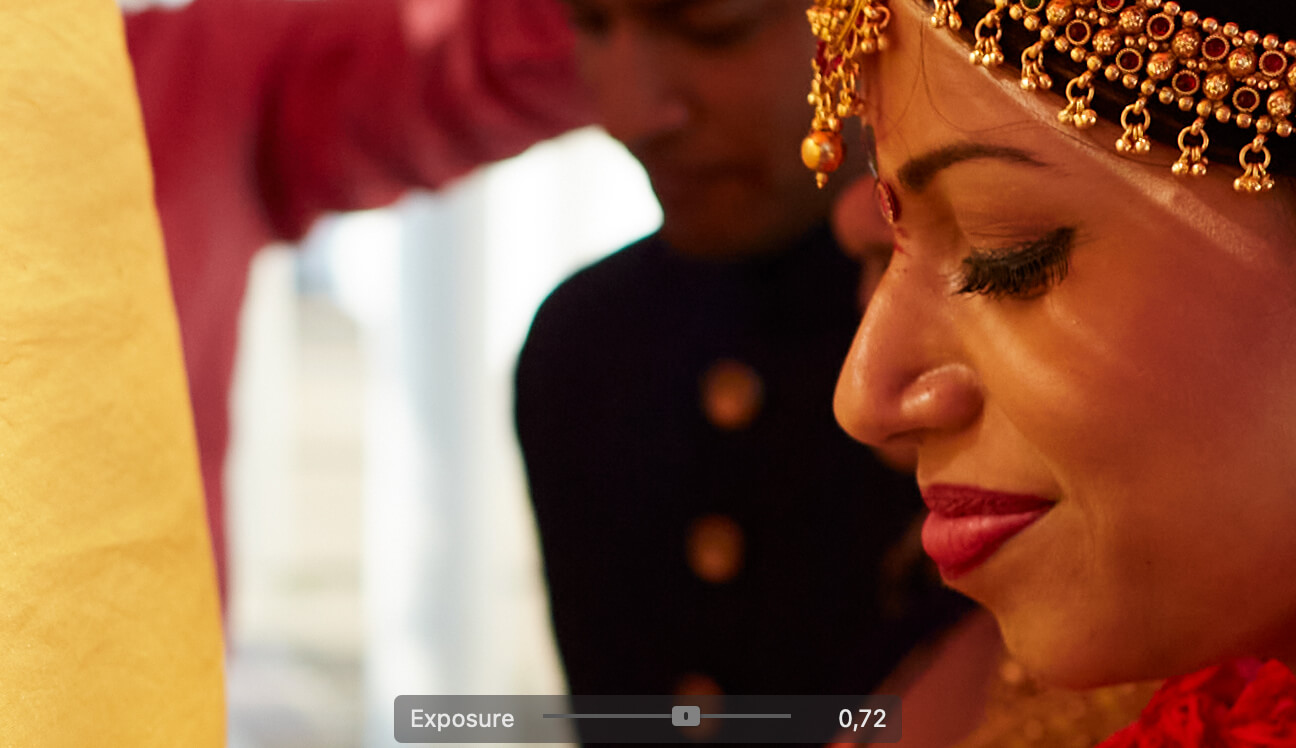
Speed Edit allows you to edit images without having to click the sliders in the interface.
This allows for a rapid and immersive workflow.

NOTE: This article discusses an older version of Capture One Pro. To learn more about our latest version, click here. Capture One’s new Heal Brush “is every retoucher’s dream” says commercial retoucher Pratik Naik. Get his tour of the new tool plus expert tips on how to use it. The new heal brush in the latest Capture One update has photographers and retouchers rejoicing around the world. In this blog post, I’ll take you through the new tool – and be sure to start by watching the video to get a visual for how you apply it to an image. The Heal Brush icon is found in the Layers panel – once activated, it will automatically add a healing layer. Now, you don’t need to add additional healing layers because you can make as many adjustments as you like using the Heal Brush within that one layer. There’s no upper limit for the number of healing adjustments you can make, either. Be default, all you need to do is highlight the element or object in your image …