
In Capture One Pro 9 there is common ground between the improved Contrast slider and the new addition of the Luma Curve mode. So when you should you use the slider?, and what about a Curve? or even when should RGB Curves come into play?
As with many functions in Capture One Pro 9, the choice is yours but ultimately it’s about giving you precision and power and not having software make the decision for you.
Let’s take a look at this following example. It shows quite clearly that using a Luma Curve in this case gives a better end result with more control over the final result.
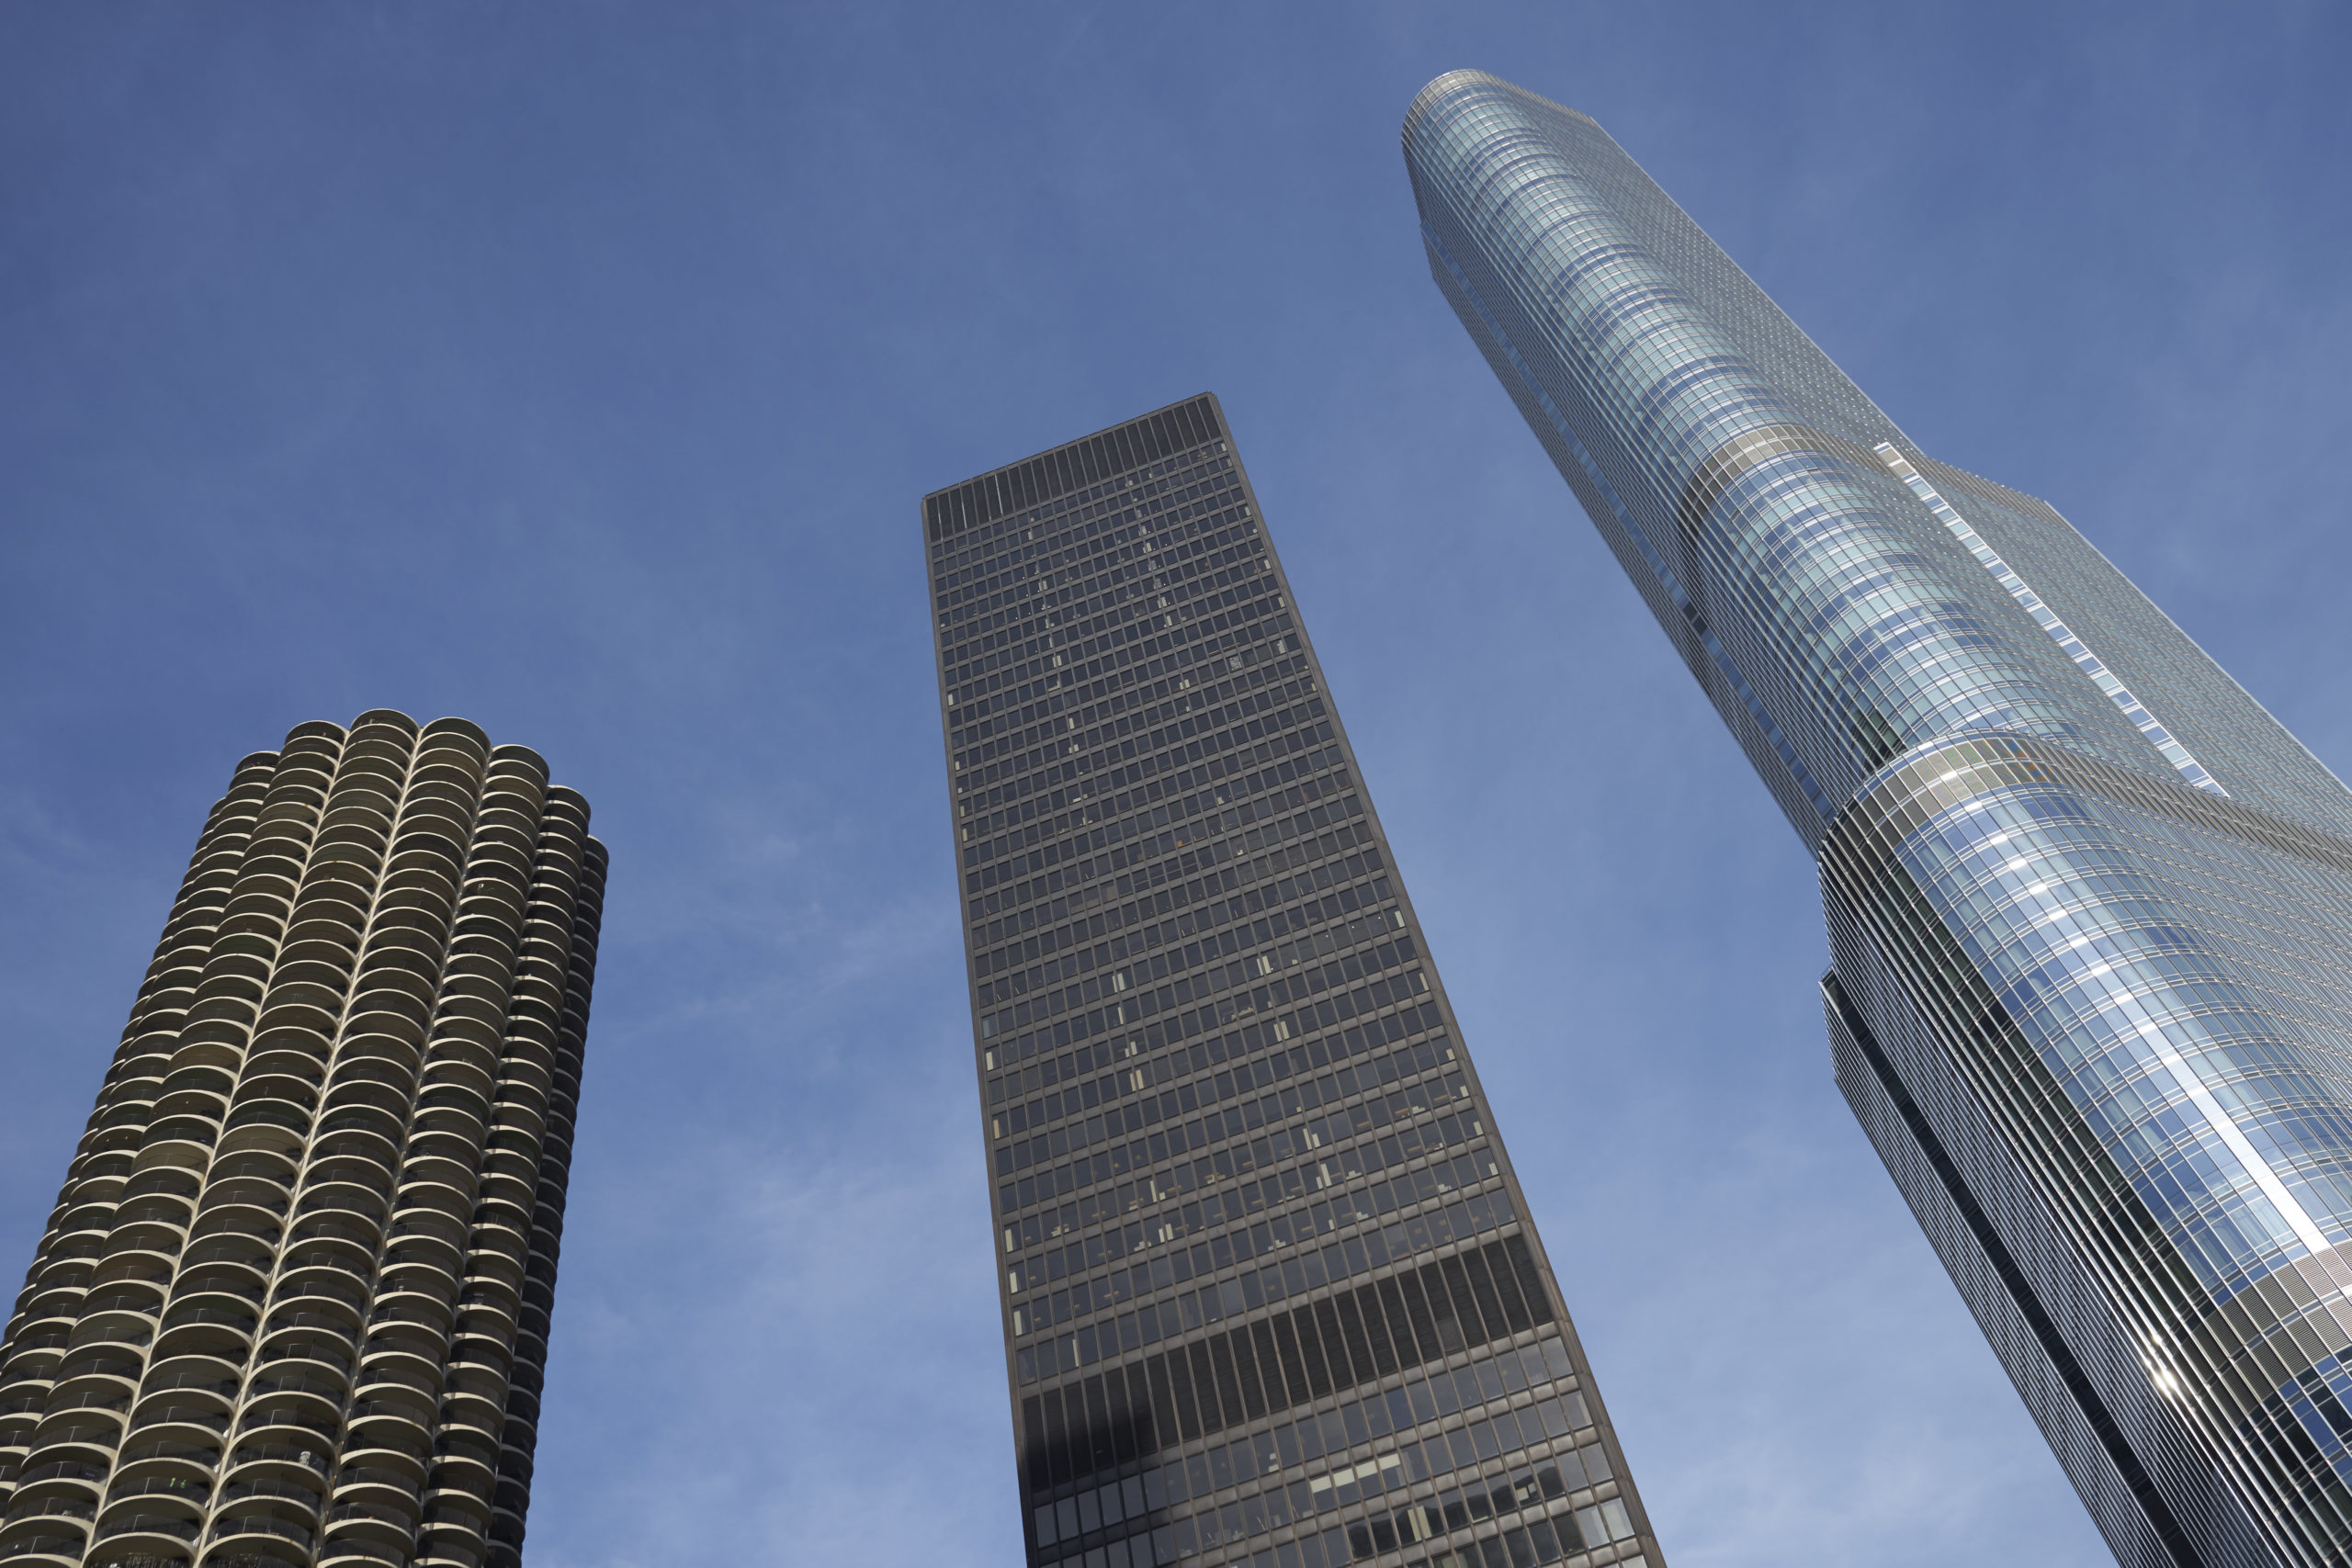
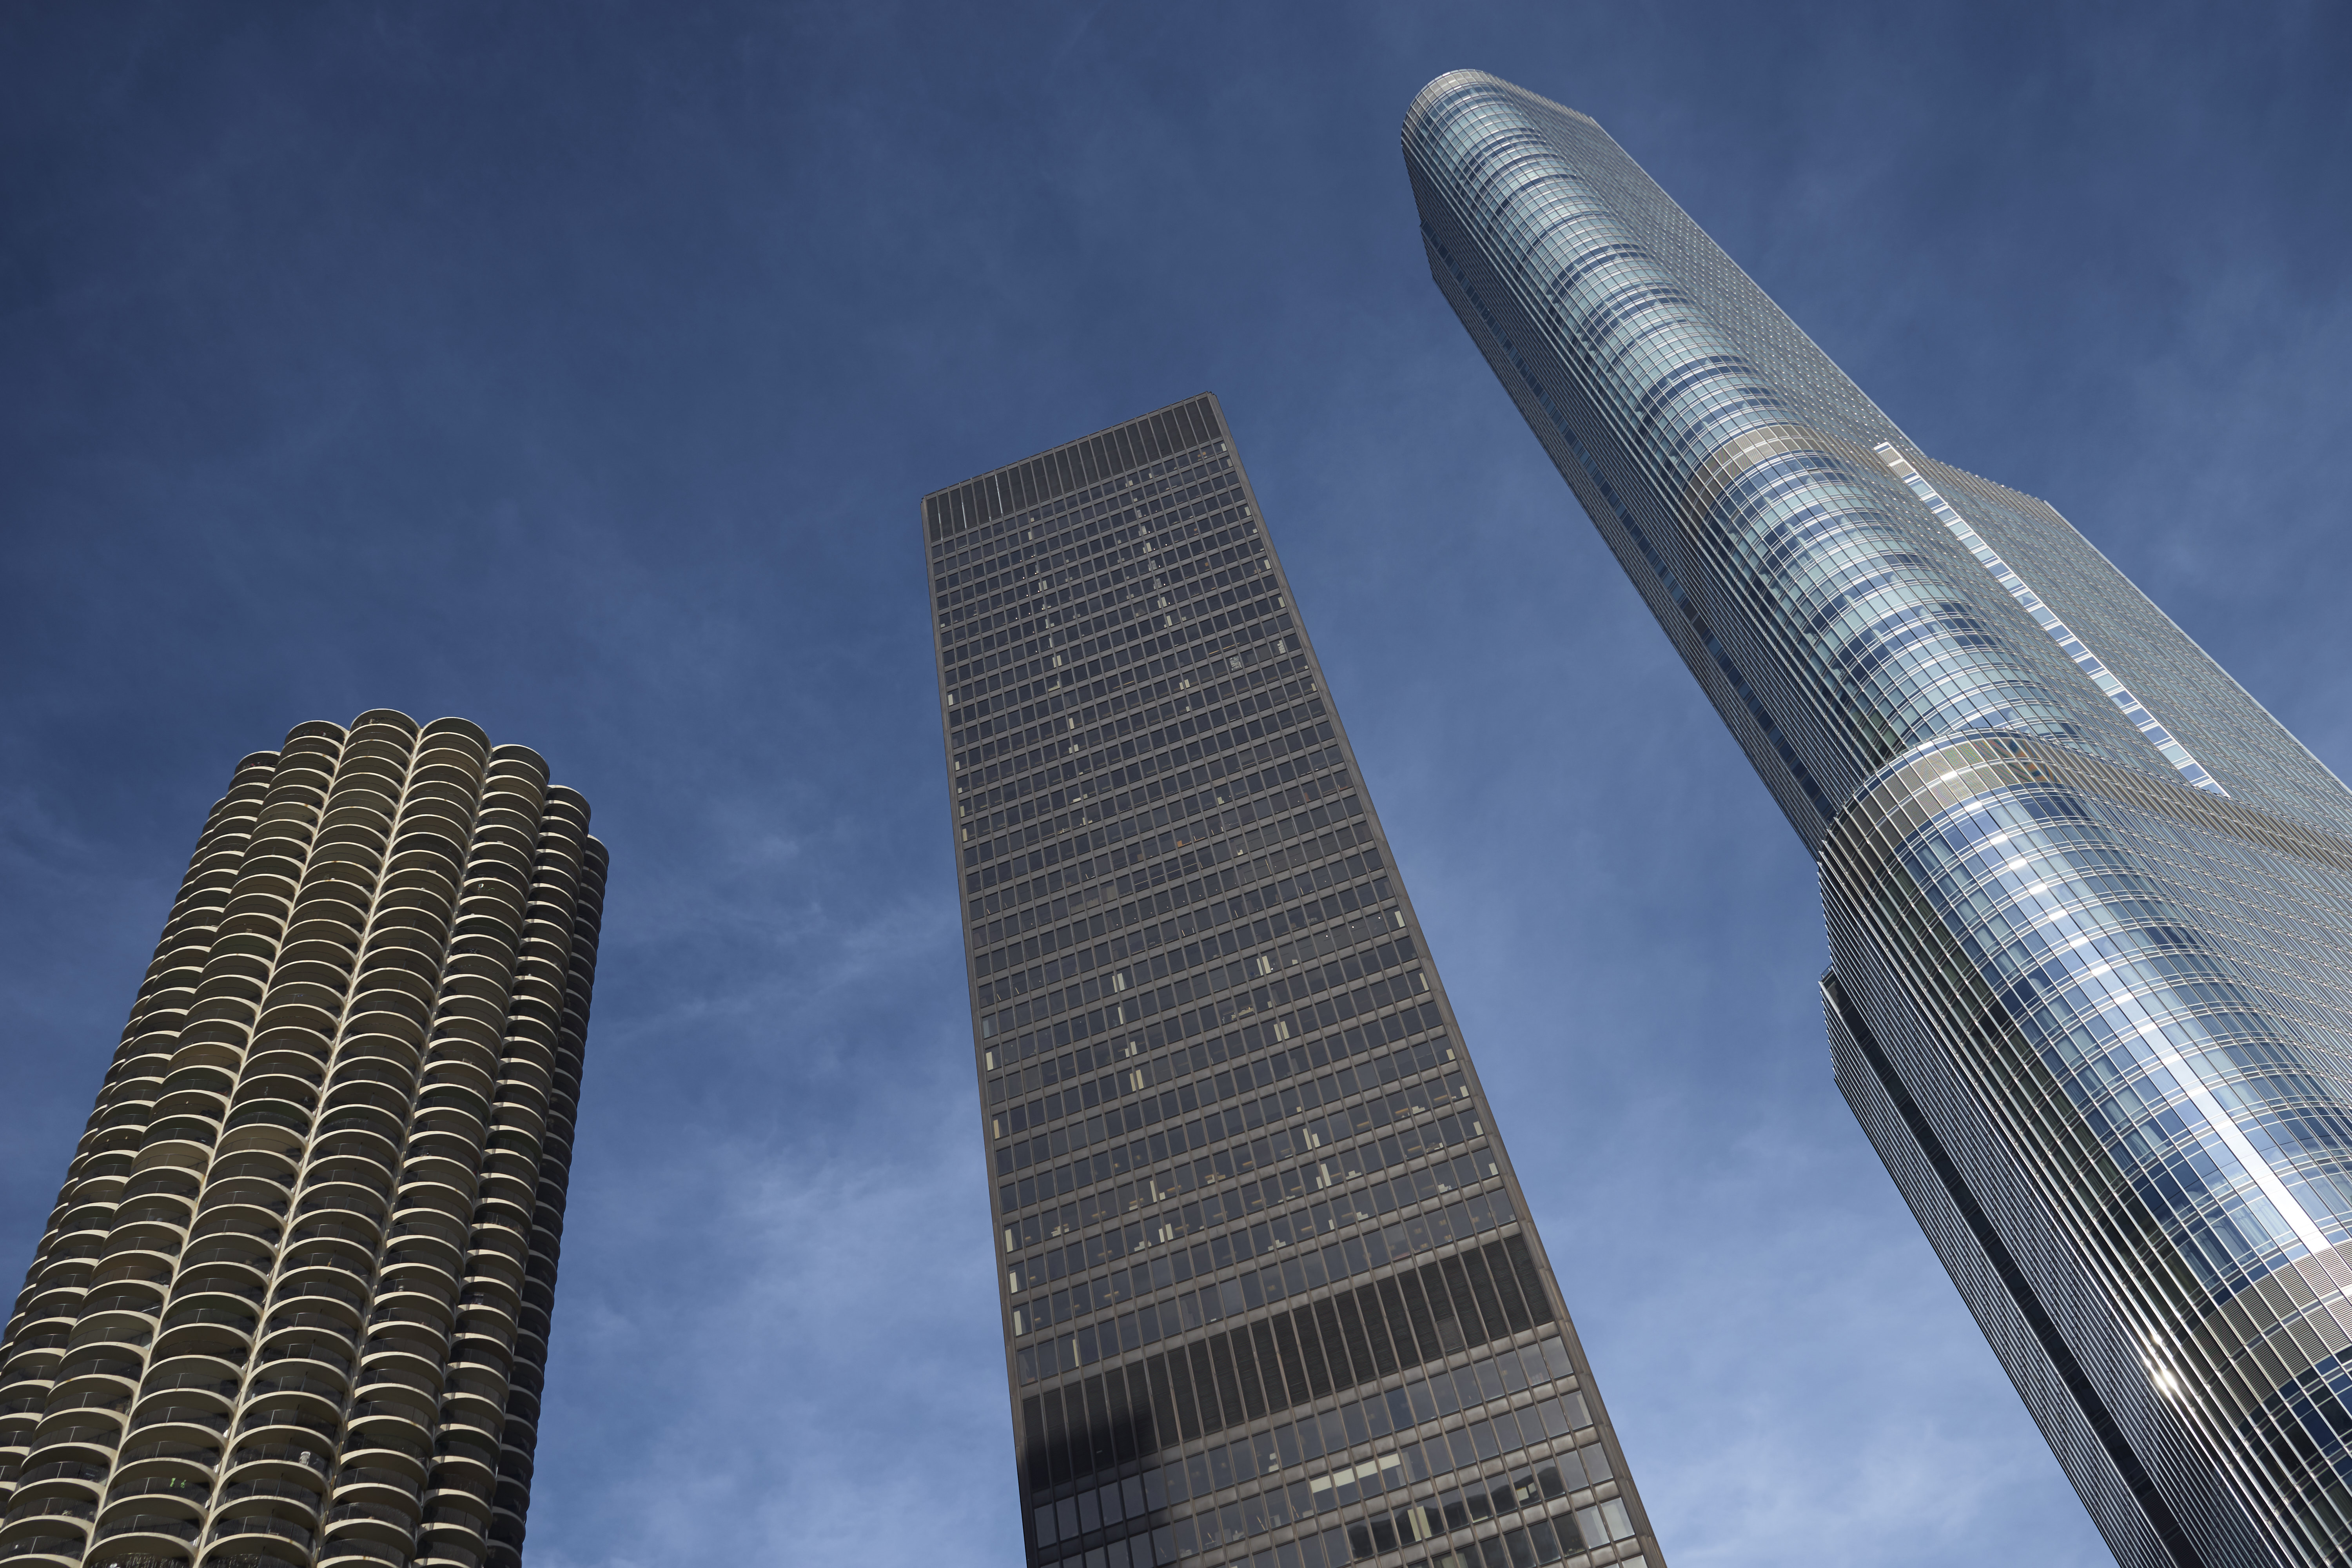
Straight out of camera, the image looks like this but there is plenty of data in it to extract all the contrast and depth that I want.

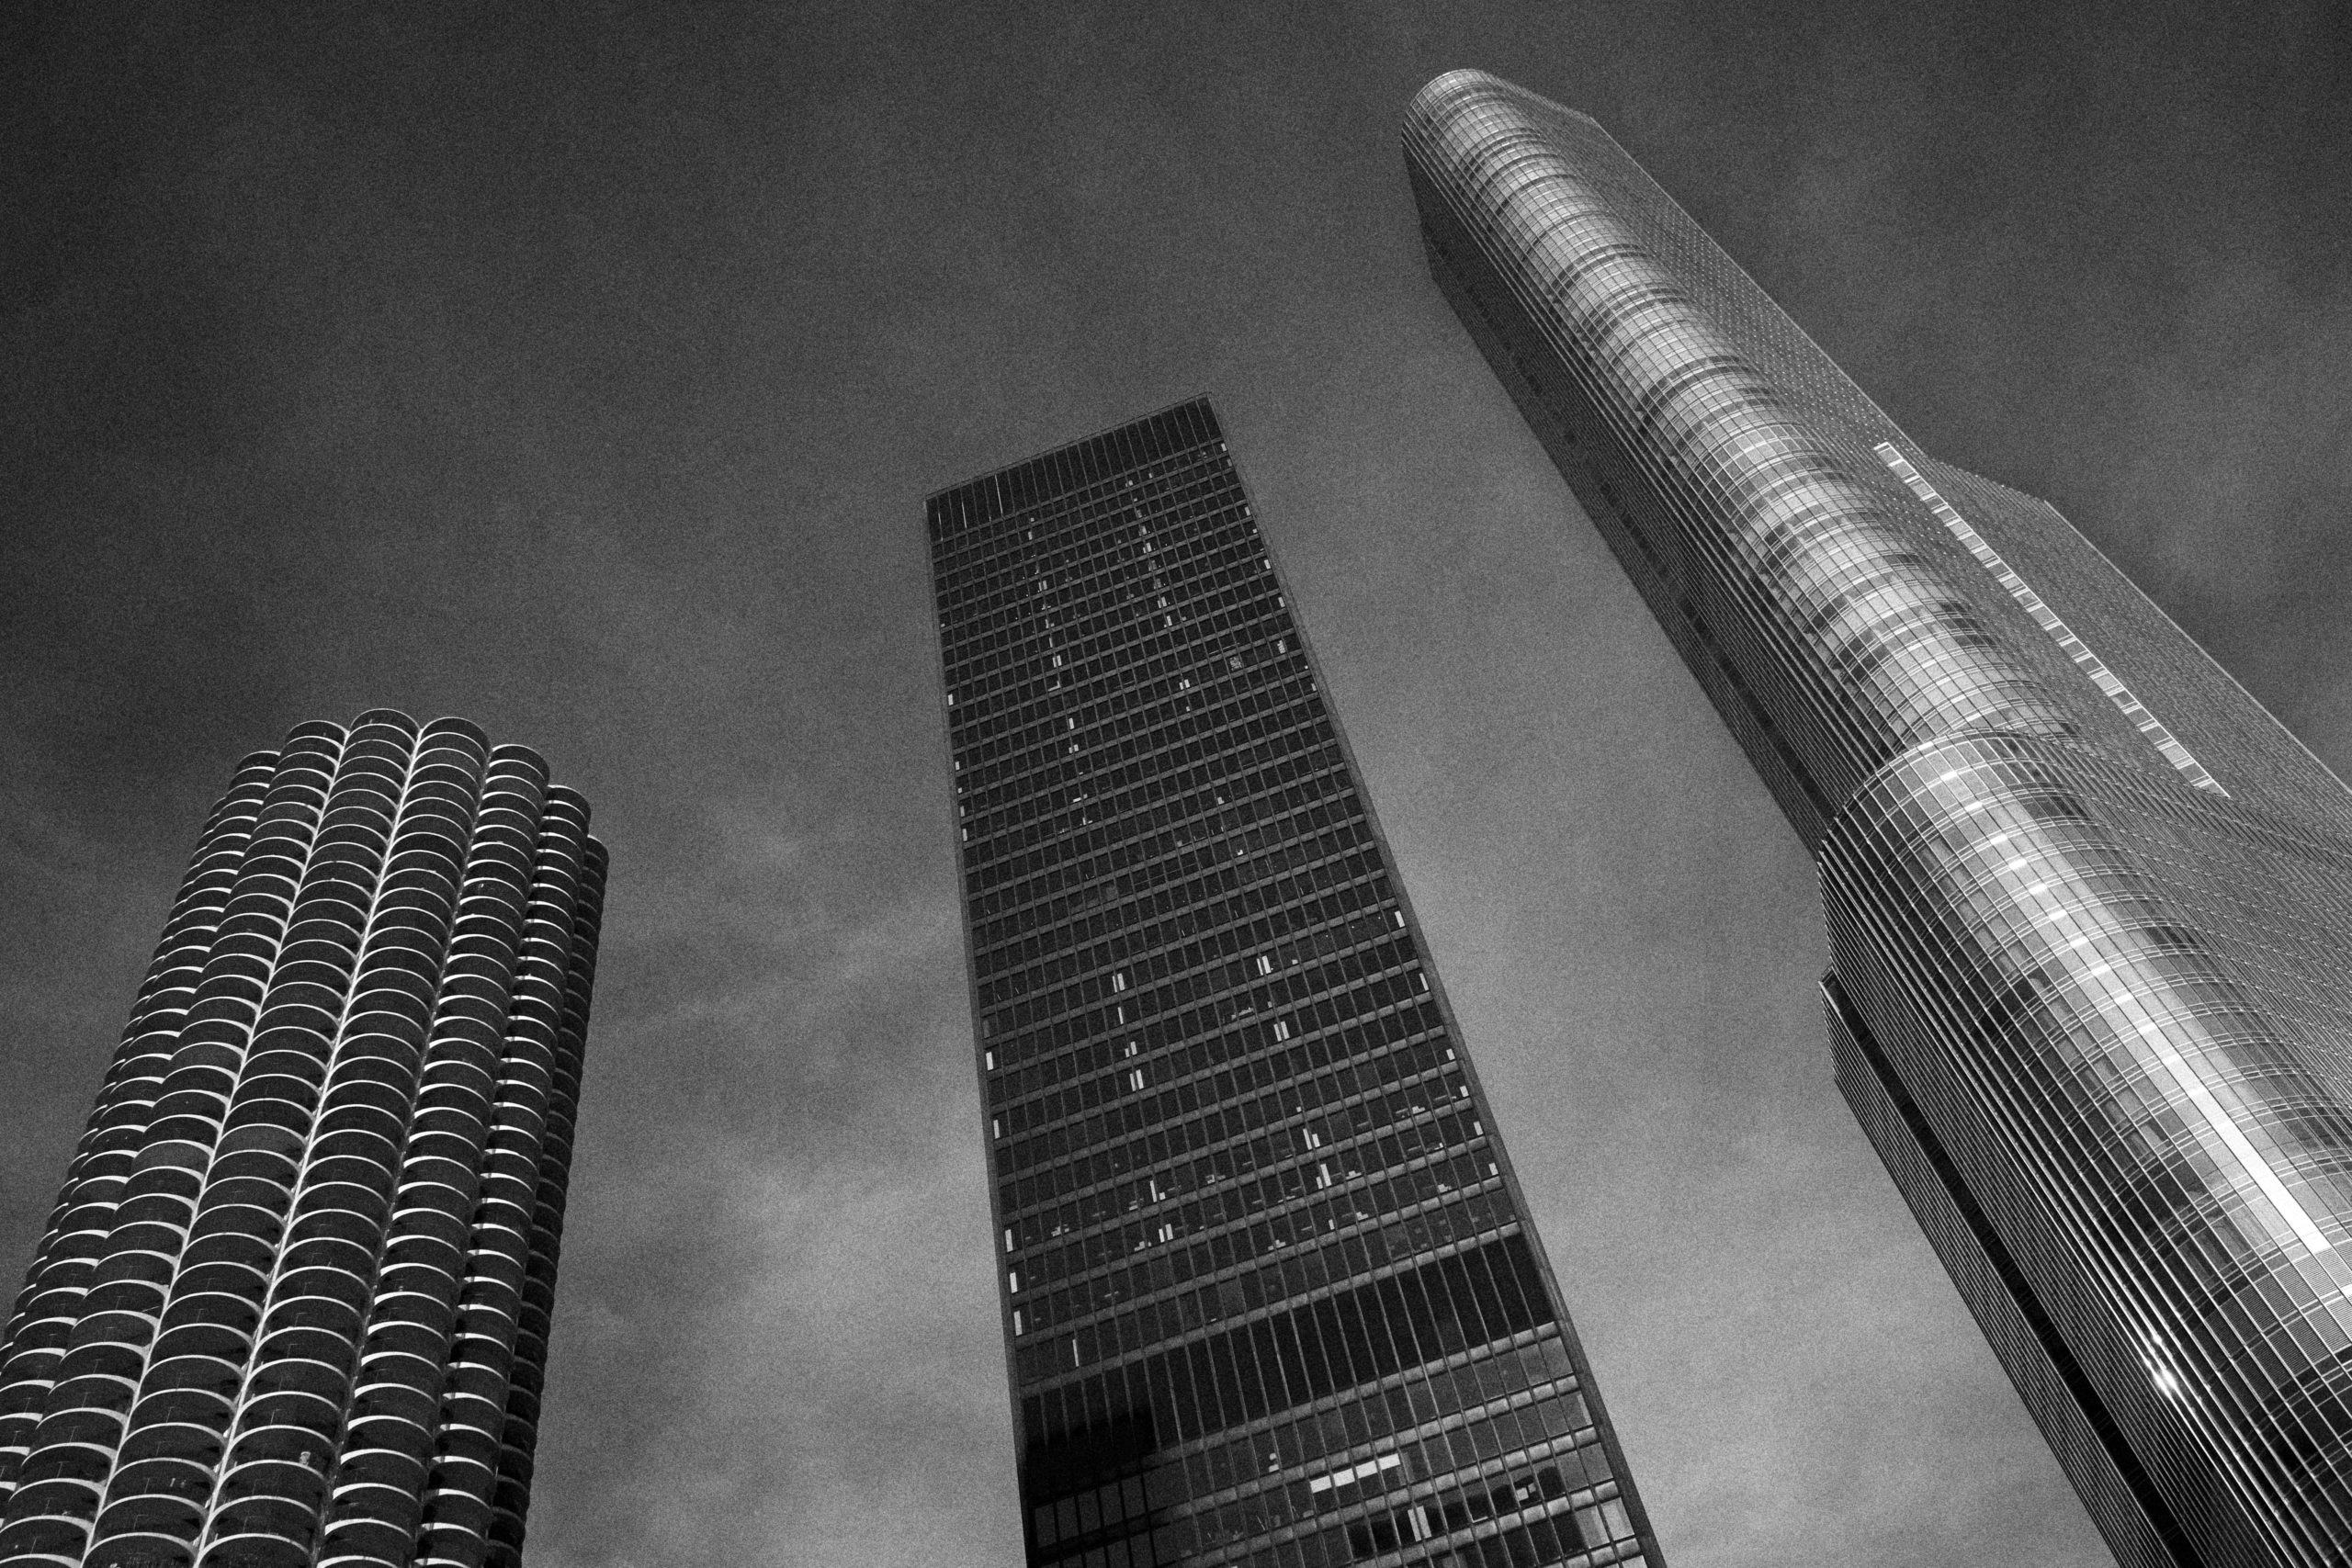
If we were to treat this as a color image first of all, one of the first things I would like to do is to boost the contrast in the sky to make the clouds more visible.
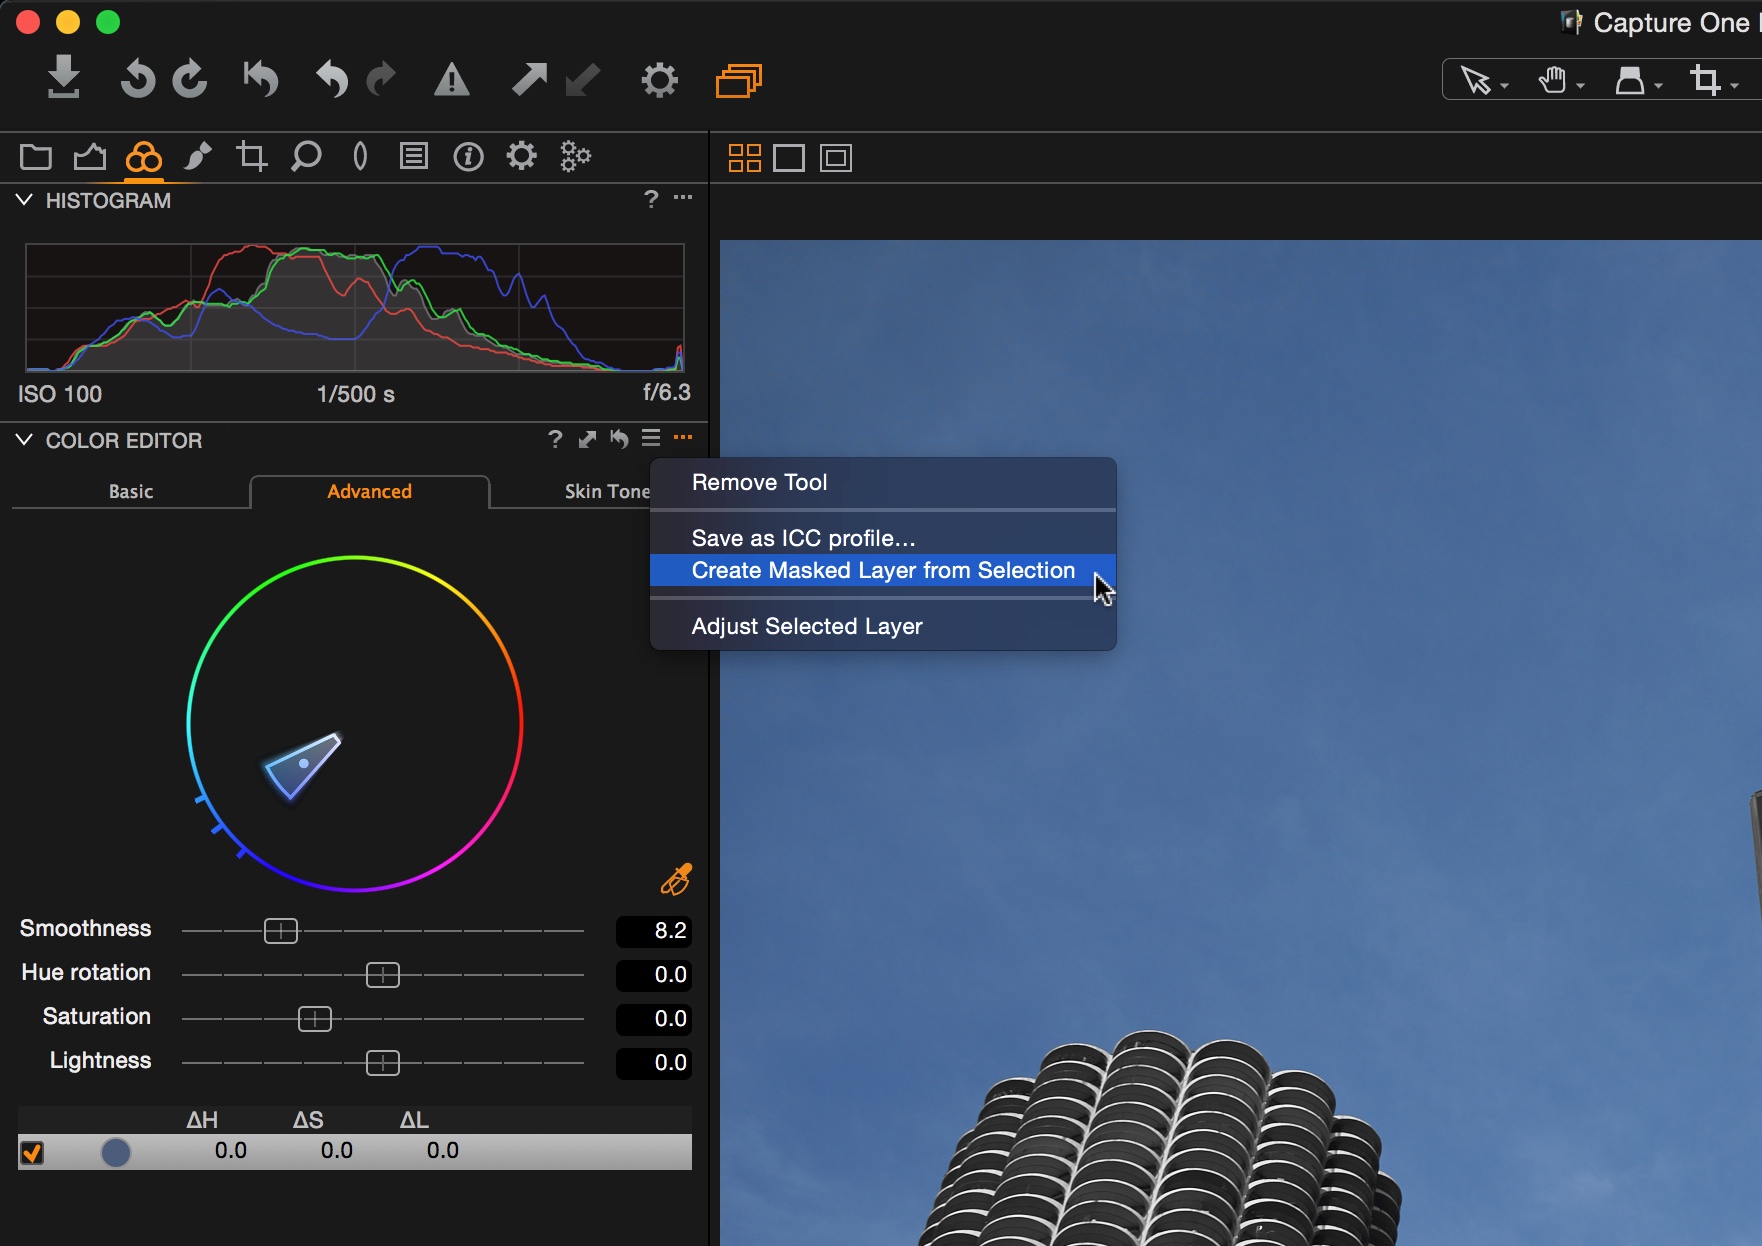
I would like to treat the sky as a separate element of the image, as the buildings won’t require the same treatment I feel. Fortunately masking that will be a pinch as I can transform a color selection into a mask, which is new in Capture One Pro 9.
My color selection of the sky I have tried to keep as tight as possible by narrowing my selection down. I will end up with some of the right hand side of the building being selected but I don’t anticipate that will cause me much trouble. It’s a bit flat anyway, so it would benefit from any additional contrast added to the sky.
Immediately, this selection can be transformed into a Local Adjustment mask, with the end goal of being able to edit the sky with the additional benefit of using the contrast slider of a curve.
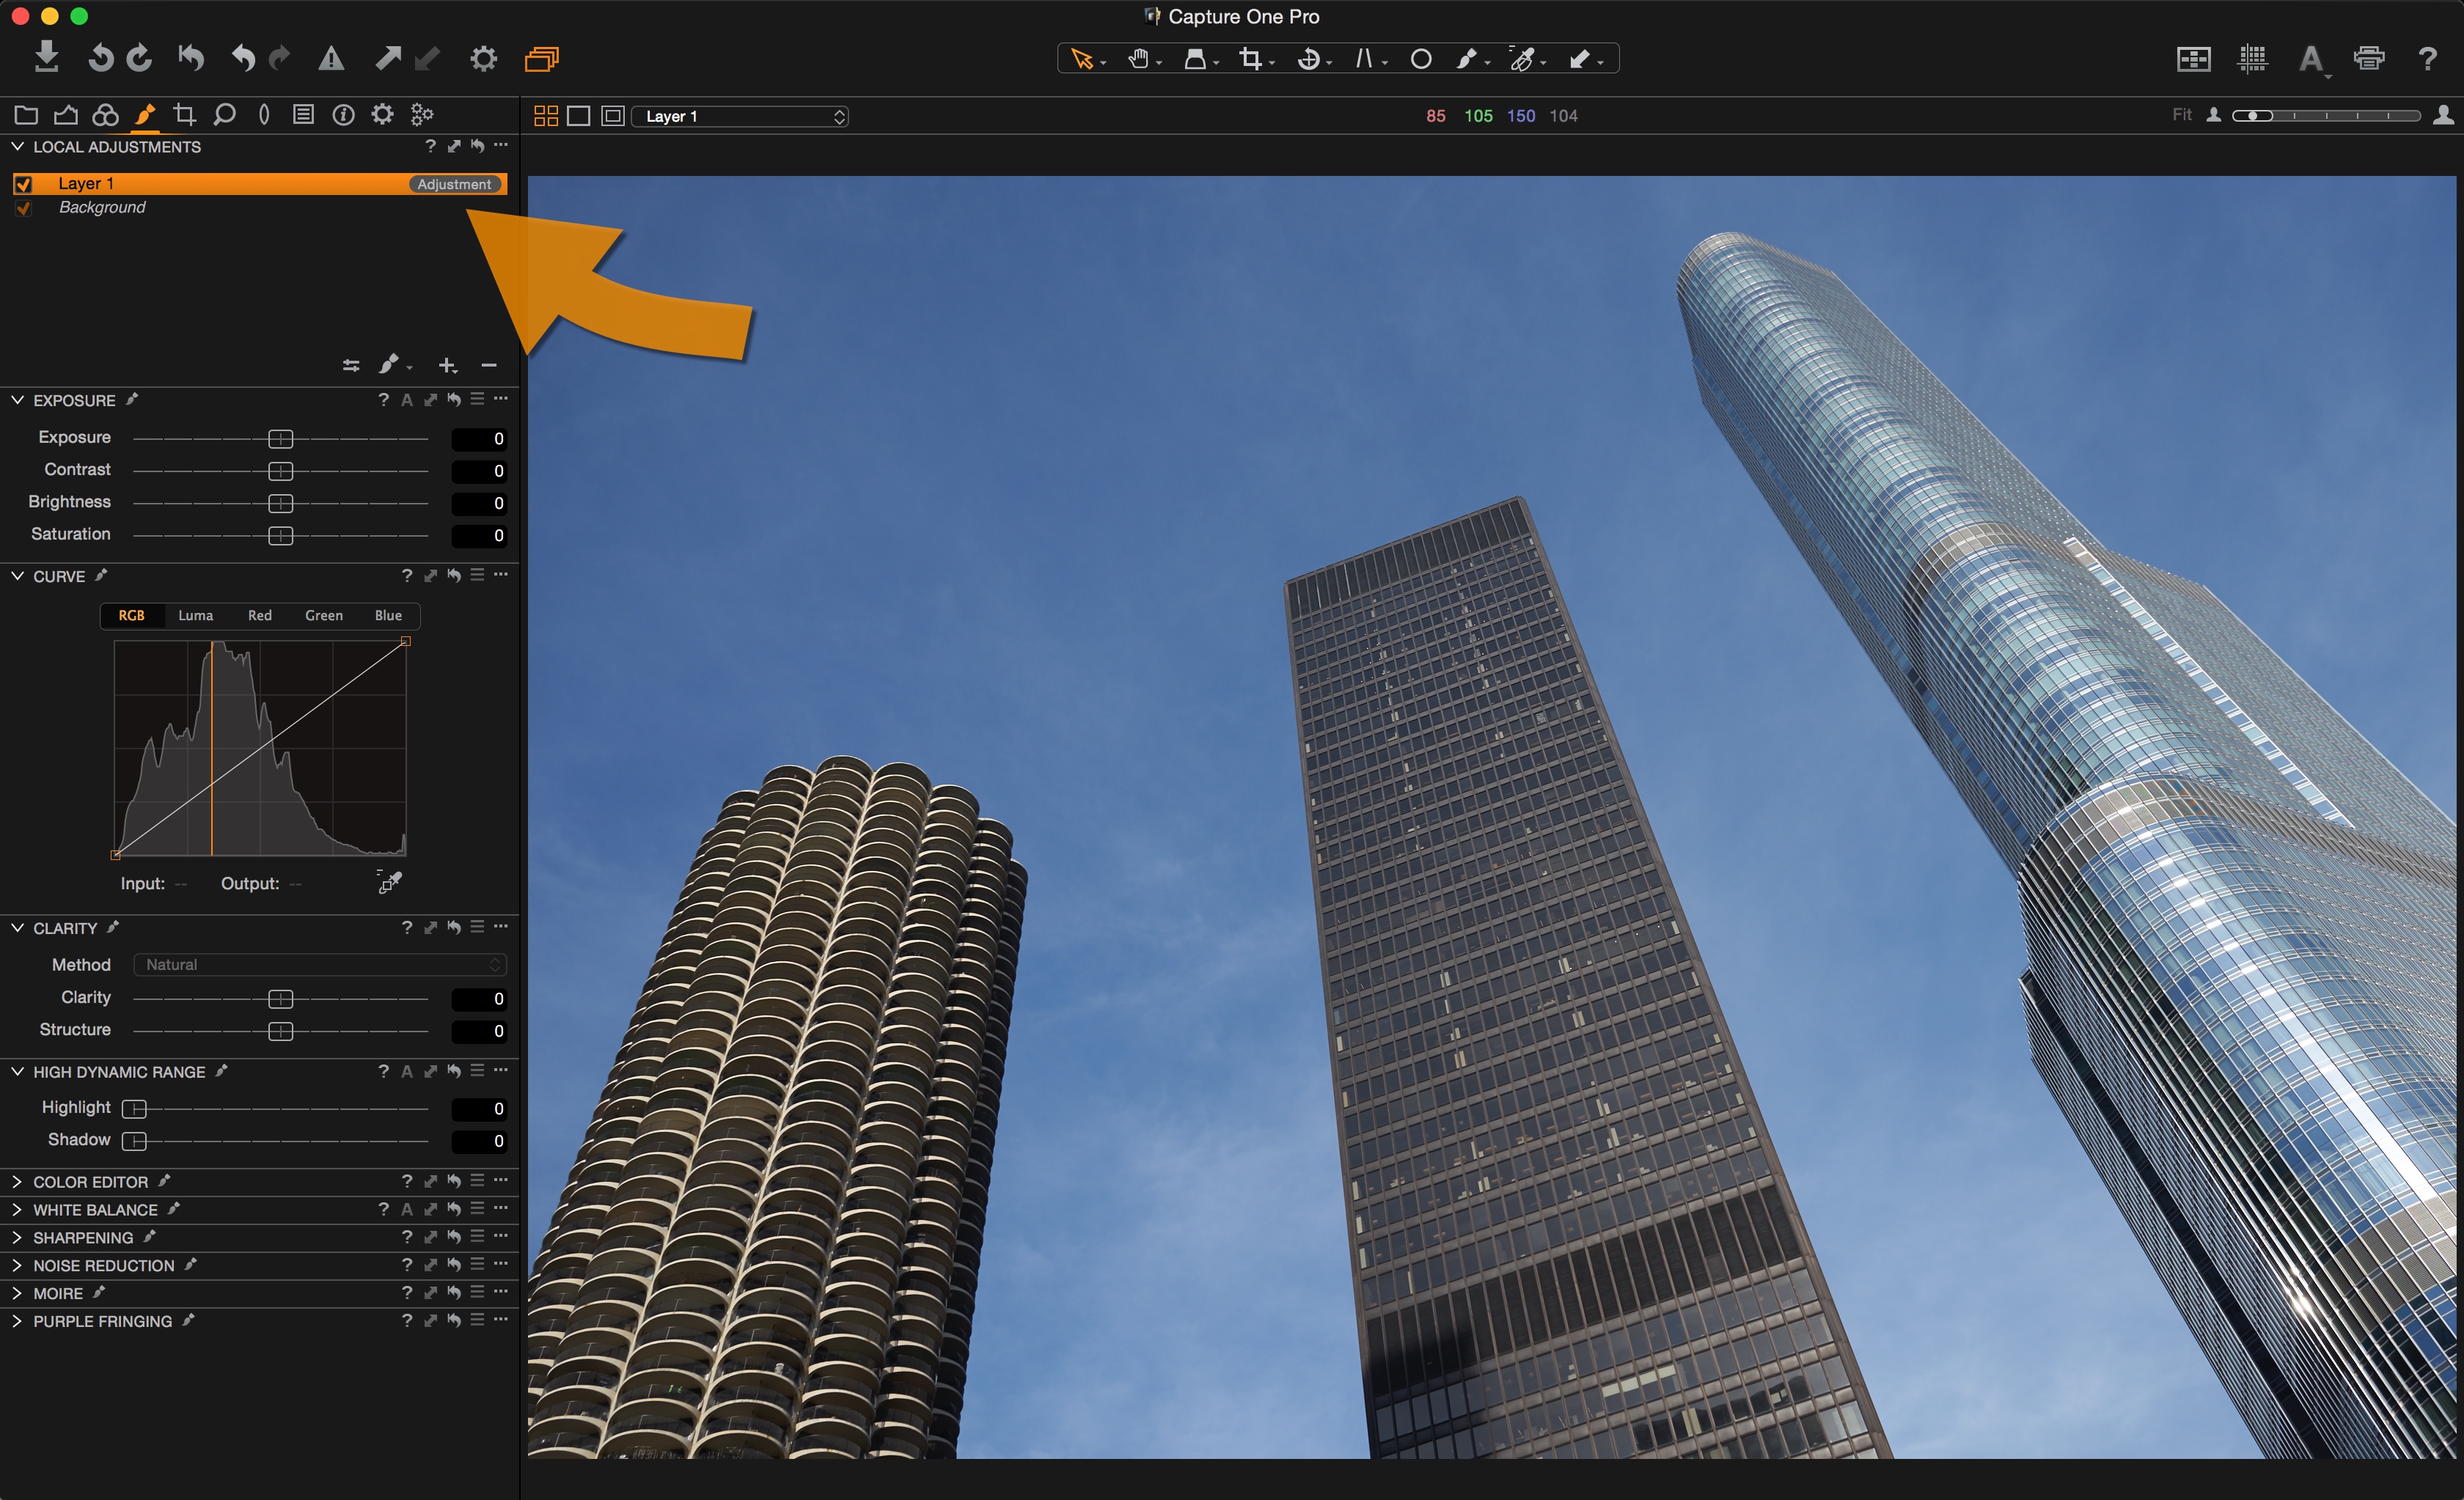
Now we have ‘Layer 1’ in the Local Adjustments tool, which is a pretty decent mask of the sky, with some of the right hand side of the building.
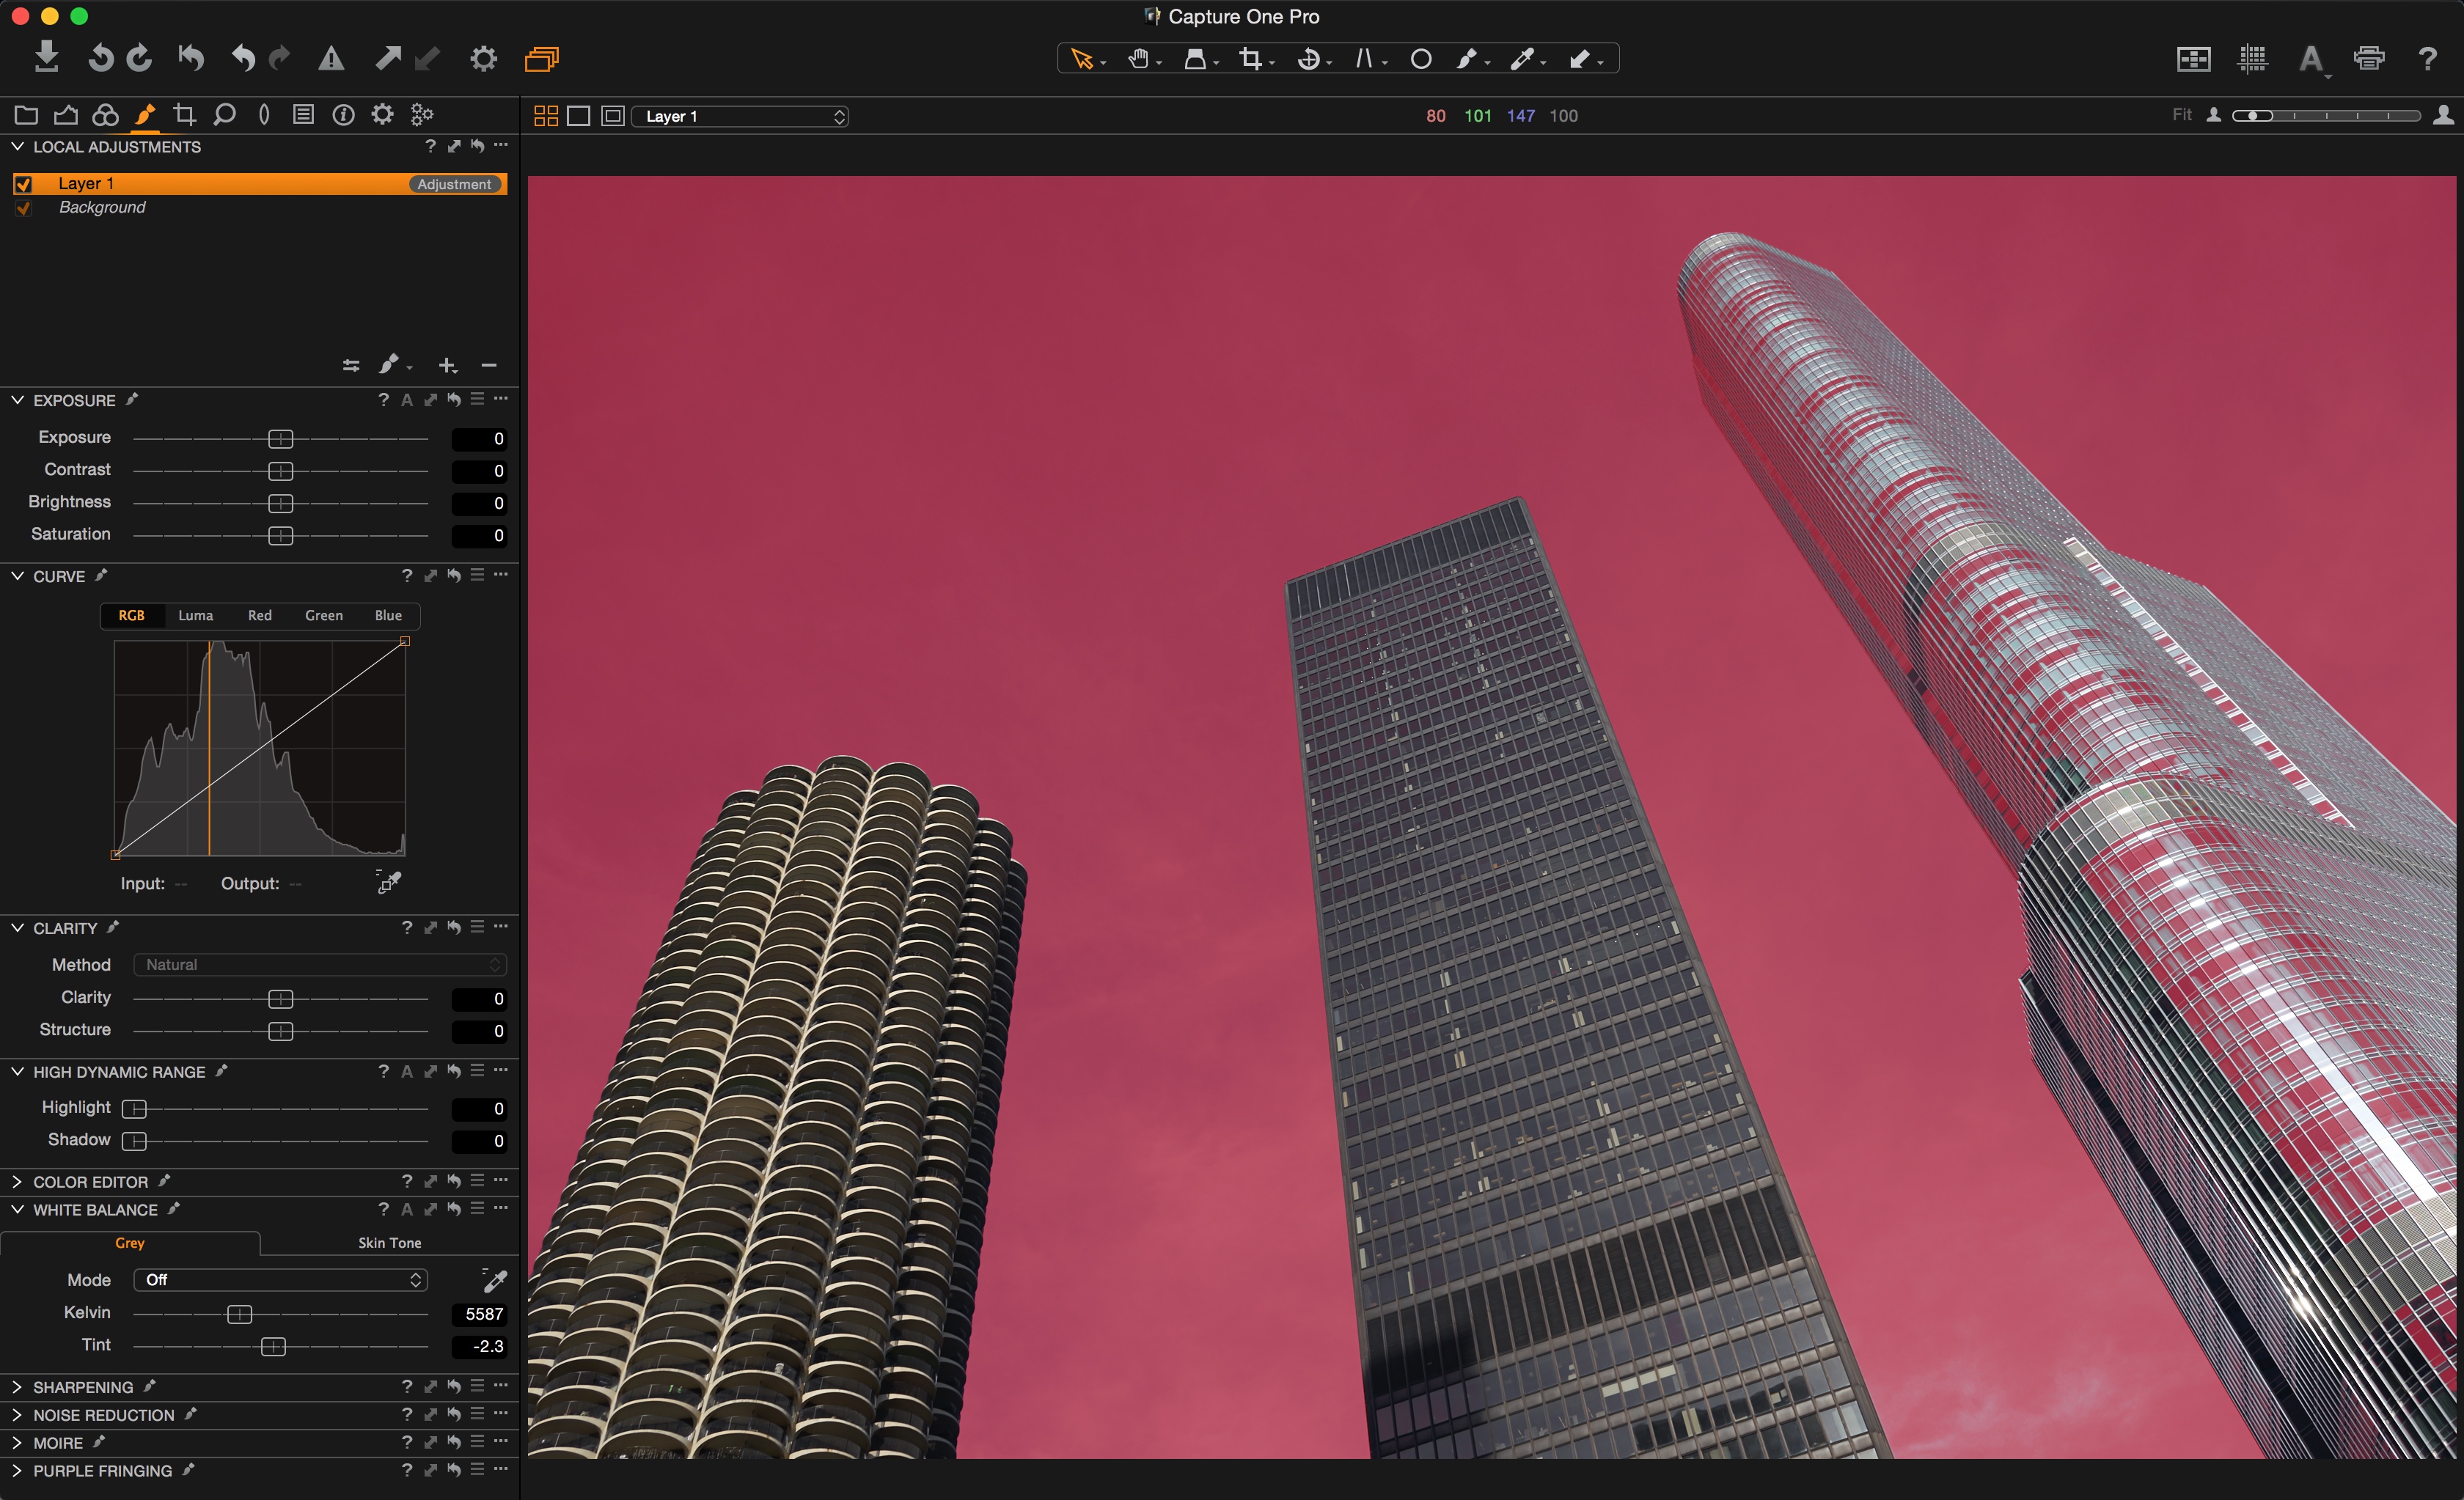
With the mask activated (and shown in red) you can see the result.
To add some contrast in the sky, we have a choice of
- Using the Contrast Slider
- Using an RGB Curve
- Using a Luma Curve.
They will all give a slightly different result. Here is the Contrast slider, at a value of 30 points.
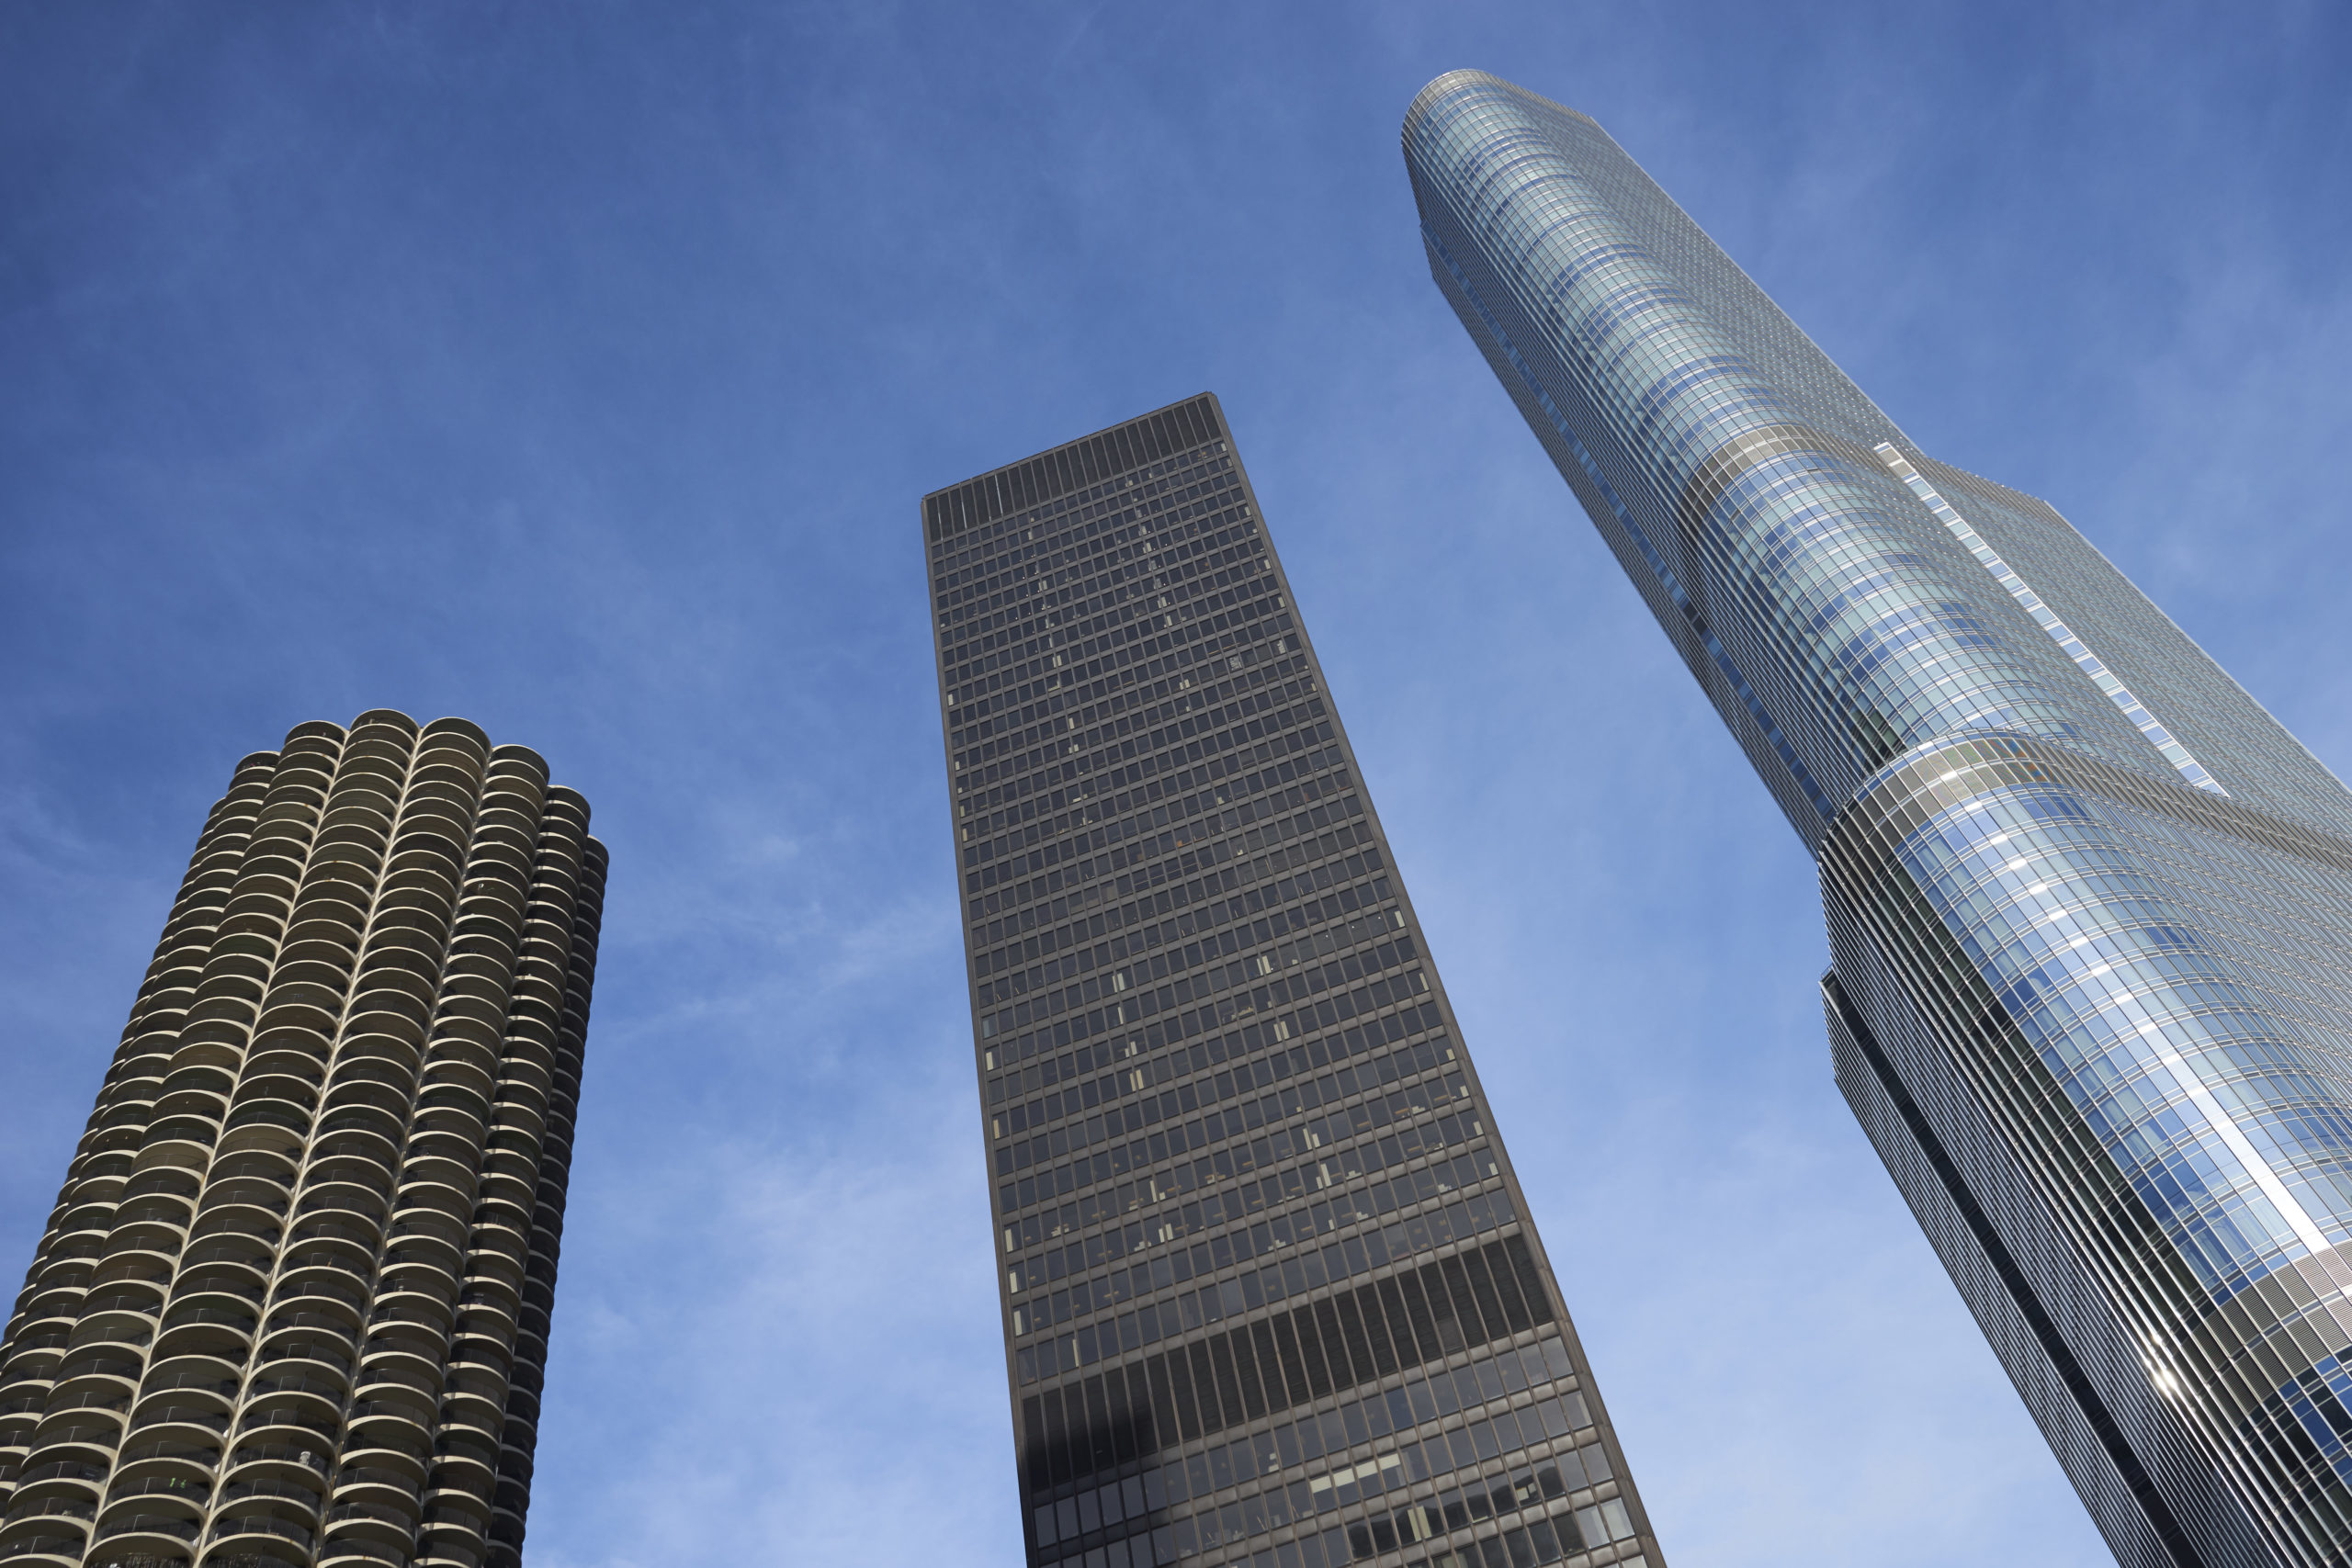
Here is an S curve applied in RGB.


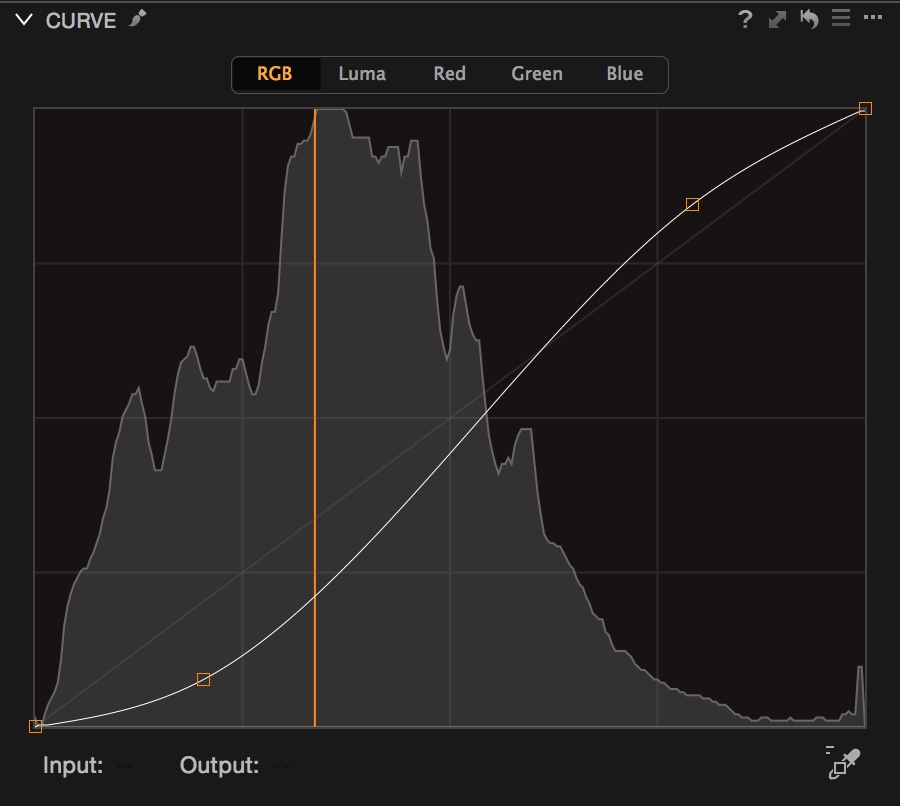
Here is an S curve applied in Luma
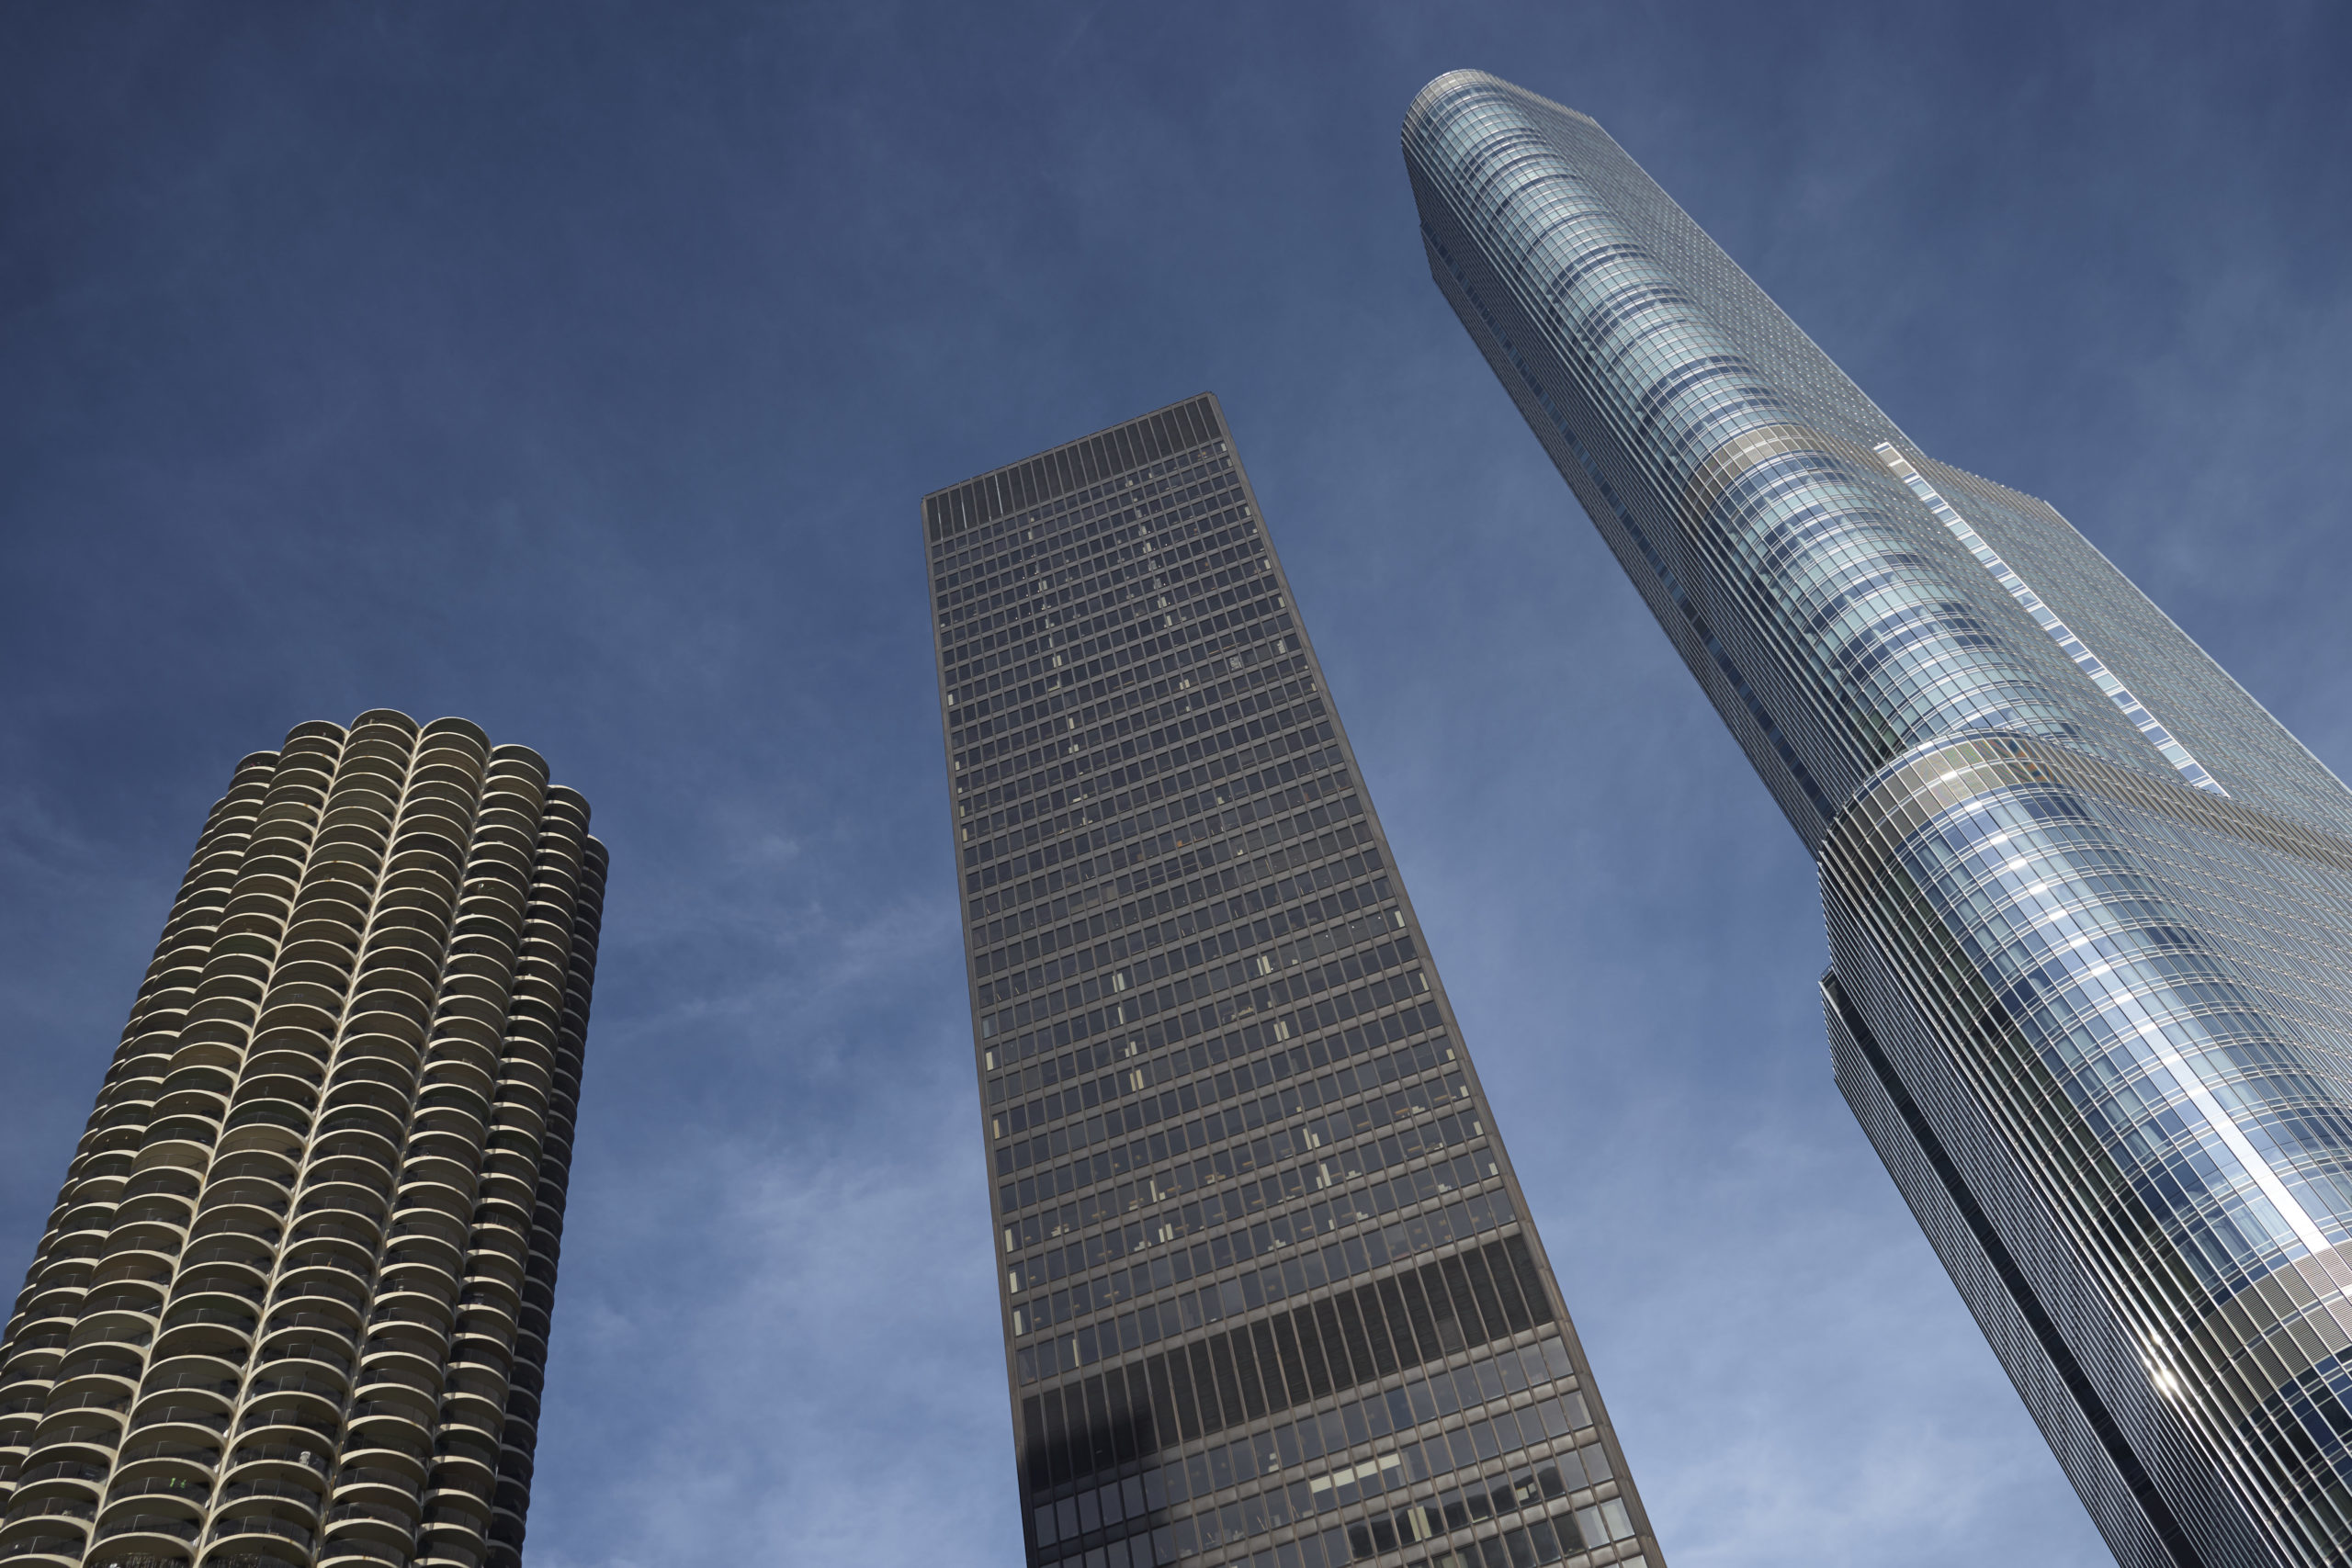


So you can see that there is quite a different result from using the 3 different methods. The strongest shift in hue and saturation is when using an RGB curve (as we would expect) and the least change of hue and saturation is when using a Luma Curve – also what we expect!
The benefit of using the Luma Curve in this instance is that we can apply the contrast we want and individually control our preferred level of Saturation. In this case I might as well add a few points of Saturation to get the level I like.
You will see in each of the examples that the contrast has also increased on the right hand side of the tower, which I said earlier, I probably wouldn’t mind and my suspicions were correct.
To finish off the image in color, I made another local mask on the middle of the tower to darken it off more and add some contrast. I also did some selective dodging and burning.

Finally, for a Black and White version I modified the sliders somewhat in the Black and White tool and added a little grain.

Best regards,
David Grover


