
Using Workspaces in Capture One Pro 7 is an easy way to customise and optimise the interface and the way you work with images. Capture One Pro 7 includes some default workspaces optimised for how most professional photographers work, but you can still make your own workspaces to:
– Make your favourite tools more accessible, where you want them.
– Change the layout and content of the toolbar
– Make different workspaces for different tasks (Importing, Editing, Shooting, Focus Checking)
By streamlining the interface, functions and options can be found quickly and easily. Different tasks will also require focus on different parts of the software. For example, whilst selecting images from a shoot or moving images in your catalog, it is not necessary to have the tools on display, thereby creating more screen real estate for image viewing.
Switching Workspaces
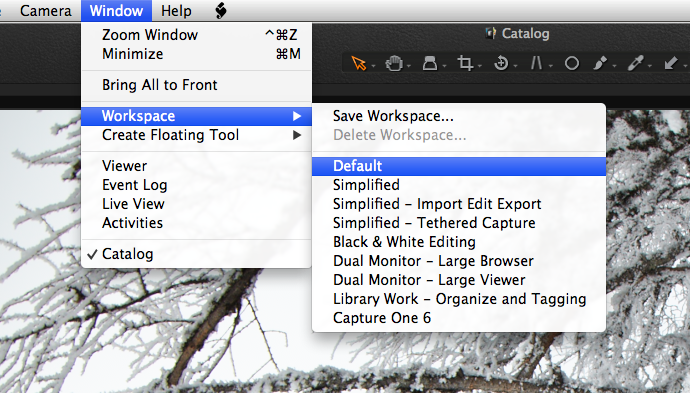
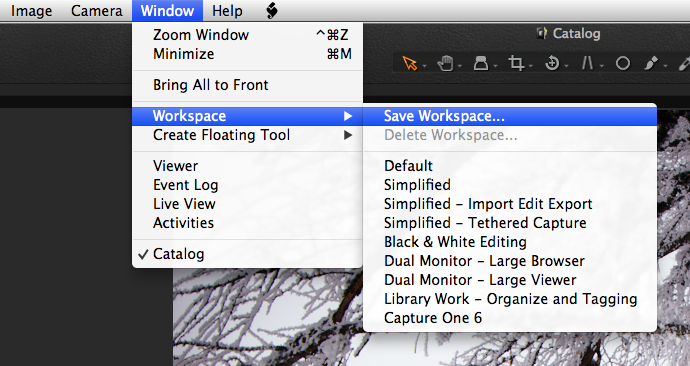
Switching between Workspaces is easily done in the Window > Workspaces menu found in the toolbar. It’s also here you can save and delete your custom Workspaces.
Building and Saving a Workspace
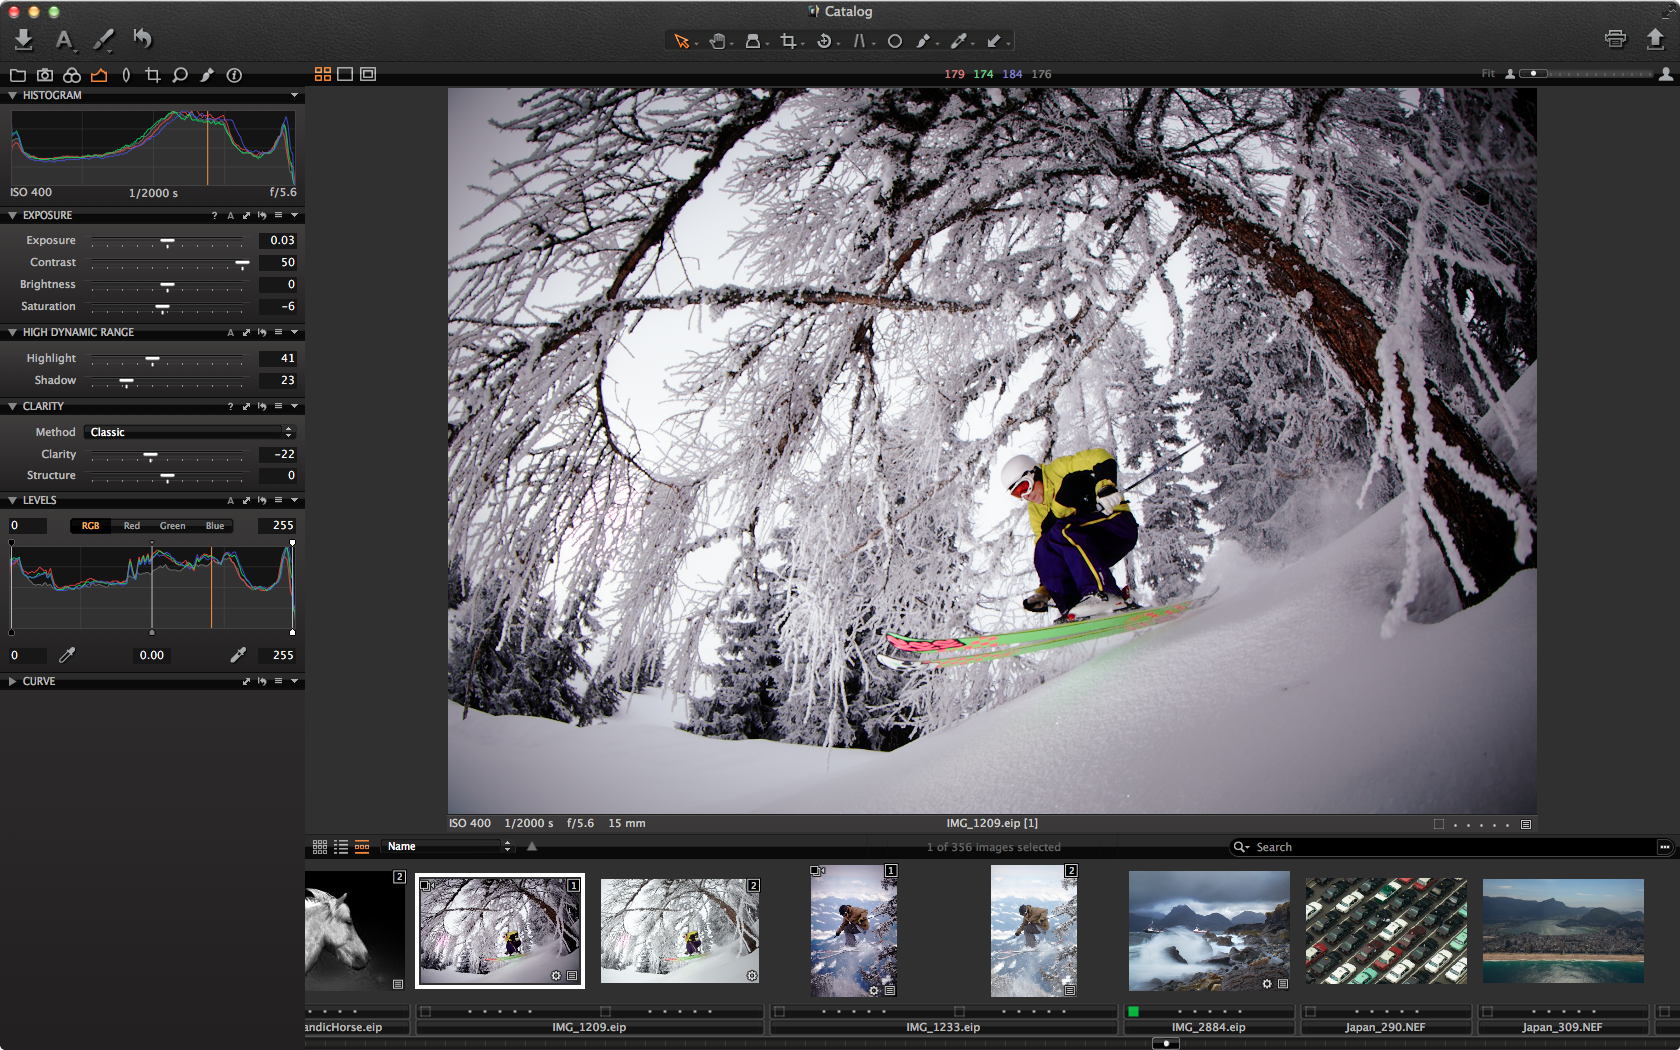
The simplified workspace in Capture One Pro 7 looks like this:
Many elements of the Workspace can be changed. A few examples:
– Contents of the toolbar
– Adding / Removing tools from a Tool Tab
– Changing the position of tools in a Tool Tab
– Adding / Removing Tool Tabs or Creating Custom Tools Tabs
– Creating floating windows
– Position of the browser and tools
Example
In the following example we can make some changes to the Toolbar and the Tool Tabs.
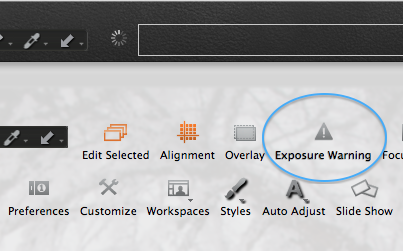
Toolbar
Right-click on the toolbar and choose Customize Toolbar.
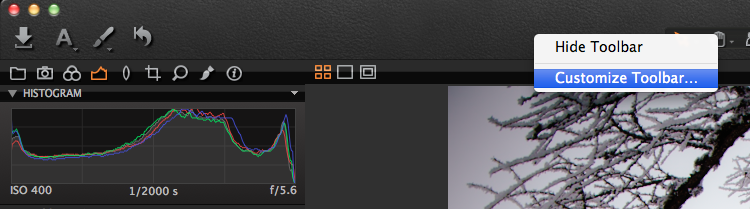
This will bring up the following menu:
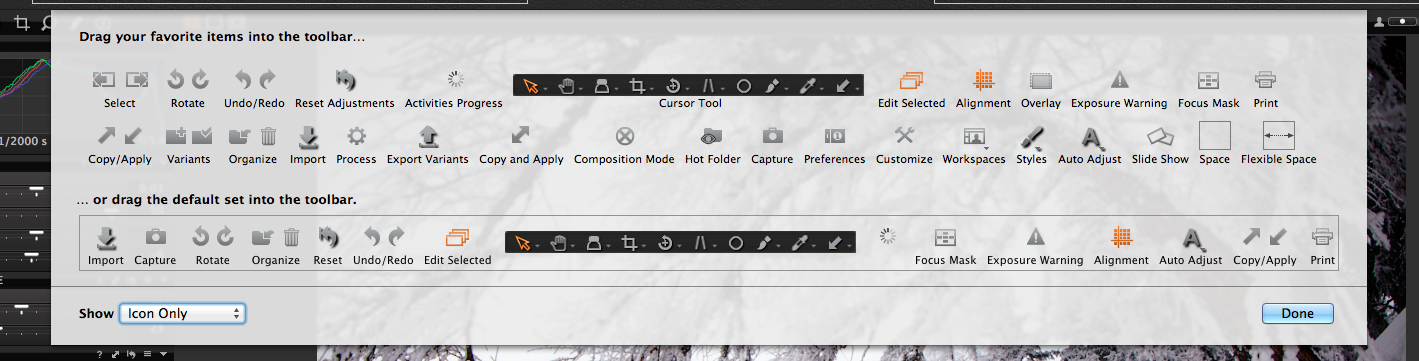
Then simply drag and drop the required icons from the available selection into the toolbar.
Tool Tabs
To add a Tool Tab, right click on the Tool Tab Area and choose Add Tool Tab. A list of Tool Tabs that have not yet been added will be shown in the menu.
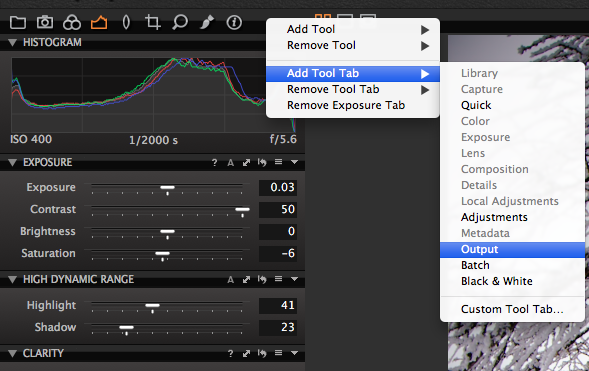
Choose one of the available ones and it will be added to the Tool Tab area.
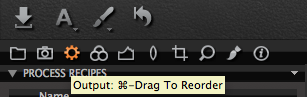
Cmd-click drag to change the order of the Tool Tabs.
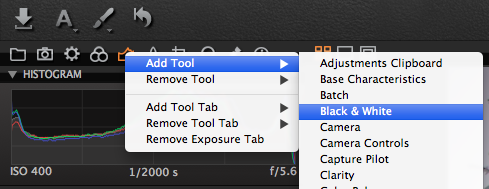
To add a tool to the currently open Tool Tab, right-click on the Tool Tab itself and choose Add Tool. If you don’t want a tool docked with the other tools, either drag it from the rest of the tools to the placement you want, or you use the menu Window > Create Floating Tool and create a floating version of whichever tool you want.
Play around with the options in the View menu to find the workspace setup that suits you. When you are happy with your new Workspace, choose Window>Workspace>Save Workspace.
All the best,
Niels

The Image Quality Professor
The digital pioneer, Niels V. Knudsen, is Phase One’s Image Quality Professor and founder of the IQP blog. Moreover, he is responsible for breakthrough advancements in image quality both in Phase One’s medium format camera systems and in Capture One Pro.


