NOTE: This article discusses an outdated version of Capture One. To learn more about our latest version, click here.
Join commercial and editorial retoucher Pratik Naik as he shares his Styles workflow in this tutorial.
Styles can be something that takes your work to new frontiers of color. Pratik wants to not only show you the new Latitude Styles, but also how they can be used in a realistic workflow to elevate some of your new and old files in a short period of time. You’ll see a preview of the Latitude Styles, and also how to modify them to match your taste and vision. Find out more about Styles here.
Remember that you can download a free Capture One trial here.
A big reason why I love Capture One is because of color. I love color and what I can do with it. It renders files with vibrant and rich tones, which is further exemplified by the tools it has for me to tinker with them. For instance, being able to use the Color Editor for creative tweaking or the Color Balance tool is so much fun for color grading.
Now, as a retoucher I communicate directly with my client when we need to produce a color grade. Often, they provide it for me. What talking about these tools does is it gives clients the opportunity to learn more about the possibilities of how they can modify their raw files in order to get specific looks. Even for something as simple as travel photos, it’s fun seeing the flexibility in the files!
Recently, Capture One introduced a new Style series titled Latitude, which includes two packs, Latitude | Deep Forest and Latitude| Sunbound. These styles are named after landscapes but I wanted to see how they would do with fashion images. Also, I wanted to show you a really useful workflow on how I like to work with Styles.
Before getting into it, a special thanks goes to Ausra Babiedaite, for her amazing work!
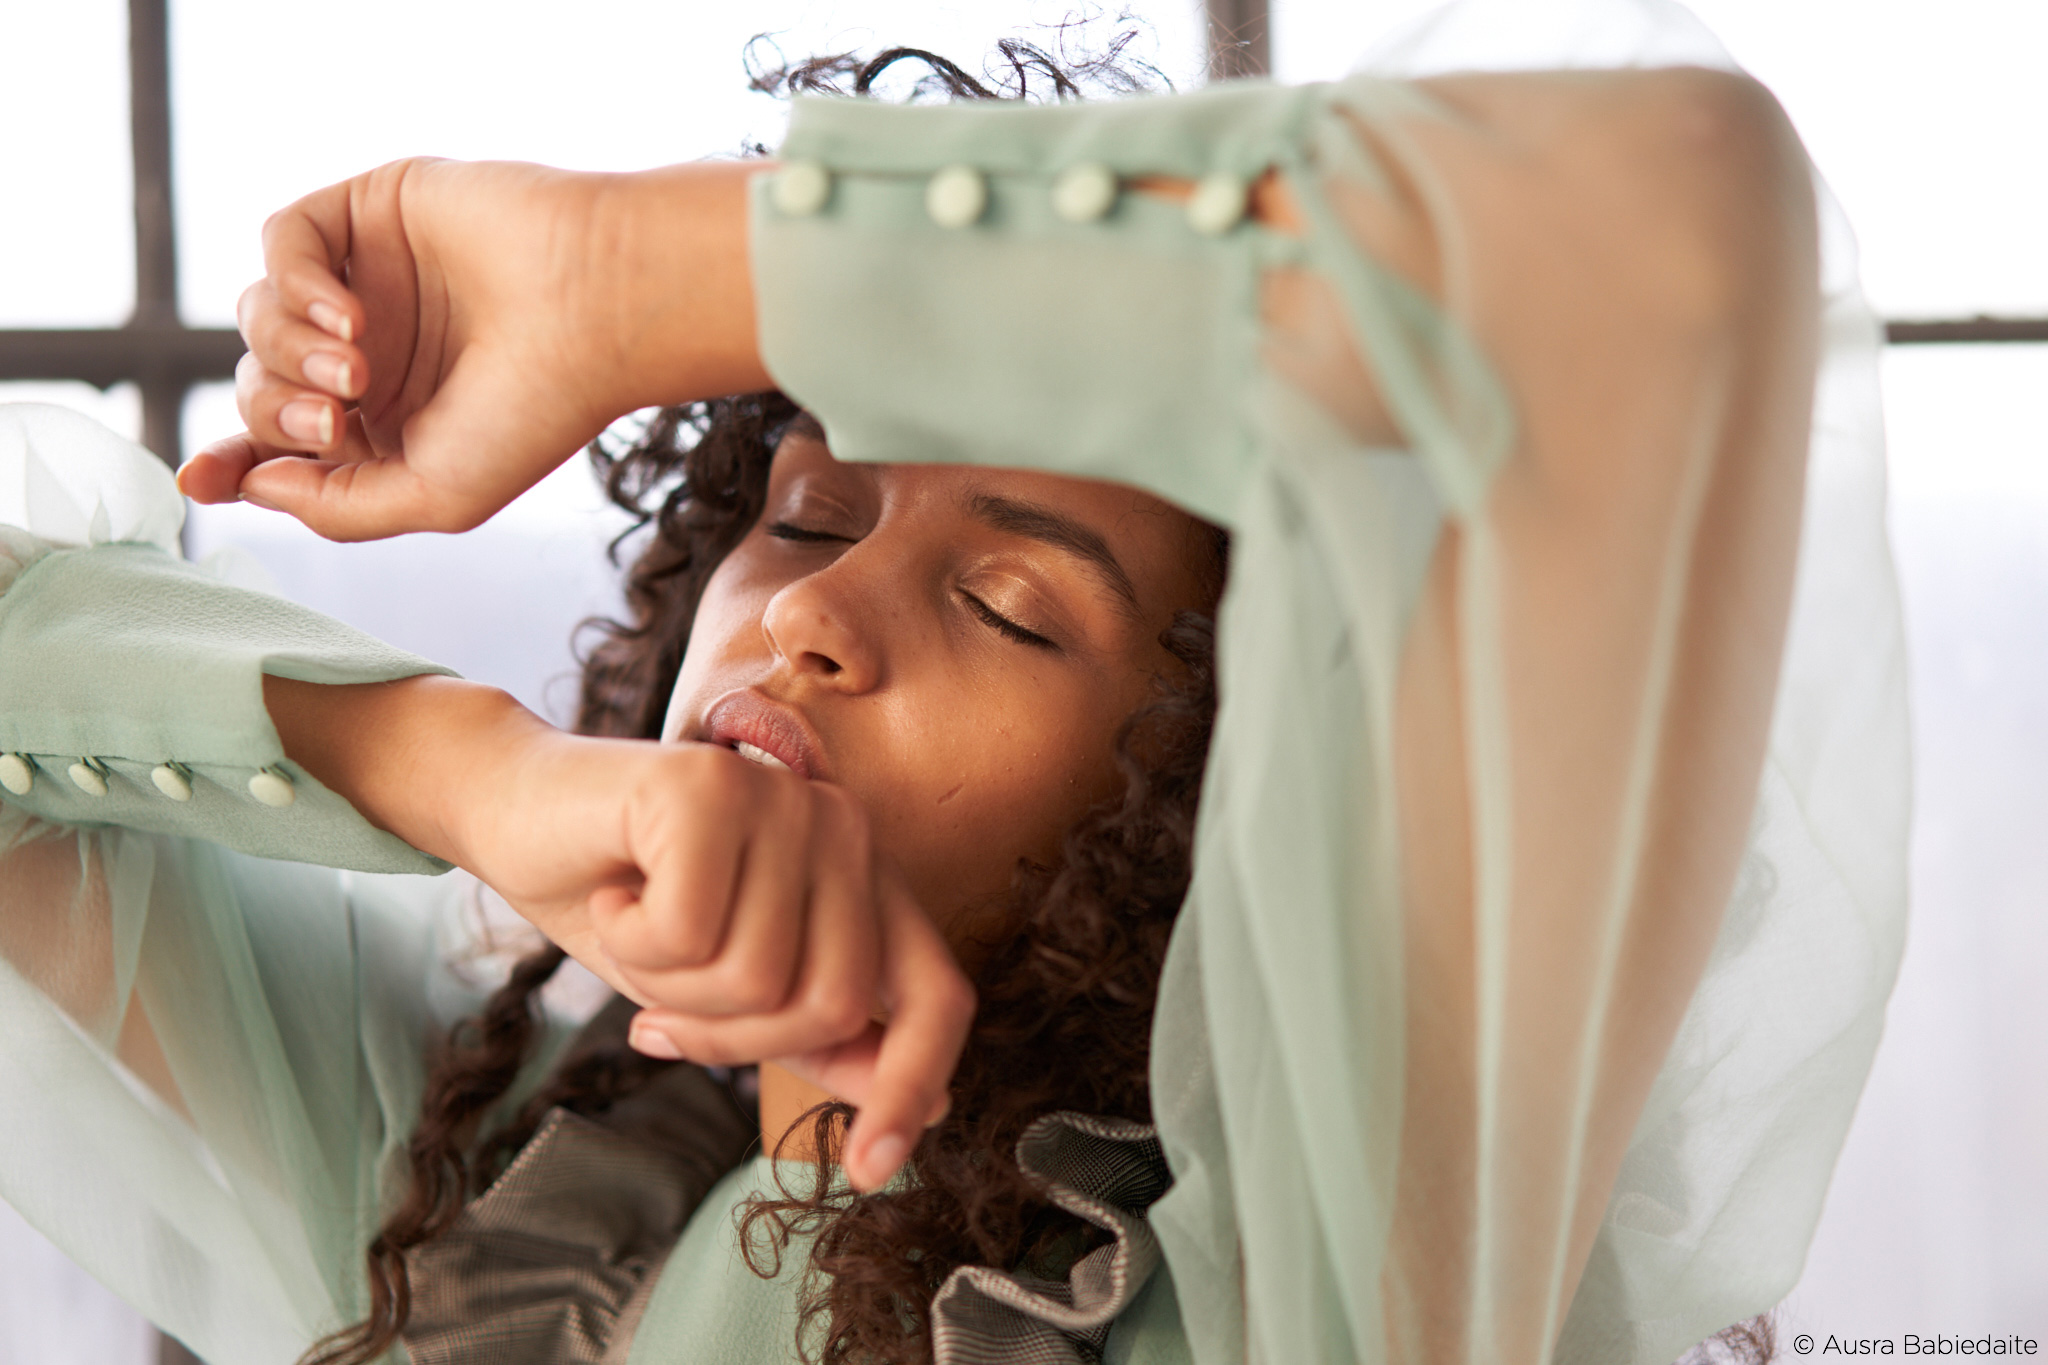
Now let’s get started! For instance, we have this raw file here without any adjustments.
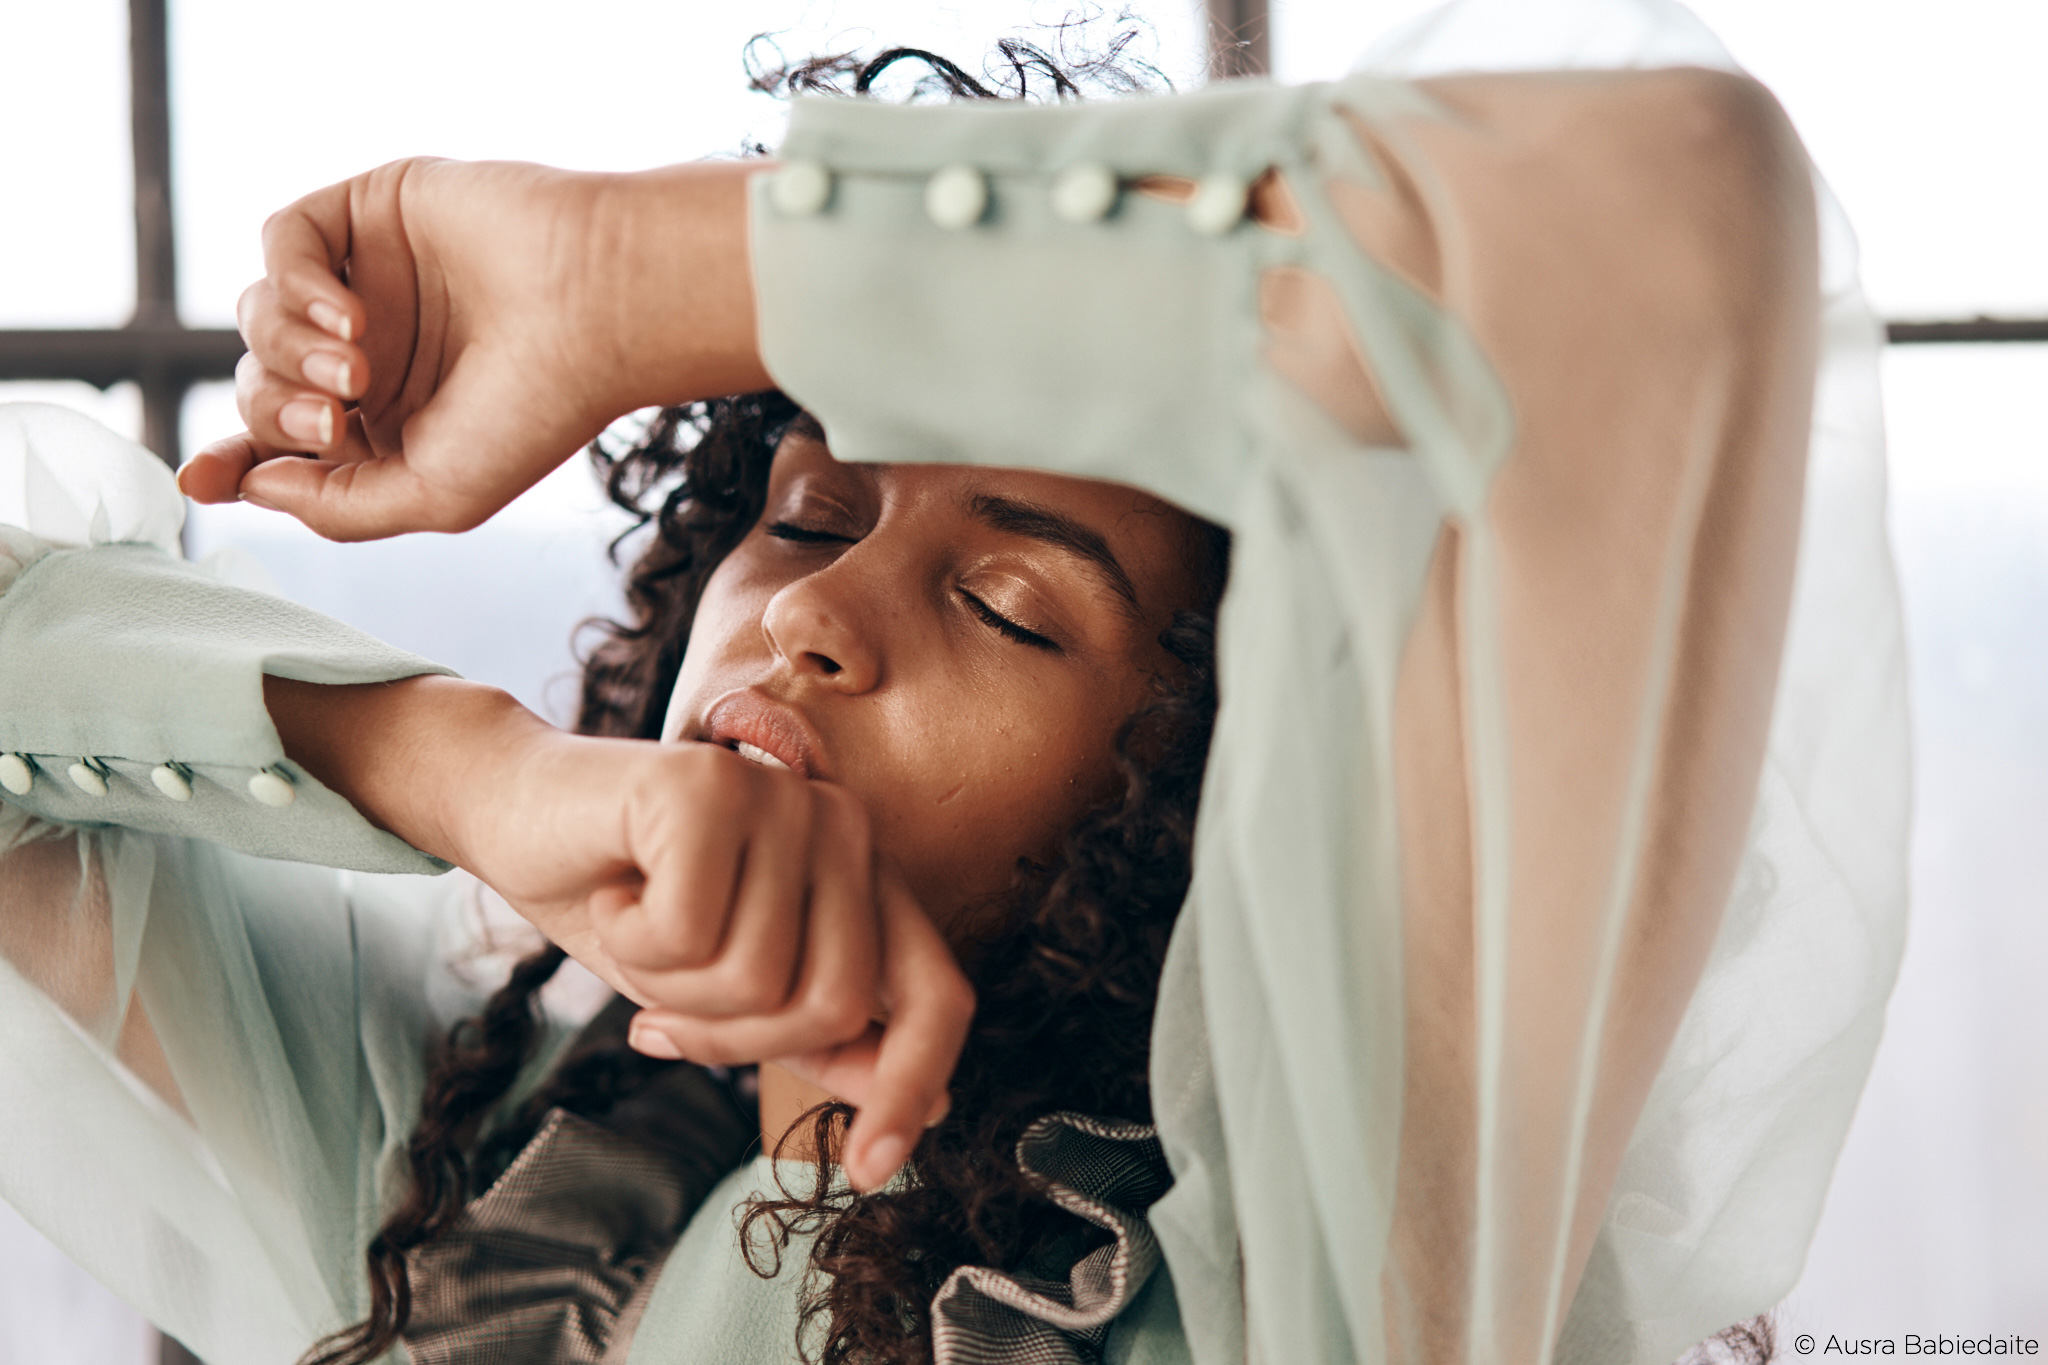
I really like the look oat DF-07 – Schwarzwald from the Deep Forest set, it produces these rich deep mono-tone inspired tones.
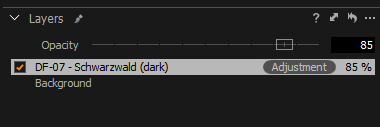
However, let’s say that the impact isn’t up to your taste and you want to tone it down a notch, you can right click on the style, and add it to a layer. After which, you can tweak it in a few ways!
1. The first is the ability to adjust the opacity of the layer. Once they updated Capture One with this feature, I was all over it! I loved the ability to modify opacity.
2. You can also take a look under the engine and see exactly what settings were used to create the look and tweak accordingly. For instance, I see the curve has been modified to deepen the midtones and shadows while still adding some fade. I can tweak it so I can remove the fade.
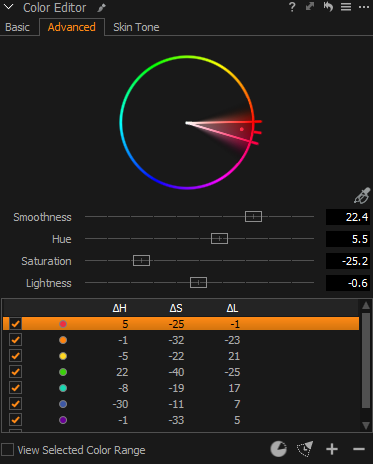
3. Let’s go to the Color Editor. Here, you can see there was a lot of thought put in. I could easily tweak the hue/saturation/lightness of theses parameters to see what happens!
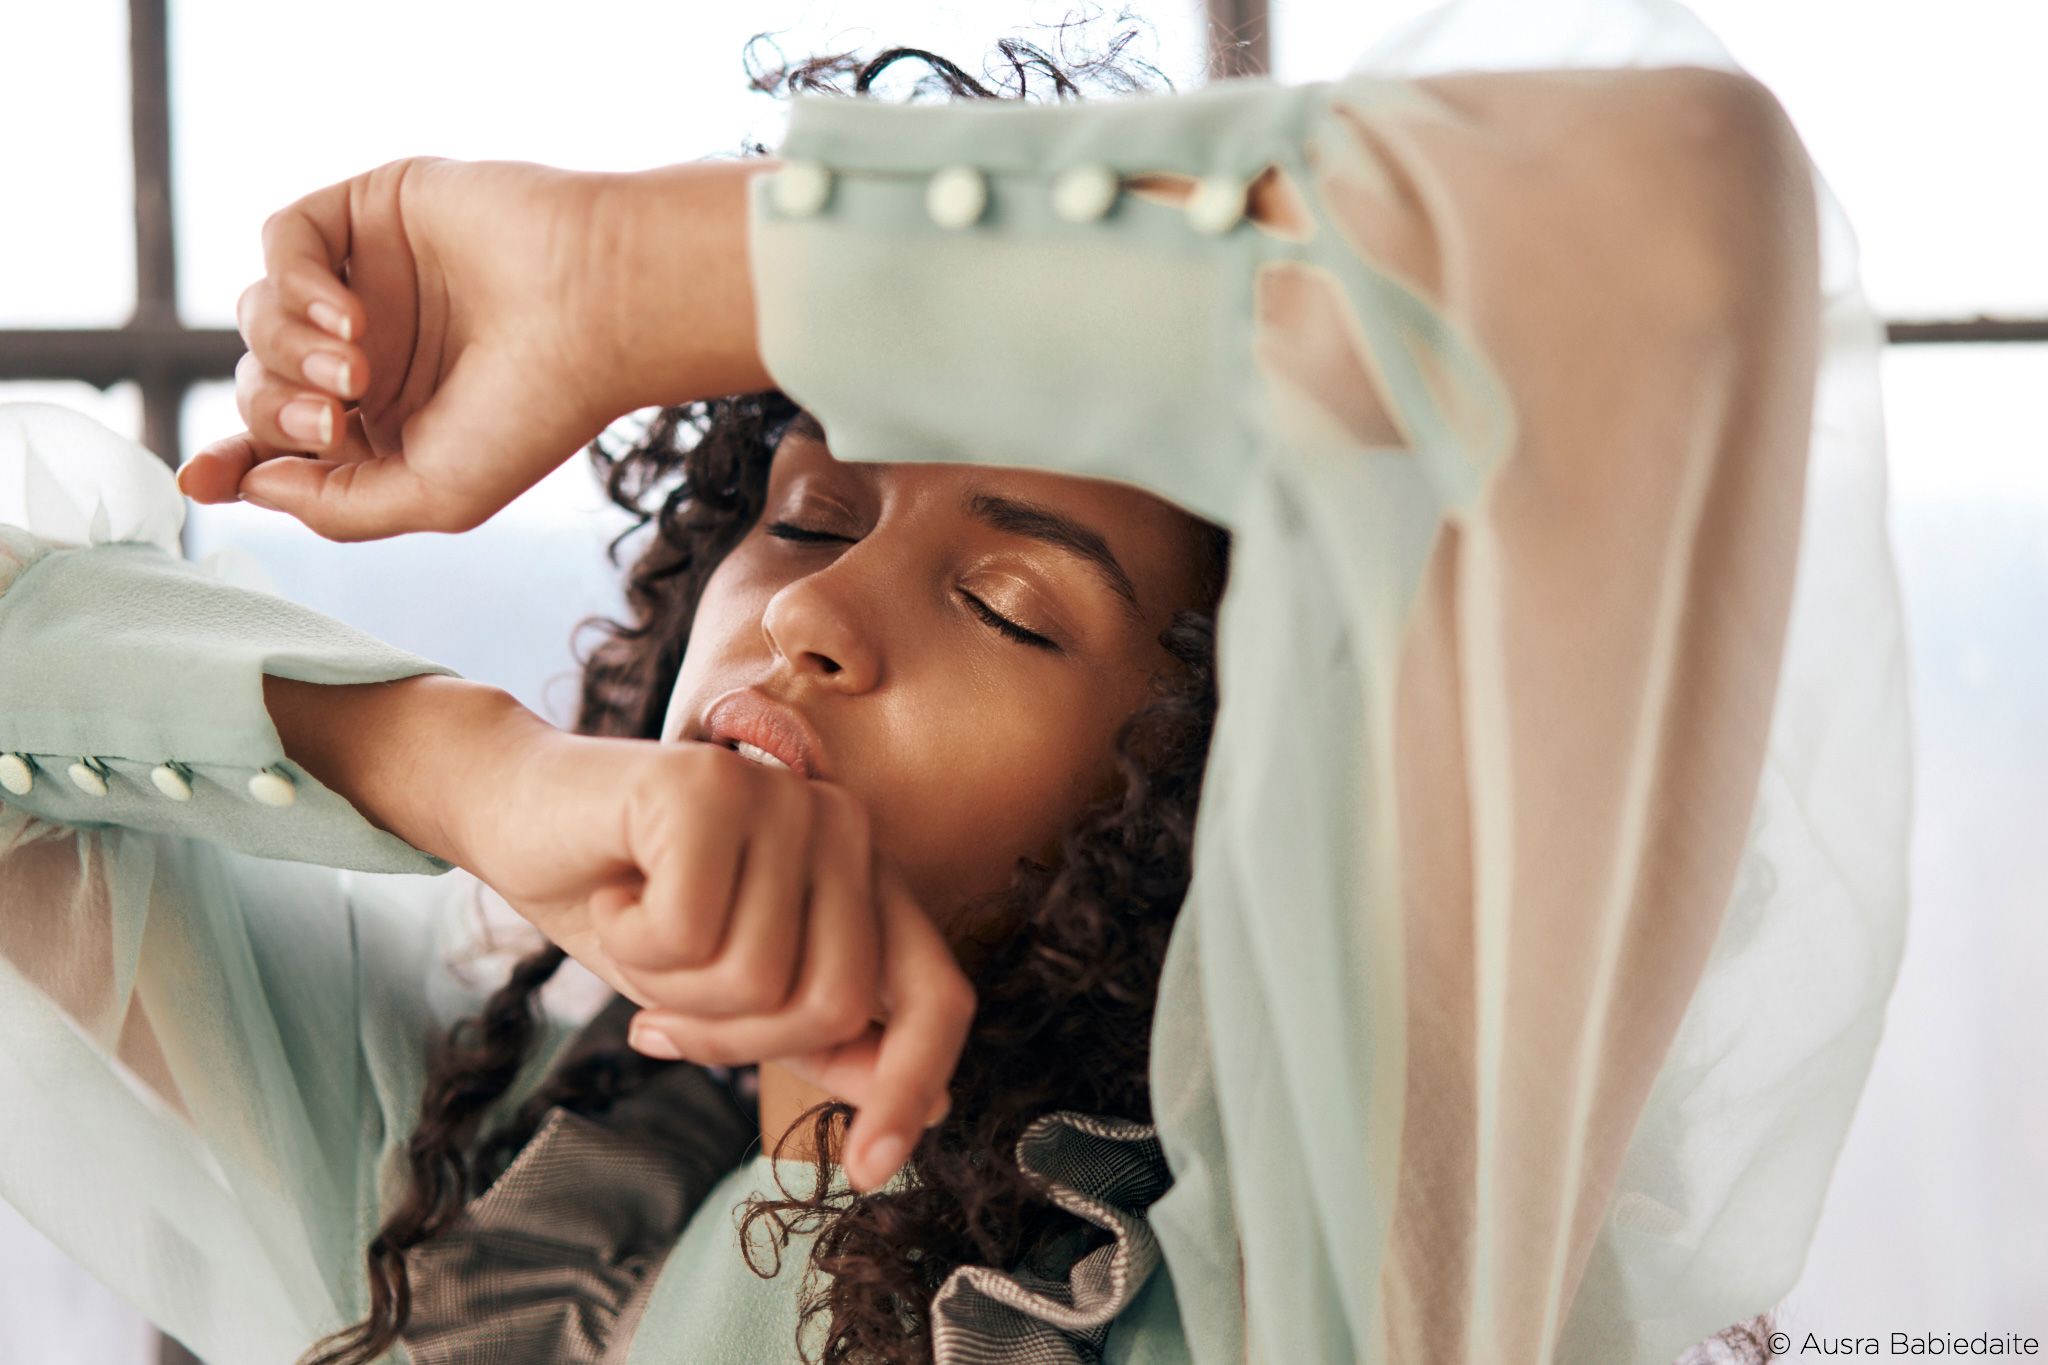
Just like that, using styles can be both a good starting point, and something you can create something that speaks to you with! With a couple of those tweaks, here is where I ended up with, along with a little bit of retouching to go along with it.
 If you would like to learn more about working with Styles, here are some relevant links for you:
Visit our User Guide to learn more about Styles and Presets in details.

Pratik Naik
Pratik is a commercial and editorial high-end retoucher with a passion for pixels. His obsession with retouching is a passion and profession. Being able to harness the potential of RAW files and see it through to fruition gives him a lot of joy. This joy comes from the ability to work with photographers from all walks of life, to come up with something that is a collaborative effort. They entrust him with their RAW files, and he massages them into what they envision.

